Stray Chapter 10 Midtown Guide
Once you make your way through Chapter 9: Antvillage you will arrive in the subway system. This subway system leads you to the next chapter in the game called Midtown. Midtown is a bustling town with a lot of stuff to do. See our Stray Midtown guide for help completing this section.
Chapter Details
- Memories: 1 Main Memory; 6 Memories.
- Badges: 3.
- Trophies/Achievements: 3.
Main Memory #4 & Memory #16

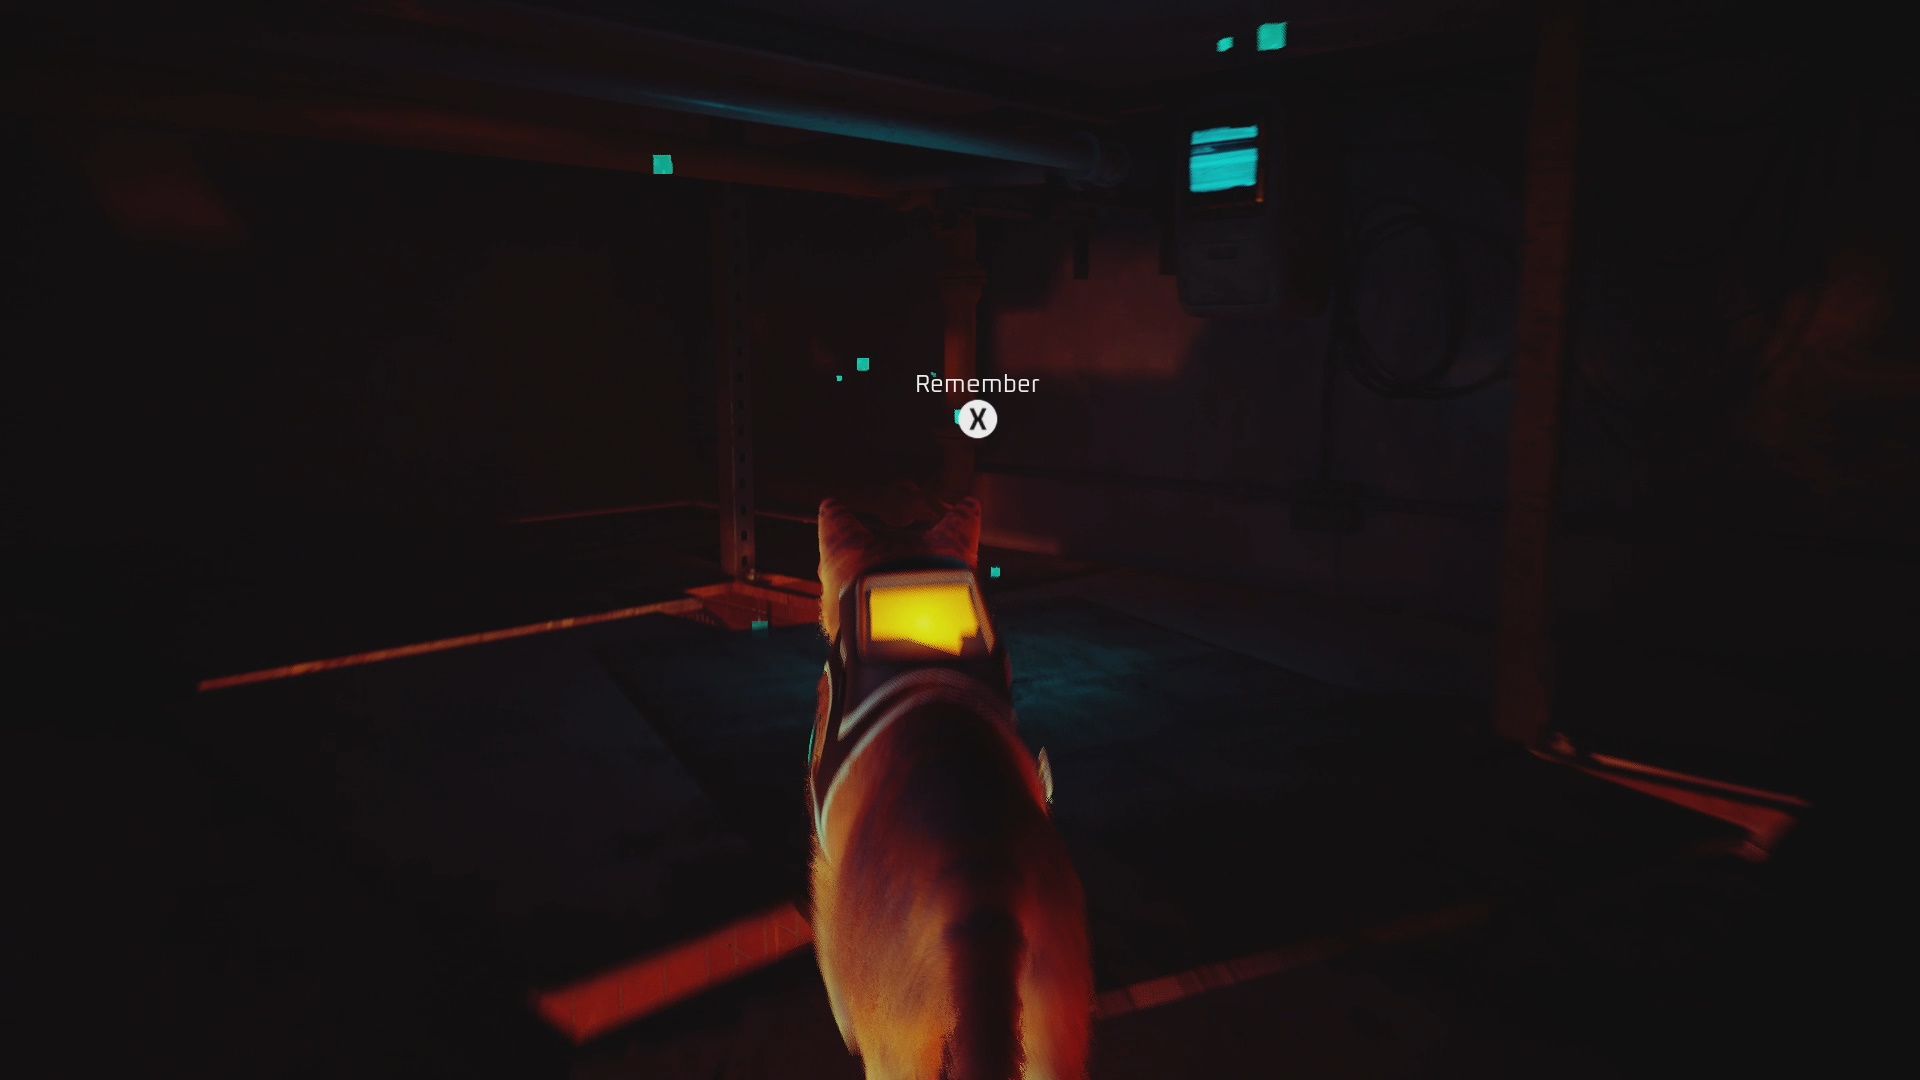
Following the chapter’s opening cutscene you will unlock the Catwalk trophy/achievement. Walk forward through the subway station until you reach the subway car itself. When you reach this spot B-12 will talk to you about the subway system. This unlocks Major Memory #4 [19/27].
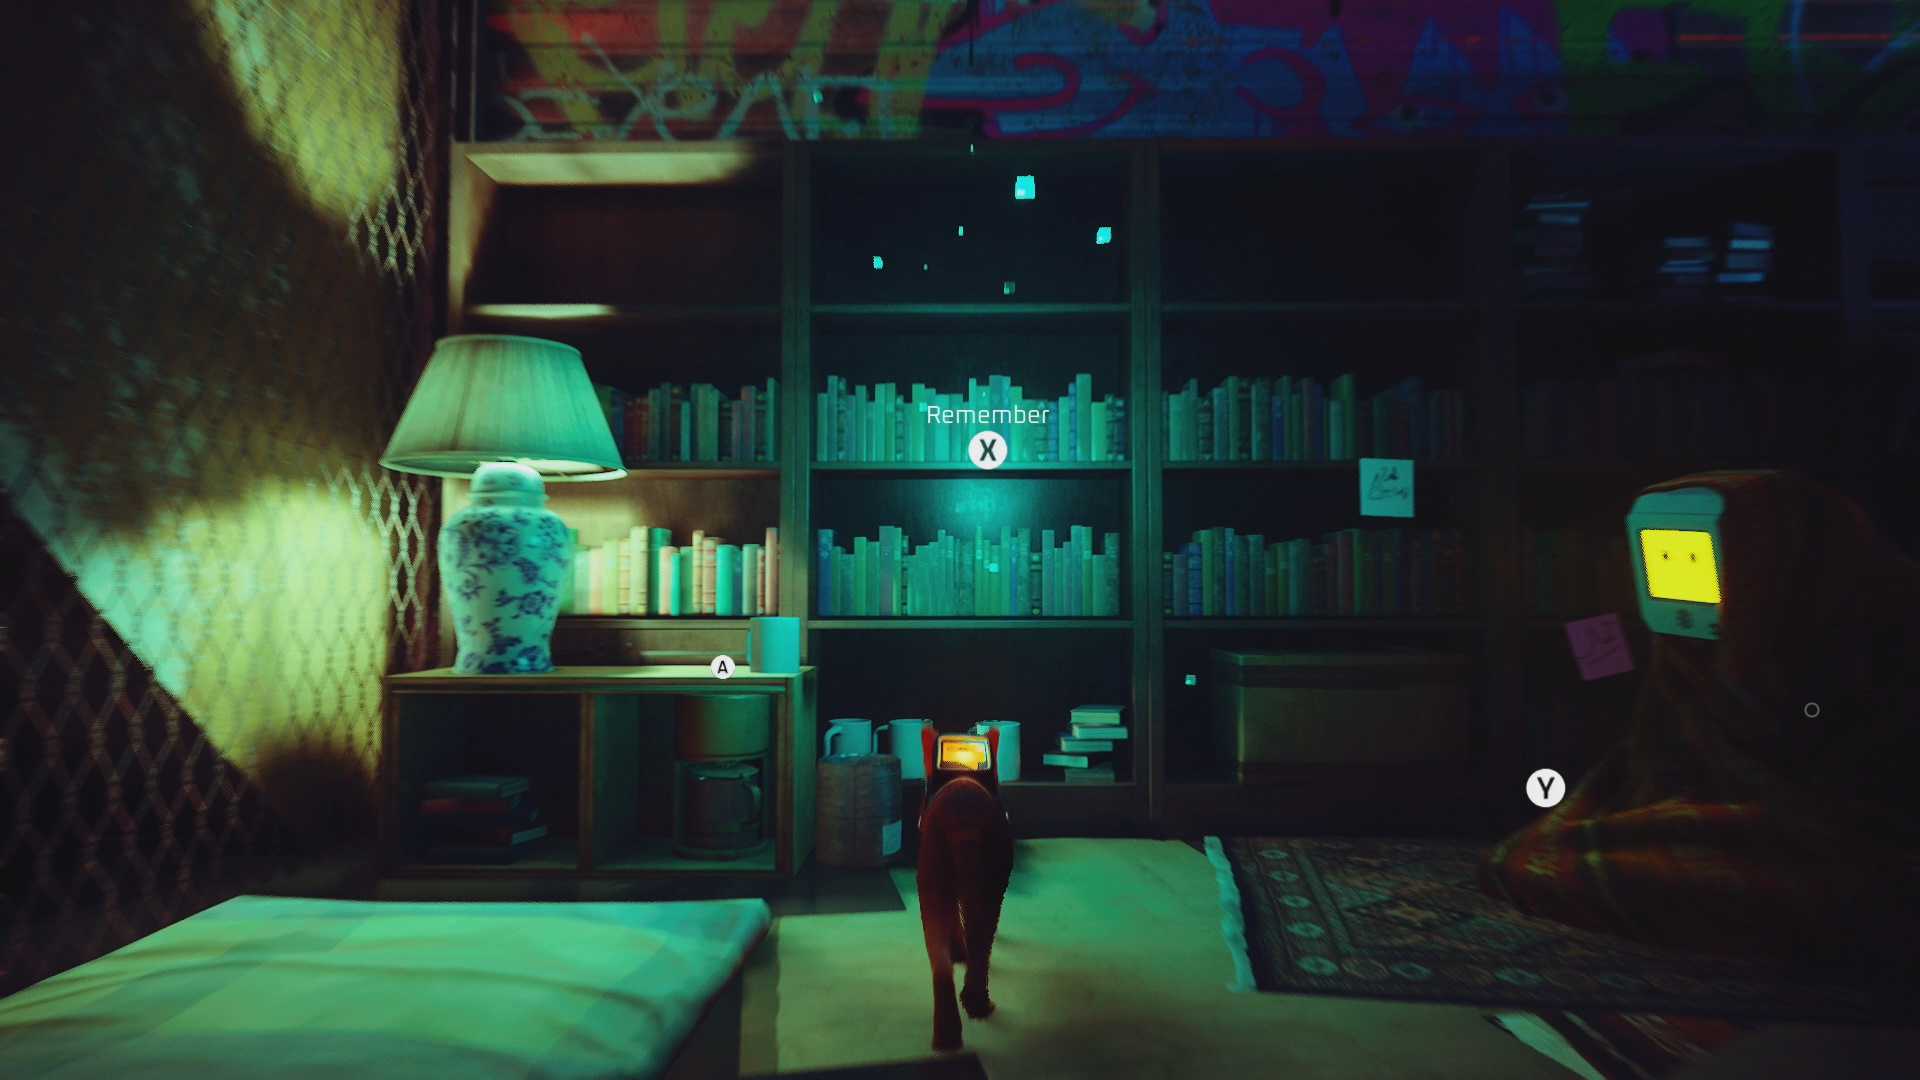
Continue heading forward until you reach the top of the station. Before venturing out turn to the right. You will find an NPC living in the station. Approach the bookshelf and interact with it to acquire Memory #16 [20/27]. Leave the subway station and head right.
Scratch Spot #10

Walk along the street and you will reach a T. To the right of the T you will see a road leading into Midtown. To the left you will see an old, abandoned elevator. Go to the elevator and go behind it. There is a rug here you can scratch to acquire Territory [10/12].
Cat Badge


When you’ve scratched the spot head back to the T and continue straight so you enter Midtown. As you enter on your right you will see an angry customer speaking to a merchant (you can rub the customer if you’d like). Jump into the shop there and go to the back room. In the back read the note on the wall to learn the safe code. The code is 8542.
Take the code and jump up to the safe on the shelves. Open the safe to get at the Cat Badge. Once you have the Cat Badge head back to the street and continue walking to the right, deeper into Midtown.
Police Badge
Make your way to the square area in Midtown. In this area, the one with the holographic robot, there is a police station. Face the police station and head to the left of it down the stairs. You will be in an alleyway between the police station and the clothing store. Jump up to the ac units on the right side of the alleyway and use them to reach a higher section of the alley. Eventually you will find a barred window you can jump through into the police station. Inside grab the Police Badge off the robot.
Memory #19
Double-back the way you came then head back to the square. On the opposite side of it you will find a burger shop you can enter. Go inside the shop and jump up to the ceiling to reach Memory #19 [21/27]. Leave and follow the road to the right of the shop so you are heading near the residence (where we need to meet Clementine).
Memory #18

Before going into the Residence you can snag another collectible. Just before the entrance to the residence there is a bar. On the opposite side of the street you will find a barbershop that you can enter by jumping through its window. Go into the shop. Use the sofa and shelf to reach the crawlspace in the ceiling. In it you will find the Memory #18 [22/27].
Meet Clementine in Her Hiding Spot
The next step for you to complete in this section is to meet Clementine. Clementine is located inside the Residences. Go up the stairs until you reach the third floor. On this floor go to the apartment that is boarded up. Go through the hole in the boards to get inside. Once you are inside you will trigger a cutscene. Show Clementine the Picture of Clementine that Zbaltazar gave you in Antvillage.
How to Enter the Neco Factory
Once you’ve gained Clementine’s trust the next step is to acquire the Atomic Generator from the Neco Factory. To do this you need to meet Clementine’s contact. Before doing that there are a few steps to complete:
- Destroy the 3 Cameras: In the Residence area there are three robots. They ask you to destroy the three cameras. Do this (use our video guide if needed) to receive the Cassette Tape.
- Wake the Worker: Enter the bar and go to the backroom. Jump up to the shelf so you are above the passed out/sleeping worker. Knock the box of bottles onto his head. This wakes him up. Follow him back to work.
- Get the Hard Hat: Jump into the box the worker is going to carry into the hat store. Once you are inside grab the hard hat from off the display window. Exit the shop through the vent to the of where you got the hat. You need to interact with the stick to open it.
- Get the Safety Vest: Go back to the town square area. Head to the left of the police station and enter the clothing store there. Inside the store go to the changing area. Put the Cassette Tape in the stereo. This makes the worker come to the back. Snag the Safety Vest off the display mannequin in the window.
Once you’ve grabbed everything listed above you are able to enter the Neco Factory. Meet with the contact next to the (alleyway by the clothing store). Show him the note Clementine gave you then give him the Hard Hat and Safety Vest. Jump in the box and he will carry you inside the factory.
IMPORTANT: If you want to unlock the Sneakitty trophy/achievement you need to sneak through the next sections without alerting any of the Sentinels.
Get the Power Source from the Factory
The main goal of the factory is to acquire the power source from it so you can power the subway. To do this follow the linear path forward. The threat in this location is Sentinels which are activated if you are in their line of sight. Use stealth to make your way through the area by hiding in the boxes or waiting for clear paths past them.
Neco Badge
About halfway through the factory there is a worker you can speak to. He is looking over the railing. When you speak to this worker he mentions his lost keys. This is a hint to acquire the Neco Badge. Follow the video guide above to find the key’s and return it to the worker to receive the badge.
Grab the Power Source From the Factory
Once you’ve returned the keys head to the end of the factory. Here you will find a laser gate. Roll through the gate in the nearby barrel. Roll it all the way into the power source holder in the middle of the room. You need to solve a puzzle here to get at the power source. The steps are fairly simple:
- Turn on the companion bot and bring it over to the cage area. Jump on top of the robot and over the fence inside of it. In this area pull the lever. Activate the other companion bot and bring it outside of the cage.
- Call a companion bot over to one of the pressure plates on the floor. Turn it off. Call the other companion robot over to the other pressure plate.
- Roll the barrel over to the third and final pressure plate. This opens the power source holder, allowing you to grab it.
Upon grabbing the power source the factory shuts down and the police mobilize to look for whoever stole it. This changes the map a little bit giving you access to a few things you wouldn’t have otherwise.
Memory #20

Head back to the square area in the middle of Midtown. Since the police are on high alert the police station is now open. Go inside the station and interact with the Sentinel to collect Memory #20 [23/27]. Leave the station and go to the Residence.
Where is Clementine?
The police have shutdown the Residence. Since you are small you can go under the barricade setup. There are Sentinels all over the Residence area. Avoid them and make your way up and back to Clementine’s apartment. Go inside it and head to the note board. Here there is a note Clementine left for you. There are four items on the note you need to find in the apartment.
- Tea on table.
- Rock in loft area (accessed by pulling the towel out of the drawer).
- Mannequin in bathroom.
- Lava Lamp on kitchen shelf.
Once you’ve gathered all of the hints above you will learn the Clementine is at the Nightclub. Leave the Residence and head down the street to the Nightclub (near the clothing store).
At this point you will unlock the Sneakitty trophy/achievement if you successfully avoided alerting any of the Sentinels in the previous two sections of the level: Factory and Residence.
How to Get Into the Nightclub
You aren’t able to get into the Nightclub through the front entrance. Instead you need to go through the alleyway behind it. When you do you will find a robot has opened a window out back. To get into the Nightclub climb up to the window (before doing that though there is a collectible nearby).
Memory #17

To the left of where you can jump up to reach the pipes leading to the Nightclub window you will find an AC Unit you can jump up onto. Use the units to climb to the top of the roof. At this location you will find the Memory #17 [24/27]. Grab it then head into the Nightclub by climbing over to the window and going through it.
Memory #21

Inside of the Nightclub there is a special Memory to find that is fairly well hidden. This Memory is accessed by jumping onto the bar. Grab the Strange Drink while you are there then walk along the bar to the dumbwaiter/elevator. Stand on the dumbwaiter and it will take you down to the Nightclub’s basement. Interact with the bottles in the center of the room to get Memory #21 [25/27]. Return to the Nightclub.
How to Solve the Nightclub Puzzle
Back in the Nightclub head to the table on the left side of the room. On this table is a record. Pick it up then take it over to the DJ. Put it on the turntable and scratch it to unlock the Scratch Trophy/Achievement.
Once you’ve done this head to the right-side of the room and look for a robot holding a lever. Speak to him and give him the Strange Drink we picked up off the bar. He will give you the Lever in exchange.
Take the lever and head back to the DJs. Next to the DJs there is place you can put the lever. Put the lever in its place then pull it. Jump onto the platform it lowers and waits. The DJ will come over and pull the lever. This raises you up to a ledge above. Walk along the ledge and jump to the area with the console. Use the buttons to lower the rafters so you can cross to the VIP room.
Make your way to the VIP room. Walk into the next room where Clementine is being held. When you walk into the room a cutscene will trigger. This cutscene marks the end of the level. Following the cutscene you will start Chapter 11: Jail.
Video Guide
If you need further help in completing this chapter, give Hold To Reset’s Midtown YouTube guide a watch. It shows you me completing a run through of the chapter. Give us a like/subscribe if you found it useful.
This post is part of our larger Stray guide and walkthrough. Check out the hub page to find all available guides for this game’s main story, side quests, and collectibles.
Thoughts on our Stray Control Room guide? Drop them in the comments below.

