Inkwell Isle IV Guide – Cuphead The Delicious Last Course
The Cuphead DLC adds an entirely new island to the game called Inkwell Isle IV. This island plays host to The Delicious Last Course‘s main storyline. On this island there are new bosses to fight, a new parry challenge to complete, and secrets to uncover. Below is our complete Inkwell Isle IV guide.
How to Go To Inkwell Isle IV

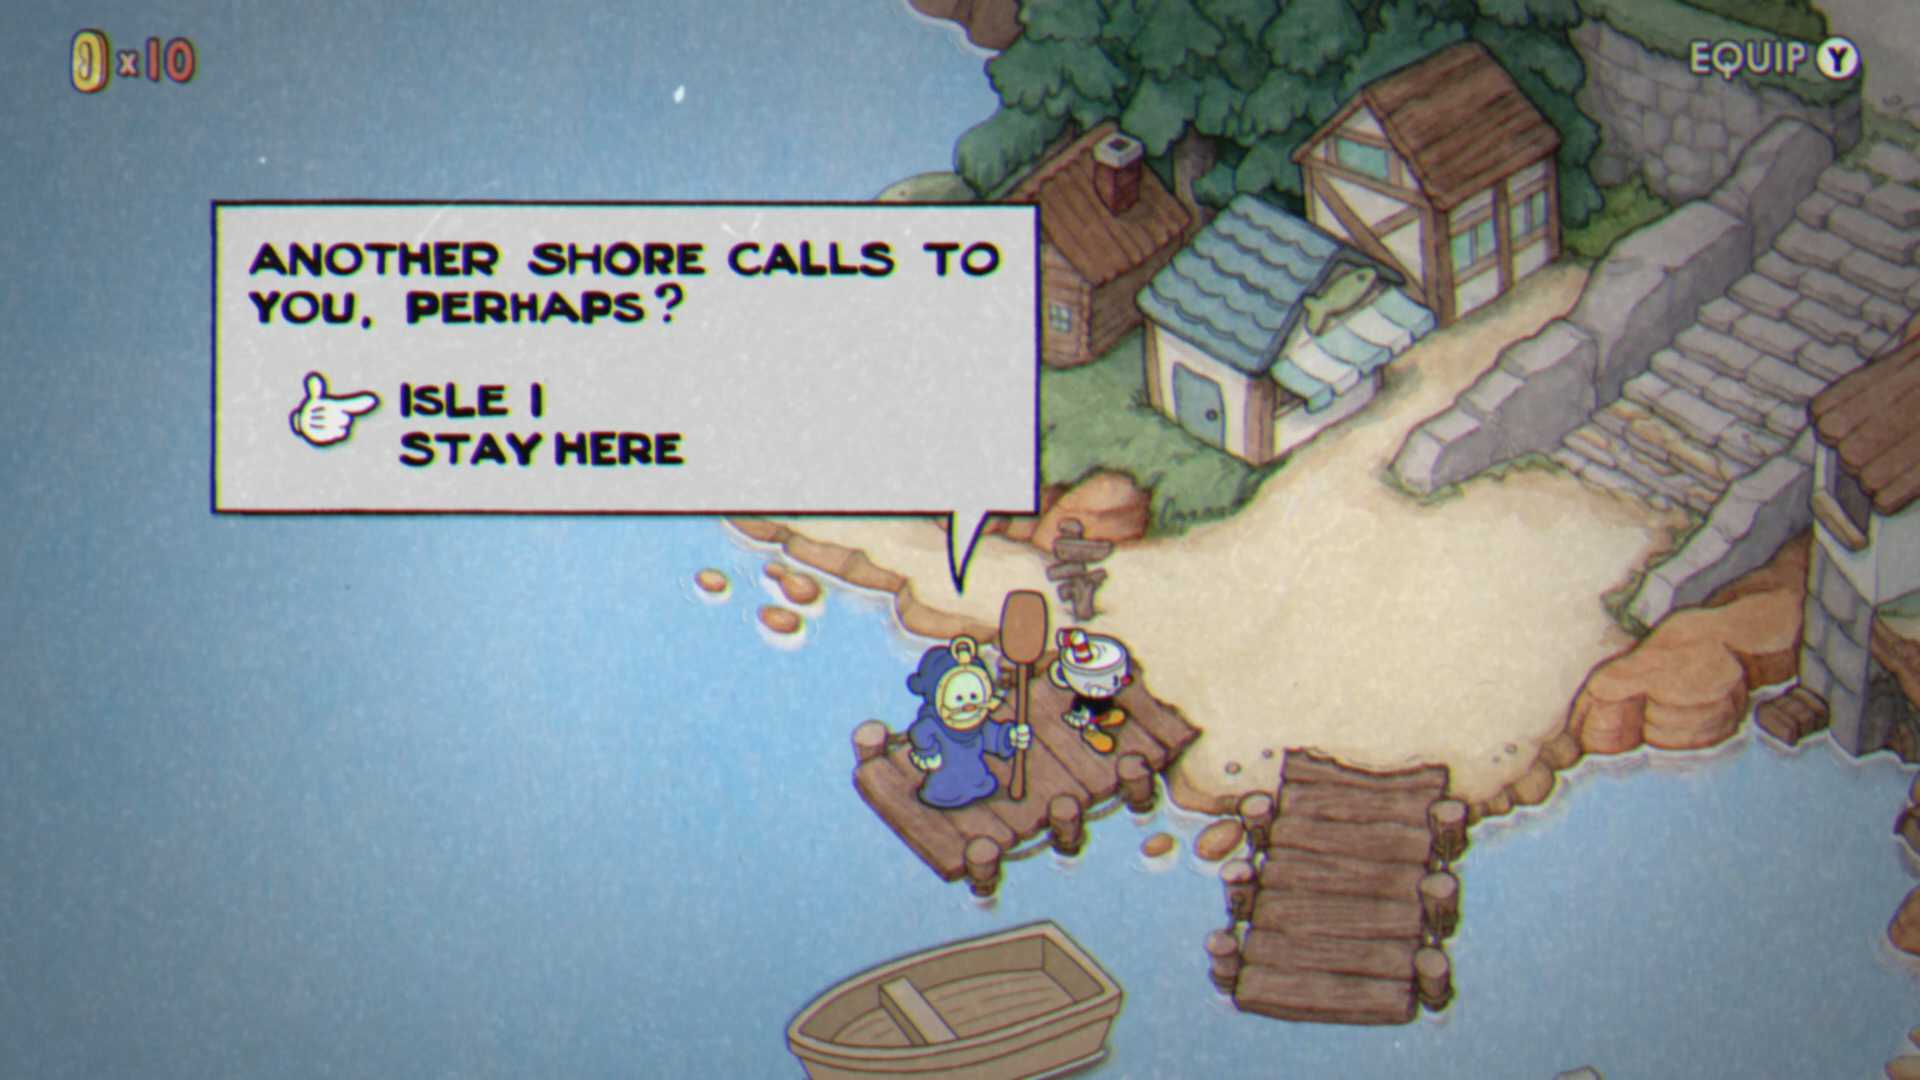
Download and install Patch 1.3.2 and The Delicious Last Course DLC. Once you’ve done both of these steps launch the game. Go to Inkwell Isle I. On Inkwell Isle I head to the Mausoleum I level. Complete the level if needed. Once this is done a boat NPC will appear on the shores. Speak to him and choose yes to set sail to Inkwell Isle IV.
Alternative: If you already completed Mausoleum I, you will get a notice saying that the NPC is available for use when you start your save. Visit him at the location shown above to head to Inkwell Isle IV.
Once you reach Inkwell Isle IV you will trigger a story cutscene. This story cutscene takes you to the first location on the island: Saltbaker’s Bakery. This location is home to Chef Saltbaker, a new NPC. Chef Saltbaker needs you to collect 5 Ingredients for him from the 5 bosses on the island. Once you are done speaking to him leave the shop and enter the island’s overworld.
Town Square

After you leave Saltbaker’s Bakery you will arrive in the town square. In the town square there are two points of interest you should immediately use. The first one is the cart. Equip the Astral Cookie charm and interact with it. This starts a tutorial level called Recipe For Ms. Chalice (video).
To complete the tutorial Parry Dash the first pink wheat. Double jump up to the platform and dodge roll across to the other piece. Parry dash it then double jump to the wheat and parry dash then jump again to reach the Coin. Leave the tutorial level.
The second point of interest in the town square is the newspaper NPC. Go over and speak to him. He will give you 3x Coins for talking to him whether you are starting out our not.
After you’ve done both of the listed steps above you have a choice to make. There are three possible paths for you to take (only two of them advance the story really). For now take the one heading to the southwest so you leave the town square and end up at the docks.
How to Leave Inkwell Isle IV
If you came to Inkwell Isle IV at the start of your playthrough it may make sense to play more of the base game before continuing. Many of the bosses on this island are hard and you will want Coins to purchase the items available from the shop. That’s where this path comes into play. At the end of the path you will find the dock and the NPC ferryman. Speak to him to head back to the other Inkwell Isles.
Town Square Paths
Back at the Town Square you will need to decide which pathway to take to traverse the island. There are two: one going to the northwest and one heading south. Both paths lead the same way, but the south one goes counter-clockwise through the island, while the northwest one goes clockwise. Each path has a boss you can challenge right away if you wish: Glumstone The Giant (NW) and the Moonshine Mob (S). I follow the northwest path through this guide.
Picnic Field

Head along the northeast path past the newspaper NPC. You will arrive in a field where there’s a Porkrind’s Emporium, a Climbing Competition podium, and a boss level. Since you have the coins to purchase a new item let’s check out the shop first.
Porkrind’s Emporium Inventory

Porkrind has setup his shop on the island like the other islands before. He sells a variety of items for players to use. These items are a mix of shots and charms. Since you have the coins you may wish to purchase something to make the island a little bit easier. I personally like Crackshot a lot.
| Item | Cost | What it Does |
|---|---|---|
| Heart Ring (Charm) | 3 Coins. | Gain 1 HP on your first, third, and sixth parry. |
| Broken Relic (Charm) | 1 Coin. | A simple bauble of unknown origin. Used to solve the Graveyard puzzle. Turns into Cursed Relic. |
| Crackshot (Shot) | 4 Coins. | Straight shot with good damage. Breaks into weaker aimed projectiles. EX: P. Turret. |
| Converge (Shot) | 4 Coins. | Full-screen piercing 3-way shot. Hold lock button to narrow spread. EX: Electro-Bolt. |
| Twist-Up (Shot) | 4 Coins. | Rapid-fire shot with arced pathway and average damage. EX: Cyclone Spiral. |
Once you’ve purchased or looked at the wares in the shop, back out to the Picnic area. Go behind the shop and follow the shortcut as far left as possible so you reach a hidden coin.
Climbing Competition Podium
If you are going to do everything in the DLC you will want to speak to the Climbing Competitors. These competitors have random dialogue that features phrases sprinkled with directions. This dialogue is a hint to a secret hidden boss found in the graveyard of Inkwell Isle IV. Write down what they said then turn right and head over to the mountain. There is a part that is pulsating that looks like feet. This is the first boss fight of the area.
Boss: Glumstone the Giant
Approach the feet in the mountain and interact with them to open the level menu. This level is called Gnome Way Out and it features a fight against Glumstone the Giant. The boss fight against Glumstone features three phases. Complete all three phases to complete the fight. You receive the Gnome Berries ingredient and a staircase appears heading down.
King’s Leap

In each of the different sections of Inkwell Isle IV you will see a rope ladder. Interact with this rope ladder to climb up to a floating castle called King’s Leap. This floating castle is home to a challenge king who tasks you with defeating his subjects without a weapon or charms. Think of these like the island’s mausoleum levels. There are 5 total to complete:
- Pawn.
- Knight.
- Bishop.
- Rook.
- Queen.
To defeat all of the mentioned challenges you need to parry. Each challenge can be done separately, but if you don’t die you can do them all in a row. Once you have completed all 5 challenges you can try your might at the in a row challenge to unlock a special achievement.
Boss: Mortimer Freeze

Go down the stone stairs and you will find a large igloo. Approach the igloo and interact with it to trigger the level screen for Snow Cult Scuffle. This level has you fight Mortimer Freeze. Complete the three phases to this fight and it will end. You receive the Icy Sugar Cubes ingredients. A path will appear heading clockwise or counter-clockwise.
Secret Boss: Angel & Devil (Graveyard Puzzle)
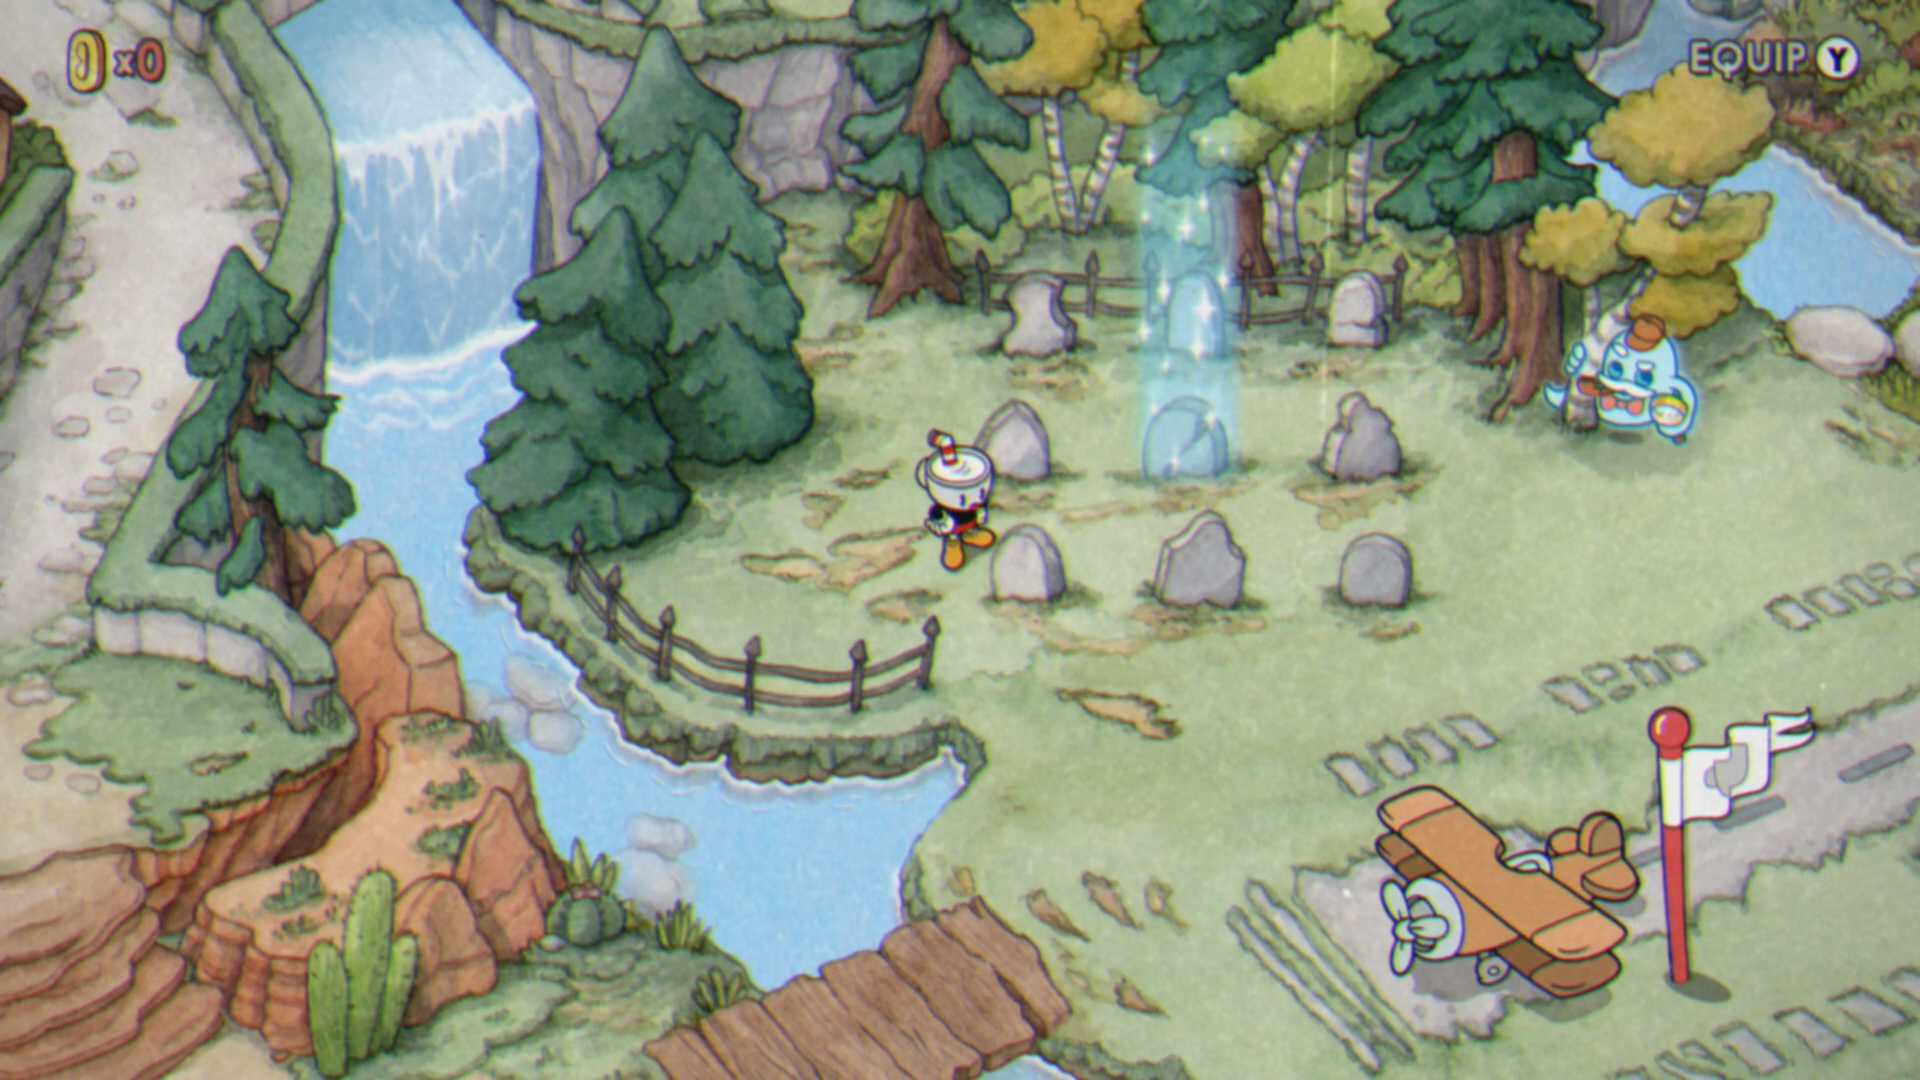
NOTE: Can be done at anytime. You can comeback to this later/after you beat the DLC if you’d like. Also note there is a shortcut next to the waterfall that leads back to the Picnic Field area.
I mentioned a Graveyard earlier and this is where you’ll find it. There is a detective ghost next to it, so speak to him to learn a little about the puzzle. Essentially you need to follow these steps to trigger the secret boss:
- Purchase the Broken Relic (charm).
- Use the hint from the Climbing Competition participants.
- Equip Broken Relic.
- Push graves in order told by 1st place, 2nd place, and finally 3rd place.
If done correctly a light will appear in the middle of the graveyard. Interact with this light to sleep. You will enter a secret level called One Hell of a Dream where you fight an Angel & Devil. Complete this one phase boss fight to unlock the A Horrible Night To Have a Curse achievement. You also turn the Broken Relic into the Cursed Relic (charm). The Cursed Relic can then be used to unlock the Divine Relic (charm).
Boss: The Howling Aces

Down from the Graveyard you will find an airplane on a runway. This airplane is a boss level. Interact with it to bring the level screen up for Doggone Dogfight feature the boss The Howling Aces. Complete this three phase boss fight to earn the Pineapple Mint ingredient. A path will appear heading clockwise or counter-clockwise.
Boss: Esther Winchester

In the southwest corner of the island you will find a Cactus. Approach the cactus and interact with it to bring up the level screen for High-Noon Hoopla. Start this level to fight the boss named Esther Winchester. Defeat Esther to earn the Desert Limes. A pathway will appear heading either clockwise or counter-clockwise.
NPC: Cactus Lady

Near where you fight Esther Winchester is an NPC you can speak to. This NPC is a female cactus. When you talk to her she mentions wanting to be able to tell different tales around the campfire. Each tale is a hint at a boss you must fight. To complete her questline defeat all bosses in the base and DLC with Ms. Chalice. Doing this unlocks the Chalice filter which turns Ms. Chalice gold.
Boss: Moonshine Mob

Up from the Esther Winchest boss fight or down from the Town Square along the path heading south you will find a tunnel. Interact with this tunnel tunnel to open the Bootlegger Boogie level screen. Start the fight to square off against the Moonshine Mob. Defeat the four phases in this fight to earn the Distillery Dough ingredient (a path will appear heading counter-clockwise if you started with this boss).
Boss: Chef Saltbaker
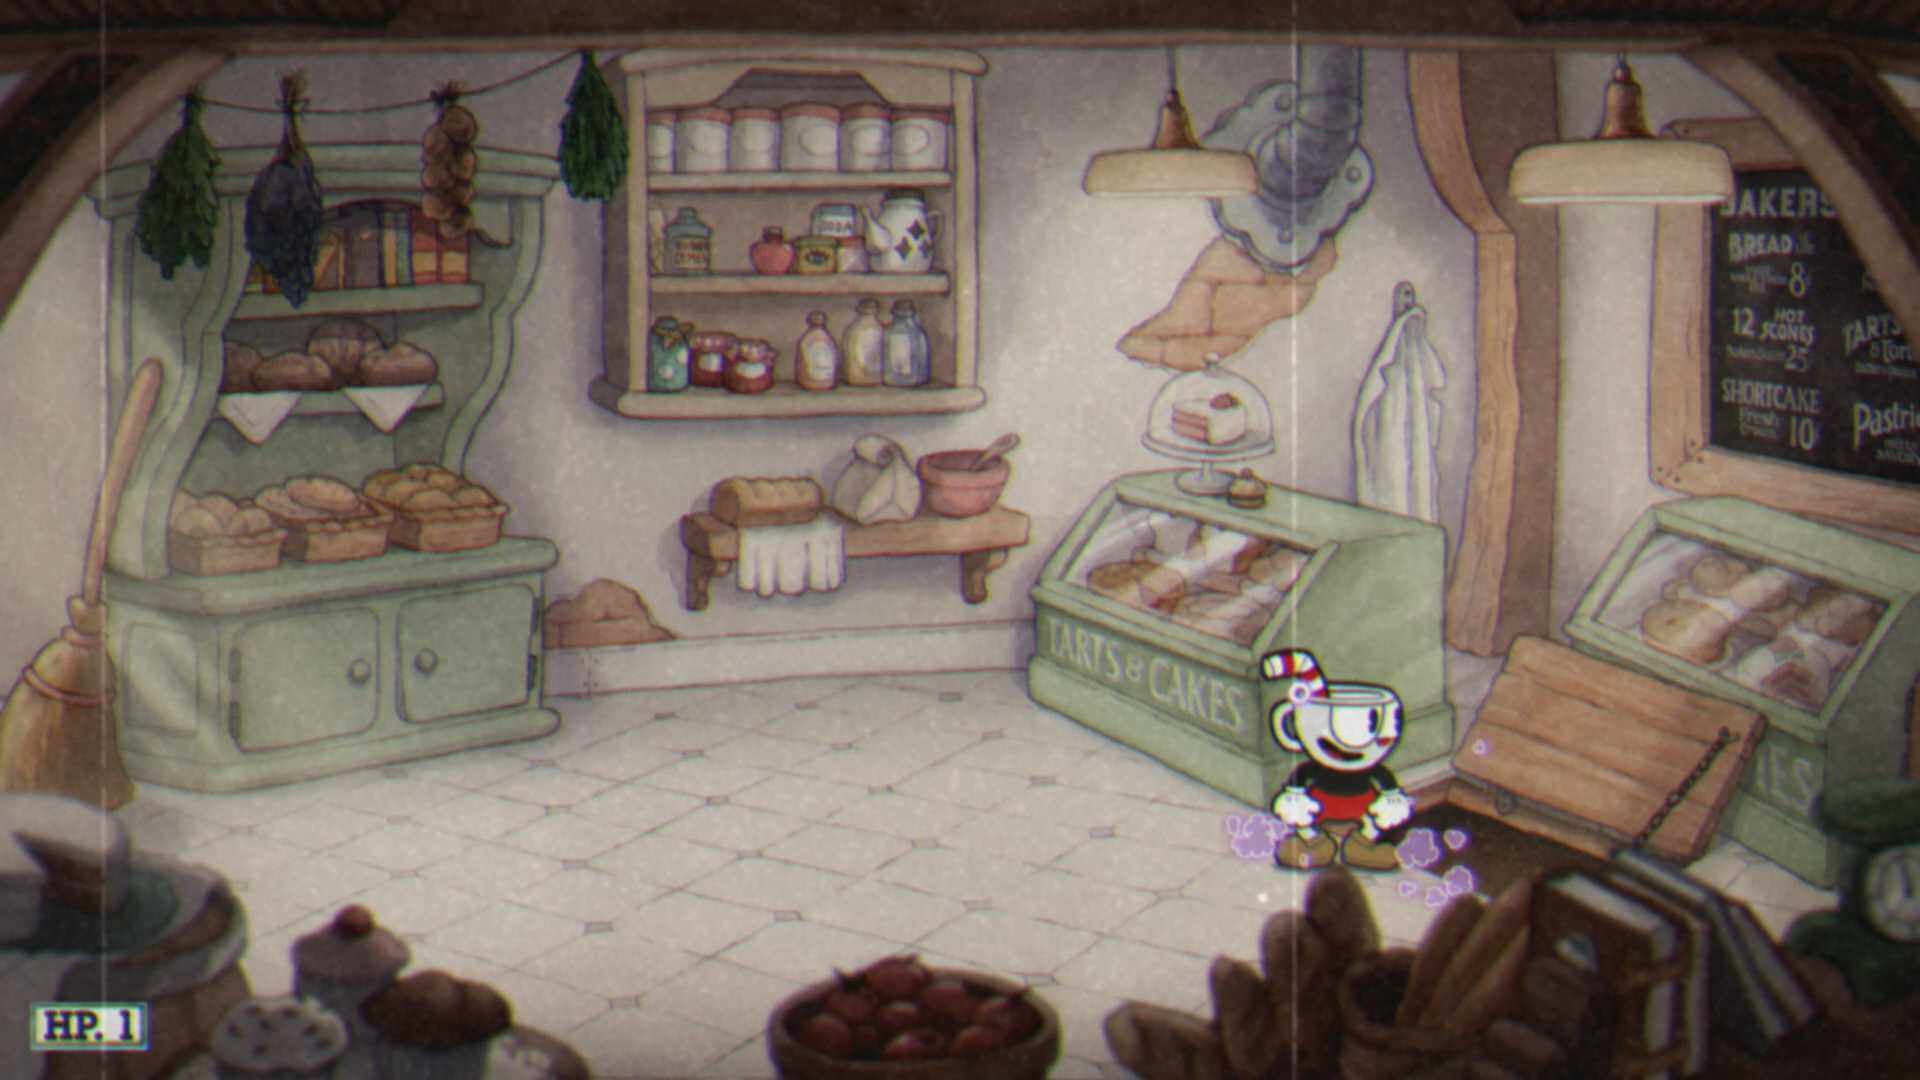
Once you have all of the ingredients listed above go back to Saltbaker’s Bakery. Inside the bakery a trapdoor in the floor is open. Drop down the trapdoor and head to the right. You will trigger a cutscene where Saltbaker reveals he is actually evil. The boss level A Dish To Die For will start in which you must fight Chef Saltbaker. Defeat Chef Saltbaker across his four phases to finish the fight. After this fight is completed you will officially beat the DLC. You unlock the ability to play each level on Expert.
That concludes our Inkwell Isle IV guide for Cuphead The Delicious Last Course. This DLC was a fun experience, and a long time coming. For more guides for both the base game and DLC, check out our Cuphead walkthrough guide hub.
Thoughts on our Inkwell Isle IV Guide? Drop them in the comments below.