The Last of Us 2: Patrol Collectibles Guide

After you complete the opening tutorial of The Last of Us Part II you will start the Patrol mission. This mission is the first open-area mission you will play in the game. Like tutorial there are a number of collectibles players can find in this level. These collectibles are scattered throughout the open-area and can be a bit hard to find. To help you with your search here’s our The Last of Us Part II Patrol collectibles guide.
Patrol Collectibles List (12 Total)
- Artifacts: 6.
- Trading Cards: 2.
- Journal Entries: 2.
- Workbenches: 1.
- Safes: 1.
Journal Entry 1 Location
Make the short horse ride at the start of the level until you and Dina reach the old radio tower. Follow Dina to the viewing area and speak to her. After this interaction wait for the journal icon to appear on the railing. Interact with it to get the first Journal Entry (1/2) in Patrol.
Once you have this Journal Entry follow Dina through the old radio tower so you can sign in. Once you’ve done this you can scope out the next tower in town. After you’ve scoped out the next tower head down to the horses and follow Dina down across the river and through the burned out house.
Tesseracter Trading Card Location

In the area after the burned out house you will encounter a trailer. On the right side of the trailers there are a few houses. Head to the one with the buried pickup truck underneath the roof. Use the pickup to climb up onto the roof so you can enter the hole into the house. Inside this room look to the left of the bed for a bookshelf with the Tesseracter Trading Card (1/2) inside it.
Note to Santa Location

Go back to the trailer and look for a house on the left with a basketball hoop and car in-front of it. Go to the portion of the house that is completely destroyed to find a ruined staircase. Use this staircase to climb up to the hole in the wall. Open the brown nightstand next to the bed to get the Note to Santa (1/6).
With both of these collectibles in hand make your way back to the horse and follow Dina to the next major location which is the Supermarket.
Supermarket Apology Location

Make your way through the Supermarket until you reach the back section where you boost up Dina onto the Postal Service truck. After climbing over the truck crawl under the trailer and turn right. Enter the Supermarket through the open green door. Turn right inside so you can enter go between the stacks of boxes to reach the back of the trailer. Grab the Supermarket Apology (2/6).
Leave the trailer and head outside. Climb the blue truck and jump across the gap so you land on the trailer. Make your way across the trailer to the hole in the roof. Drop down the hole into the room here. Follow Dina through the spore room and go through the crack in the wall here. Go to the right and open the green door.
Safe & Good Boy Combination Locations
Inside the green door room you will find a safe and a note. The safe can be opened by inputting the combination 07 20 13 (1/1). When the safe is opened you will get a number of resources. After the safe is opened and you’ve looted it, look to the right of it on the desk to get the Good Boy Combination (3/6).
Once you have those collectibles leave the manager’s office and head down the hall into the kitchen area. Go through the hole in the kitchen wall to trigger a cutscene where you fall through the floor. Take out the two Clickers in the basement. Once you’ve done this help Dina move the cabinet so you can access the Pharmacy. Grab the Moltov from here then head into the large supermarket area. Clear this area and escape the Supermarket. Follow Dina to the next hideout which is a Library.
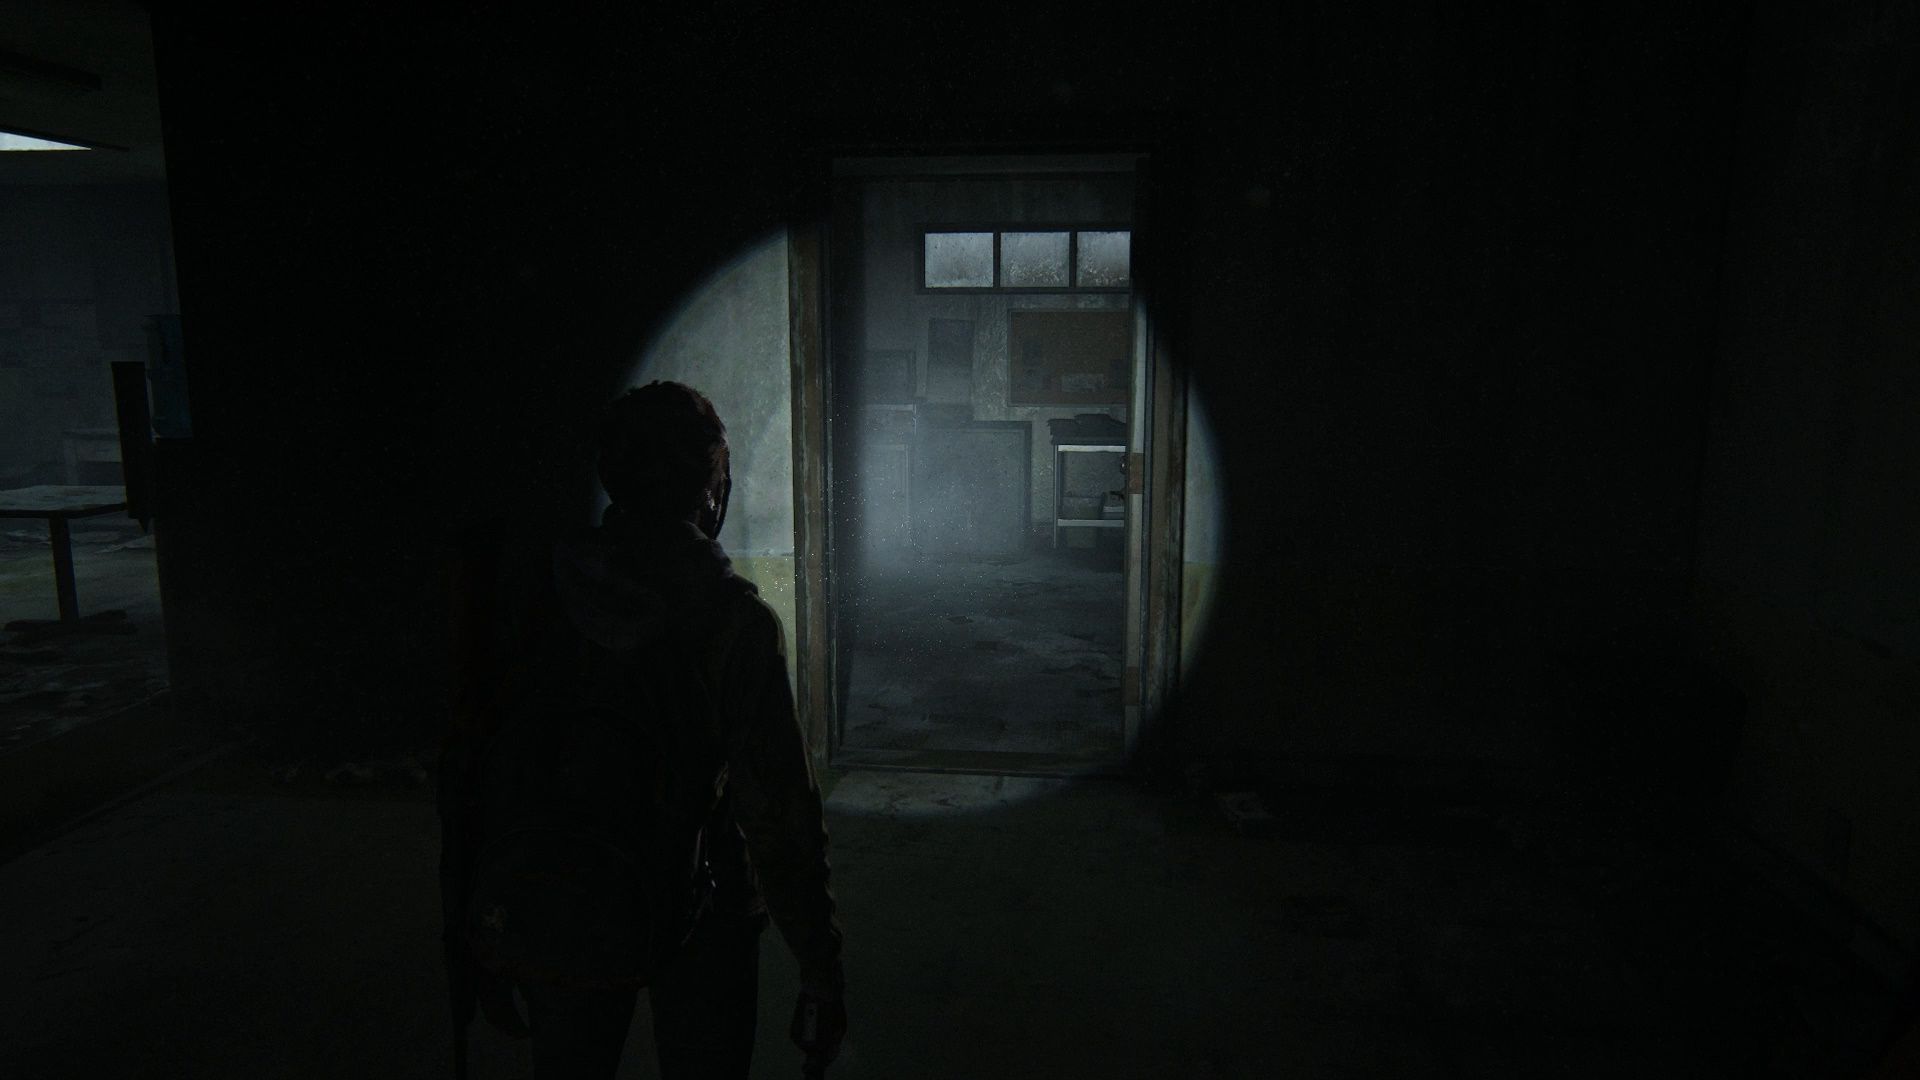
Eugene’s Firefly Pendant Location

Inside the Library head to the far left corner of the floor to find the Copy Center. Break the right window to gain access to this room. Head through the room and open the door next to the bulletin board to force Ellie to pick up the Eugene’s Firefly Pendant (4/6).
Journal Entry 2 Location

Once you head through the door you got the pendant from you will enter a large room with a number of bookshelves in it. Head forward and turn to your right to find a shelf with a journal icon. Interact with this shelf to get Journal Entry 2 (2/2) for the Patrol mission.
CEO SPARK Trading Card Location

From the Journal Entry turn to the left and head behind the counters into the backroom. Here you will find the CEO SPARK Trading Card (2/2) on some boxes.
Eugene’s Ultimatum & Photo of Eugene and Tommy Locations

After you’ve grabbed the card above head deeper into the room until you see a bed. Inside the nightstand next to the bed is Eugene’s Ultimatum (5/6). Across the room from the bed is a desk with a Photo of Eugene and Tommy (6/6) on it.
Before the level ends you need to head into the next room and turn on the generator. Once the generator is on you will be able to interact with the Workbench (1/1) in this room. Use the workbench if need be then head then follow Dina to the bookshelf you can move. Head down into the bunker to reveal an interesting stockpile.
Next Level: Packing Up collectibles guide.