Metro Exodus – The Caspian Collectibles Locations Guide

The Caspian is the second large open-world region in Metro Exodus, following The Volga. This desert landscape is home to various collectibles, including Diary Pages, Postcards, and Suit Upgrades. This guide will help you find all The Caspian collectibles locations, so you don’t miss any important items along the way.
The Caspian Collectibles Overview
- Diary Pages: 12
- Postcards: 5
- Suit Upgrades: 5
Tip: You can revisit locations freely while in The Caspian, but if you progress the main story too far, you may need to reload an earlier save or use Chapter Select after completing the game.
The Caspian Diary Pages Locations

To start we are going to find all 12 of the Diary Pages in The Caspian. These pages are located all around the area and can be a bit of a pain to find. Use the map above to find the general area, then consult the corresponding number below for more detailed information. If their is a Postcard/Suit upgrade near any of these Diary Pages, I will mention it.
Diary 1: First Mate’s Diary
Location: Inside the Slave Ship
- While heading to the Lighthouse, enter the slaver ship on the left side of the map.
- Go up the first set of stairs and walk forward. Look to the right to find this Diary on a table.
Diary 2: Leader’s Letter

Location: Inside the Slave Ship
- Continue through the slaver ship and climb the ladder at the end of the hall.
- Defeat the thugs in the next area, go up another set of stairs, and find the Leader’s Letter on a table with radios near the next ladder.
Diary 3: Baron’s Letter

Location: On a Table by a Truck Near the Oasis
- When heading to the Oasis, listen for a radio announcement from the Baron. A question mark marker will appear on the map.
- Visit this location and find the Baron’s Letter on a table next to a truck.
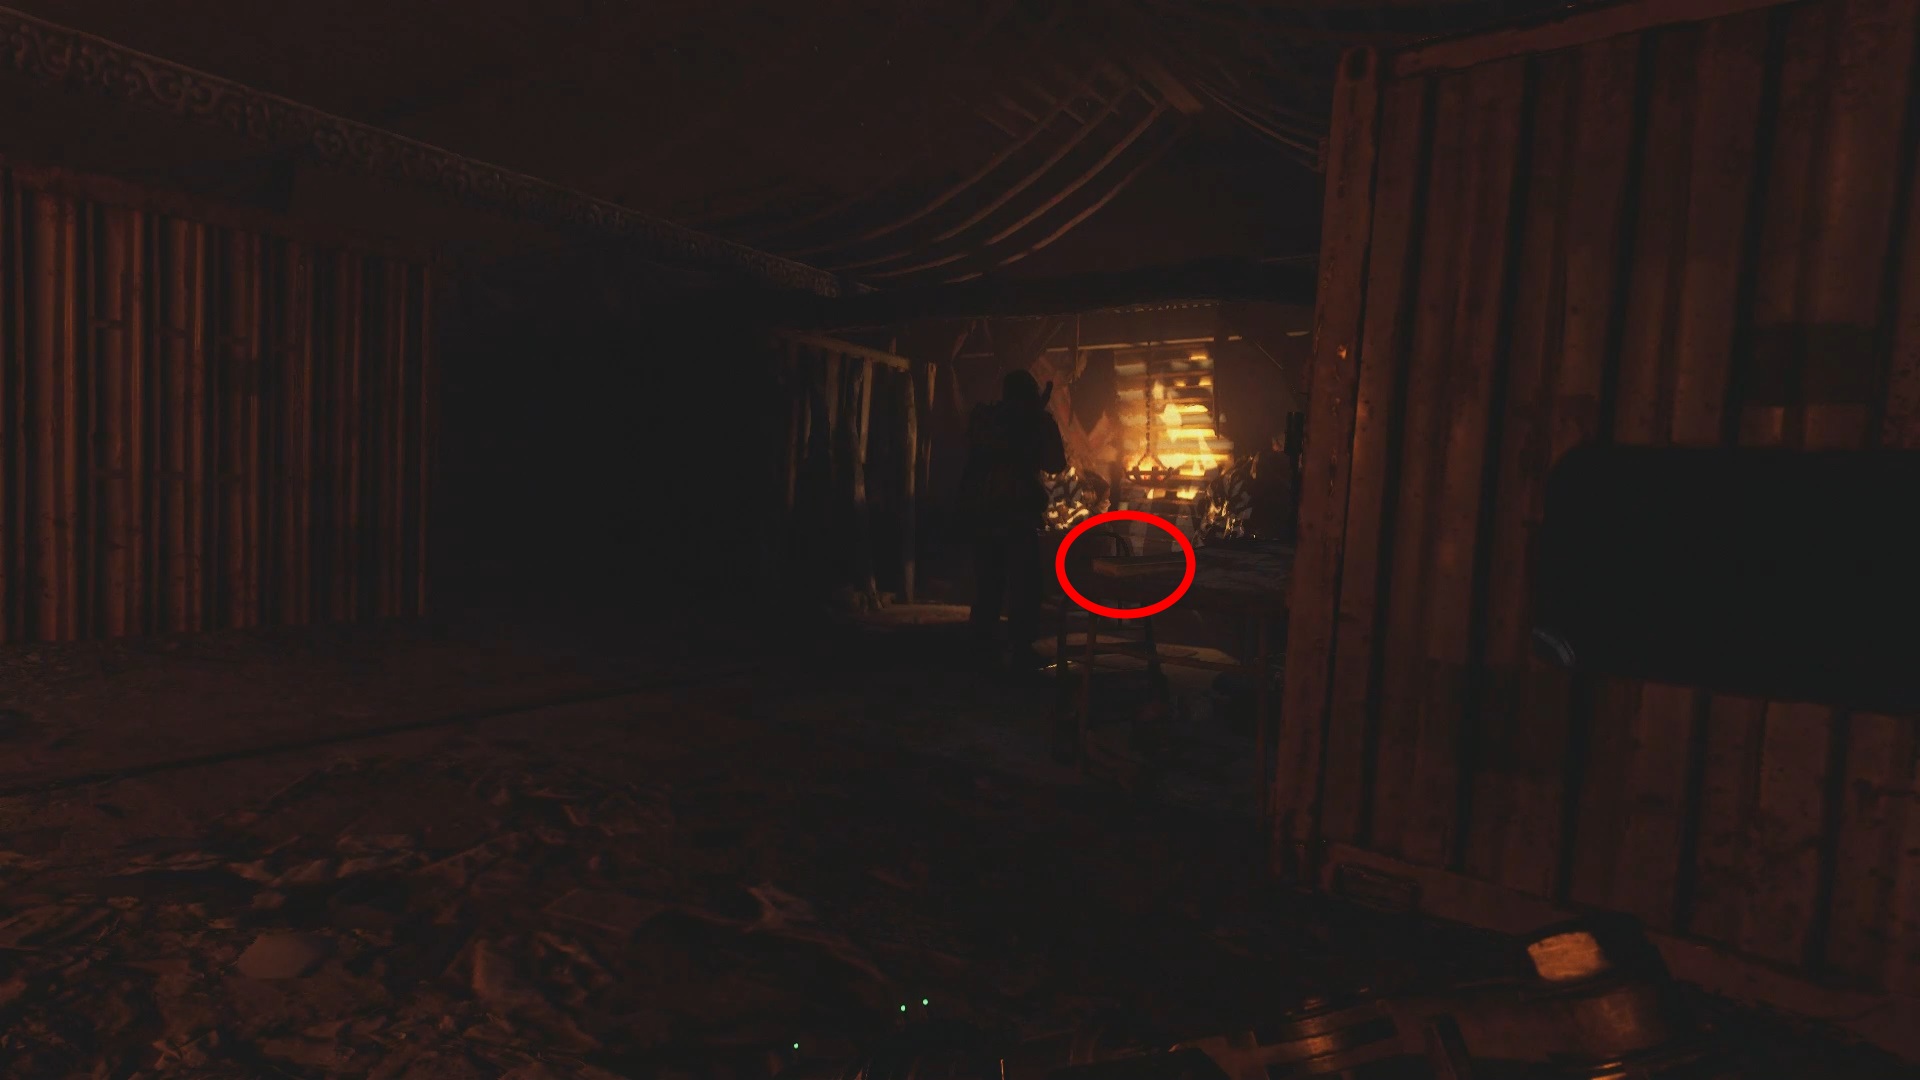
Diary 4: Death Note
Location: On a Barrel in the Arena
- Inside the arena, clear out the enemies and reach the end where a rope ladder lowers.
- Climb the ladder and find the Death Note on a barrel in front of you. The Armored Glass upgrade is also here.
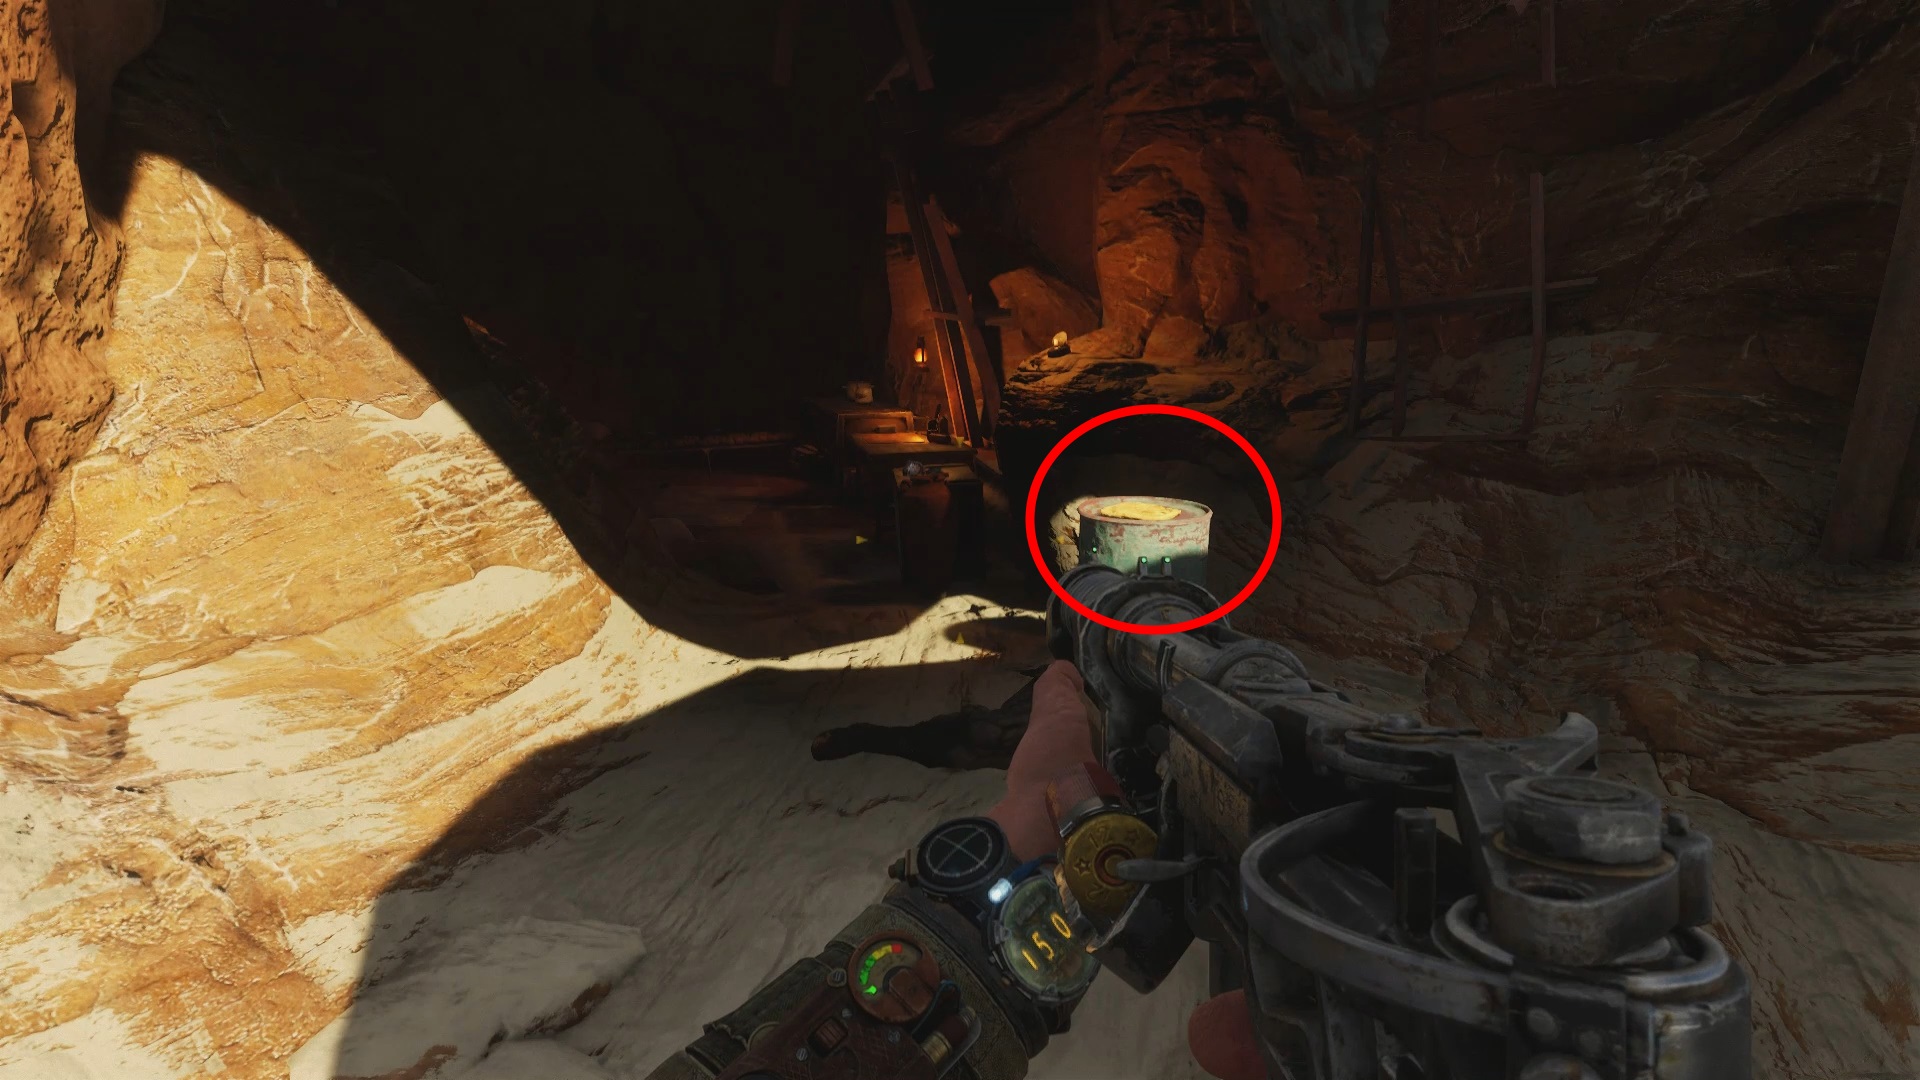
Diary 5: Letter to Son

Location: Caves Leading to Lighthouse
- In the caves before the Lighthouse, watch for a thug dragging another thug over a rock bridge.
- Take down the enemy and find this Diary next to the corpse along the wall.
Diary 6: Memo

Location: Inside a Cubicle in the Bunker
- Follow Giul into the bunker. After falling through a hole in the floor (where spider enemies appear), you will land in a large office area.
- From the hole, walk forward toward the double doors, turn left, and enter the first cubicle on the right to find this Diary.
Diary 7: Image Analysis

Location: Room Near the Archives in the Bunker
- After Damir tells you a door can only be opened from the inside, crouch through the doorway on the right and enter the room.
- The Image Analysis Diary is inside.
Diary 8: Last Order

Location: Map Room in the Bunker
- After crawling through air vents, enter the map room.
- Turn around from where you dropped in and head toward a doorway with a green light. Inside, skeletons are gathered around a table, and the Last Order Diary is on the table.
Diary 9: Diary Fragments

Location: Hermit’s Room in an Old Ship
- After escaping the bunker, a question mark marker will appear. Investigate it to find the Hermit’s room in an old ship.
- The Diary Fragments are inside.
Diary 10: Letter to the Artist

Location: Crate in the Lookout at Oasis
- When you meet Damir at the Oasis, follow him until you slide down onto a path below.
- Take the first left up the ramp, climb to the lookout, and find this Diary on a crate.
Diary 11: Shopping List
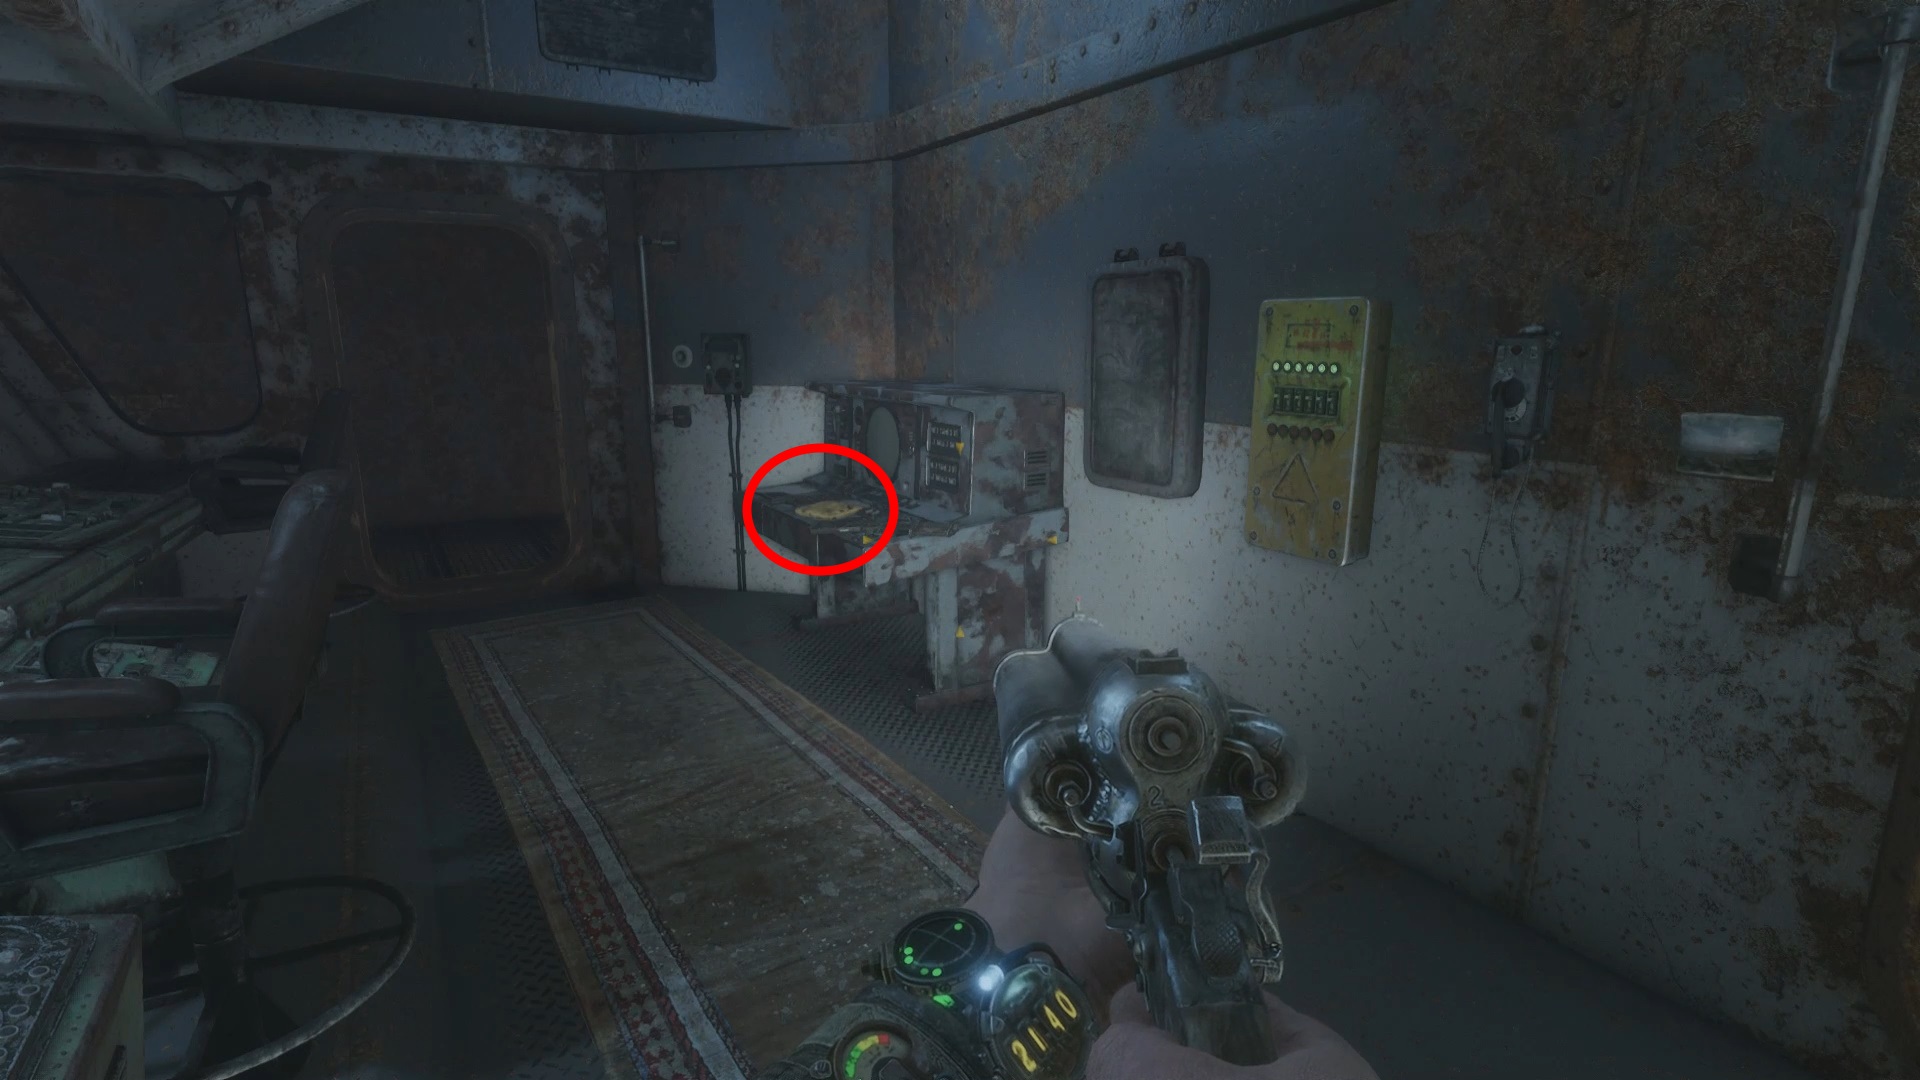
Location: Control Room in the Tanker Bandit Camp
- The tanker on the coast is a bandit camp. Fight through it to reach the control room.
- The Shopping List Diary is on a desk inside. A Postcard is also in this room.
Diary 12: Charred Note – Crate on Platform in Bandit Camp

Location: On a Crate in a Bandit Camp South of the Tanker
- South of the tanker, locate a bandit camp. Find a barrel fire, then look for a ladder nearby.
- Climb up and find the Charred Note on a crate.
The Caspian Postcard Locations

There are a total of five Postcards spread throughout The Caspian. Like the Diary pages, consult the map above to get a general idea of where you will find them. More detail is given below.
Postcard 1: Old Building beside Train

Location: Building South of Your Train
- Exit the train and enter the old building to the south.
- The Postcard is near the entrance.
Postcard 2: In Lighthouse
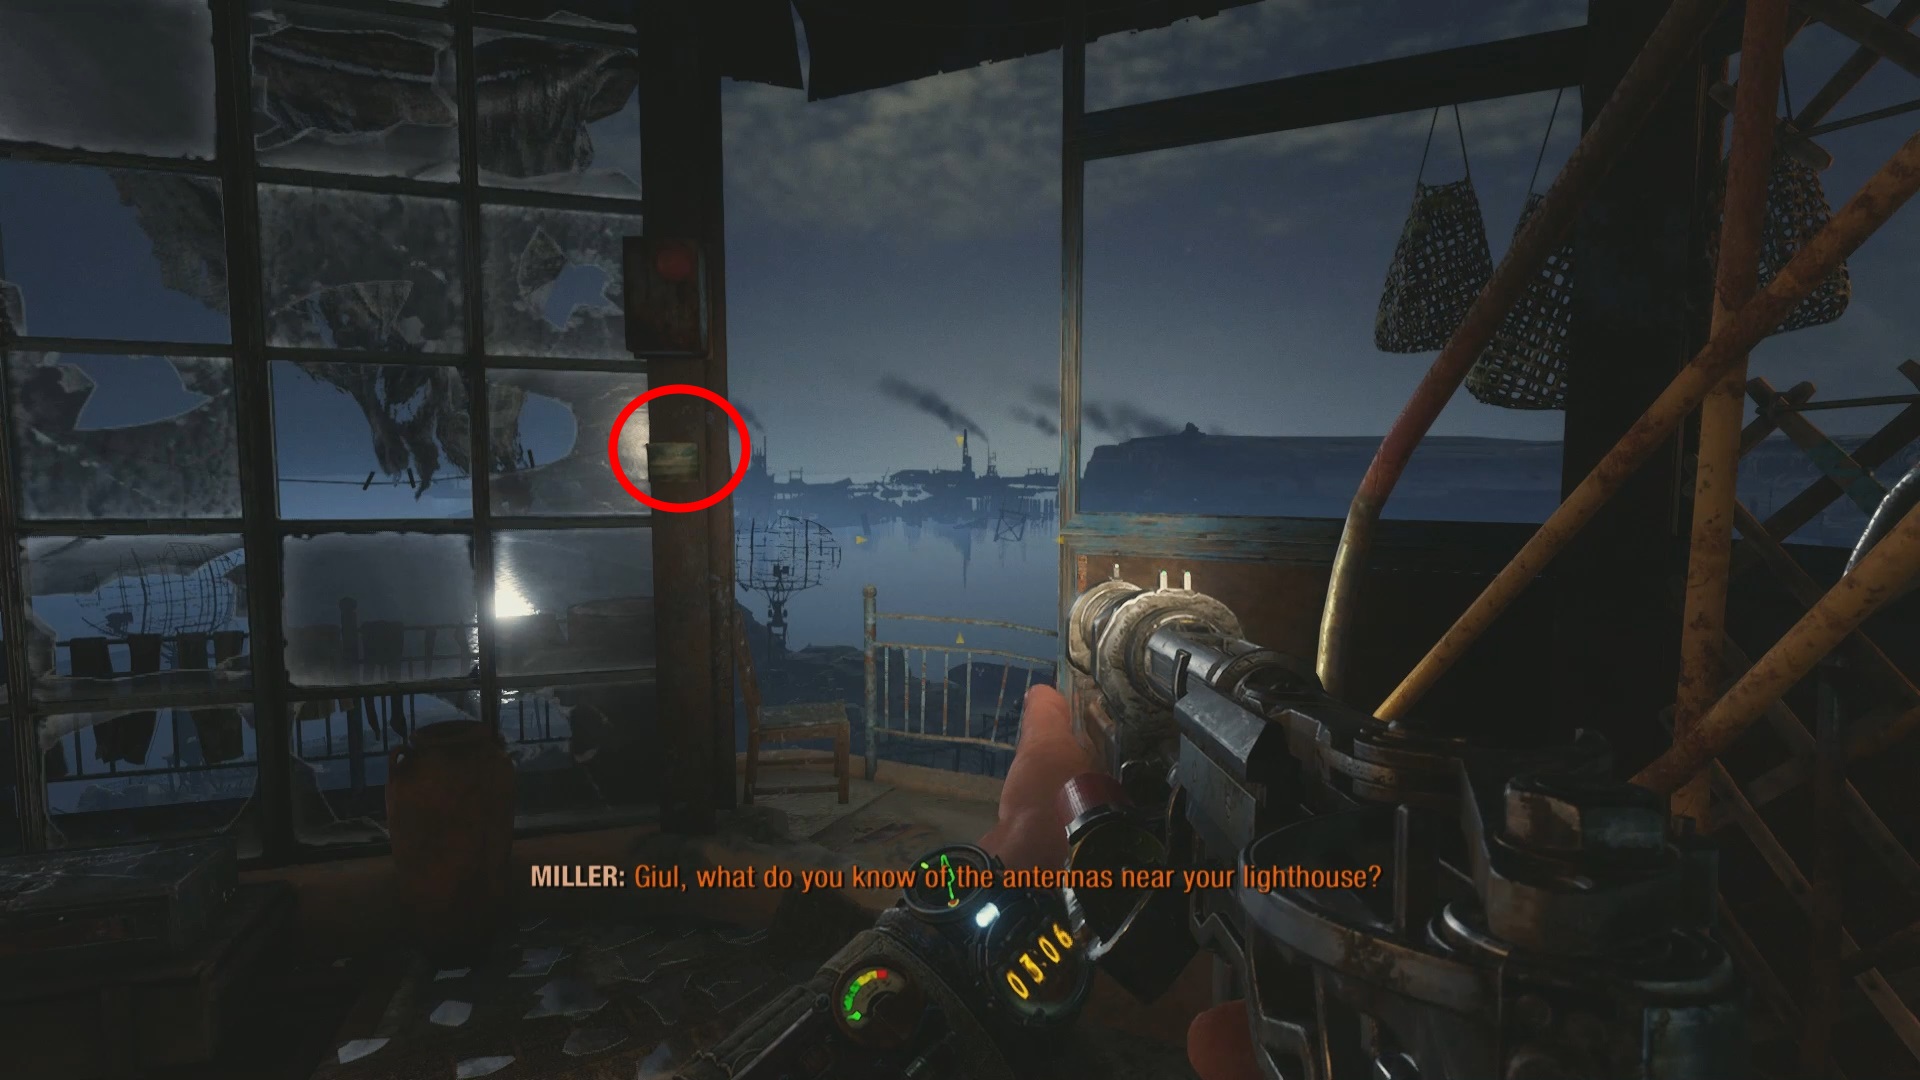
Location: At the Top of the Lighthouse
- Clear the enemies at the Lighthouse and take the lift up to Giul.
- Inside the top floor, find the Postcard on the door frame.
Postcard 3: In Rusty Boat Cabin

Location: Inside a Rusted Boat in the Oasis
- In the Oasis, enter the rusted boat cabin to find this Postcard.
Postcard 4: Tanker Control Room
Location: Control Room in the Tanker Bandit Camp
- Inside the tanker bandit camp, reach the control room.
- Near the entrance, find the Postcard on a desk. A Diary Page is also here.
Postcard 5: Crate in Airport Hangar

Location: On a Crate in the Hangar at the Airport
- At the airport, enter the last standing hangar.
- After fighting ghouls, check the stack of crates against the back wall to find this Postcard.
That’s everything you need to find in The Caspian. If you’re continuing your journey through Metro Exodus and want to collect everything, be sure to check out our Summer collectibles guide. It covers all Diary Pages, Postcards, and Suit Upgrades in the next region, ensuring you don’t miss any important lore or upgrades.
Thoughts on our The Caspian collectibles locations guide? Drop them in the comments below.
Just so you know, a majority of your map markers for the postcards and diaries are numbered incorrectly. I had to track them down by finding the diary names I hadn’t collected yet. Not the end of the world, but you should definitely fix it for future collectible hunters. Otherwise, your descriptions are great and I’ve been using your guide since the beginning of the game.
I think your marker for Diary 7 is actually the location Diary 8, if you’re counting from the collectibles pause menu.
someone knows where’s all the Wind chimes locations?, i think if you get all of them maybe trigger a something, perhaps the first scene in the summer chapter, where the screen get white and you see Ana and the wind chime next to him…
Just so you know the picture is wrong for the post card on Caspian it’s the same picture as the diary locations
Thanks. I will update it.