Stardew Valley Journal Scraps: What They Say, Rewards they Give
The 1.5 update for Stardew Valley introduces an exciting new collectible: Journal Scraps. These journal pages unveil the story of a sailor stranded on Ginger Island and offer valuable insights and rewards. In this guide, we’ll explore where to find each Journal Scrap, what they reveal, and any rewards they provide.
What Are Journal Scraps?
Journal Scraps function similarly to Secret Notes from update 1.3. You’ll discover them while engaging in various activities on Ginger Island, such as farming, fishing, clearing bushes, or defeating enemies. Once collected, these scraps appear in your inventory, where you can read them to uncover their contents. There are 11 Journal Scraps scattered across the island, and you can view read notes under Collections > Secret Notes.
Note: Ensure you collect relevant Journal Scraps before attempting related activities or finding specific items.
Journal Scrap #1: Day 1
Text: “…My ship is lost… Shattered by a tempest in the unforgiving sea. I find myself stranded now, on these strange shores. My crew has perished, but I still live. Perhaps lady luck has blessed these wicked bones of mine… Or has her own designs for my fate… At any rate, I’ve no choice but to make a life for myself here. There’s fresh water in abundance, food to forage, and fertile soil to work. First I’ll build a shelter…”
Purpose: This entry provides backstory about the castaway on Ginger Island and sets the stage for the adventure.
Journal Scrap #2: Day 6
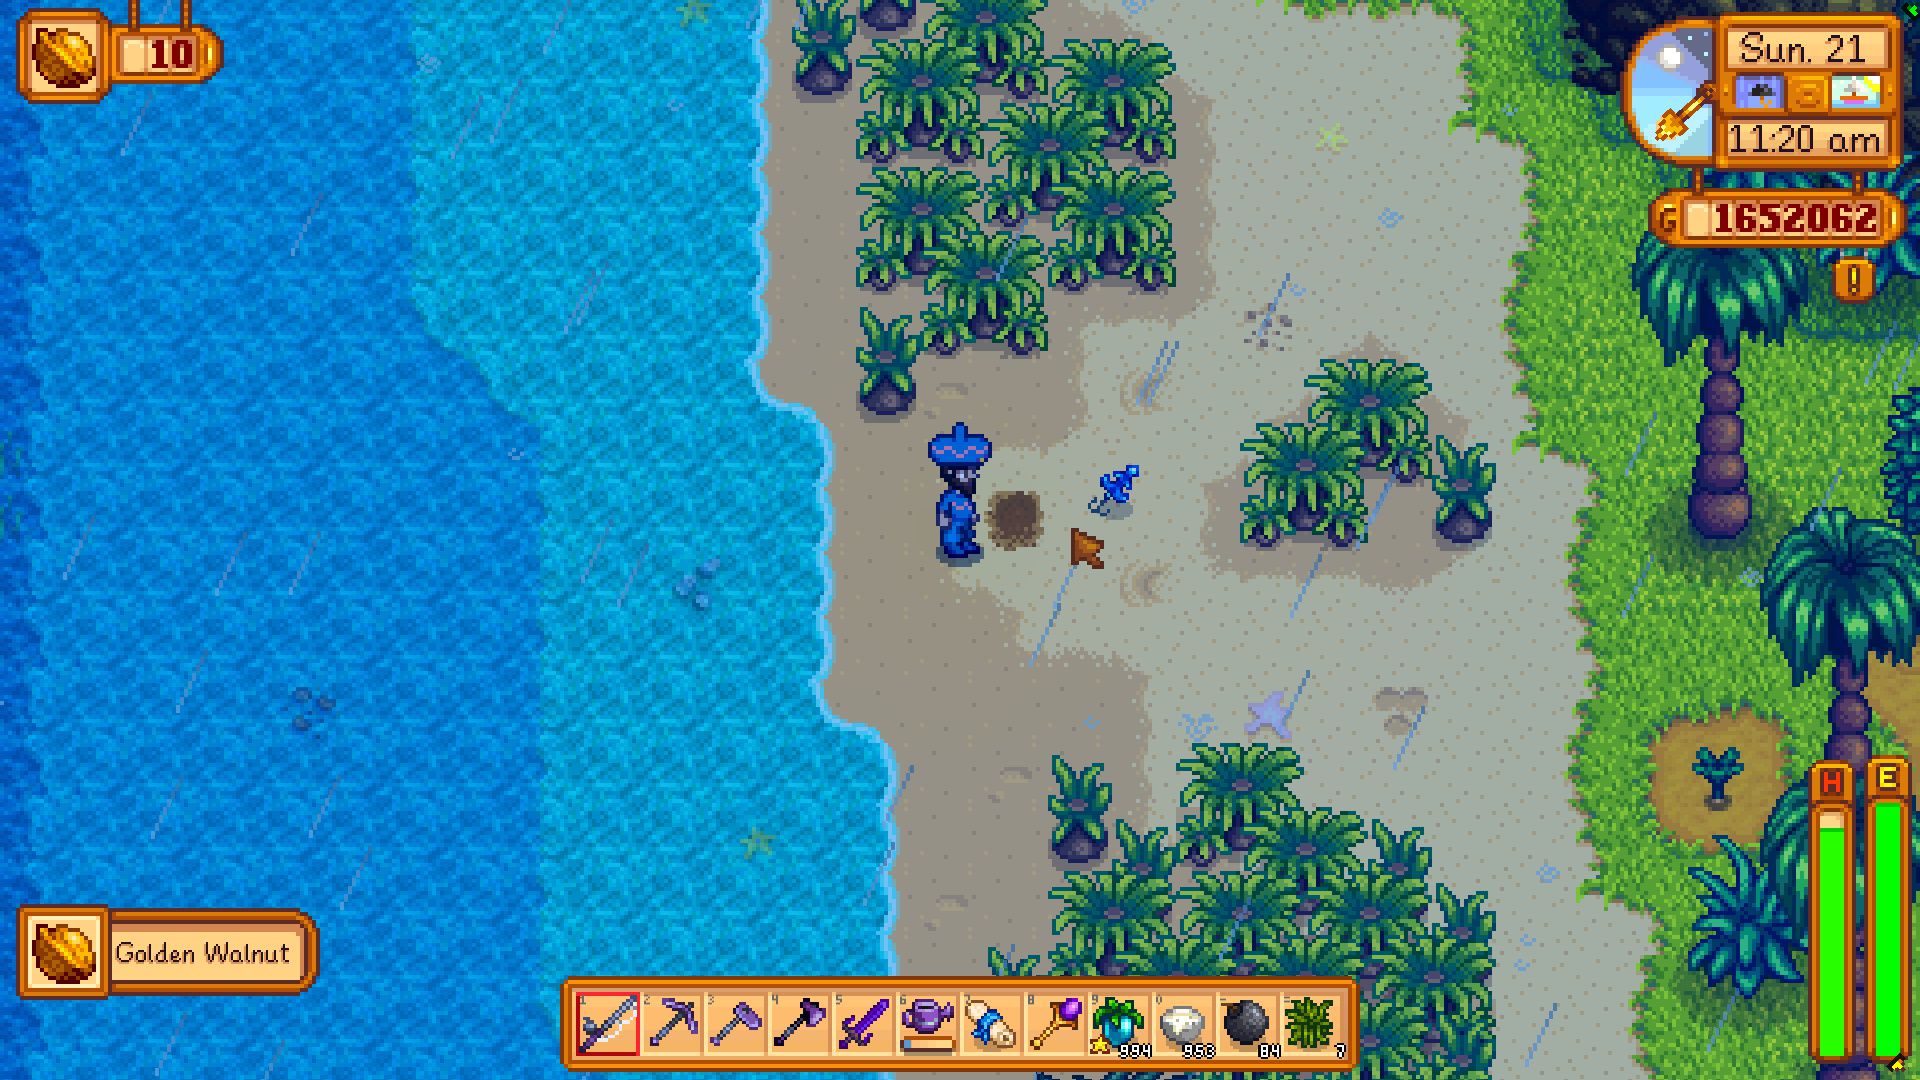
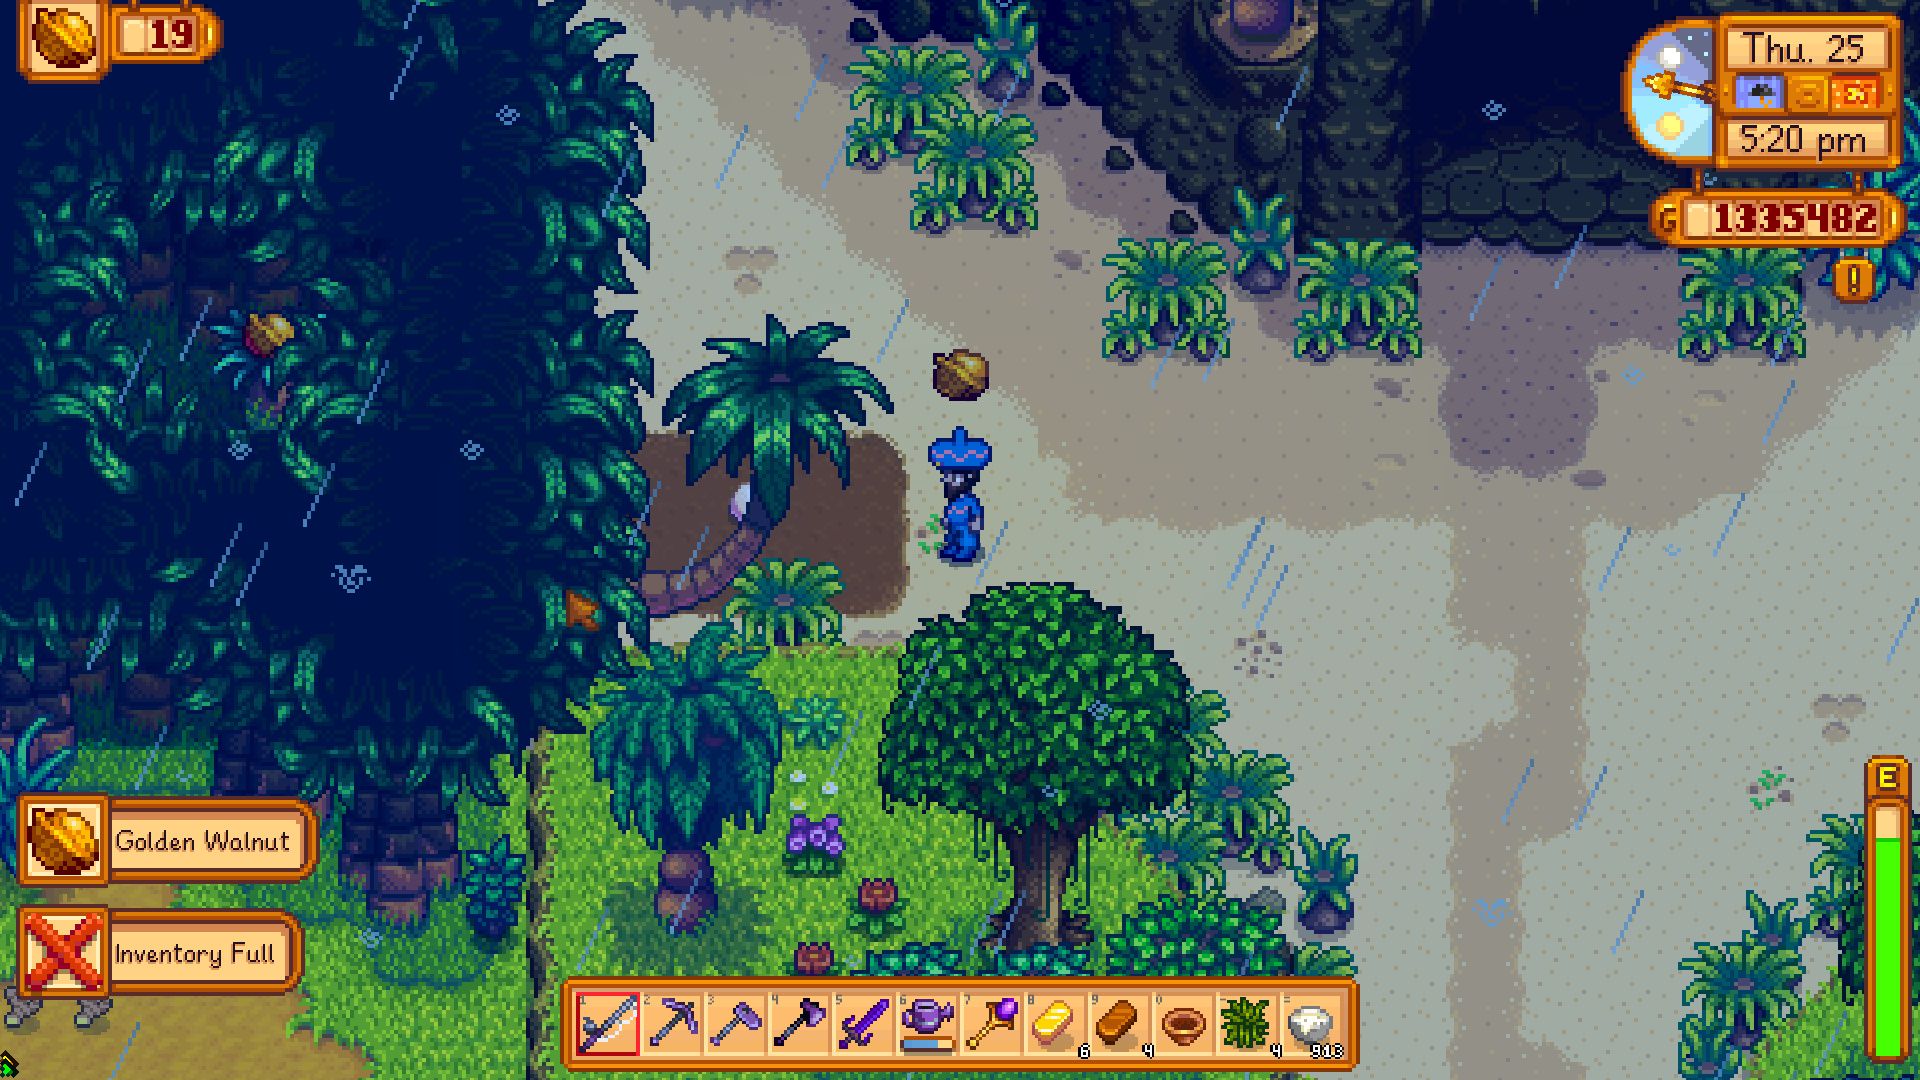
Text: “I won’t go hungry here… the waters are full of edible (nay, delicious) fish. I even caught a stingray in the caves by the southeast shore. I haven’t a clue what to do with it, though. The other day, I even fished up a couple of Golden Walnuts. They seem to be all over the island. The local parrots go crazy for them.”
Purpose: This note introduces Golden Walnuts as a key currency on the island for unlocking new areas and buildings. It also hints at the Stingray’s location, accessible after building the Resort.
Journal Scrap #3: Day 14
Text: “After half a month on this island, I’ve learned a thing or two about finding these golden nuts. One must keep their eyes peeled for subtle clues. If something looks unusual, there may be a hidden nut nearby. I’ve noticed signs in the sand… and signs in the leaves… I even saw a nut up in a tree near the volcano. If only I had a way of shooting it down… Whenever I’ve spotted a nut plant, I’ve always found a way to reach it.”
Purpose: This scrap provides tips on locating Golden Walnuts and mentions using a Slingshot to reach one above the volcano, specifically near the Parrot Fast Travel station.
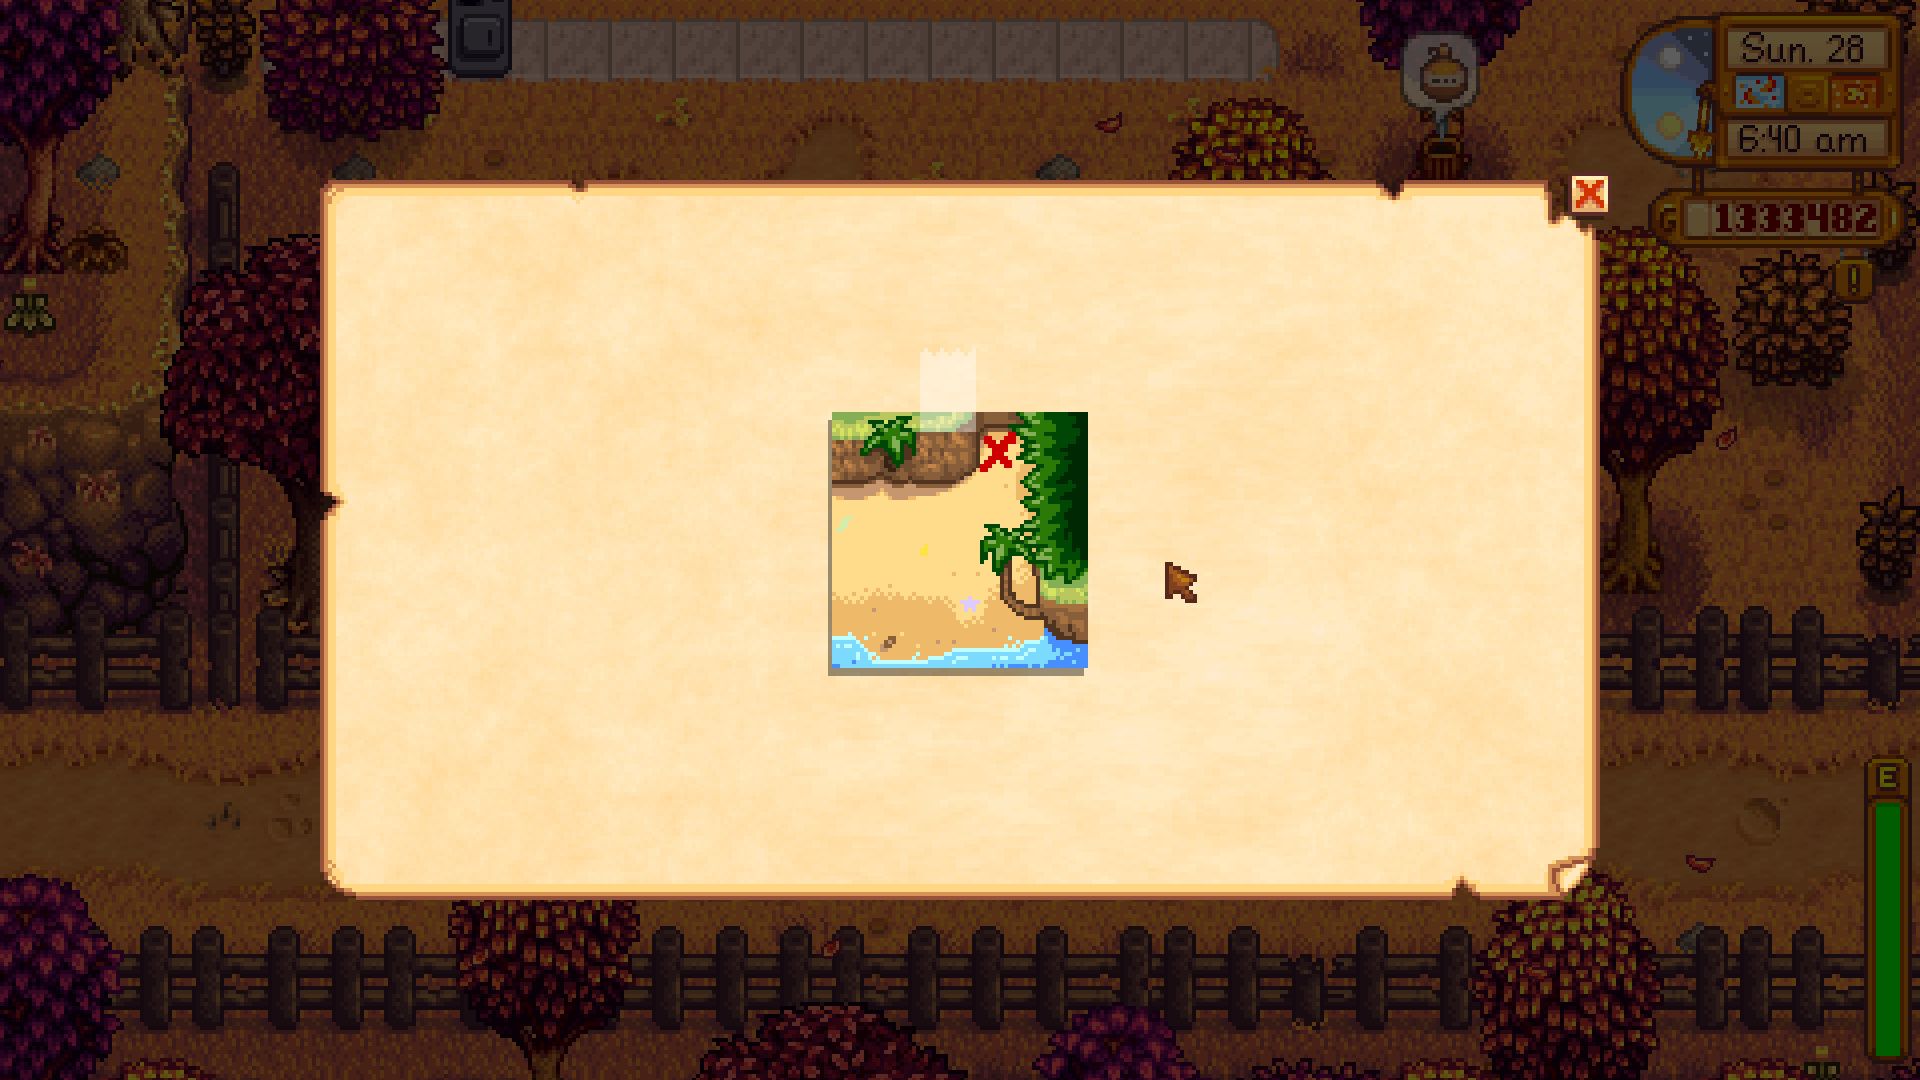
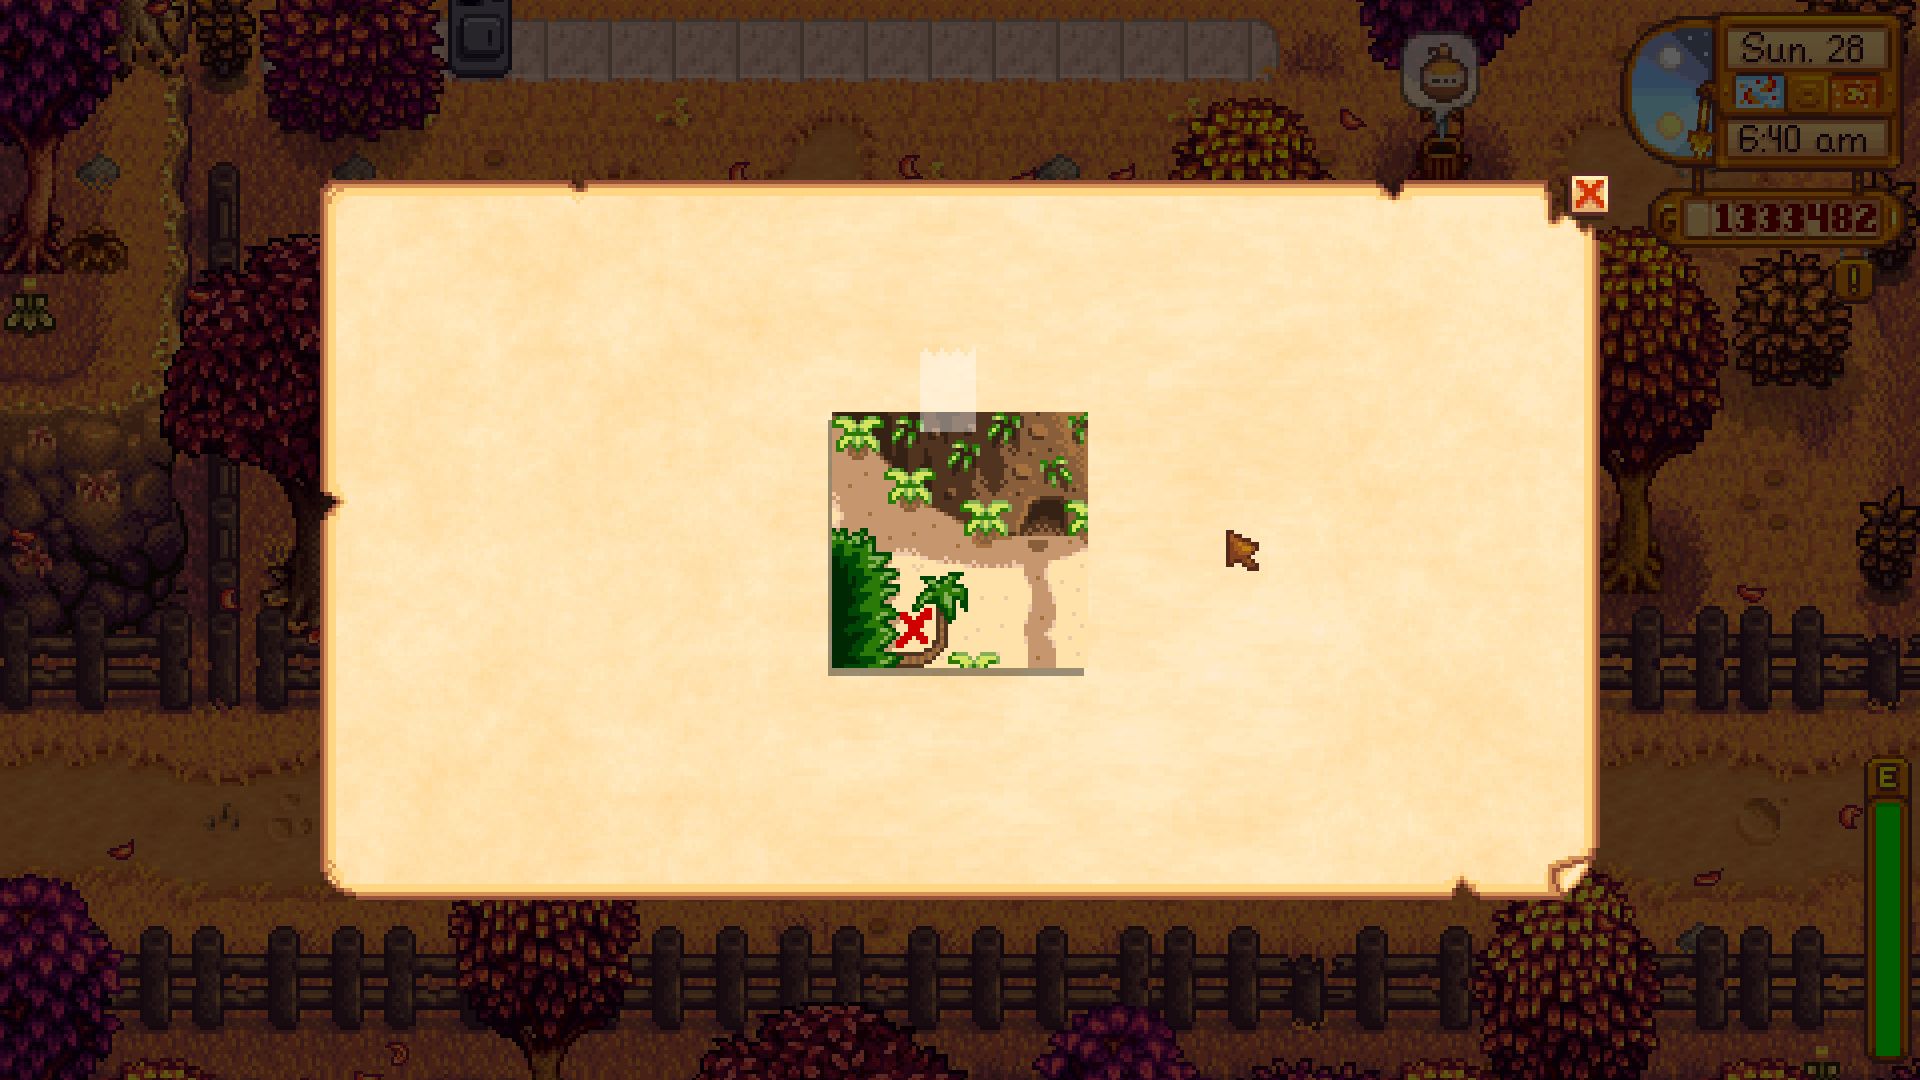
Journal Scrap #4: Treasure Map #1

Purpose: This map guides you to a treasure spot on the west side of the island near Birdie’s house. Dig between three clusters of palm trees to uncover 1x Golden Walnut and a Quality Bobber.
Journal Scrap #5: Day 23
Text: “The local volcano holds many secrets. I’ve seen little men with glowing eyes, skittering about in the dark… like cats in the night (Could these be the fabled dwarf-men, mentioned by M. Jasper in his ‘Famous Journeys’?). Strange machines, too. Uncanny… not like anything known to man. At the top, I found a passage to the caldera of the volcano. And, half submerged in the bubbling lava, a peculiar machine… a kind of ‘Forge’. I’ll investigate further tomorrow.”
Purpose: This note hints at the Forge located at the top of the volcano, accessible by reaching the tenth floor of the Fire Mountain dungeon.
Journal Scrap #6: Treasure Map #2

Purpose: This map leads you to a treasure spot in the southeast corner of the island, beneath the farm. Dig at the indicated spot to receive 1x Golden Walnut and 1x Pearl.
Journal Scrap #7: Forging Table
Text:
- Topaz = Defense
- Emerald = Speed
- Jade = Critical Strike Power
- Aquamarine = Critical Strike Chance
- Ruby = Damage
- Prismatic Shard = Enchantment
Note: Weapons can be forged up to 3 times with gems and enchanted once with a Prismatic Shard. Tools can only be enchanted, not forged.
Purpose: This scrap provides essential information on using the Forge to enhance weapons and tools.
Journal Scrap #8: Weapon & Tool Enchantments
Weapon Enchantments:
- Artful: Rapid special moves
- Bug Killer: Increased damage to bugs
- Vampiric: Siphon health from monsters
- Crusader: Extra damage to unholy monsters
Tool Enchantments:
- Powerful: Increased tool damage
- Reaching: Greater area of effect
- Shaving: Extra wood from chopping
- Bottomless: Unlimited watering can
- Generous: More resources from digging
Purpose: Details various enchantments for weapons and tools, helping players choose the best enhancements for their gear.
Journal Scrap #9: Blackgull’s Treasure
Text: “Twas a rain-drenched day, and upon a lonely rock a beautiful maiden saw I. Tales I’d heard of sea-born maidens singing siren’s songs, yet nary a note could she muster… The next morning I spied an arrangement of stone upon the foamy bank… Aye… stones as big as pennies and stones as big as nickels were they… If but this harried sea dog a tune could howl, perhaps to Blackgull’s treasure she would lead…”
Purpose: This entry teaches you how to solve the Mermaid Puzzle on rainy days by using Flute Blocks on beach markers. Completing the puzzle rewards you with 5x Golden Walnuts.
Journal Scrap #10: Treasure Map #3
Purpose: This final treasure map directs you to the north side of the island, just outside the Fire Mountain Dungeon entrance. Dig next to a J tree on the cliff to find 1x Golden Walnut and 1x Ostrich Egg, which can be used to obtain an Ostrich for your farm.
Journal Scrap #11: Day 37
Text: “When I was a boy of ten years old, my father gave me a glow ring and a magnet ring. They’ve never left my fingers since. However, when I was standing on top of the volcano… a strange idea came over me. I took my two rings, and cast them into the forge. Lo and behold. They combined into one. Now I’ve got one glowing magnet ring… I hope old pappy doesn’t mind, rest his soul…”
Purpose: This final scrap introduces the ring combining feature at the forge, allowing you to merge two rings into one.
These Journal Scraps offer a deeper understanding of Ginger Island’s lore and gameplay mechanics. Collecting and reading them provides valuable insights and rewards, enhancing your exploration experience.
For more guides like this, visit our Stardew Valley guide and walkthrough hub. Here, you’ll find comprehensive tips and tricks for all aspects of the game.
What do you think of our Journal Scraps guide? Share your thoughts in the comments below!