Jondo – Blasphemous Guide
In order to help Redento you need to venture into an area called Jondo. This area is filled with danger and tough enemies so be prepared. To help you clear Jondo, check out our Jondo area guide below.
Check out more guides in our Blasphemous Wiki & Guides hub.
Jondo Map
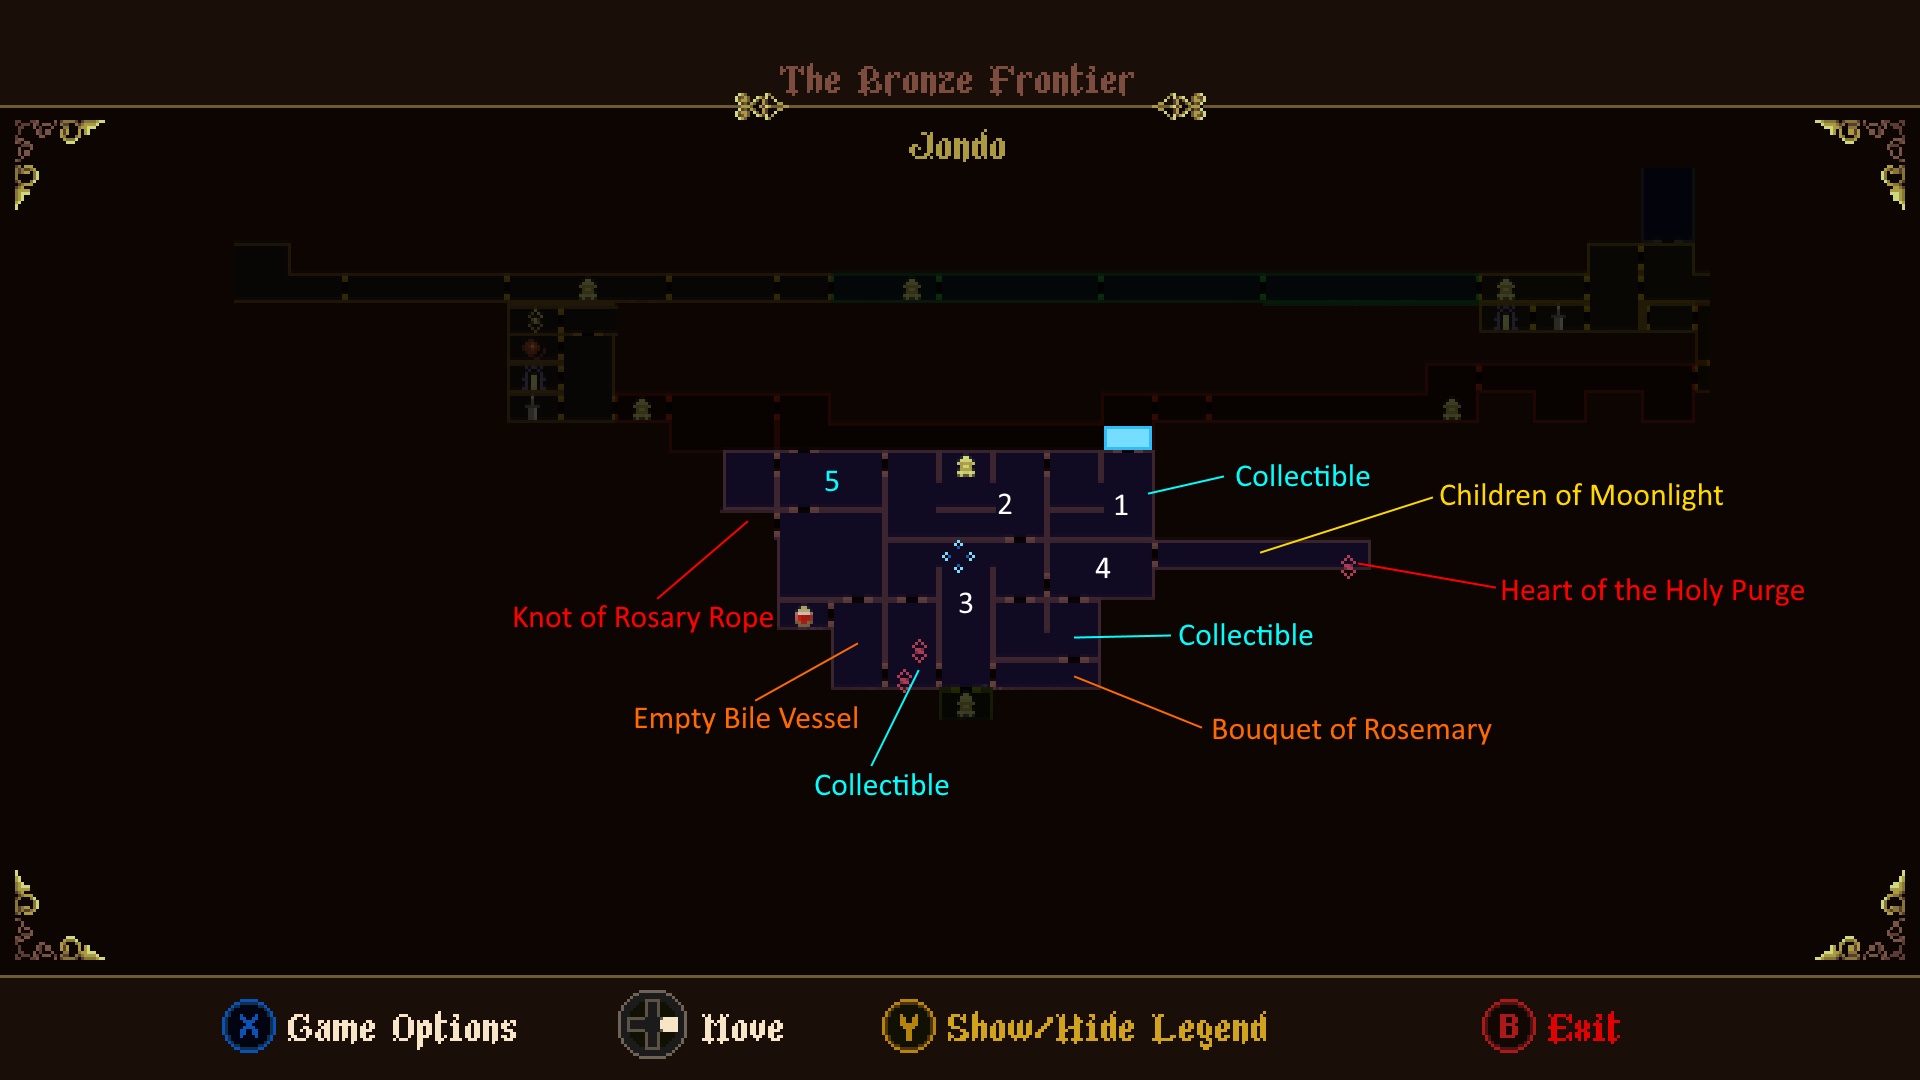
Jondo is a large underground area that can be rather maze like. To help you traverse this area use the Jondo map above.
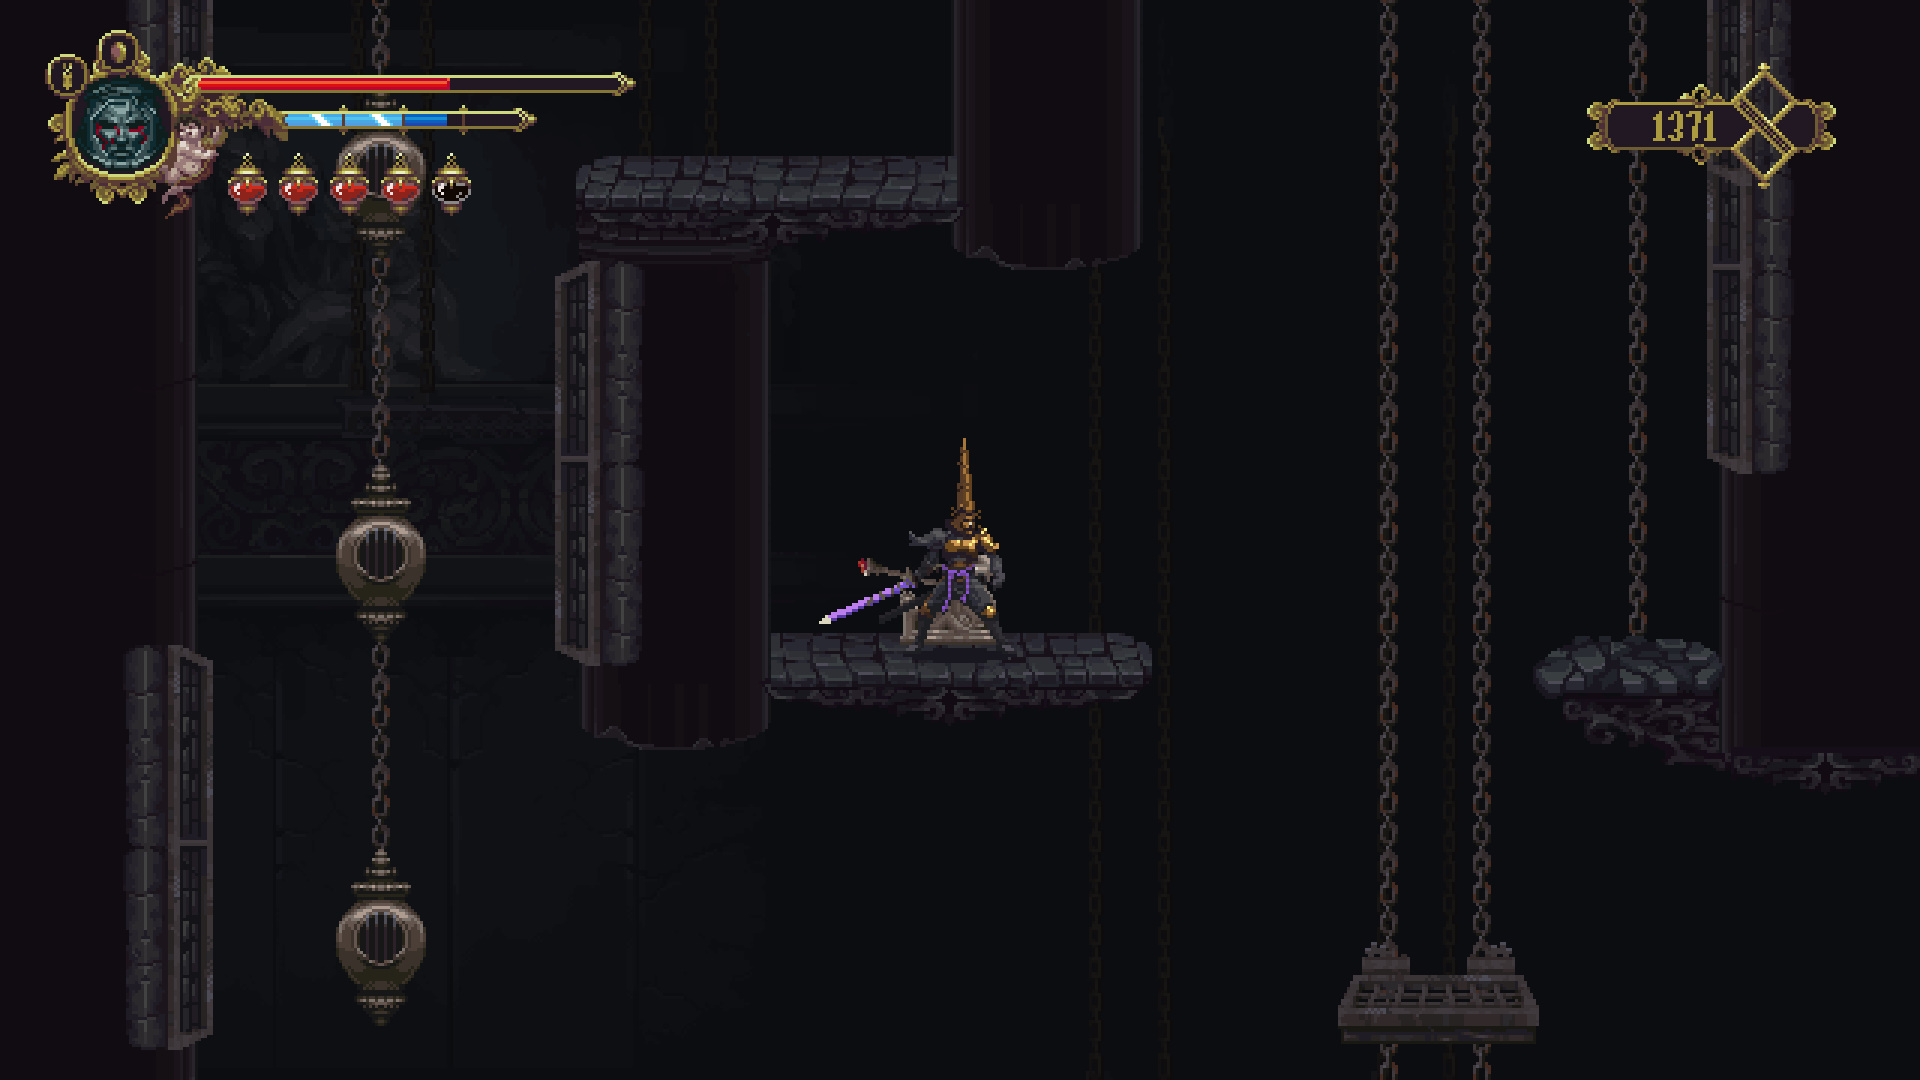
Room 1
In the first room of Jondo you will notice faces that pulse. These faces are controlled by an old woman. Kill her and the faces stop pulsing. Luckily for us she is on the way the switch we need to pull. Head down the ladder then drop down to the floor below. Walk left along the lowest floor and take out the woman. Continue left and head up the wall to reach the switch. Pull it to have the platform in the middle of the room start moving. Return to this platform and get on it. Drop off the platform to the ground below if you want the Collectible: Scapula of Carlos, the Executioner. Return to the moving platform and ride it left and then ride the next platform up to enter the next room (ignore the chest for now).
Room 2
Ignore the ladders in the next room and drop to the floor below. Watch out for the pulsing traps. Walk to the left and drop of the floor onto the lower floor. Take out the old woman here then jump back up to the ladders. Use the ladders to reach the Prie Dieu, kneel at it. To complete this room you need to make your way to the switch on the bottom right side of the room. To do this head to the left and drop down to the ground below. Hit the pulsing face to open the gate then proceed to the right across the crumbling platforms. Ride the platform over to the pulsing trap and hit the right one to open the next door. Climb up the wall to reach the switch. Head down the ladder in the bottom right into the next room.
Room 3

In this room head you can go down the right side, the middle side, and the left side. The middle area is closed by the statue in the middle of the room. This statue features a hitable pulsing face. To make this work you need to destroy two statues located in different rooms in the area.
Right (going to 4)
To do this make your way to down the right side of the room. Go down the ladder into the next room. Make your way through this room by completing the wall jump section. Then you will be able to go up or down. Go down and grab the Collectible: Vertebra of Lindquist, the Forger. Go down the ladder to the right of this item and go to the end of this room. Grab the Quest Item: Bouquet of Rosemary (deliver to Toriso). Return to the previous room and go up the ladder hanging from the top of the room.

Head to the right through this room to reach the floor above. Run left on this floor to reach a the statue. Destroy the statues holding the chain to trigger the lift to the left (lift leads back to Room 3). After this is done head to the right and enter the room here. Go through this room using the moving platform and wall climbing. Grab the Children of Moonlight (9/38) along the way, then grab the Heart of the Holy Purge. Return to Room 3.
Left (going to 5)

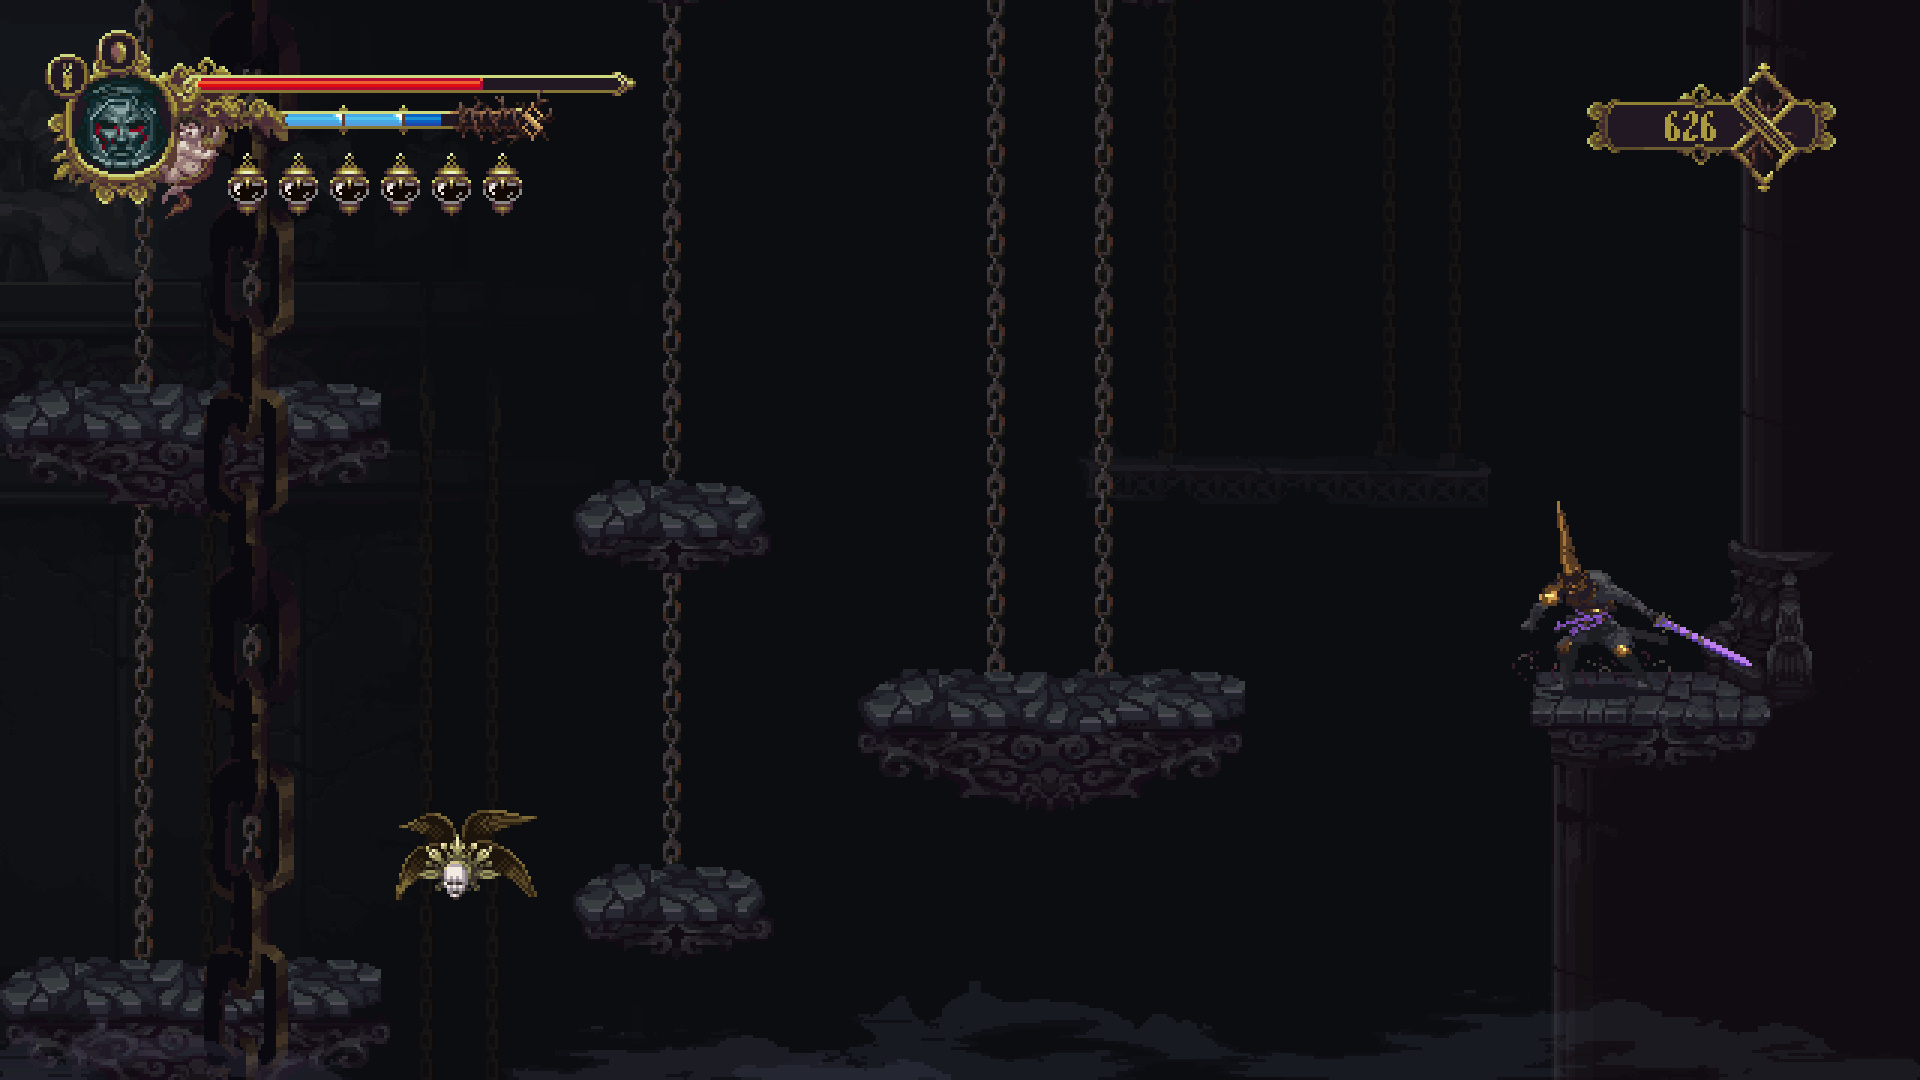
With the right side of the area cleared, it’s time to focus our efforts on the left side. Head to the left side of Room 3 and head down the ladder into the next room. Ride the lifts to the bottom of the room and use it to reach the Collectible: Vertebra of John, the Gambler on the right side of the room. Drop down and go to the left into the next room.
In this room make your way up the walls on the left side. Reach the top and walk to the right on the platform with the bell lady. Jump to the crumbling platform and then jump to the item which is a Empty Bile Vessel. Grab it then drop down the left side of the wall to the switch below. Hit the switch to turn on the lift. Ride the lift up and wall jump to the right. Jump over to the platform and head into the room on your left. It’s a Blood Fountain. Do whatever here (can get 6x). Return to previous room and head up.

Make your way to the left in this room to reach a locked gate. Wait for the swingin pulsing urn and hit it to open the door. Go up the crumbling platforms to the floor above. Head to the right to reach the Statues. Beat them down. Climb up the ladder and head to the left. Slide under the column and enter the room.

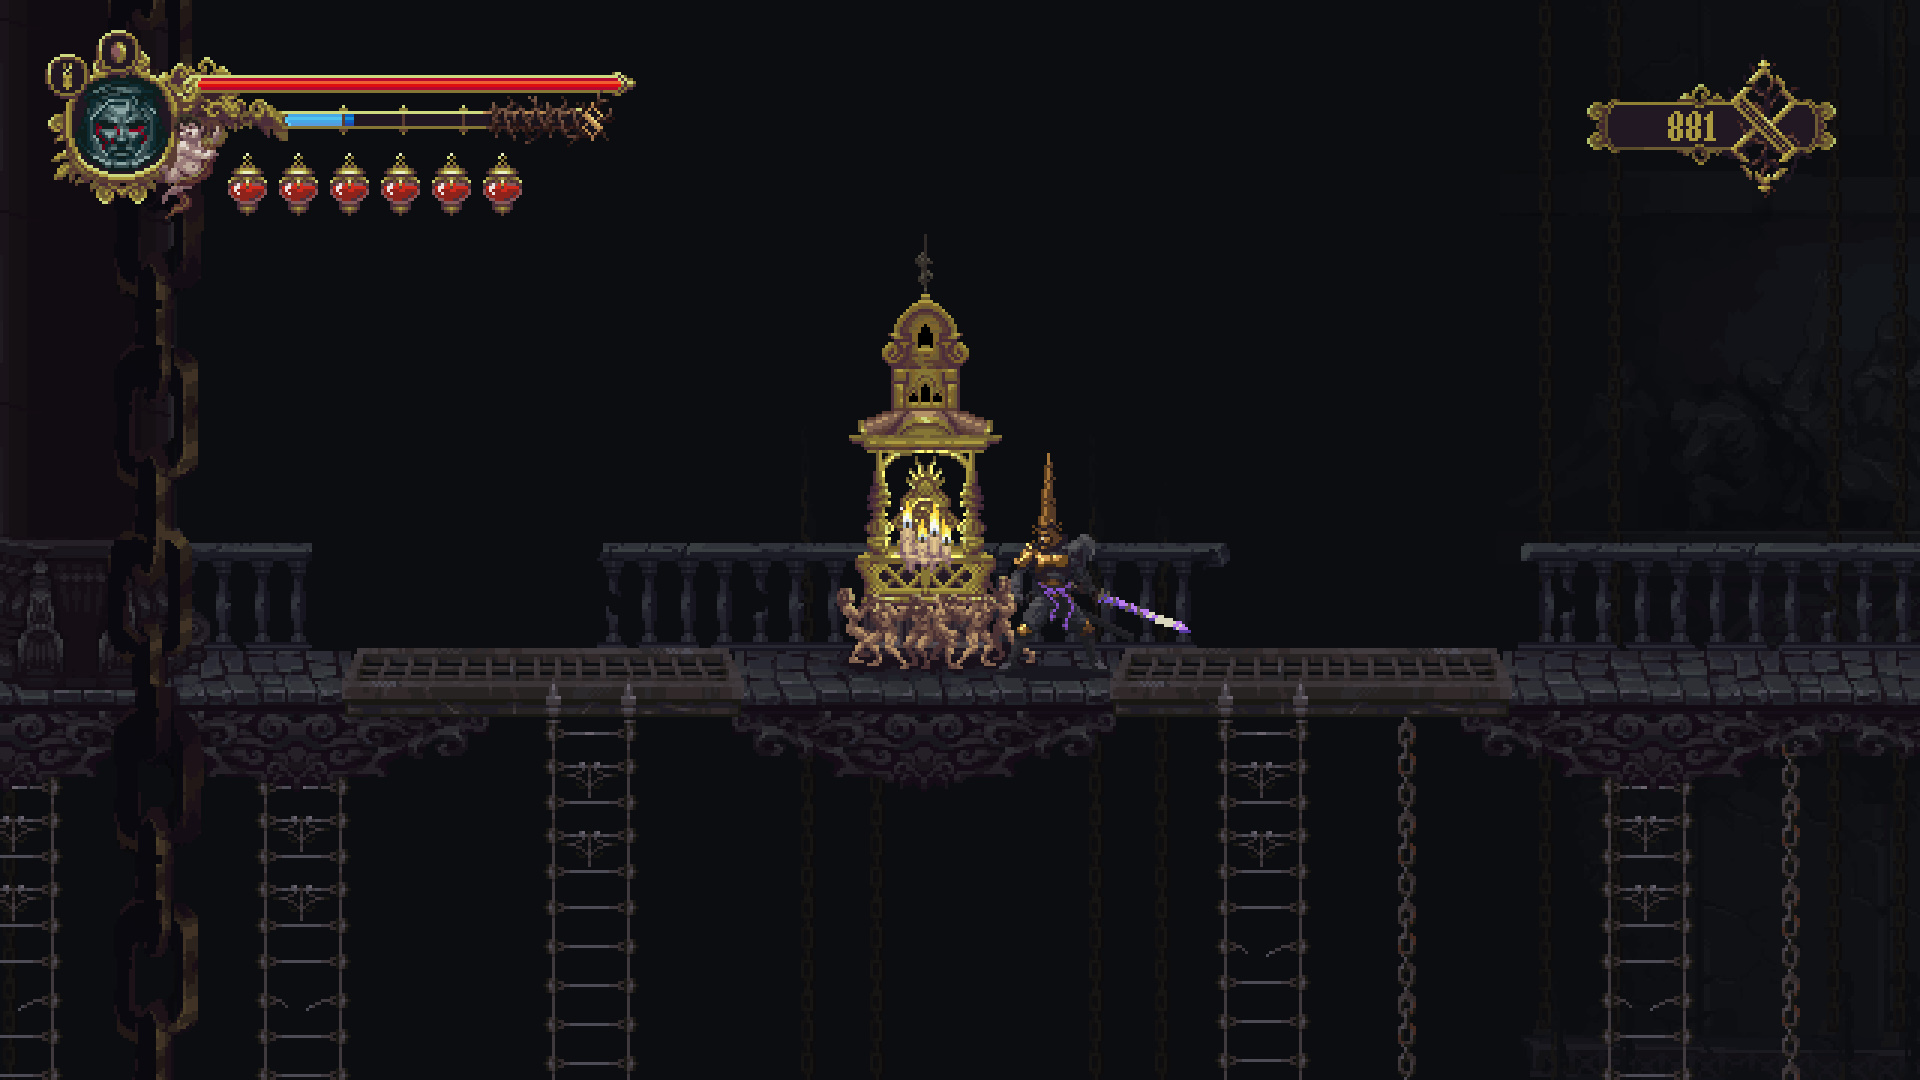
This room is a bit of a puzzle. There are five pulsing urn things suspended from the ceiling and two switches. Pulling the left switch makes the middle and far right urns move. Pulling the right switch stops the far right urn. Basically you want to stop the far right urn then hit it so the noise bounces of all the urns unlocking the door. See pic above for general idea. Inside the locked door is a chest containing a Quest Item: Knot of Rosary Rope. Grab it then head back to the previous room.
In this room you want to cross the crumbling platforms from right to left. As you cross you will head higher up in the room. Eventually you will reach the ceiling. From here you can go left, up, or right. Ignore the room on the left, and go up for now. Hit the switch in Mountains of The Endless Dusk to send the lift to Redento. Go back down into Jingo and head to the right. We are back in room 2 again. Pull the lever to move the lift. Go back down to room 3.
Room 3 Again
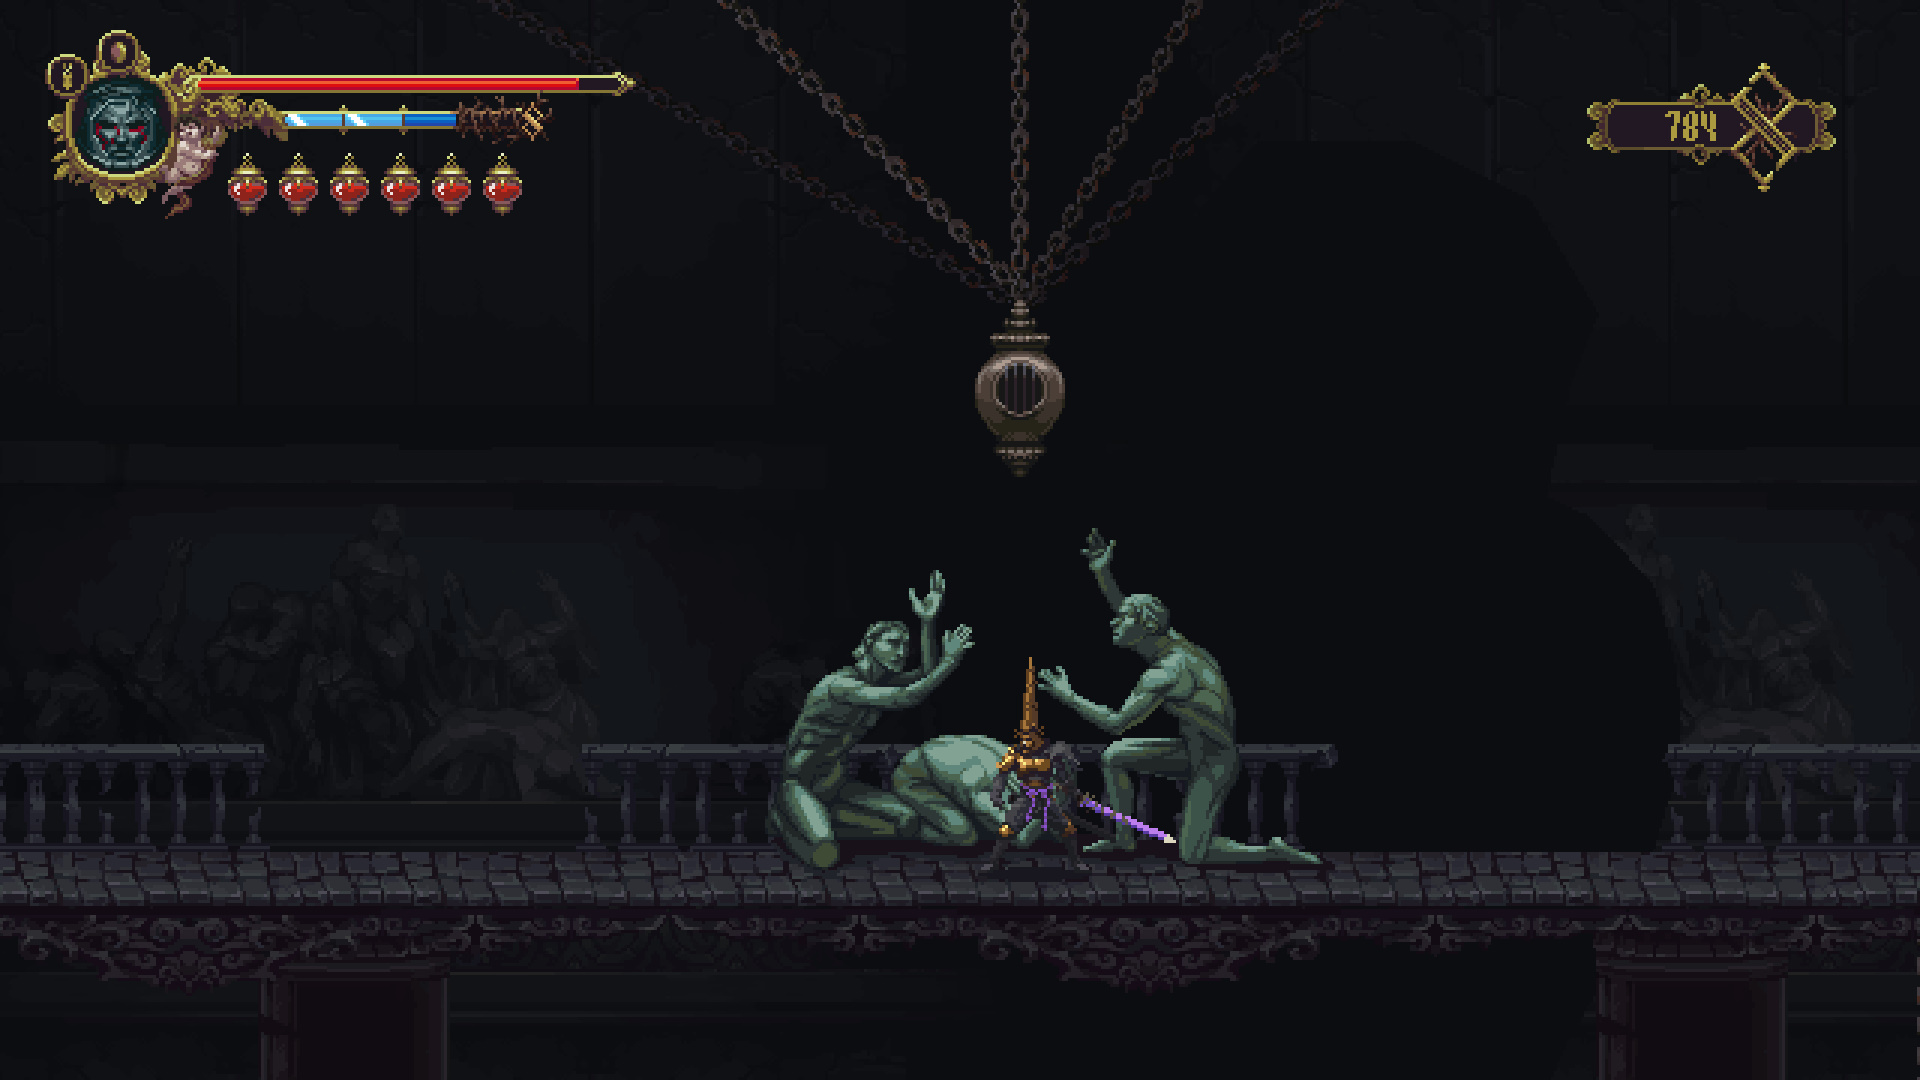
Make your way to the center of room 3 and stand under the pulsing urn statue. Hit the statue and the silhouette in the background will smash the middle of the room. You will fall down into an area called Grievance Ascends.
So we now have a couple of area we can go, Grievance Ascends or continued exploration of the Mountains of The Endless Dusk. I am going to explore recommend exploring Mountains of The Endless Dusk first since there are a couple of useful services along the way. Make your way back up to the Mountains of The Endless Dusk area and speak to Redento to get started.


Best guide. I appreciate how you were straight forward and numbered the spots.