Borderlands 3: The Splinterlands Crew Challenges Guide

Once you meet Vaughn in the Devil’s Razor you will be tasked with heading to The Splinterlands zone. In this zone you will find a total of seven Crew Challenges to complete. To help you complete these challenges use The Splinerlands Crew Challenges guide below.
The Splinterlands Crew Challenges Locations Map
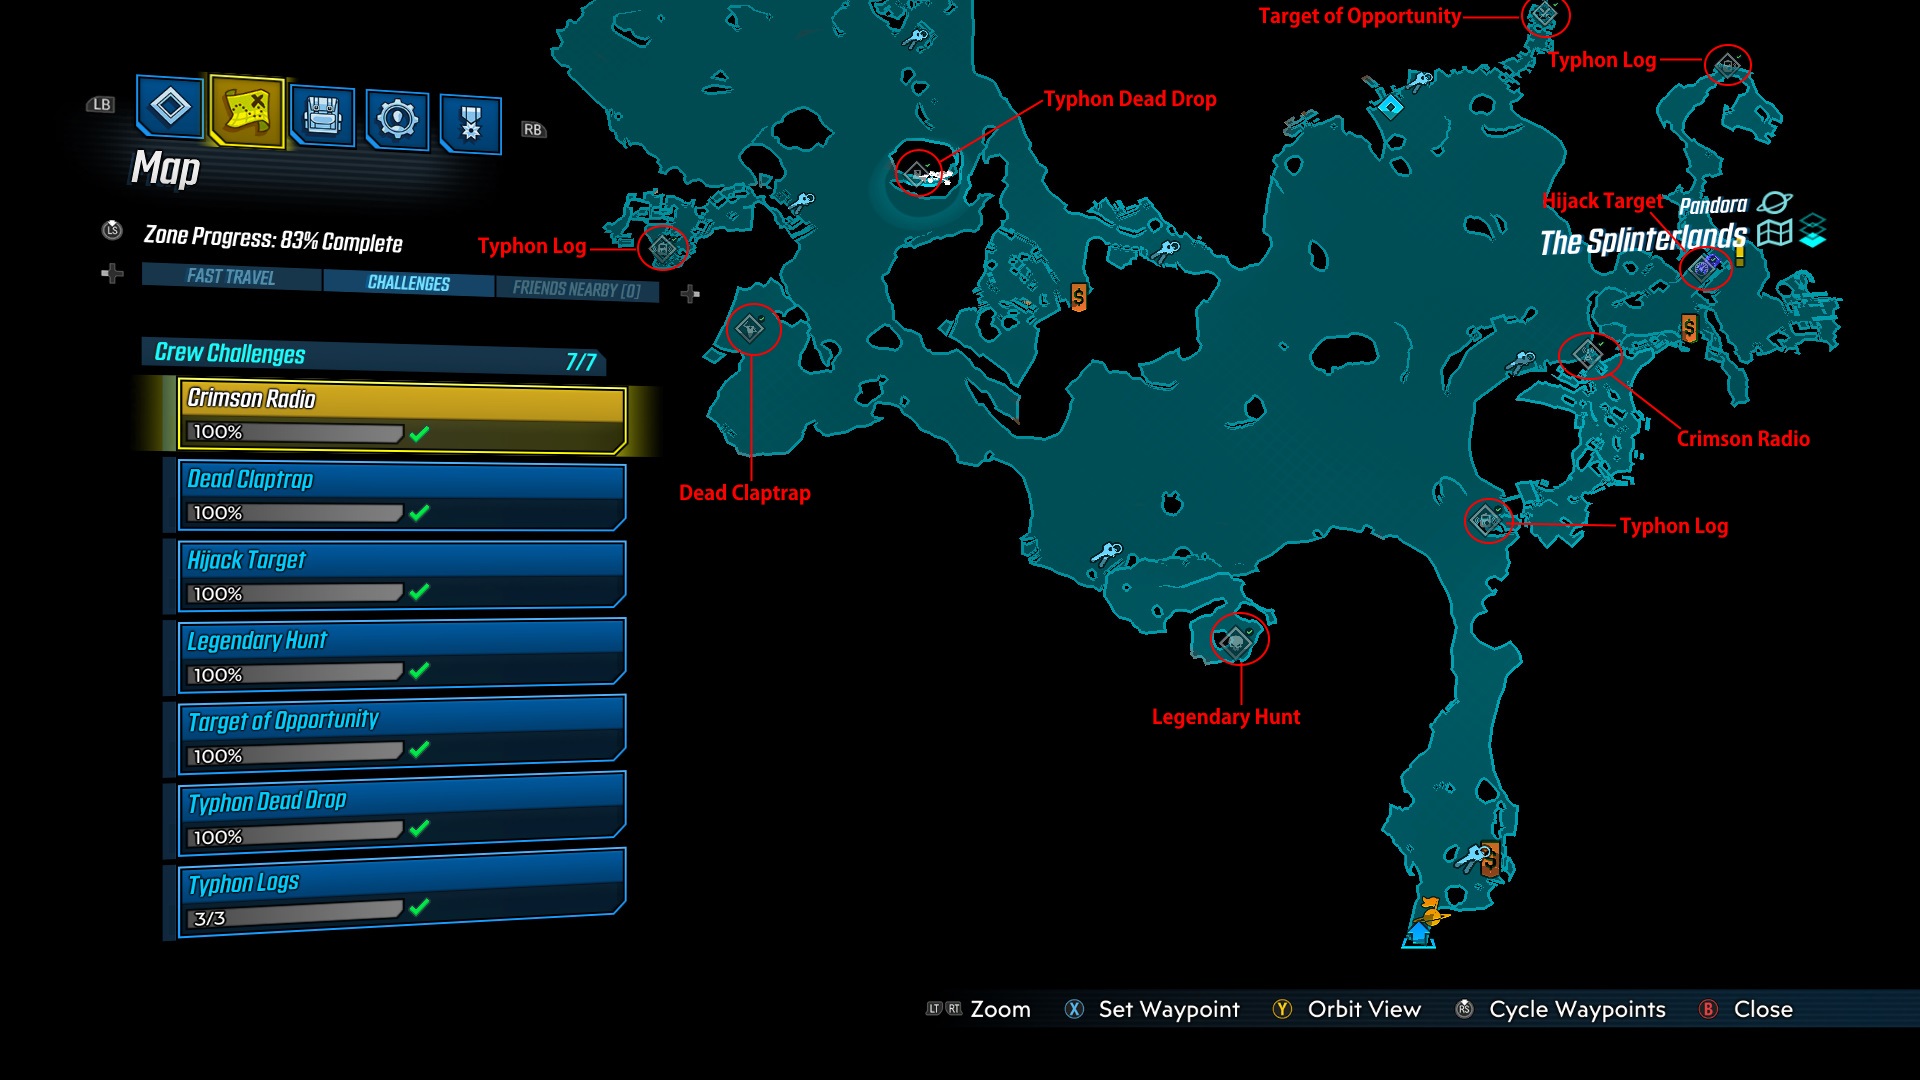
The Splinterlands is another large area you will need to traverse to find the various Crew Challenges located there. To help speed up your search, consult the challenges map above.
Typhon Log #1: Logan’s Spar

As soon as you enter Logan’s Spar, look to the right to find a log on top of some rocks overlooking the roadway.
Legendary Hunt: Logan’s Spar

If you head to the west of Typhon Log #1 you will arrive at a Legendary Hunt. This Legendary Hunt tasks you with defeating a Phoenix. This fight has three stages as the Phoenix is reborn each times.
Crimson Radio: Logan’s Spar
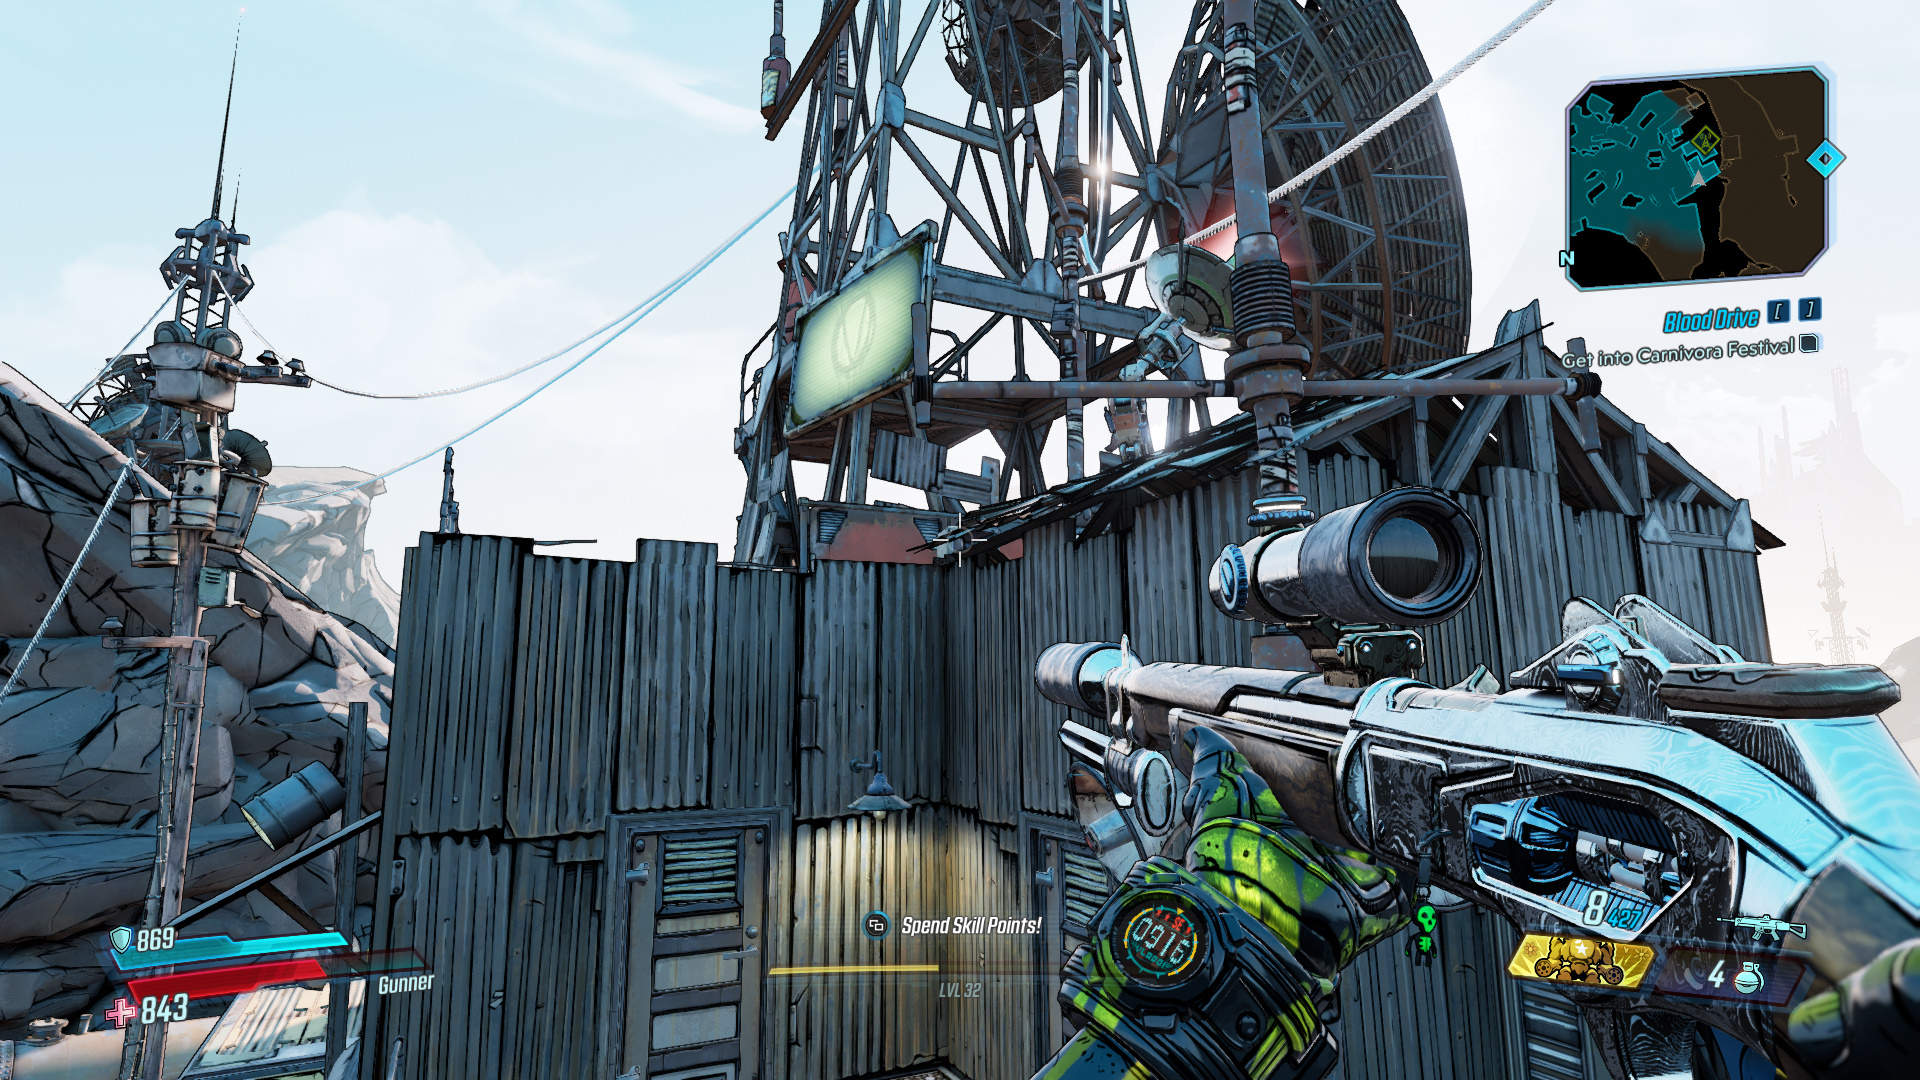
Head inside the town located to the east of Typhon Log #1 and make your way through it to reach a building with the Crimson Radio on top of it.
Hijack Target: The Homestead
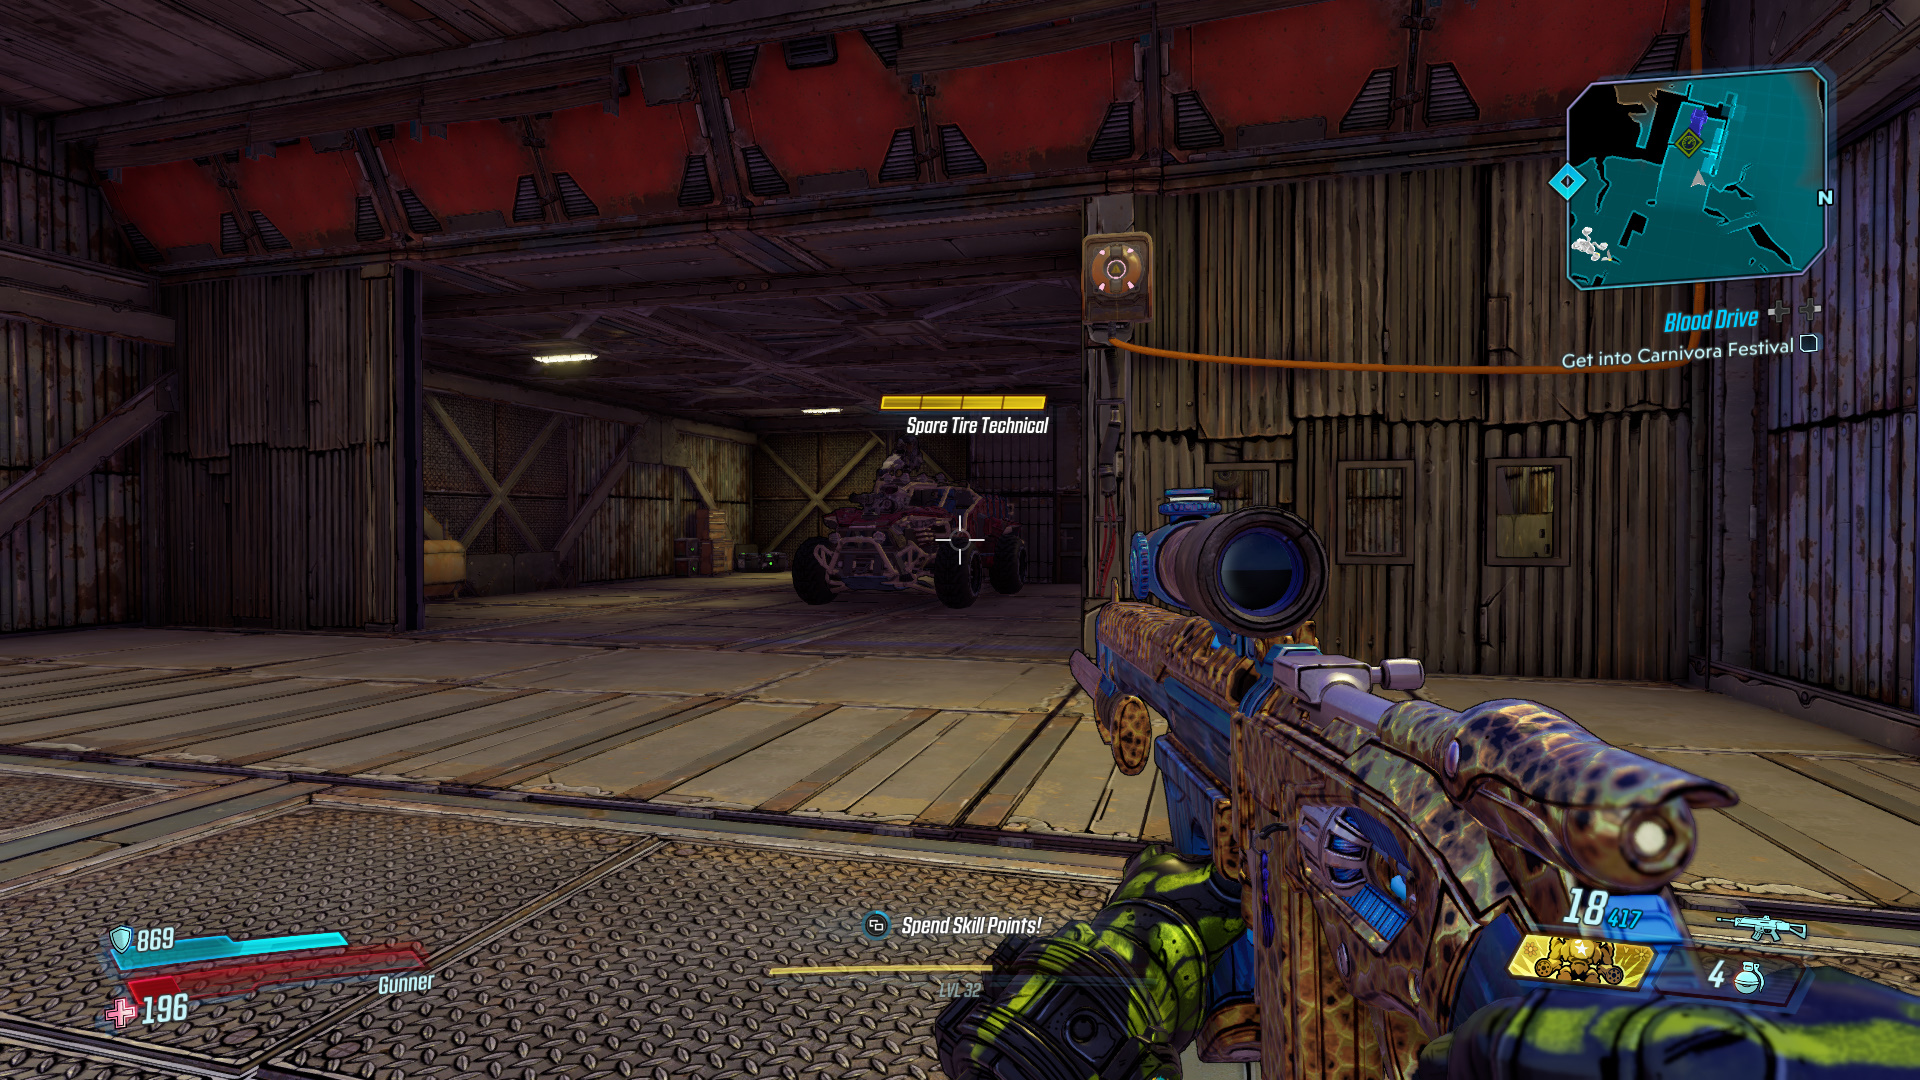
Inside the area known at The Homestead you will find the Hijack Target inside a garage. To access the vehicle you first need to climb the exterior of the building to reach a switch which opens the garage door. Once this is done drive the vehicle to the nearest Catch-A-Ride.
Typhon Log #2: The Homestead

During the side mission The Homestead (Part 2), you are tasked with heading to a spring. This opens a previously inaccessible pathway to the north of The Homestead. Along this pathway you will find the log.
Target of Opportunity: The Rave Cave

To the northeast of Carnivora Festival there is an area leading to the Target of Opportunity for this zone. Take out DJ Deadsk4g to complete this challenges.
Dead Claptrap: South of Amusement Park
To the south of the exterior of the amusement park you will find a Dead Claptrap inside a tire.
Typhon Log #3: Inside Amusement Park

Inside the amusement park underneath where you can ride the rollercoaster is a Typhon Log. Drop down to the platform it is on to collect.
Typhon Dead Drop: East of Amusement Park
Note: If you go to the here without gathering the logs, the chest is locked.
After you’ve collected all the Typhon Logs you will unlock the Dead Drop. This Red Chest can be found to the east of the amusement park inside a shipping container you can enter.
Next Crew Challenge Guide: Carnivora.