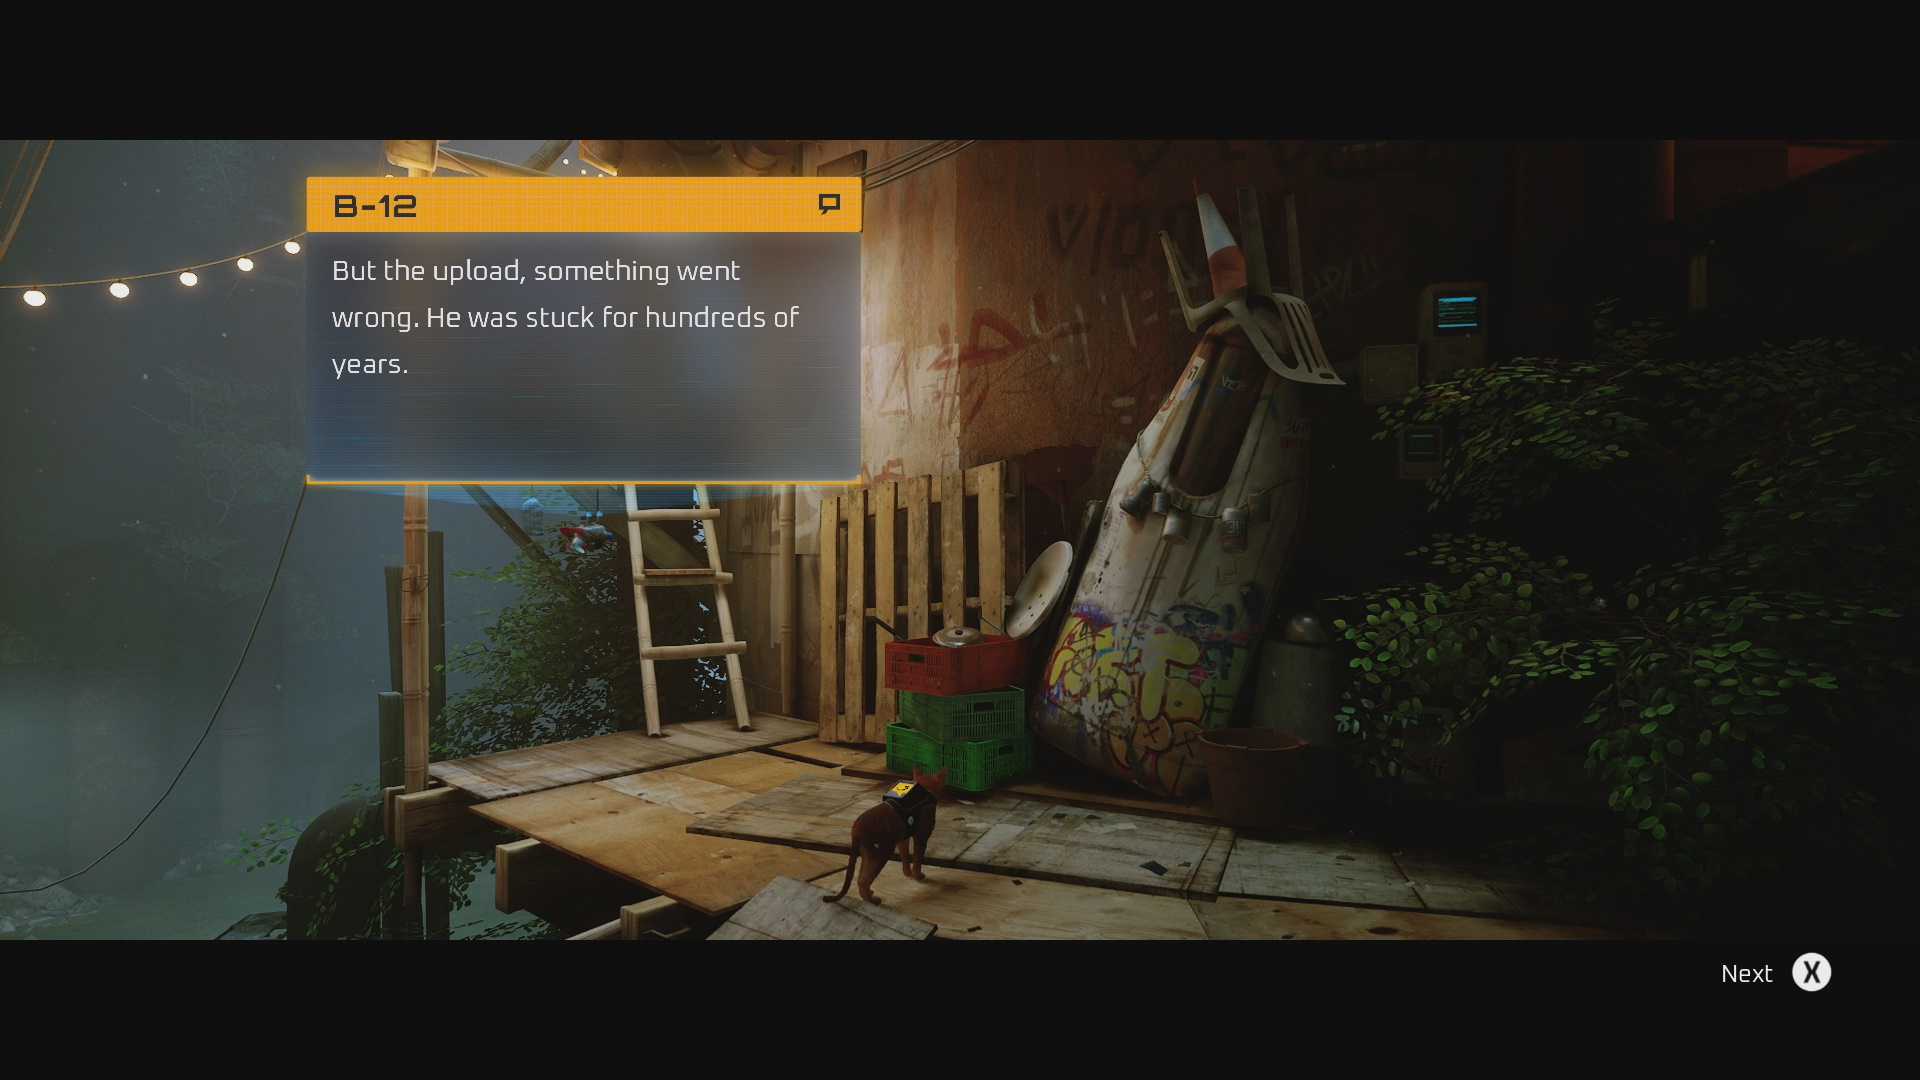
Stray B-12 Memories Locations Guide
In Stray there is a group of collectibles that players can find called the B-12 Memories. These B-12 Memories are spread across a number of chapters in the game. Some memories you will automatically collect while others you need to find in the levels. To help you find them all here’s a complete Stray B-12 Memories locations guide.
B-12 Memories Collectibles Details
- There are 27 total (5 Major; 22 Minor).
- Not all chapters have memories.
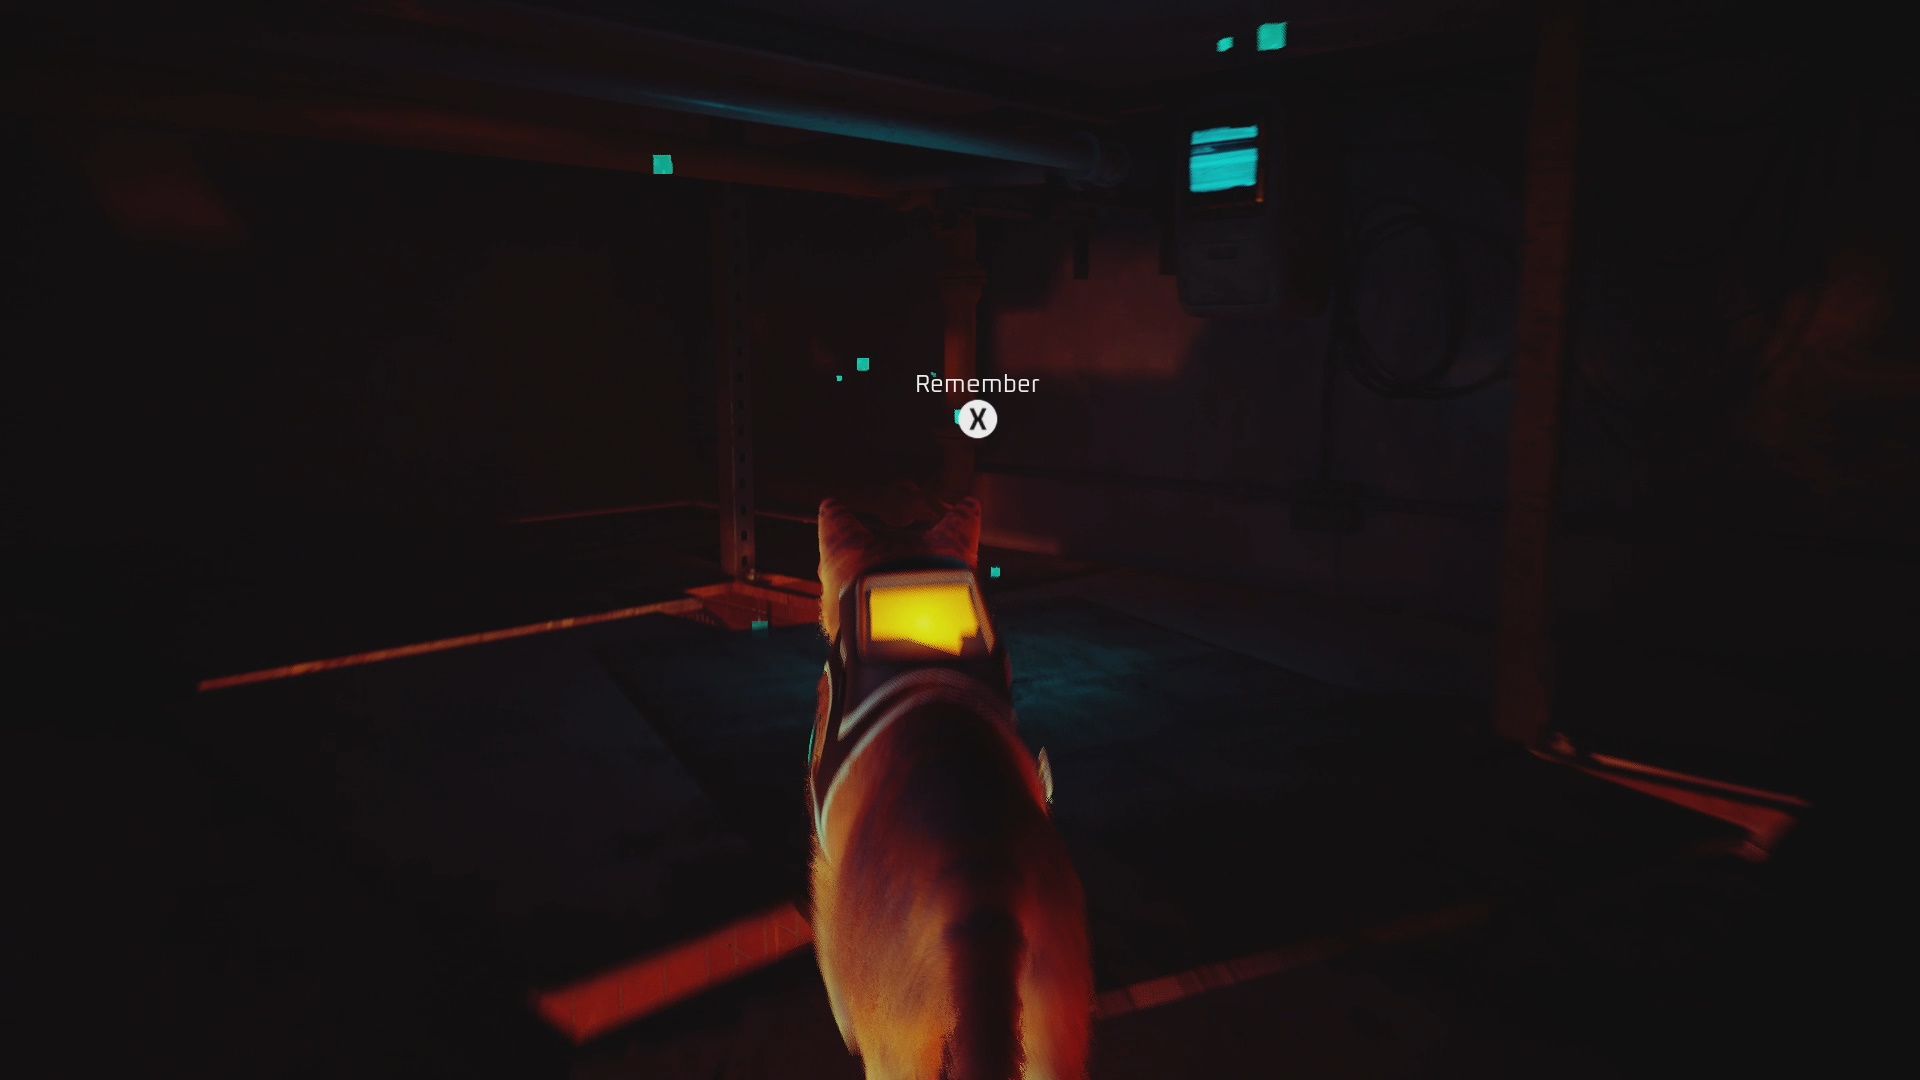
- Complete to earn the I Remember! trophy/achievement.
- Collect all memories to receive the rainbow chrome backpack for Stray.
- Memories in The Slums can be grabbed during Chapter 4, 6, and end of 7.
Chapter 3: Major Memory #1 [1/27]

The first memory in the game is located in Chapter 1: The Flats. This Major Memory is automatically collected as part of the story. After you leave The Flat you will take a bucket lift across. On the wall at the end you will find Major Memory #1 [1/27].
Chapter 4/6: Memory #1 [2/27]

In The Slums face the elevator while standing on the stairs. Turn right and climb up the building to the right of the stairs. Make your way to the very top of this building and you will find a dead robot there. Interact with the robot to get Memory #1 [2/27].
Chapter 4/6: Memory #2 [3/27]

The second memory in The Slums is sold by the merchant Azooz (located right of the elevator). Acquire 3x Energy Drinks and return to the vendor. Purchase the item on the left using the three Energy Drinks to get at Memory #2 [3/27].
Chapter 4/6: Memory #3 [4/27]

Visit the Bar in The Slums. Go upstairs. On the table to the left at the top of the stairs you will find a bowl. Jump up to the bowl. You will be prompted to interact with it. Do this to get the Memory #3 [4/27].
Chapter 4/6: Memory #4 [5/27]

Go to the top of The Slums and head into Momo’s Flat. Inside the flat go to Momo’s bedroom (room across from the living room). In the bedroom look on the left wall. Here you will find a game poster that is Memory #4 [5/27].
Chapter 4: Memory #5 [6/27]

In the lower slum area make your way to the laundry mat. Run down the street this store is located on to reach a T. Here you will find an Energy Drink vending machine and RIP Humans graffiti. Inspect the graffiti to get Memory #5 [6/27].
Chapter 4: Memory #6 [7/27]

Down the road heading left from the elevator you will encounter a robot playing the guitar named Morusque. Face Morusque. To the left of where he is sitting you will find an alleyway. Use the platforms in this alleyway to climb to the ledge above. Here you will find the Memory #6 [7/27].
Chapter 4: Memory #7 [8/27]

At the opposite end of the street where Grandma’s Clothing is you will find a door with a sign on it that says Elliot Programming. Scratch this door then go inside when it opens. Head up the stairs inside and take a left at the top. Interact with the tree to collect Memory #7 [8/27].
Chapter 5: Memory #8 [9/27]

In Chapter 5: Rooftops you will complete to Zurk sections near the beginning of the chapter. After the second encounter (where you use the beam in the center of the area) you will reach a rooftop. Walk through this rooftop to the other-side. Jump up to the next rooftop. Walk forward on this roof to find a big neon sign. Interact with it to find Memory #8 [9/27].
Chapter 5: Memory #9 [10/27]

Continue forward through the rooftops until you reach the skyscraper. Inside the skyscraper you will reach a room featuring a ramp and Zurks trapped in a cage on your left. Walk past the cage to the very end of the floor. Here you will find a Neco sign that is Memory #9 [10/27].
Chapter 5: Major Memory #2 [11/27]

The next major memory you will acquire as part of the main story occurs at the end of Chapter 5: Rooftops. Once you’ve placed the transceiver in the antenna there will be a brief cutscene where B-12 talks about the dome. This is Major Memory #2 [11/27].
Chapter 7: Memory #10 [12/27]

After Seamus opens the gate for you to enter the Dead City walk forward until you can go left or right. Go left and walk to the very end. The closed gate there is the memory. Grab it to get Memory #10 [12/27].
Chapter 7: Memory #11 [13/27]

Later in Dead End you will ride a shopping cart down a hill. At the end of this ride you go flying into the area and hit the ground. From here you climb up a wall. At the top of the wall walk forward along the path. You will reach a choice where you can continue straight or go left. Go straight and head under the fence. Walk to the end of the dock to reach Memory #11 [13/27].
Chapter 7: Memory #12 [14/27]

The last B-12 memory for the Chapter 7 is located inside of the Doc’s hideout. Make your way to the basement and look for the mannequin wearing the helmet to the right of his workstation. Inspect it to claim Memory #12 [14/27].
Chapter 8: Memory #13 [15/27]

Once you go under the opened by Momo you will walk through a corridor then jump up onto a catwalk. Go left on this catwalk to enter a hallway. Walk down this hallway and kill the Zurks. Turn left and kill the Zurks in this hallway. Look on the left wall for a pipe. Jump up into the pipe and go forward to reach a catwalk. Jump onto the railing and inspect Memory #13 [15/27].
Chapter 8: Memory #14 [16/27]

Following the second large room you run through with the Zurk eggs inside it you will jump down to a pipe. Walk left on this pipe then jump to the other pipe on the wall. Use the debris to jump up to the open door. In this room walk over to the pit to find Memory #14 [16/27].
Chapter 9: Major Memory #3 [17/27]
In Antvillage walk across the bridge leading to the village. As you get near the village you will trigger a cutscene. B-12 will remember something as you approach the pod. This memory is Major Memory #3 [17/27].
Chapter 9: Memory #15 [18/27]

From the entrance to the village climb up the ladder. Walk through the room with the robot painting and sitting in the bunk beds. Head to the next area and turn right. You will find the Memory #15 [18/27] on the wall.
Chapter 10: Major Memory #4 [19/27]

Following Antvillage you will arrive in the subway. As you walk forward through this area you will go up some stairs to the subway platform. When you reach the platform B-12 will talk to you. This is the Major Memory #4 [19/27].
Chapter 10: Memory #16 [20/27]

When you reach the end of the subway station, before heading outside, turn right. You will see an NPC has setup a living area. Go into this area and interact with the bookshelf to unlock Memory #16 [20/27].
Chapter 10: Memory #17 [21/27]

In the back alley behind the Nightclub there is an area you can climb up towards the end section going to residence. Climb up this section and interact with the resting area there to find Memory #17 [21/27].
Chapter 10: Memory #18 [22/27]

Across the street from the Bar you will find an open window you can jump in to reach the Barbershop. Go inside then go up the couch then up to the shelf to reach the crawlspace in the ceiling. Crawl to the far corner of the ceiling to find Memory #18 [22/27].
Chapter 10: Memory #19 [23/27]
In the center square area of Midtown where there is the large projection of the robot there is a burger shop you can enter. Go into the burger shop and jump up to the ceiling. Here you will find Memory #19 [23/27].
Chapter 10: Memory #20 [24/27]

Complete the factory section of Chapter 10. When you do this Midtown goes into lockdown. On your way back to the residences head to the square area. On the left-side of the square the Overseer office is now open. Go into the office and inspect the Sentinel on the wall to unlock Memory #20 [24/27].
Chapter 10: Memory #21 [25/27]

At the end of Chapter 10 you visit the Nightclub. Inside of the Nightclub jump onto the bar. Walk to the section along the wall and stand on the dumwaiter/little elevator next to the sink to go to the nightclub’s basement. Inspect the drinks there to gather Memory #21 [25/27].
Chapter 11: Memory #22 [26/27]

In Chapter 11: Jail you will reach a point where you enter the yard. After trapping the first sentinel in the cage you will walk with Clementine to an area between the two yards. Turn right in this area and you will find the memory on a robot. Collect it to unlock Memory #22 [26/27].
Chapter 12: Major Memory #5 [27/27]

The final B-12 memory you will collect in the game is Major Memory #5 [27/27]. This memory is unlocked the moment you enter into the Control Room. B-12 will speak to you and will recall the final memory he has.
All B-12 Memories Collected Reward
Once you’ve gathered all of the B-12 Memories listed above you will unlock the I Remember! trophy/achievement. After this trophy/achievement is unlocked B-12 will thank you for your efforts and will give you a reward. The reward he gives you is a Rainbow Chrome Backpack. This backpack changes the look of the backpack that Stray wears during the game.
Video Guide
If you need further help in pinpointing the exact locations mentioned above, give Hold To Reset’s B-12 Memories YouTube guide a watch. It shows you a bit more details on each of the above described locations. Give us a like/subscribe if you found it useful.
This post is part of our larger Stray guide and walkthrough. Check out the hub page to find all available guides for this game’s main story, side quests, and collectibles.
Thoughts on our Stray B-12 Memories locations guide? Drop them in the comments below.