Metro Exodus – Moscow Collectible Locations Guide
Metro Exodus features numerous collectibles that provide lore and world-building details. In the Moscow level, you can find Diary Pages and Postcards, which contribute to achievements and offer insight into the game’s backstory.
Below is a complete list of all Moscow collectibles, including their locations and how to find them.
Moscow Collectibles Overview
- Diary Pages: 10
- Postcards: 2
- Suit Upgrades: None
If you miss any collectibles, you can replay the level via Chapter Select on the main menu.
Diary Page 1: Half-Torn Notebook – On Desk in Tunnel

- Found early in the level, in an alcove to the right of the first enemy (not the QTE one).
- Interact with the desk to collect this diary page.
Diary Page 2: Patient File – On Desk in Clinic

- After the rescue cutscene, take control of Artyom.
- Move forward and check the desk on the right to find the Patient File.
Postcard 1 – On Green Locker in Clinic

- After waking up in the clinic, go toward the green door leading to Anna and Colonel.
- The Postcard is stuck on a green locker to the right of the door.
Postcard 2 – Apartment Kitchen
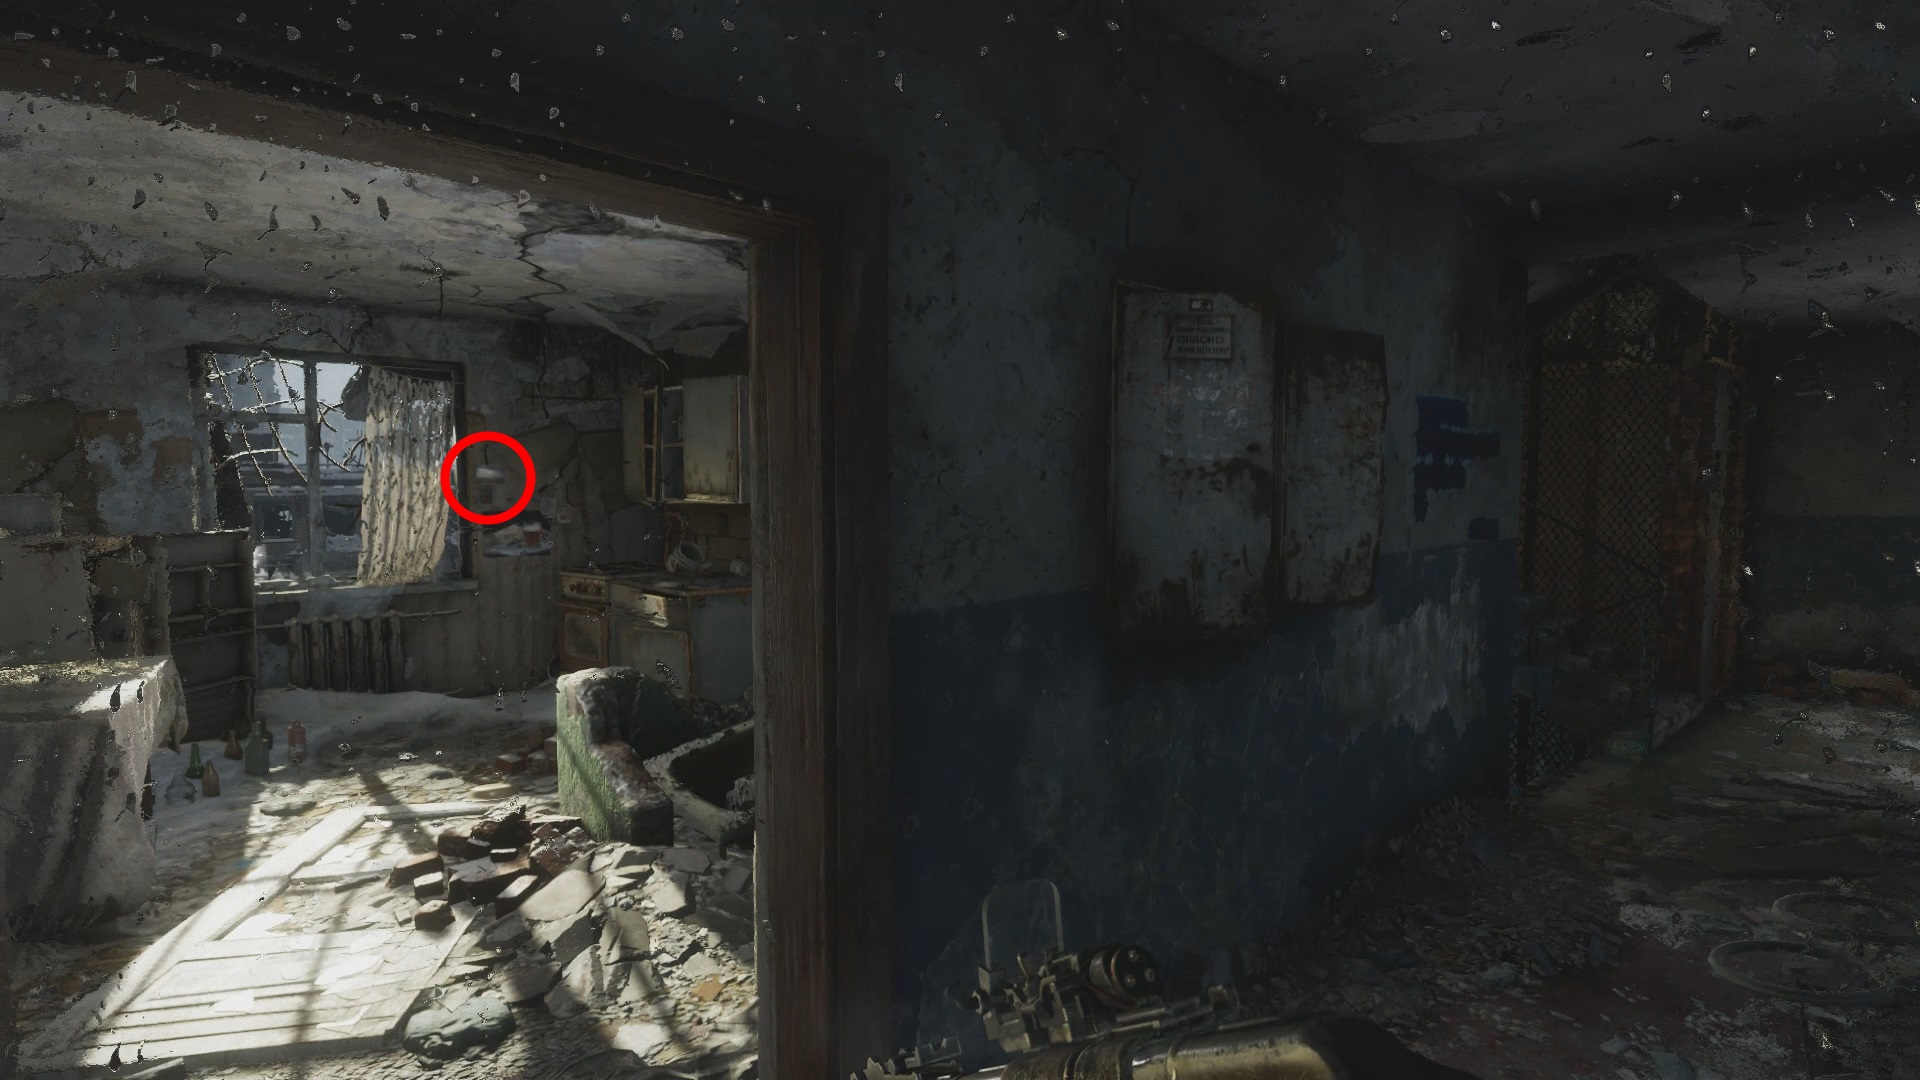
- While following Anna outside, enter an old apartment building.
- After the first set of stairs, look for an open door on the right.
- Inside the kitchen, find Postcard 2 near the window.
Diary Page 3: Dusty Diary – Apartment Bedroom

- In the same apartment as Postcard 2.
- Enter the bedroom with a couch; the diary page is on a small nightstand beside it.
Diary Page 4: Shopping List – Shopping Center Corpse
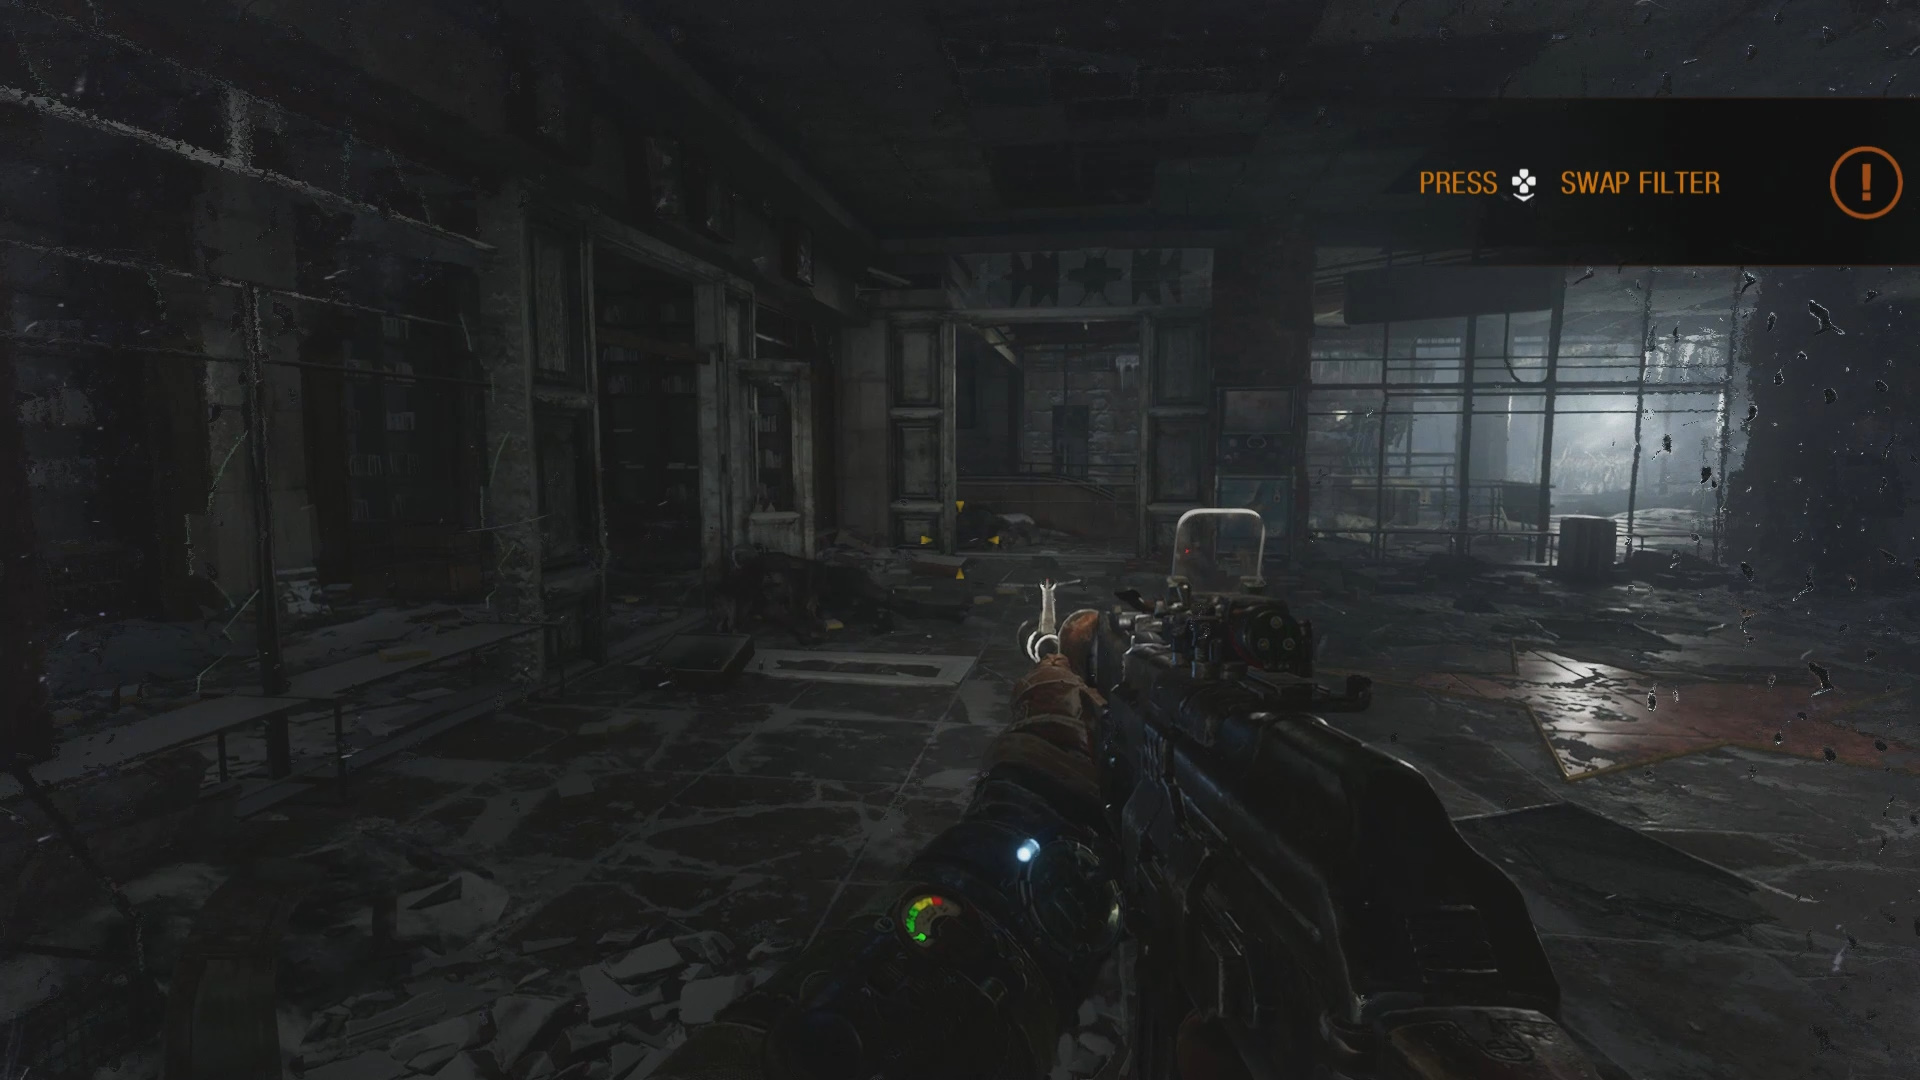
- Follow Anna into the shopping center.
- After fighting three Watchmen, look for a corpse propping open a door on the left side.
Diary Page 5: Shura’s Note – Inside Blue and White Bus

- After the shopping center escalators, enter the crashed blue and white bus in the lobby.
- Find the skeleton near the front and pick up the note beside it.
Diary Page 6: Crumpled Letter – Corpse in Snow

- After getting captured, regain control in a pit.
- Crawl under the logs and find a corpse in the snow holding this letter.
Diary Page 7: Official Note – On Console in Military Base
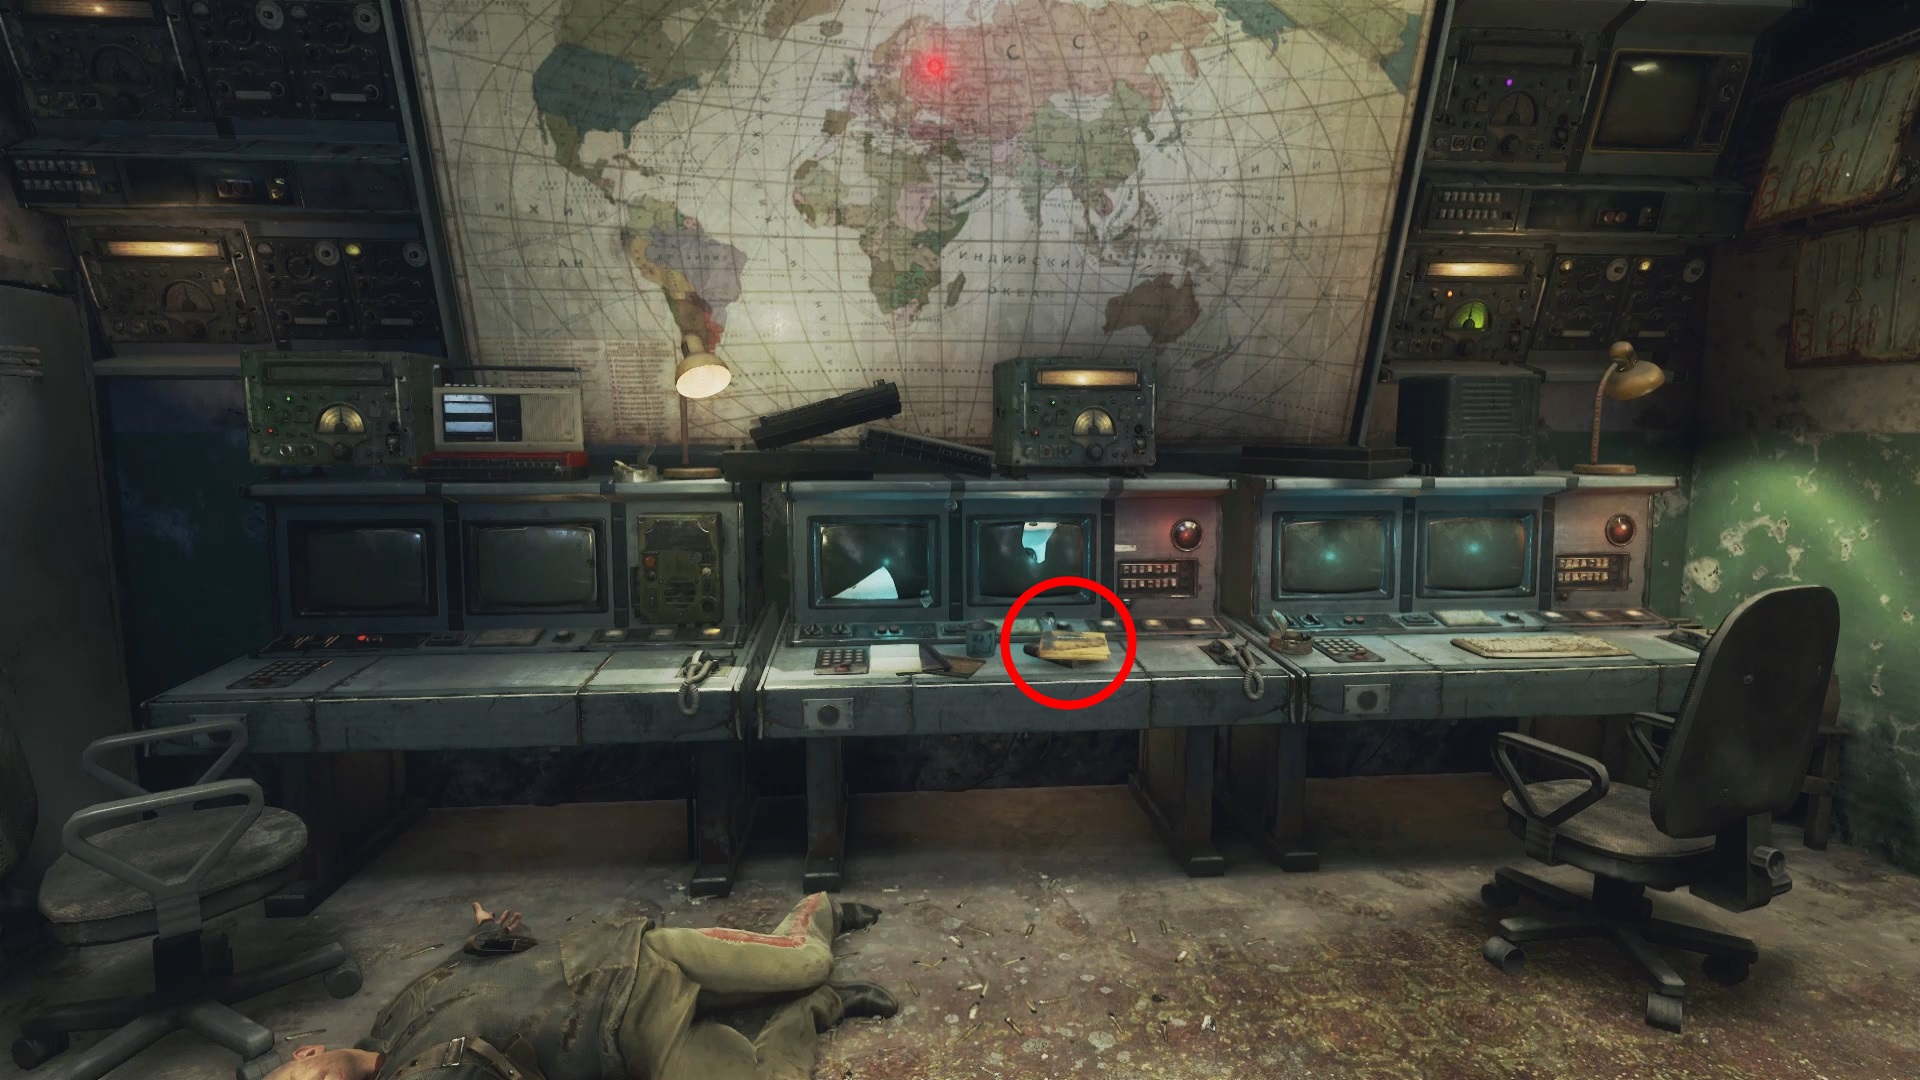
- Progress through the base until you find Anna.
- During a fight, a computer console under a large world map gets shot; the note is on this console.
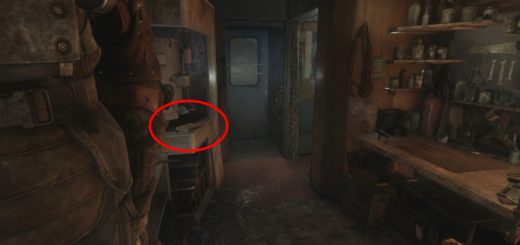
Diary Page 8: Memo – On Desk in Hangar

- Reach the hangar with the red door after sneaking/blasting through the courtyard.
- Inside, locate a desk near a furnace where the Memo is placed.
Diary Page 9: Official Letter – On Desk in Train Car

- After rescuing Yermak, free the train, and get captured again.
- Once you board the enemy train, take out the soldier at the window.
- Enter his car, turn left, and find the Official Letter on a desk.
Diary Page 10: Crumpled Note – On Crate in Train Car

- In the train car after the mounted machine gun car, check the crates on the right side of the entrance.
That’s all the collectibles in the Moscow level of Metro Exodus! If you’re looking for more, check out our guide for the next level, Winter, to continue your hunt.
Did we help you find all Moscow collectible locations? Let us know in the comments below.


Thanks for this guide !
Nicely done and easy to understand, with clear pictures (red circles help a lot !) and short but precise descriptions.
Excellent work !
Greetings from France
I will have more collectible guides for Metro Exodus up soon.