Langston’s Runaways Guide – Control Side Quest
After you complete the the Fridge Duty side quest you will immediately receive the Langston’s Runaways side quest. This side quest involves tracking down various O.o.Ps that are out in the wild. These O.o.Ps need to be cleansed. This is what we will be doing. Follow our Langston’s Runaways guide to find all of these items.
Check out more guides in our Control Wiki & Guides hub.
Traffic Light Location

The Traffic Light can be found on the Floor 4 – Altered Items of the Panopticon. Make your way to room 716. In this room you will play a brief game of traffic light. Proceed towards the Traffic Light on green, stop on red, and use yellow to know when red is coming. If you move on red you have to start over. Make your way to the Traffic Light and cleanse it.
Japanese Paper Lantern Location
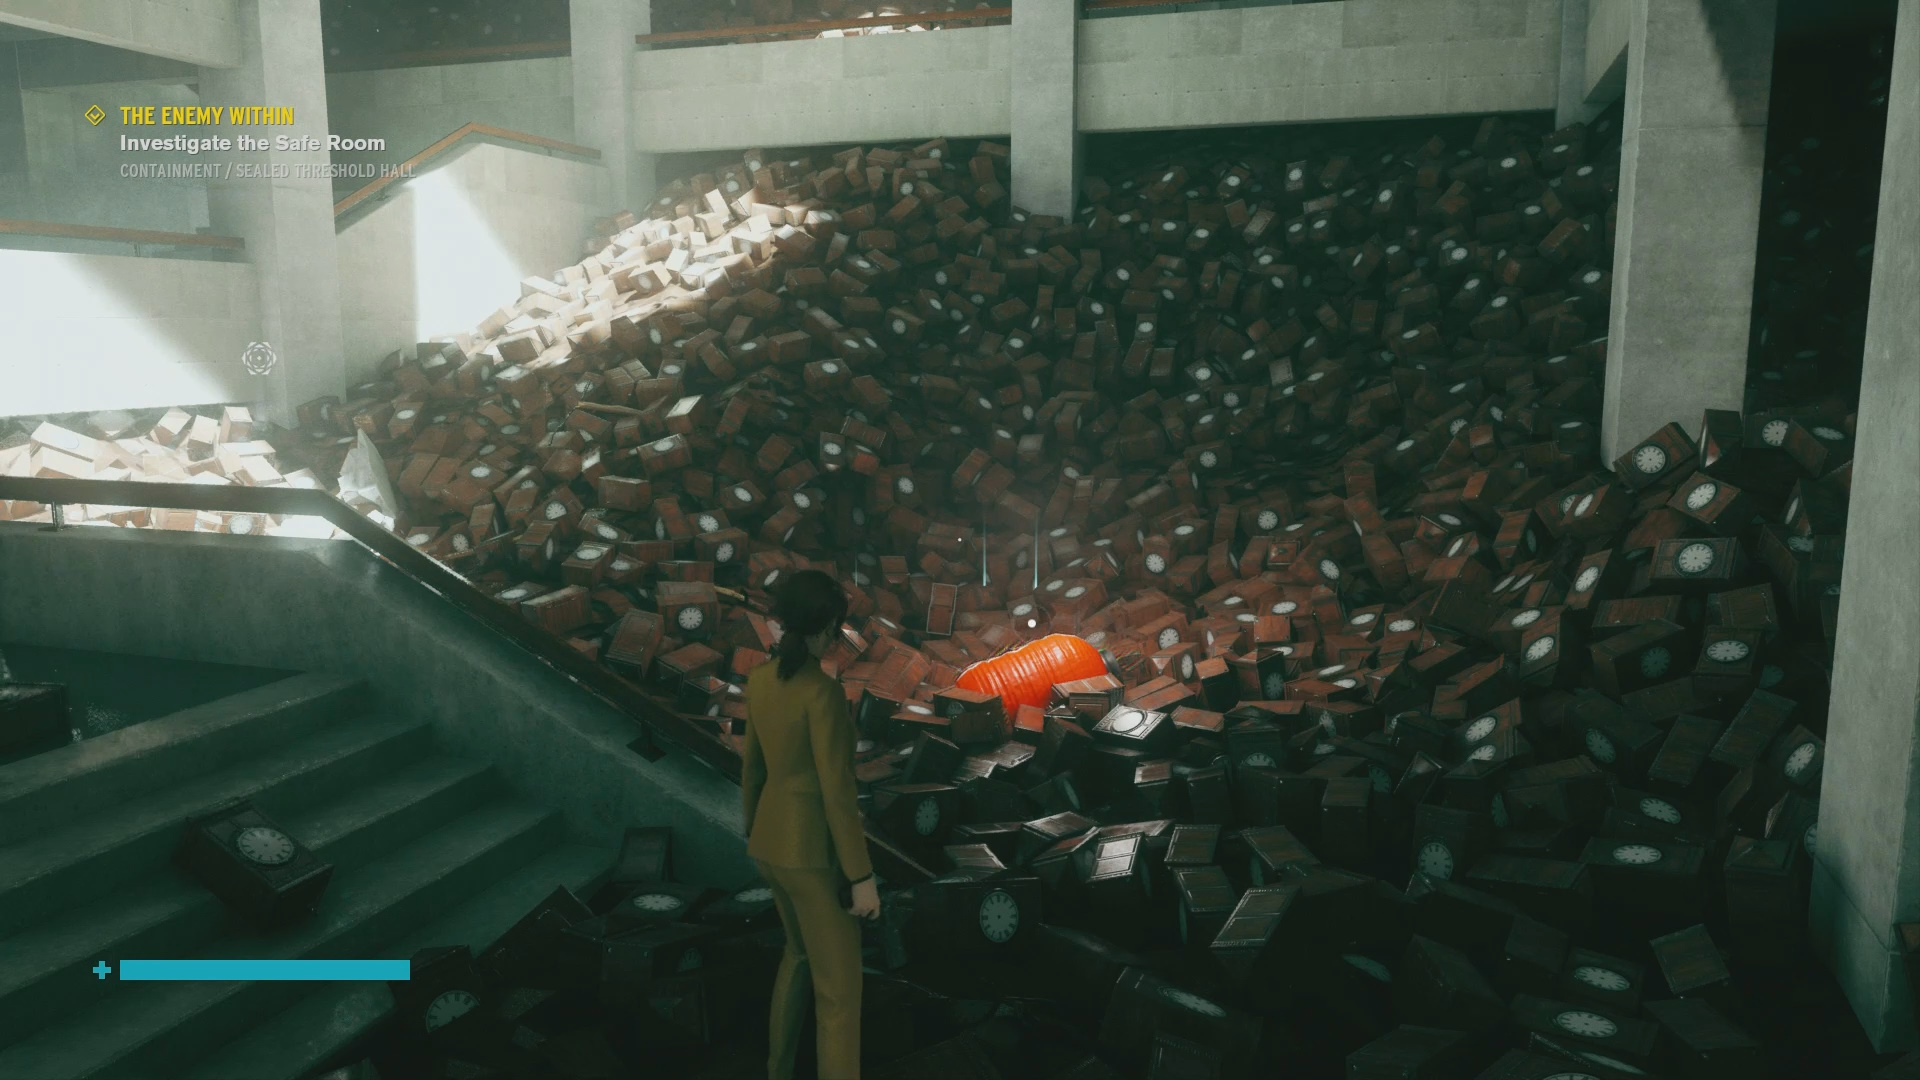
You can find this item in the Sealed Threshold Hall in the Containment area. You will gain access to this area after completing A Matter of Time. In the room with all the clocks you will find the Japanese Paper Lantern buried underneath them.
Hand Chair Location

You will find the Hand Chair item in the Medical Wing of the Containment area. Look for the Hand Chair in the moldy shower room just before the staircase to Security. The Hand Chair will be on the ceiling when you enter to room. Shoot it down then cleanse it.
Moving Letters Locations

Make your way to the Dead Letters area and you will see the Moving Letter living up to its name. The first Moving Letter can be found on the south side of the ground floor. The second letter can be found in the office above the first letter (use levitate to reach). And the final letter can be found above the Control Point. To catch it stand in a spot it teleports to and wait for it. When it teleports there cleanse it.
Return to Langston
Once you have the four items listed above return to Langston at the Panopticon Entrance. Langston will thank you and mention there are a couple more items we need to find. Of course we will find these items.
Flamingo Location

Head to the Sealed Threshold Corridor and make your way to the room on the far east side. In this area you will find a Flamingo. Approach the Flamingo and it will trigger a sequence where the hallway stretches. Use levitate and dash to avoid the waves and reach the Flamingo.
Mannequin Location
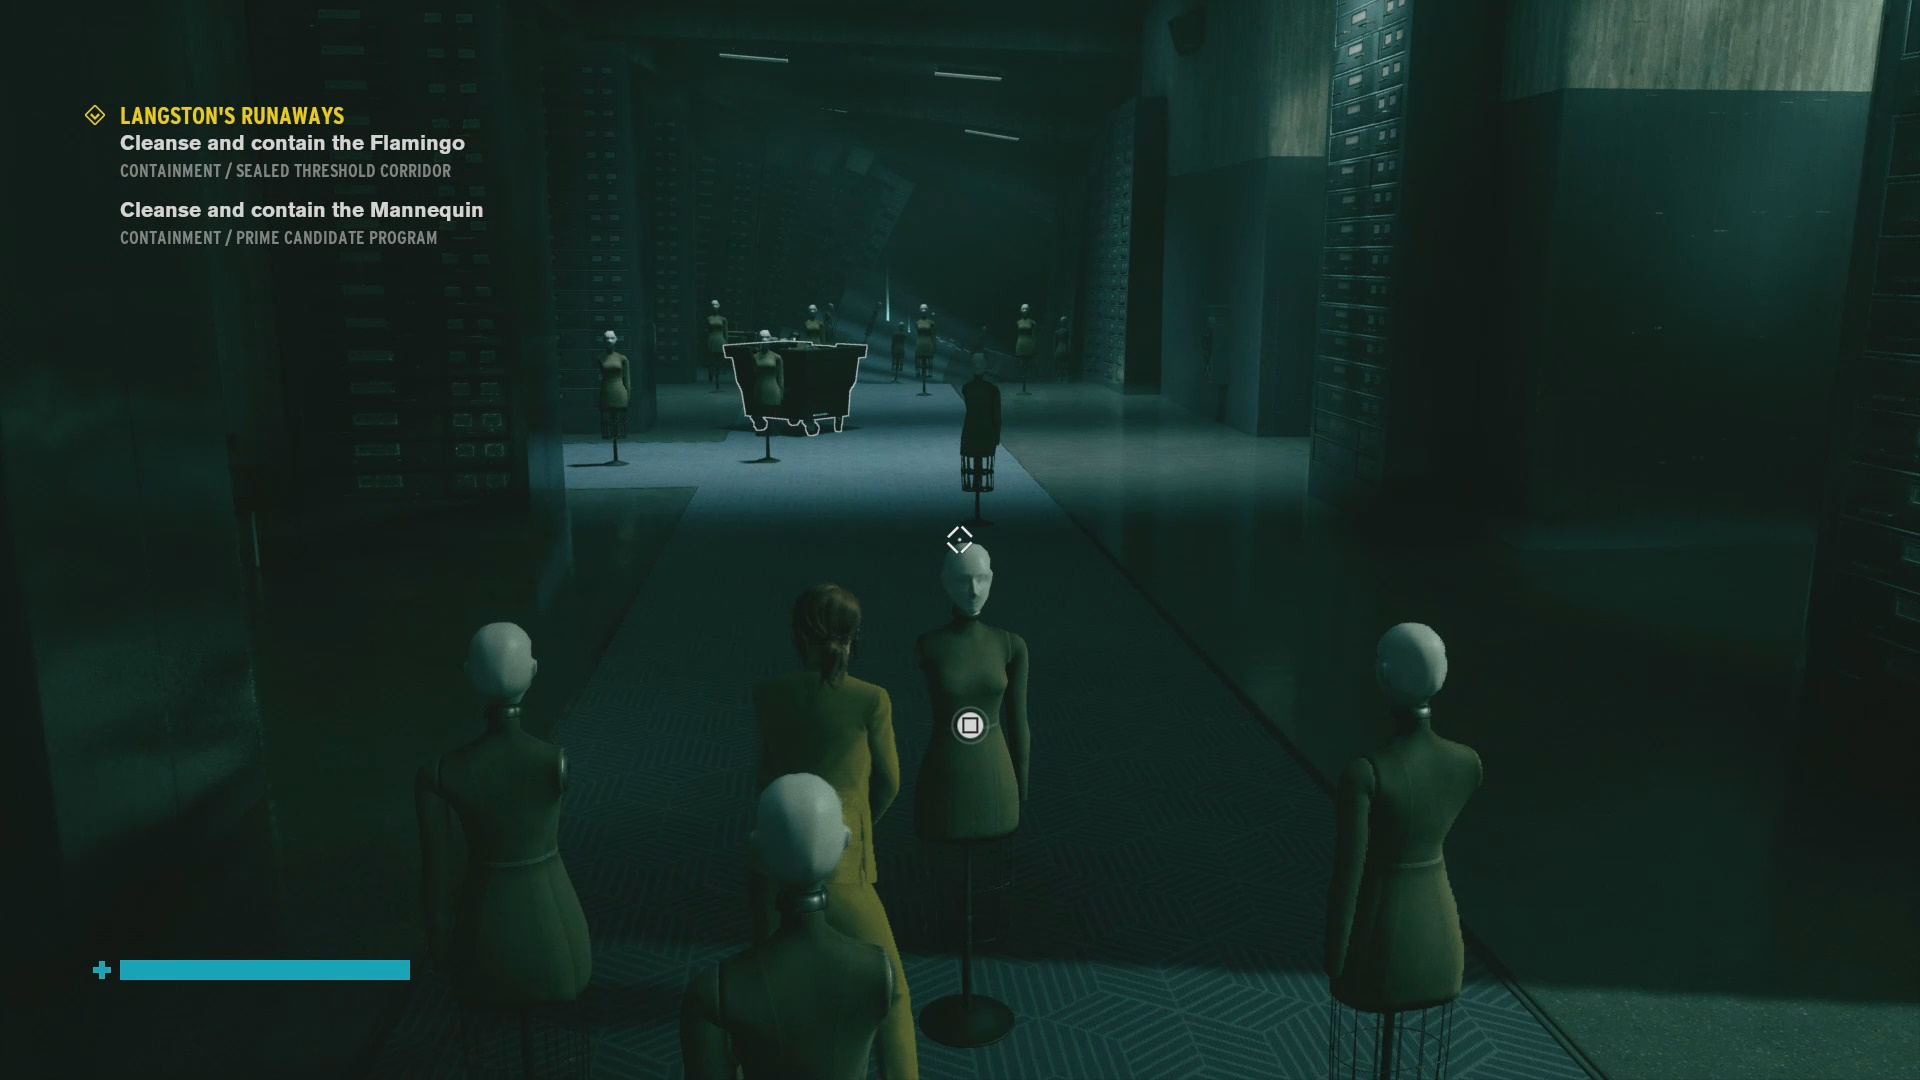
Head to the Prime Candidate Program. Make your way into the large room and head all the way to the end of the twisted hallway. Look east and you will see a mannequin. Make your way over to the mannequin and it will trigger a short sequence. You need to find the right mannequin from a bunch spread out through the area. The right mannequin can be found right at the top of the C in the Prime Candidate Program on your map.
Astral Plane Boss Fight: Former

When you grab the last item you will be teleported to an Astral Plane. On this Astral Plane you will face off against Former. This time around the arena is much smaller so you will need to pay attention where the holes it creates are.
Once you’ve defeated Former again make your way back to Langston and turn in the quest. You will receive 3 ability points, some materials, and a mod.
This concludes our Langston’s Runaways guide. Drop any comments, questions, or even suggestions you may have into The Pit below. Thanks for reading!