Kirin Guide: How to Hunt, Defeat, and Craft Gear
Kirin, the elusive Elder Dragon, is an optional quest boss that can be found in the Coral Highlands during High Rank. With its thunderous attacks and high agility, this monster can put hunters in a tough spot. To help you defeat this mystical, unicorn-like creature, this guide will walk you through its mechanics, tips, and strategies to make your hunt easier.
Kirin Information

- Difficulty: 5⭐ / 7⭐
- Location: Coral Highlands (High Rank)
- Size: Large
- Species: Elder Dragon
Weaknesses
- Fire: 3⭐
- Water: 2⭐
- Ice: 2⭐
Breakable/Severable (Weak Points)
- Horn (Weak Point)
- Head (Weak Point)
- Stomach
- Mane
Materials (Carves + Low Rank Rewards)
- Hide (5⭐)
- Mane (4⭐)
- Tail (4⭐)
- Thunderhorn (3⭐)
- Lightcrystal (2⭐)
Materials (Carves + High Rank Rewards)
- Hide+ (5⭐)
- Mane (4⭐)
- Thundertail (4⭐)
- Horn (3⭐)
- ED Bone (3⭐)
- ED Blood (3⭐)
- Novacrystal (2⭐)
Characteristics
Kirin is known for its rarity and incredible speed, cloaking itself in electric energy when threatened. This Elder Dragon uses lightning attacks that deal high elemental damage, and its hide becomes tougher when charged with static. To defeat Kirin, you need to outmaneuver its high-speed movements and manage the status effects it inflicts.
Kirin Fight Mechanics
Charge & Thunderblight
- Charge: When Kirin charges up, it generates a static field that surrounds it, preparing for a powerful thunder attack. You’ll see this charge happen before Kirin unleashes a lightning storm.
- Thunderblight: This status effect increases the chances of getting stunned, making you vulnerable to further attacks. To heal Thunderblight, use a Nullberry or roll around seven times to shake it off.
Paralysis
Kirin can also inflict Paralysis with its thunder strikes, leaving you vulnerable for a few moments. Watch for the lightning symbols above your health bar to know when to heal the status effect.
Kirin’s Attacks
Kirin’s attack set revolves around high-speed lightning moves, so quick reflexes and proper positioning are essential. Here’s what to look out for:
- Charge: Kirin will charge directly at you or run around the arena, leaving a trail of lightning in its wake.
- Lightning Strikes: Kirin will unleash lightning strikes after charging up. Be mindful of these as they can hit hard, especially if you’re caught in their proximity.
- Proximity Strikes: Kirin will rear up and unleash a concentrated bolt of lightning directly in front of it.
- Lightning AoE: The arena will light up with lightning strips that damage anyone standing on them. Avoid standing on these!
- Close Strikes: If you’re close to Kirin, it will emit a lightning strike around its body.
- Back Kick: Kirin will kick back when someone stands behind it.
- Buck: Kirin will buck and deal damage if someone is too close.
Kirin Fight Tips
To succeed against Kirin, preparation and quick thinking are key. Here are the most important tips for handling this Elder Dragon:
- Eat Before the Hunt: Always eat a meal from the canteen before your fight to give yourself buffs.
- Use the Free Camera: Switch to the free camera mode instead of lock-on, as Kirin’s erratic movement can make the lock-on camera difficult to manage.
- Bring Nullberries: Ensure you have enough Nullberries to cure Thunderblight, as it’s easy to get stunned if left unchecked.
- Thunderproof Mantle: If you have access to it, the Thunderproof Mantle is invaluable for this fight. It negates much of Kirin’s lightning damage and makes the battle much easier.
- Elderseal Weapon: Since Kirin is an Elder Dragon, bring along a weapon with Elderseal to reduce its ability to charge up and deal devastating lightning attacks.
- Exploit Elemental Weakness: Kirin is especially weak to Fire damage, so consider bringing a weapon with Fire elemental damage for maximum effectiveness.
- Be Patient: Don’t rush the fight. Wait for Kirin to charge, and then strike once it has used its thunder moves.
Kirin Set (Rarity 4)
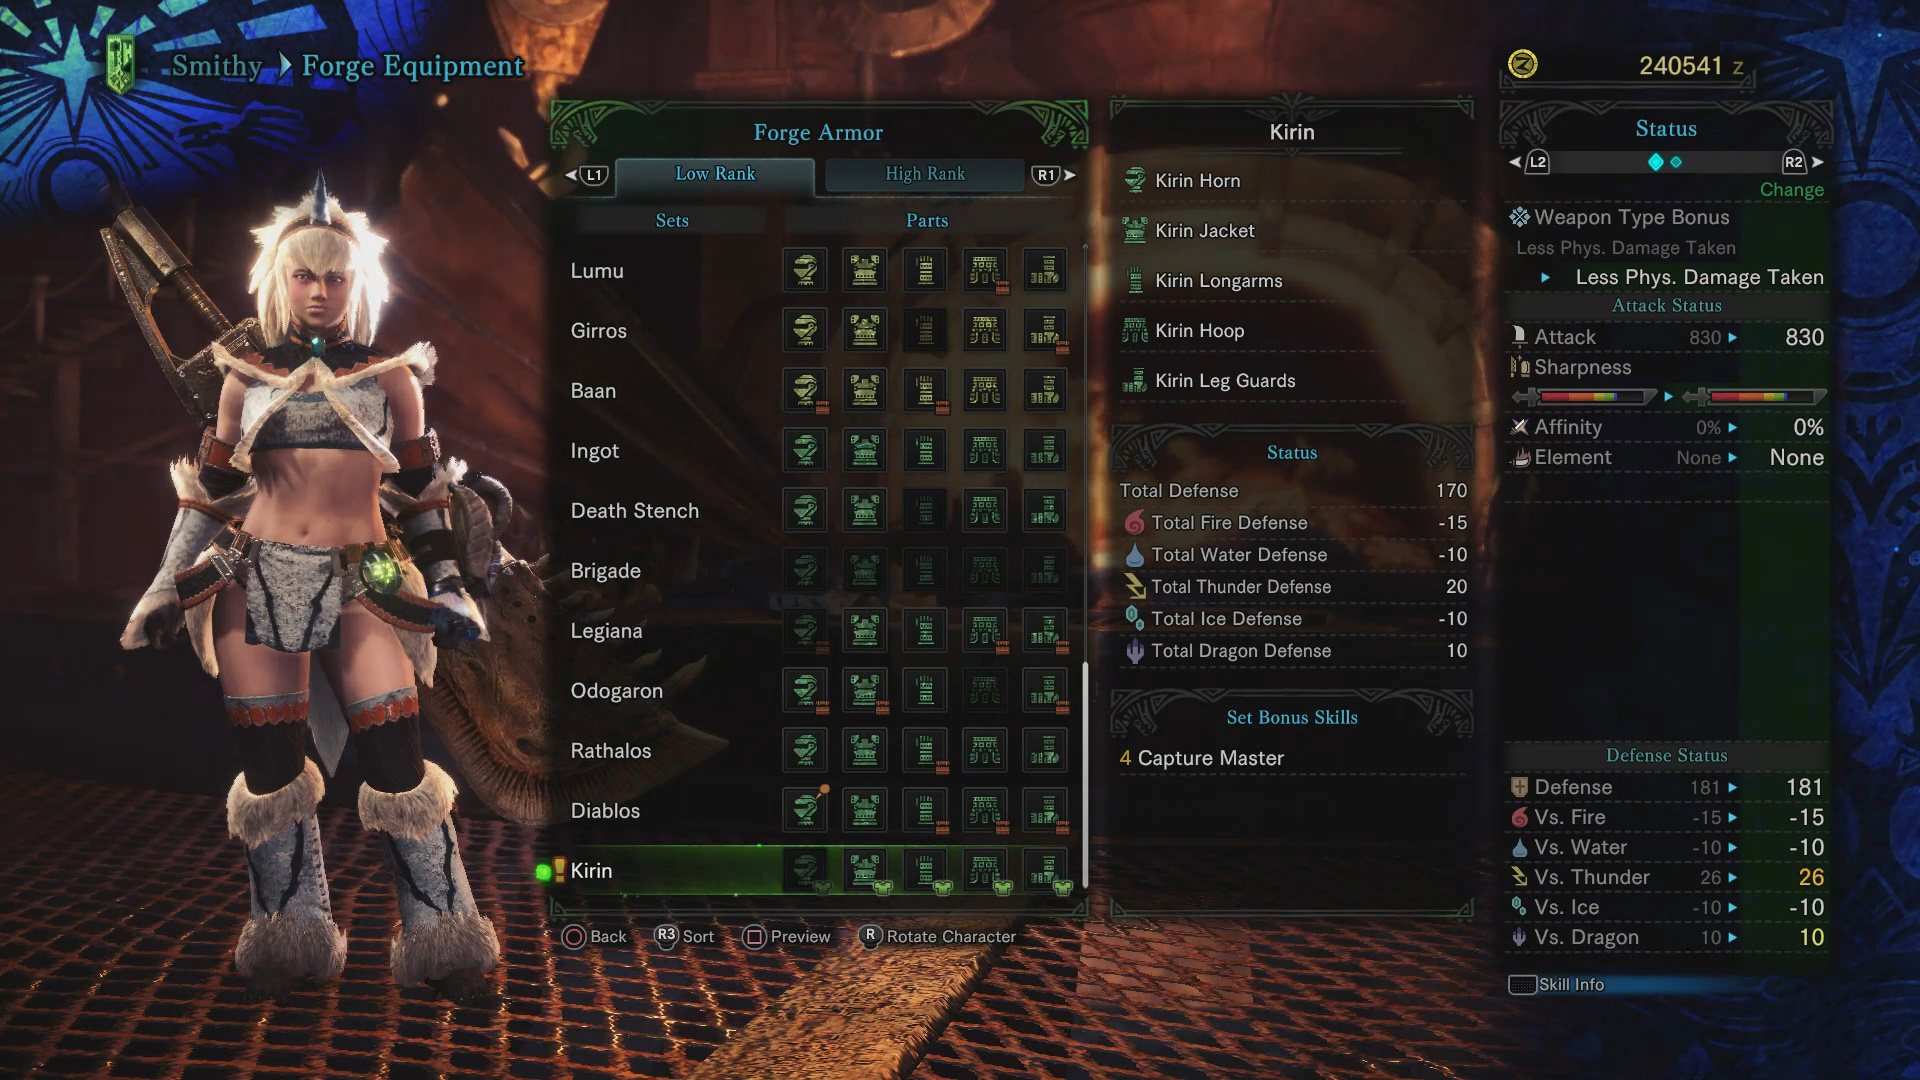

Human Armor Requirements:
- Horn: 2x Hide, 2x Tail, 3x Thunderhorn, 1x Lightcrystal
- Jacket: 2x Hide, 2x Mane, 4x Coral Crystal, 2x Coral Bone
- Longarms: 3x Hide, 2x Mane, 2x Paolumu Shell, 1x Lightcrystal
- Hoop: 2x Hide, 1x Thunderhorn, 1x Tail, 1x Electro Sac
- Guards: 2x Hide, 1x Thunderhorn, 2x Paolumu Shell
Set Bonus (4 Pieces): Kirin Blessing (Capture Master) – Increases capture rewards when fully equipped.
Palico Armor Requirements:
- Zapurr: 1x Thunderhorn
- Horn: 1x Mane
- Vest: 1x Hide
Kirin α+β Set (Rarity 8)

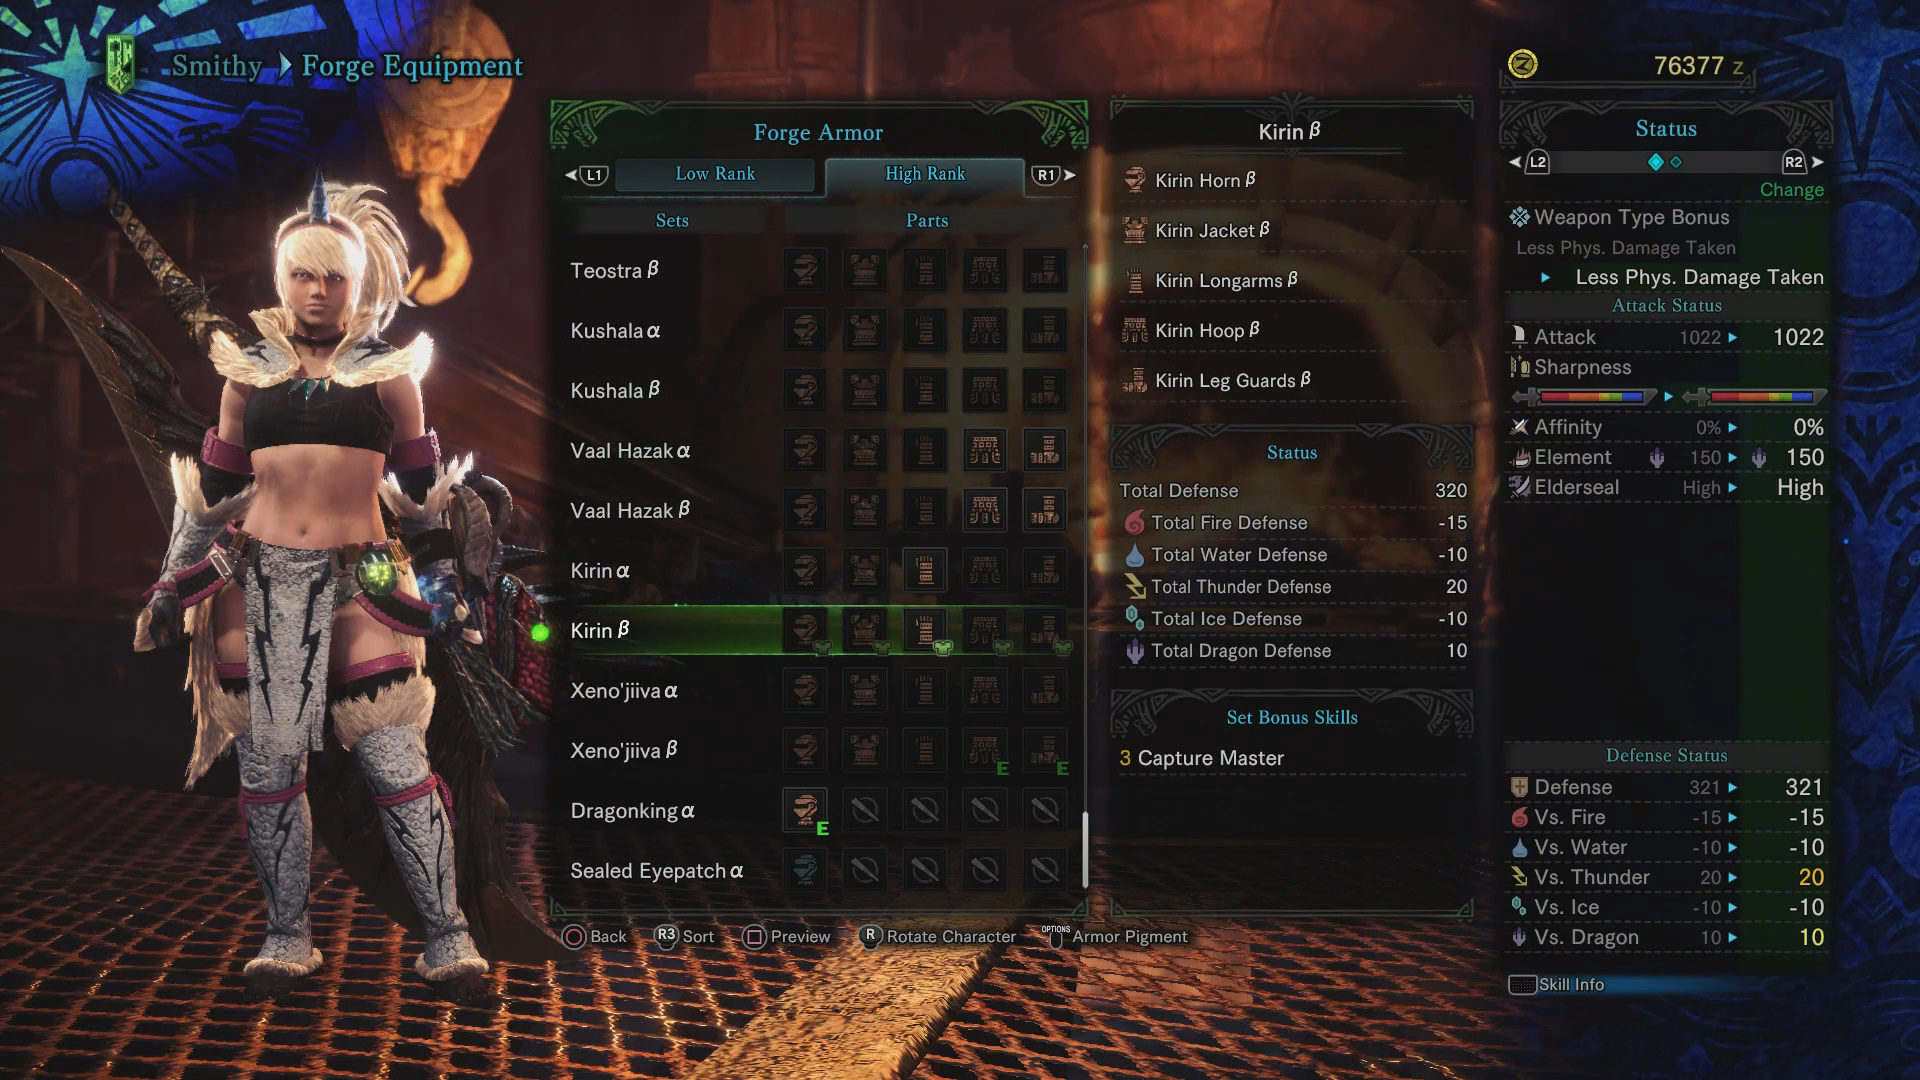
Human Armor Requirements:
- Horn: 3x Hide+, 1x Horn, 2x Shamos Scale+, 4x Thunder Sac
- Jacket: 3x Hide+, 1x Horn, 2x Thundertail, 4x Fucium Ore
- Longarms: 3x Hide+, 4x Kirin Mane, 3x Paolumu Carapace+, 6x Dragonvein Crystal
- Hoop: 4x Hide+, 4x Mane, 3x Horn, 1x Novacrystal
- Guards: 3x Hide+, 3x Thundertail, 3x Carapace+, 1x Dragonborn Relic
Set Bonus (3 Pieces): Kirin Favor (Capture Master) – High chances of increased capture rewards.
Palico Armor Requirements
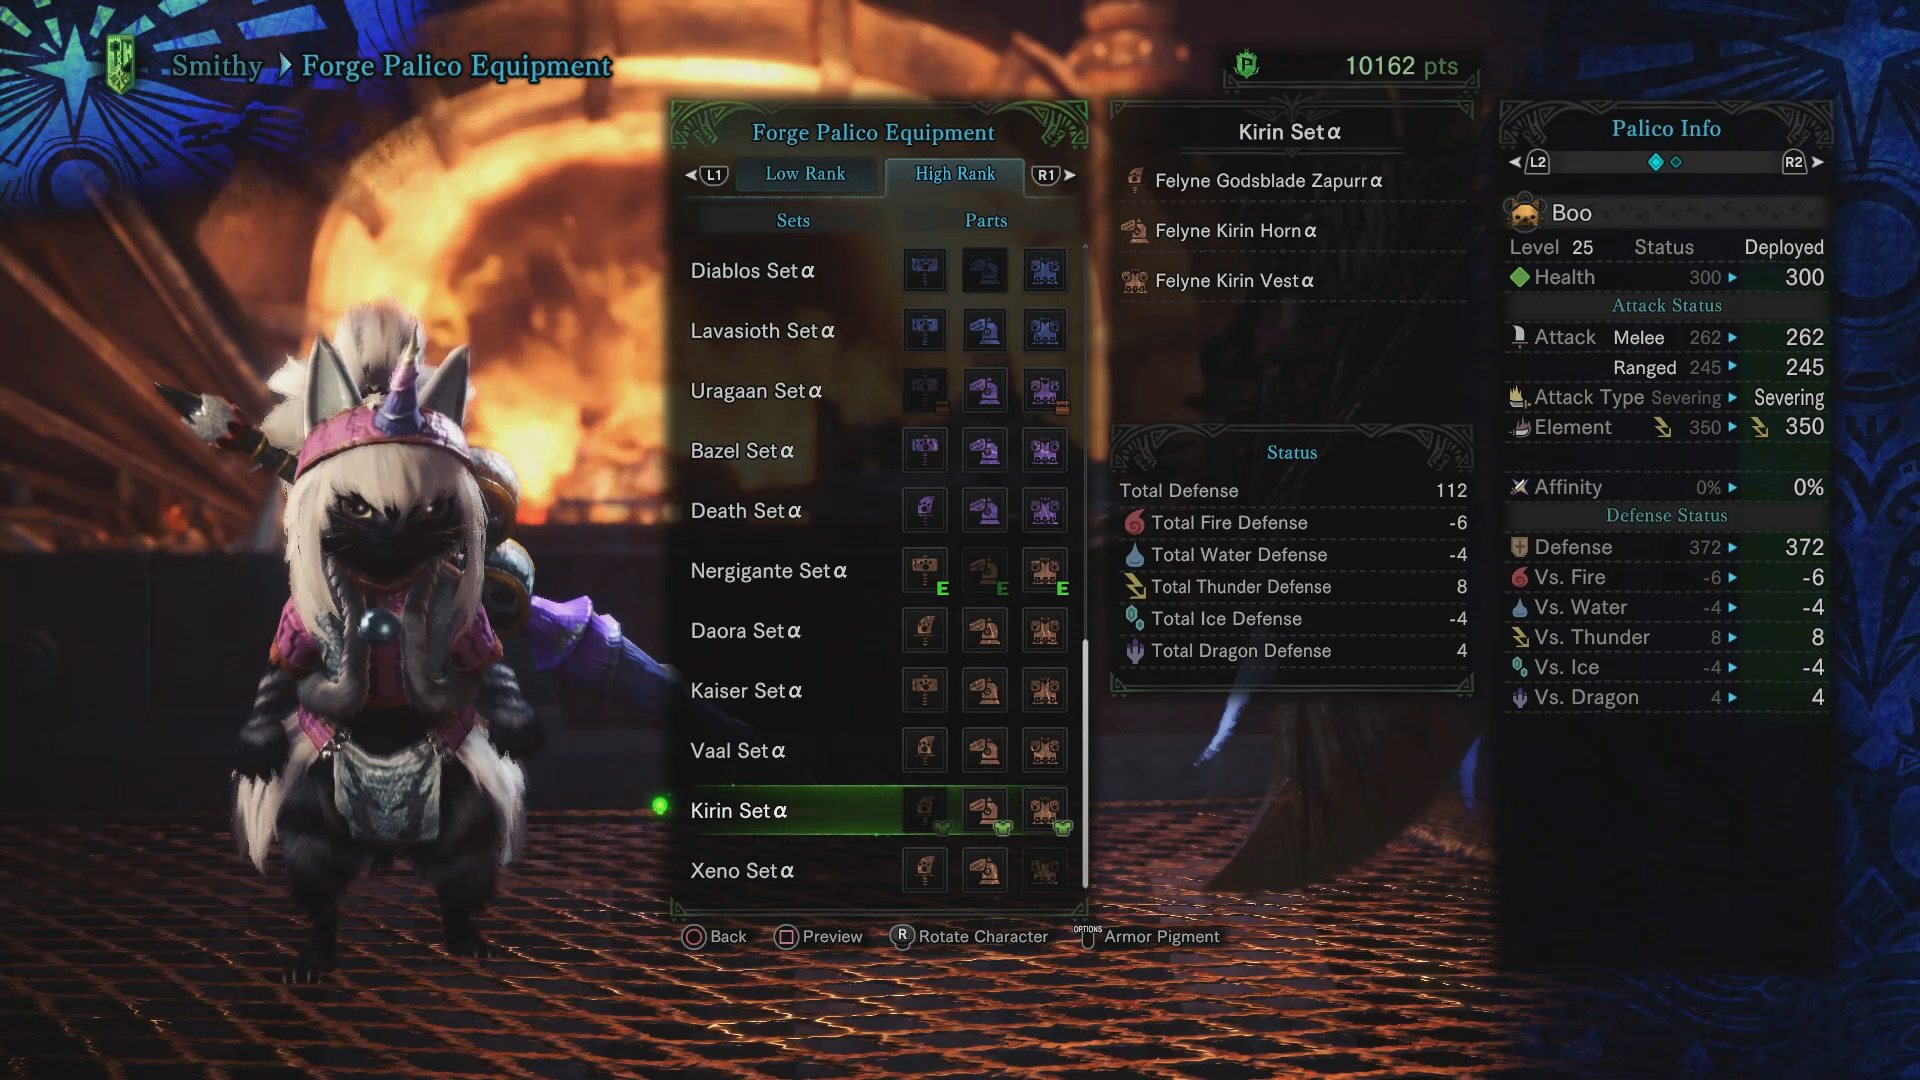
- Zapurr: 1x Kirin Azure Horn
- Horn: 1x Hide+, 1x Mane
- Vest: 1x Hide+
Now that you’re prepared to take on Kirin, why not tackle another Elder Dragon? Nergigante, known for its ferocity and strength, is a true test of skill. If you’re ready for a challenge, check out our Nergigante guide for everything you need to know about this dangerous creature and how to bring it down!
Thoughts on our Kirin guide? Drop them in the comments below.
What exactly means mid quest