City of Tears (Left Side) | Hollow Knight Guide
After getting the Mantis Claw from the Mantis Village you can visit a new area called City of Tears. The city is split into two sections: the left side and the right side. For now we can only explore the left (west) side. To help you navigate this area see our guide for the left side of City of Tears below.
City of Tears Map
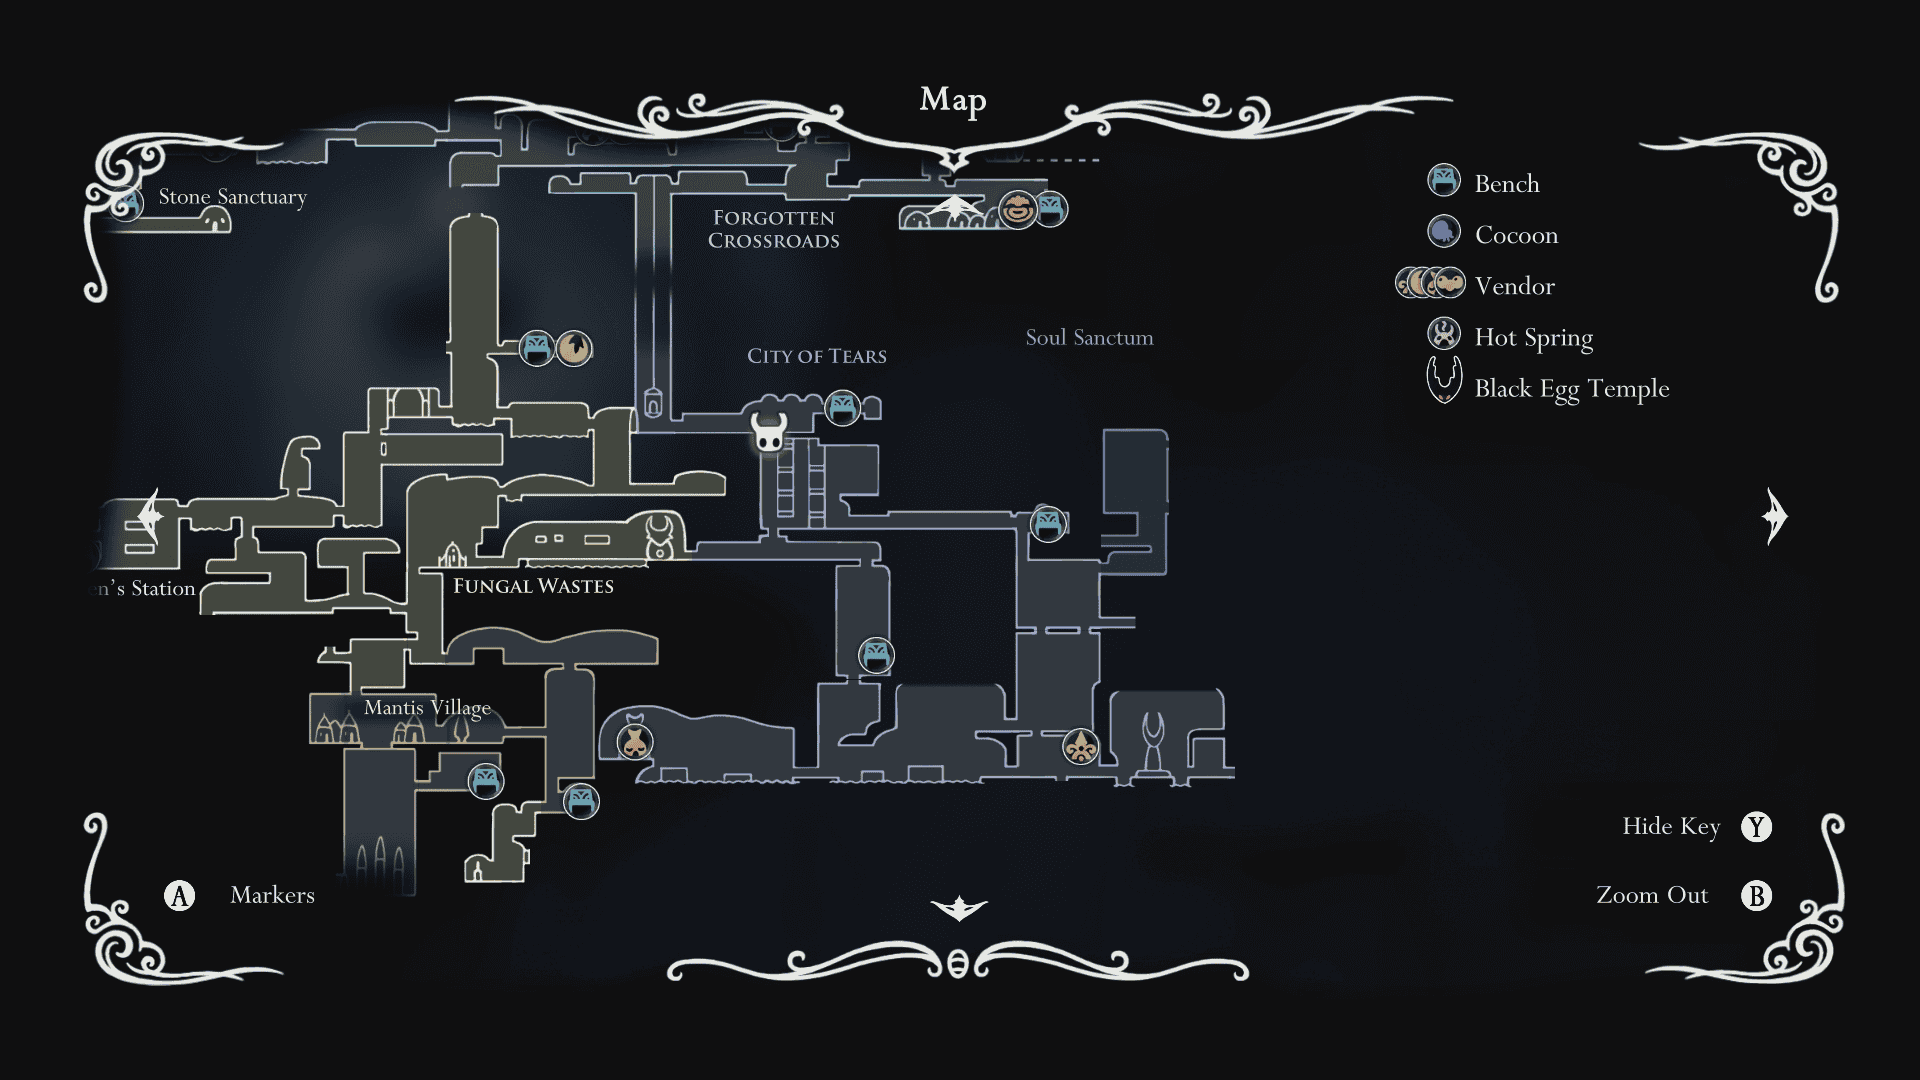
You enter the west side of City of Tears via the entrance from Fungal Wastes. As you traverse this area you will find paths blocked. To make your way through this area travel in a counterclockwise manner as highlighted in the map above.
Finding the First Bench
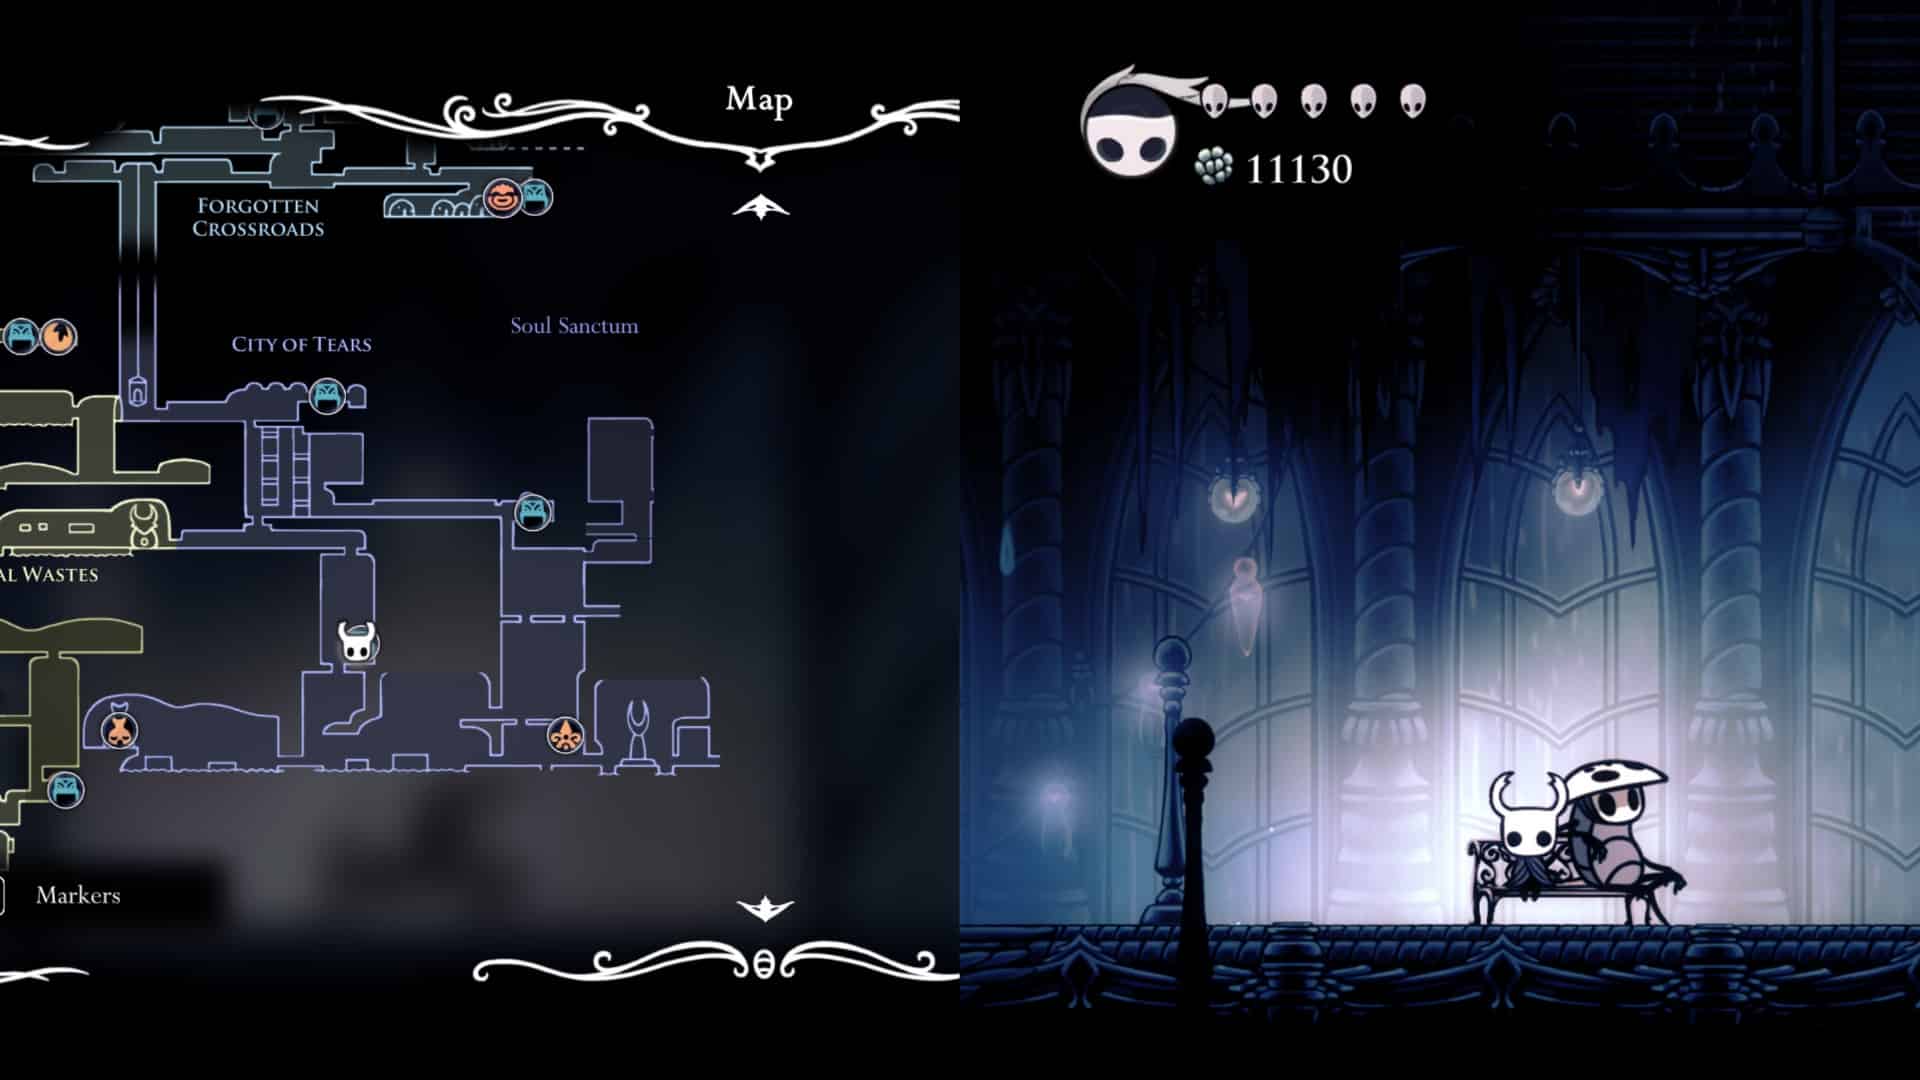
From the entrance make your way to the right. Follow the rooms forward until you reach an elevator. Stand on the elevator and hit the switch above you to go down to the room below.
Head right on the floor below to find the first Bench in City of Tears. Sitting on the Bench you will find Quirrel. Rest there and speak to him.
Leave the Bench and go left. Drop down and go left to reach the next room. In the next room follow the path to the right and down to reach an elevator.
Avoid the elevator for now and instead continue heading to the left. Go down and cross the gap to find a Geo Chest. Open it to get some easy Geo.
Where to Find the Nailsmith
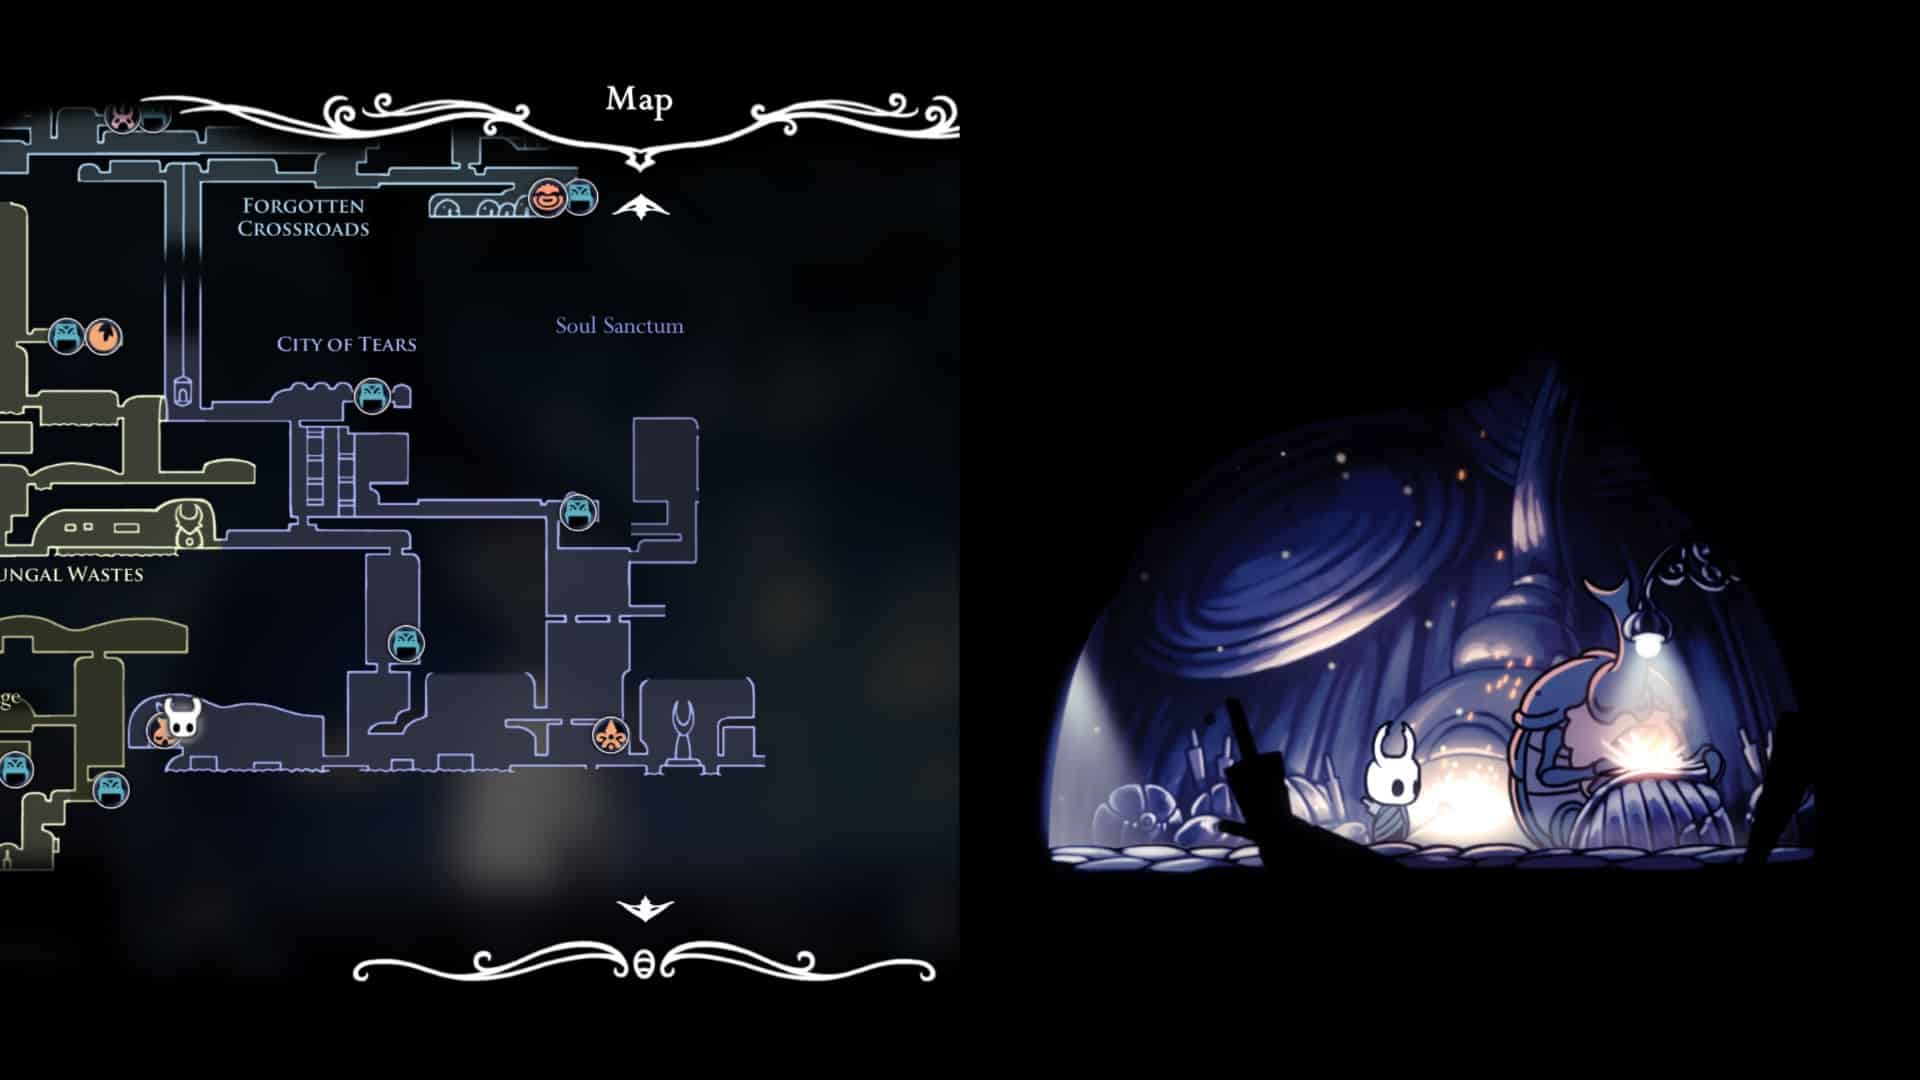
Drop down to the floor below when you are ready. Head left into the next room that has a sign for the Nailsmith. Complete the platforming section leading to the left. Go to the very end of this room to find the Nailsmith’s Hut on the ledge at the end.
What Does the Nailsmith Do?
The Nailsmith is an vendor located in his workshop on the far left edge of the City of Tears. He is the sole NPC who can upgrade your primary weapon, increasing your base Nail damage across four tiers:
- Sharpened Nail (250 Geo)
- Lustral Nail (800 Geo + 1 Pale Ore)
- Spiral Nail (2,000 Geo + 2 Pale Ore)
- Pure Nail (4,000 Geo + 3 Pale Ore)
Upon crafting the final Pure Nail, the Nailsmith considers his life’s purpose fulfilled and steps outside, asking you to strike him down with his ultimate creation.
You can choose to fulfill his request or walk away; sparing him allows him to travel to Greenpath to pursue a peaceful new passion alongside Sheo the Paintmaster.
Upgrade your Nail while you are here by paying the 250 Geo.This will improve your damage and will help us as the game starts to get harder from here on out.
Leave this area and head back to the room with the elevator. Keep heading right (ignoring the elevator and entrance to the Royal Waterways) until you reach the Memorial to the Hollow Knight.
Go to the Memorial to the Hollow Knight
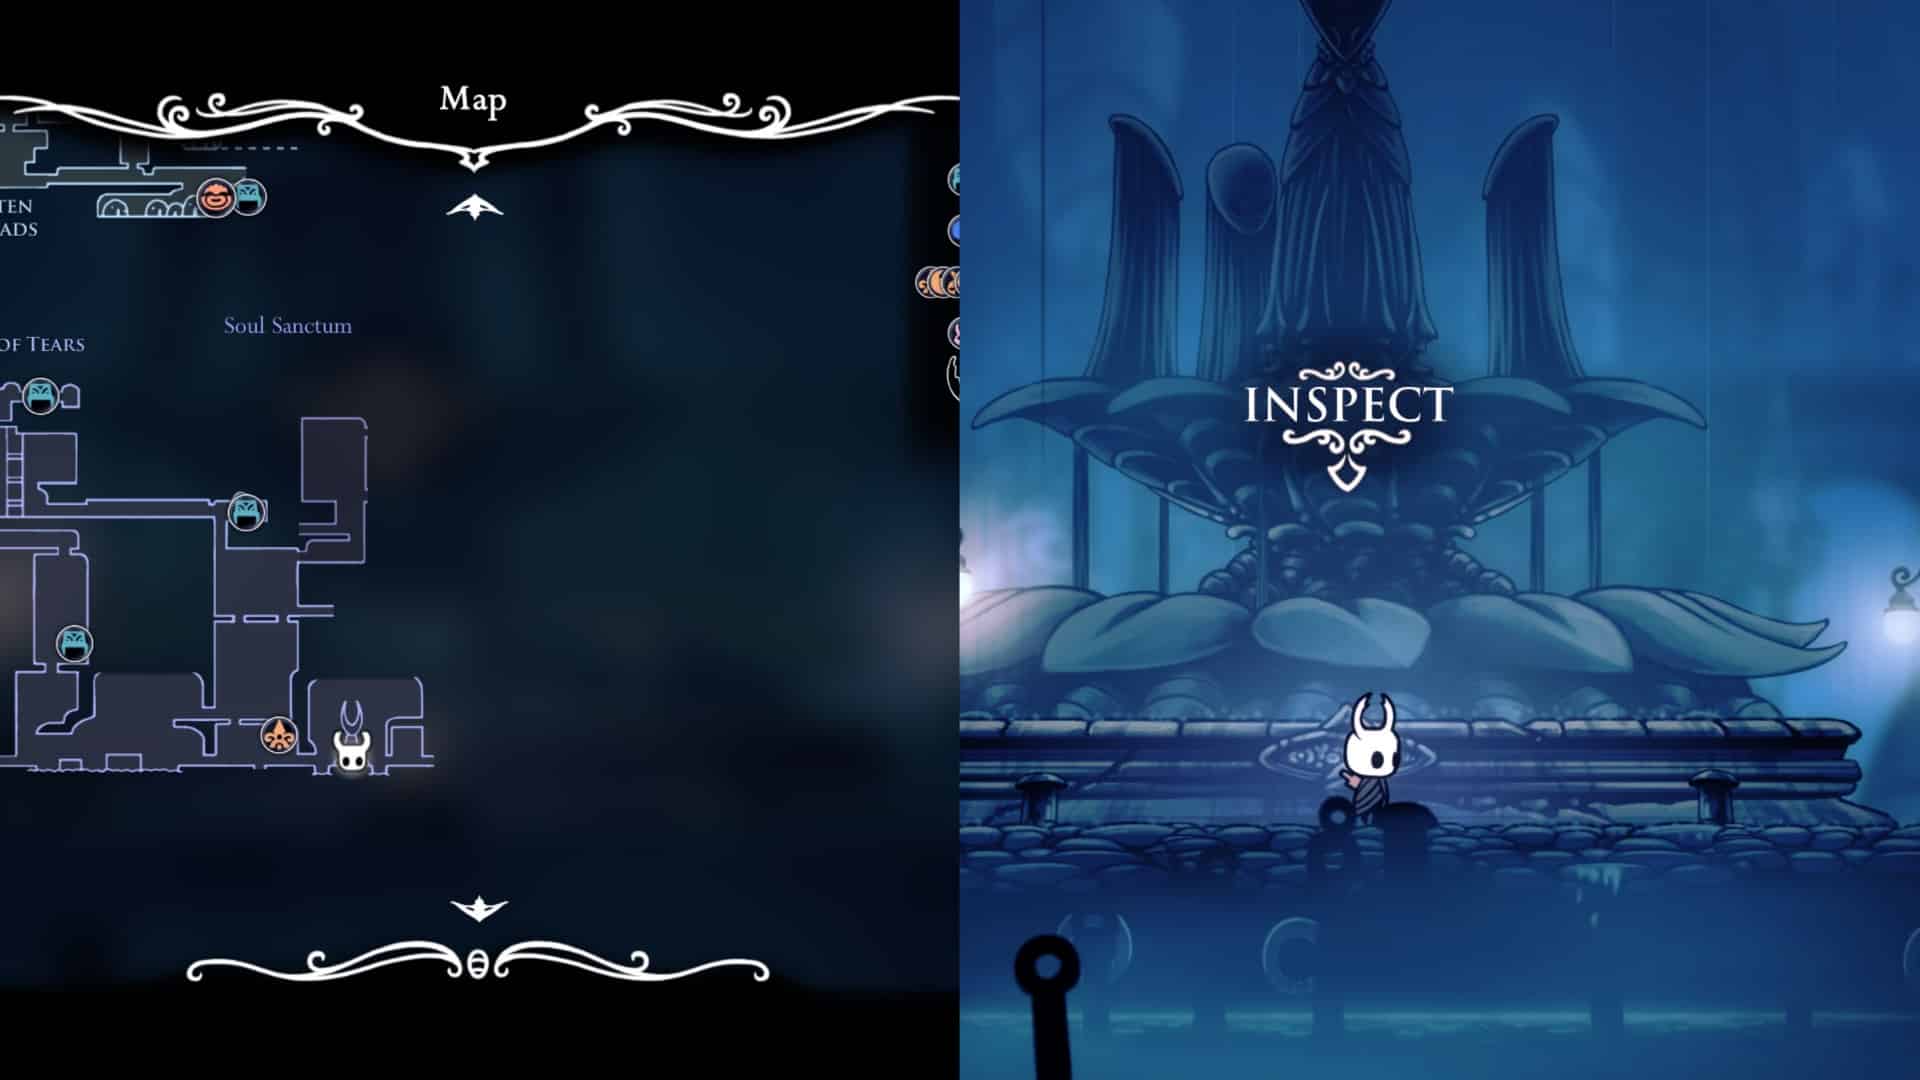
When you enter the Memorial to the Hollow Knight you will trigger a cutscene. After the cutscene, Hornet will appear and will speak to you.
Following this interaction, head back to the room before the Nailsmith with the elevator in it.
Where to Find Relic Seeker Lemm
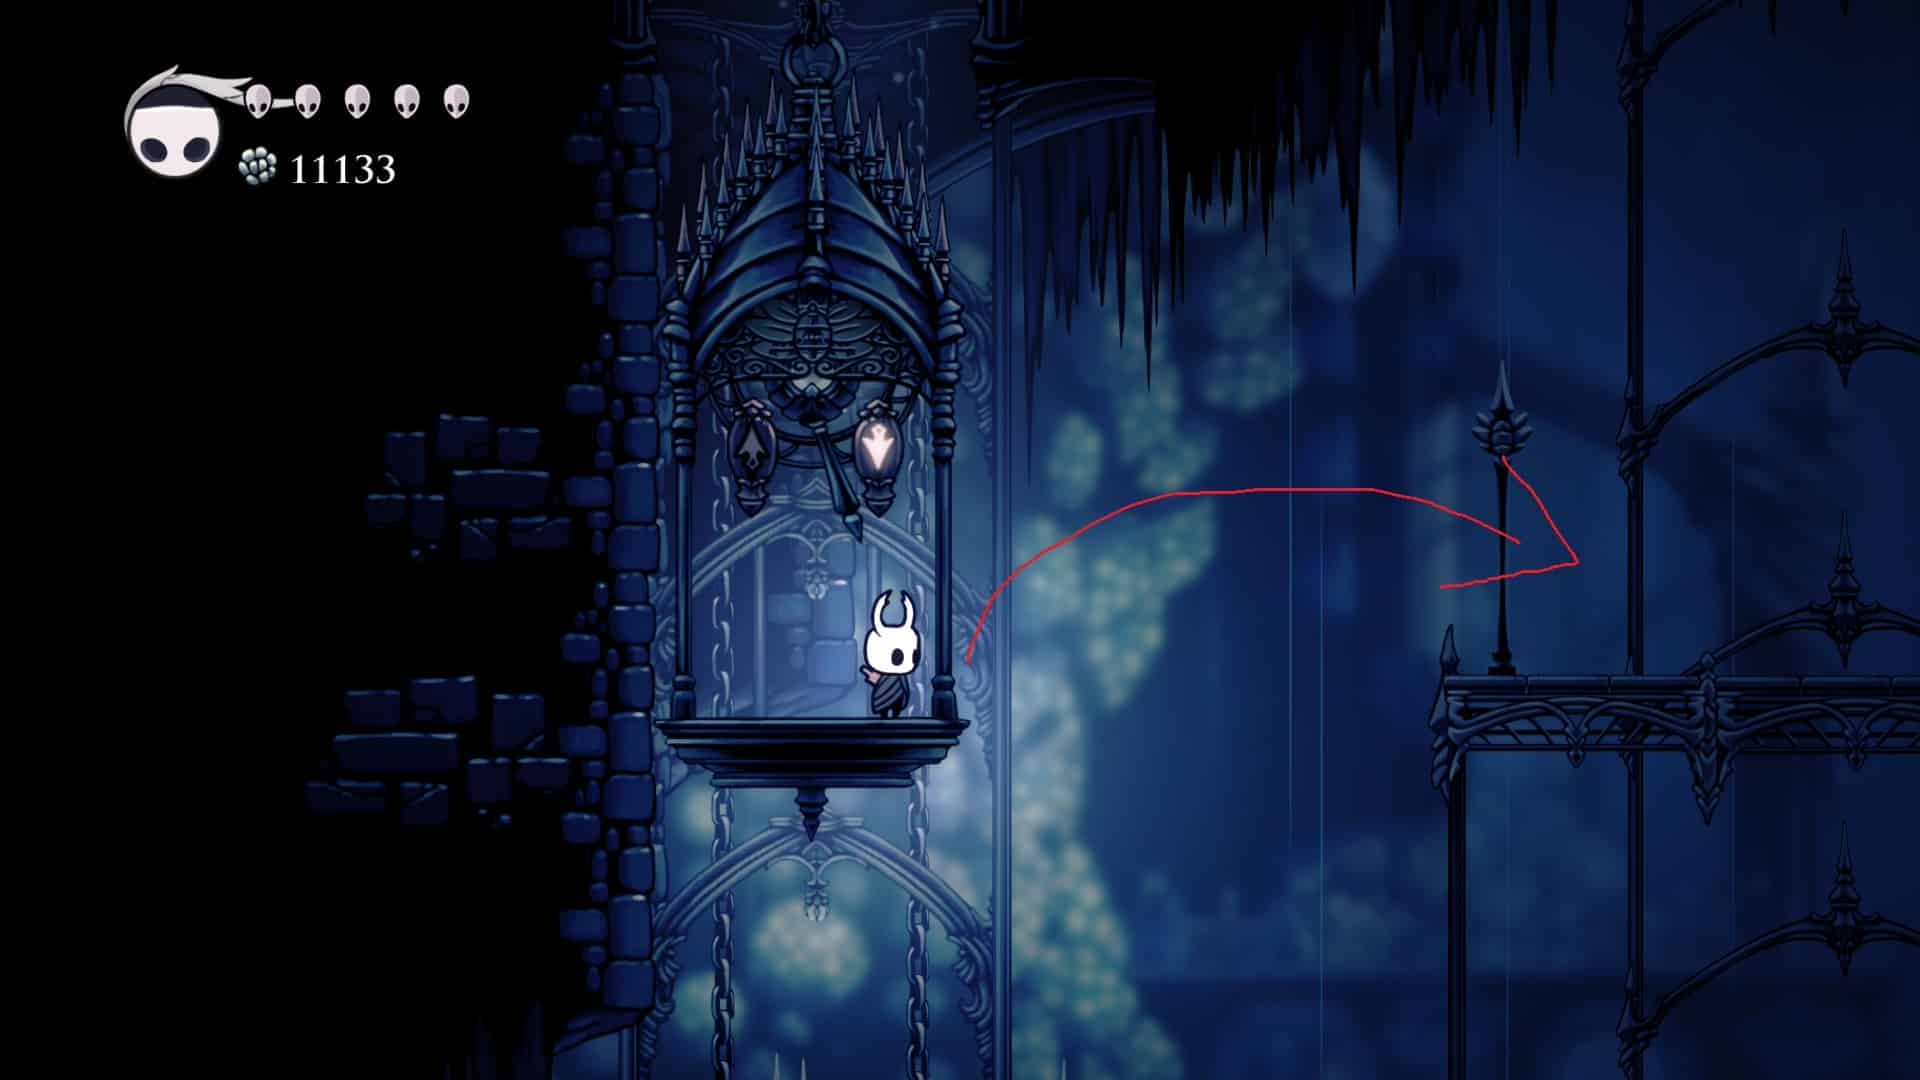
Call the elevator down. Get on it and ride it up. About halfway you will see a platform to your right. Jump to this platform and follow the platforms leading to the right to reach an entrance to a room. Go through it.
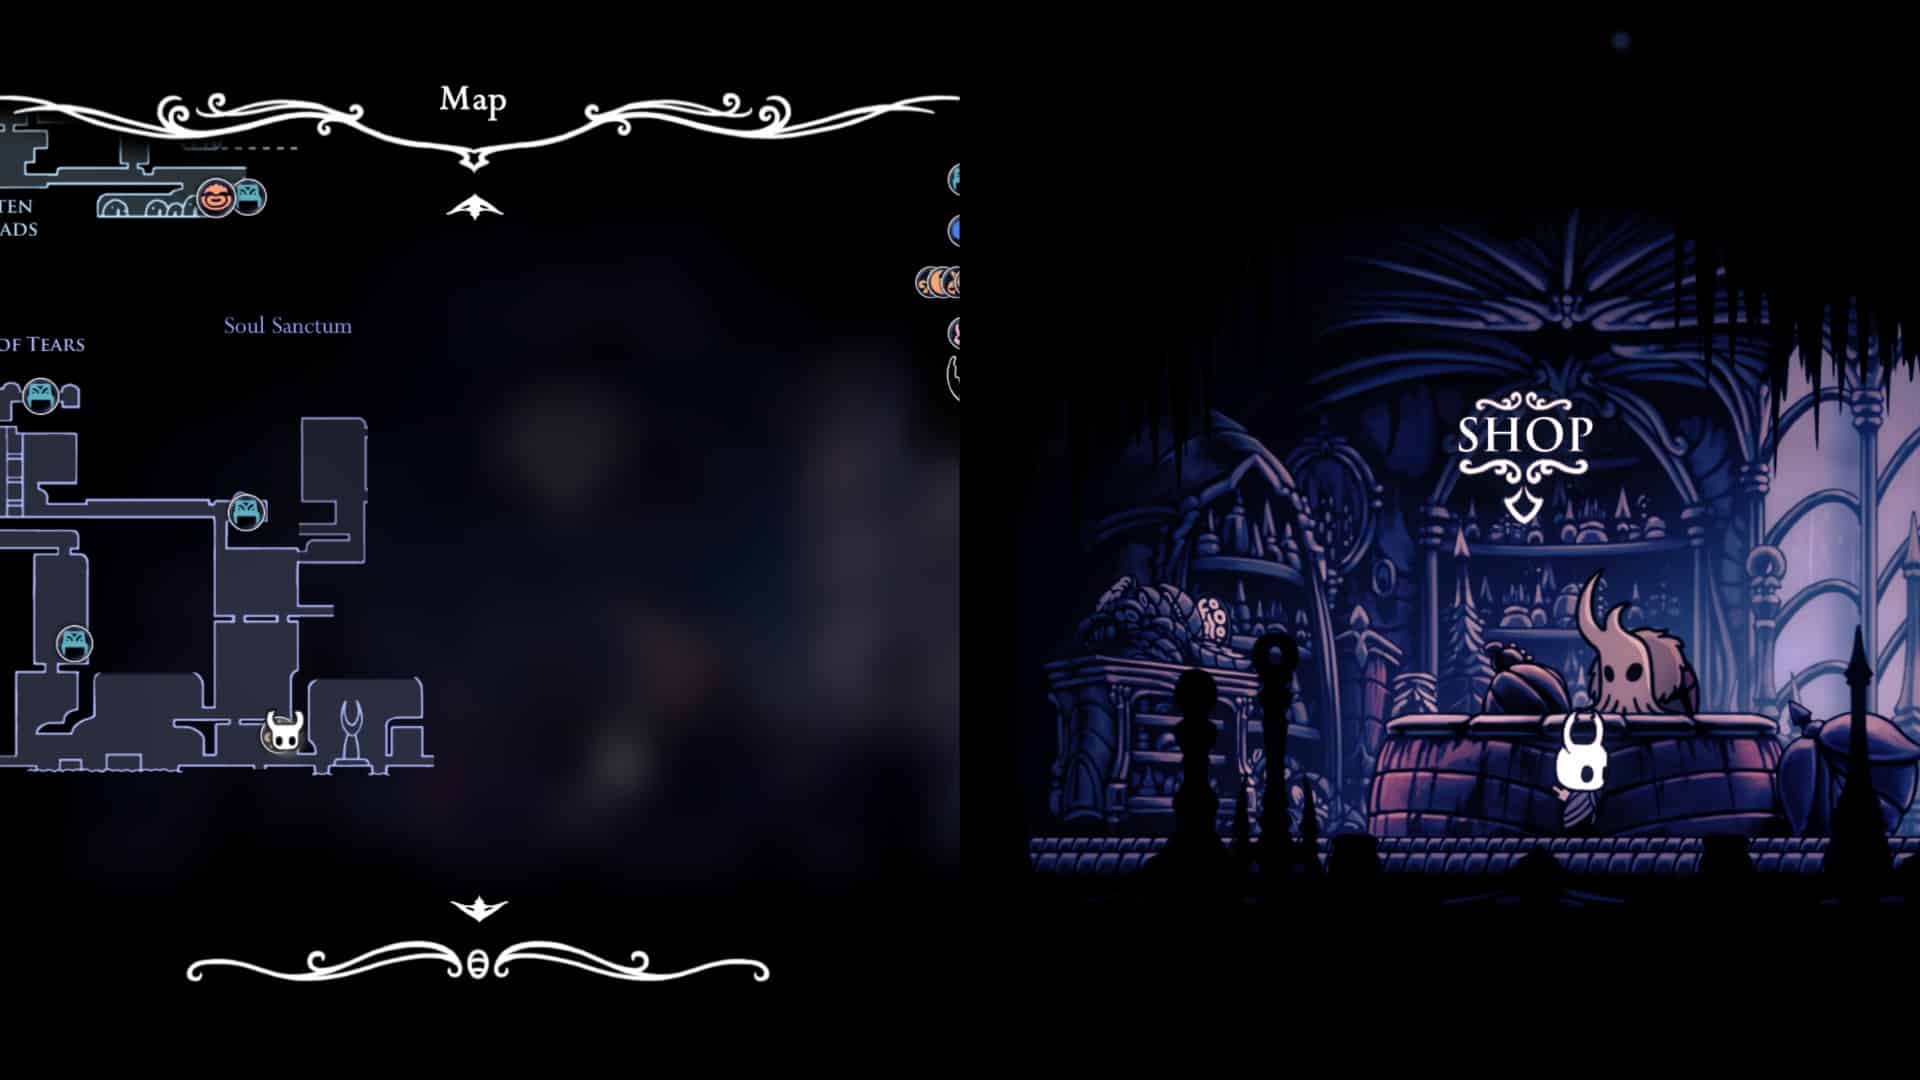
In this room you will see a sign pointing down. Go down into the room below. Hit the lever on your left to open a path back to the hallway just before the Memorial to The Hollow Knight. Head right and enter Relic Seeker Lemm’s Shop.
What Does Relic Seeker Lemm Do?
Relic Seeker Lemm is an antiquarian merchant located in a multi-story tower near the City Storerooms in the City of Tears. He buys historical artifacts (relics) you find throughout Hallownest in exchange for large amounts of Geo.
Unlike normal loot, you do not lose relics when you die, making Lemm the best “bank” in the game—hold onto your relics until you need Geo for a specific purchase, then sell them to him all at once.
Relic Payouts
- Wanderer’s Journal: 200 Geo
- Hallownest Seal: 450 Geo
- King’s Idol: 800 Geo
- Arcane Egg: 1,200 Geo
(Note: If you are wearing the Defender’s Crest Charm when visiting his shop, Lemm will refuse to buy anything from you until you take it off due to the smell!)
Leave Relic Seeker Lemm’s shop and use the Mantis Claw to go back up to the room above. Ride the elevator up in this room to the next floor.
Rancid Egg
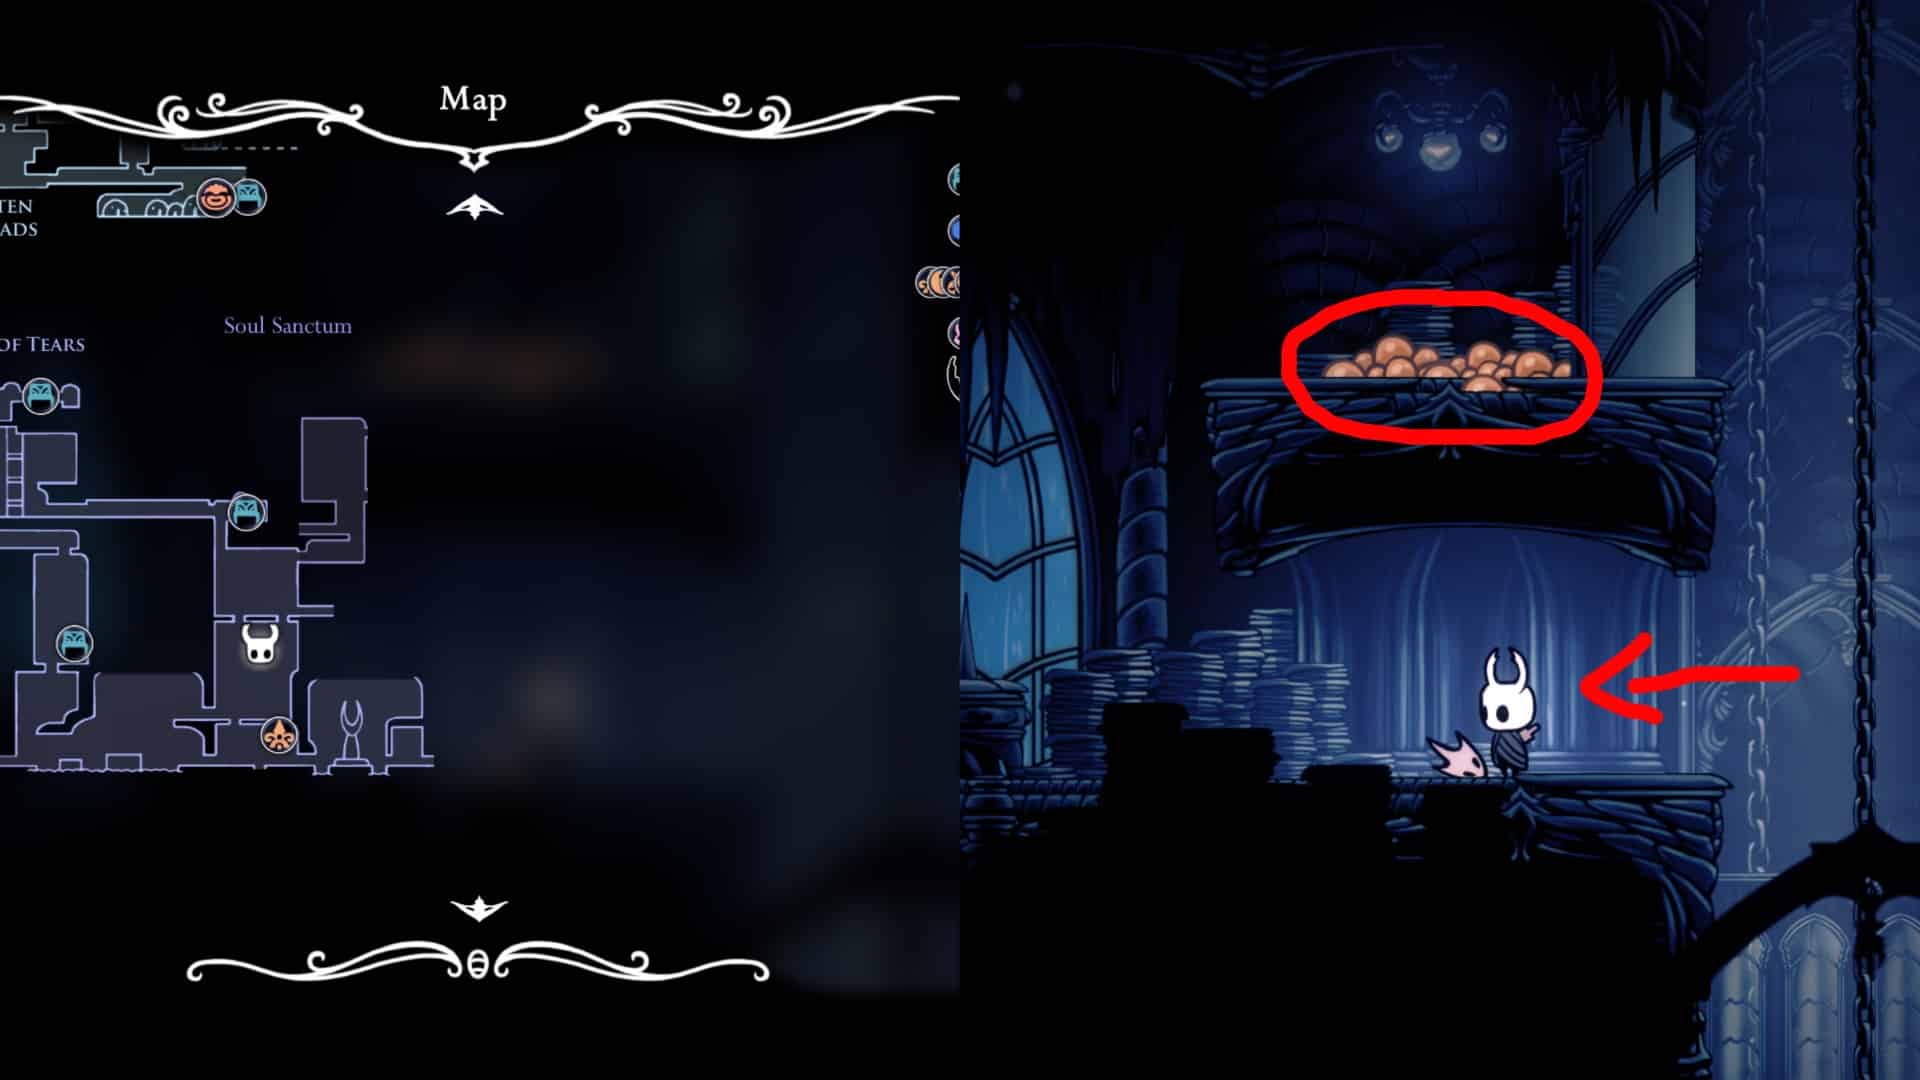
Ride the elevator all the way up. At the top ride it down. On your left you will see a ledge you can dash over to. Do this to reach a hidden area . Inside this area there is a Rancid Egg.
What Does the Rancid Egg Do?
Rancid Eggs are consumable items used to safely retrieve your lost Geo and broken Soul Vessel without returning to the spot where you died. Give an egg to Confessor Jiji in Dirtmouth (behind the door requiring a Simple Key), and she will summon your Shade directly to her hut so you can defeat it safely.
There are 21 fixed eggs hidden throughout Hallownest, and you can also buy them from Sly in Dirtmouth or Tuk in the Royal Waterways.
Take the elevator back down to the second floor. Get off and head to the left. Follow the path leading up in this room. Reach the top of the room and go up into the room above.
Where to Find the City of Tears Map & Bench 2
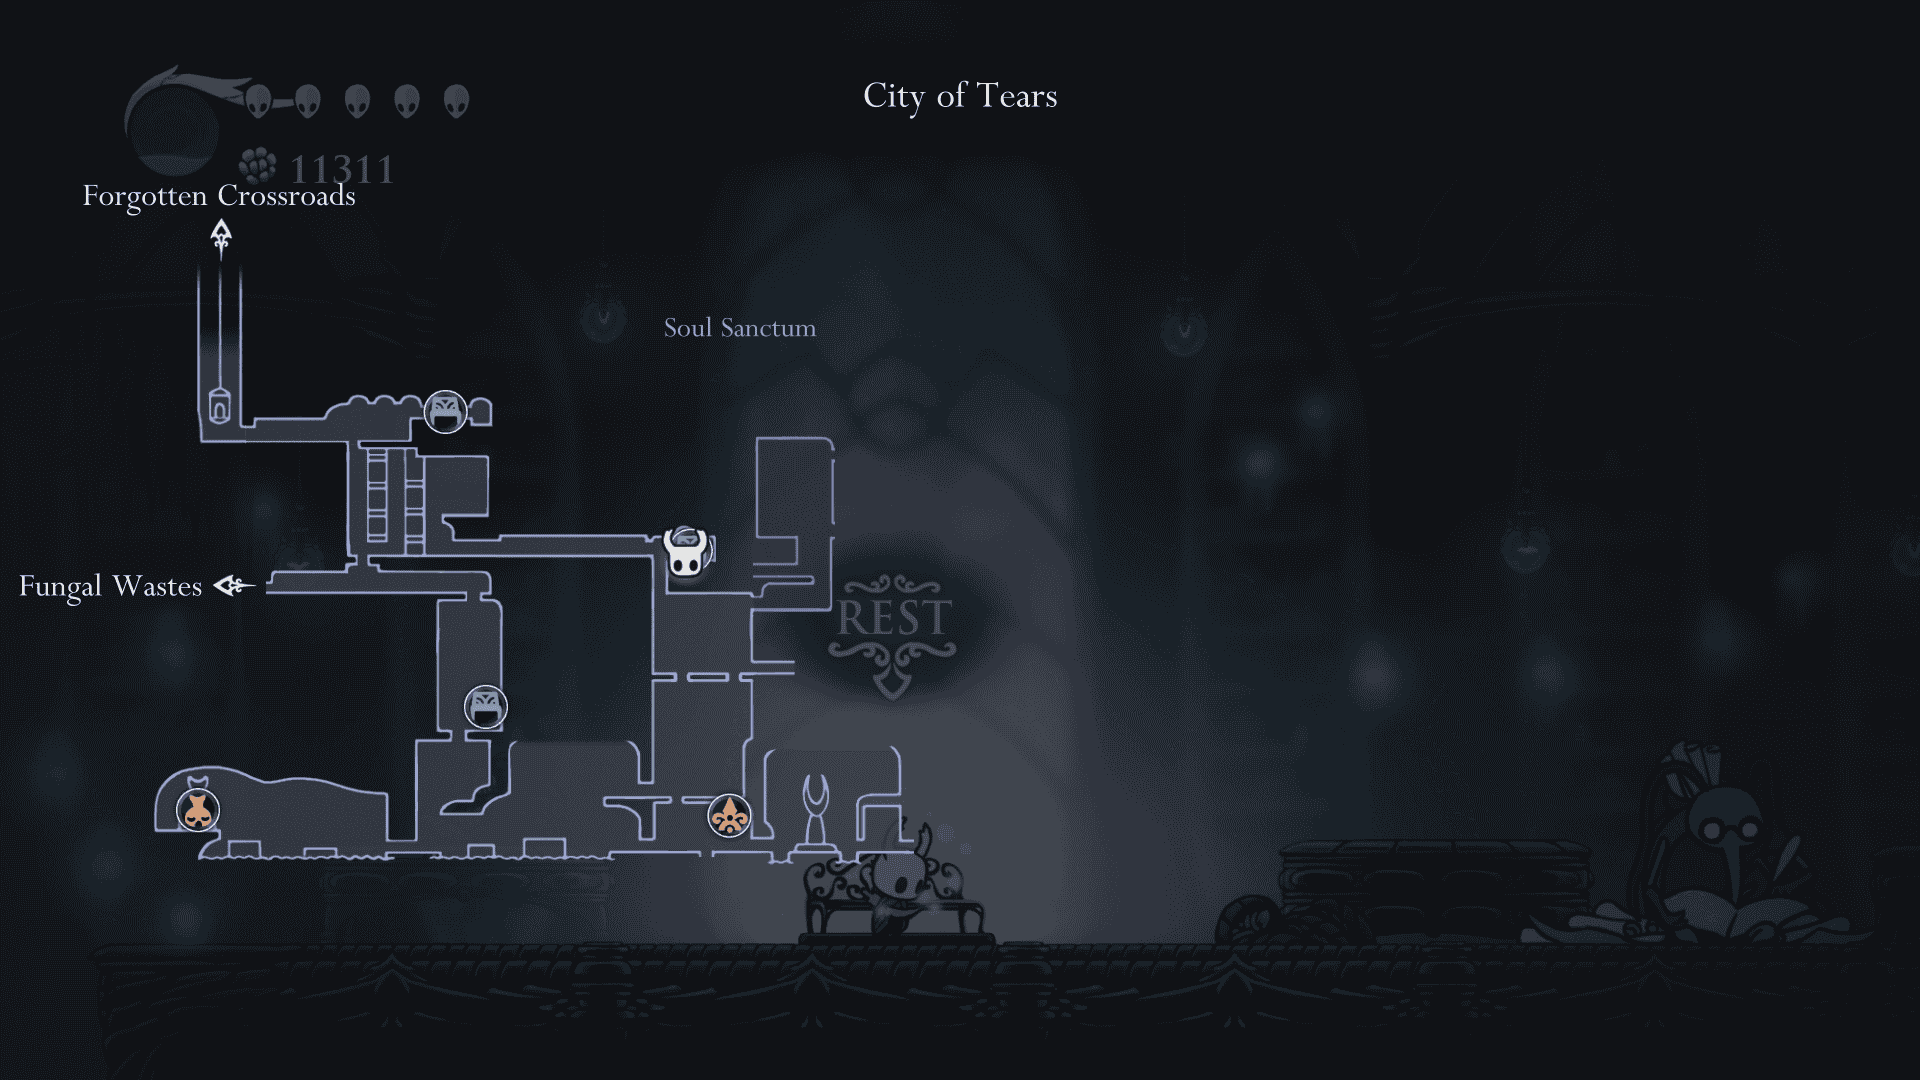
In the upper room make your way up until you reach a lever. Hit the lever to open the gate. Head to the right and drop down. Go down into the room below.
We are back in the room with the elevator. In this room hit the lever on the ledge to open the closed gates below. Head to the right after the gates are open.
You can go down or up here. Go down first. Hit the lever to open a shortcut back down below then head up and enter the room above.
Grub 1
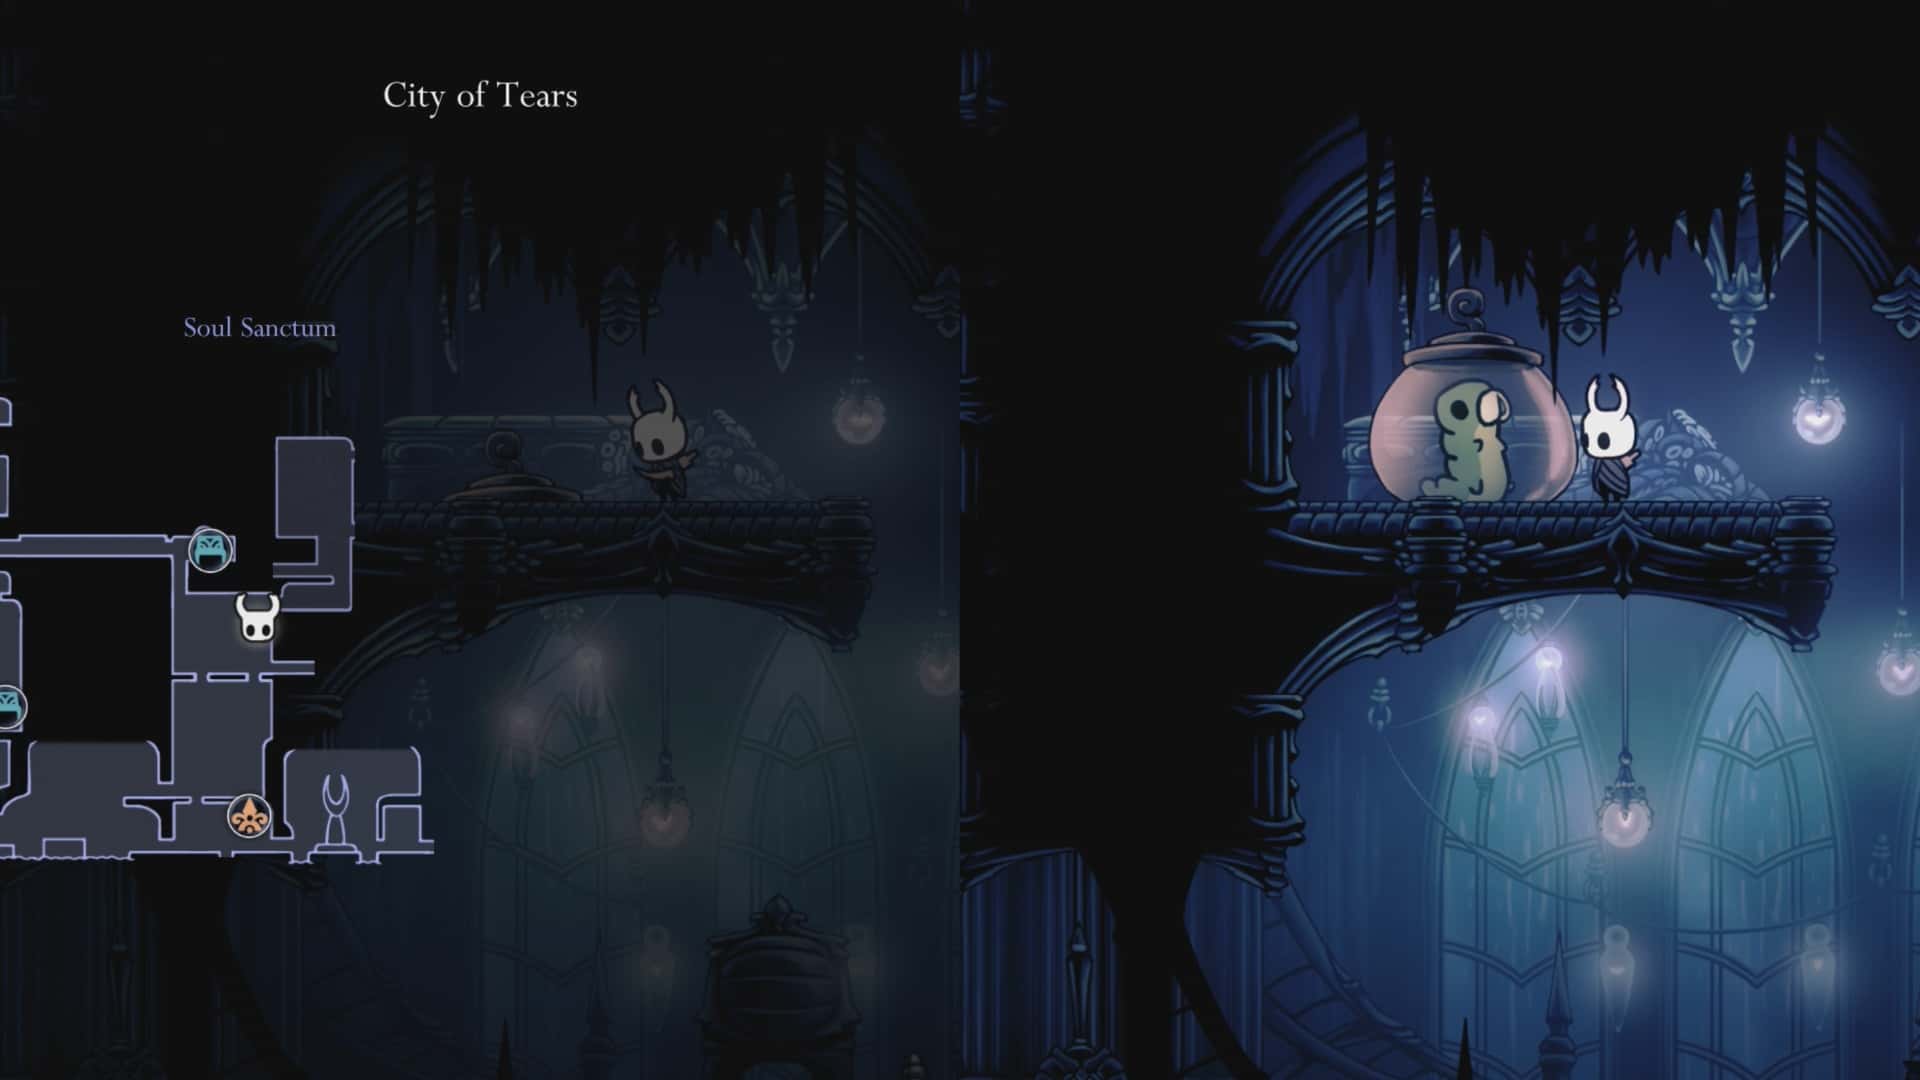
Go up and get on the elevator. Ride it up one floor. Get off and go to the right. In this room you will find a Grub (11/46) on the ledge above. Wall jump up to reach it and free it.
Get back on the elevator and ride it to the top floor. Head to the left. Complete the combat room. Go up into the next room.
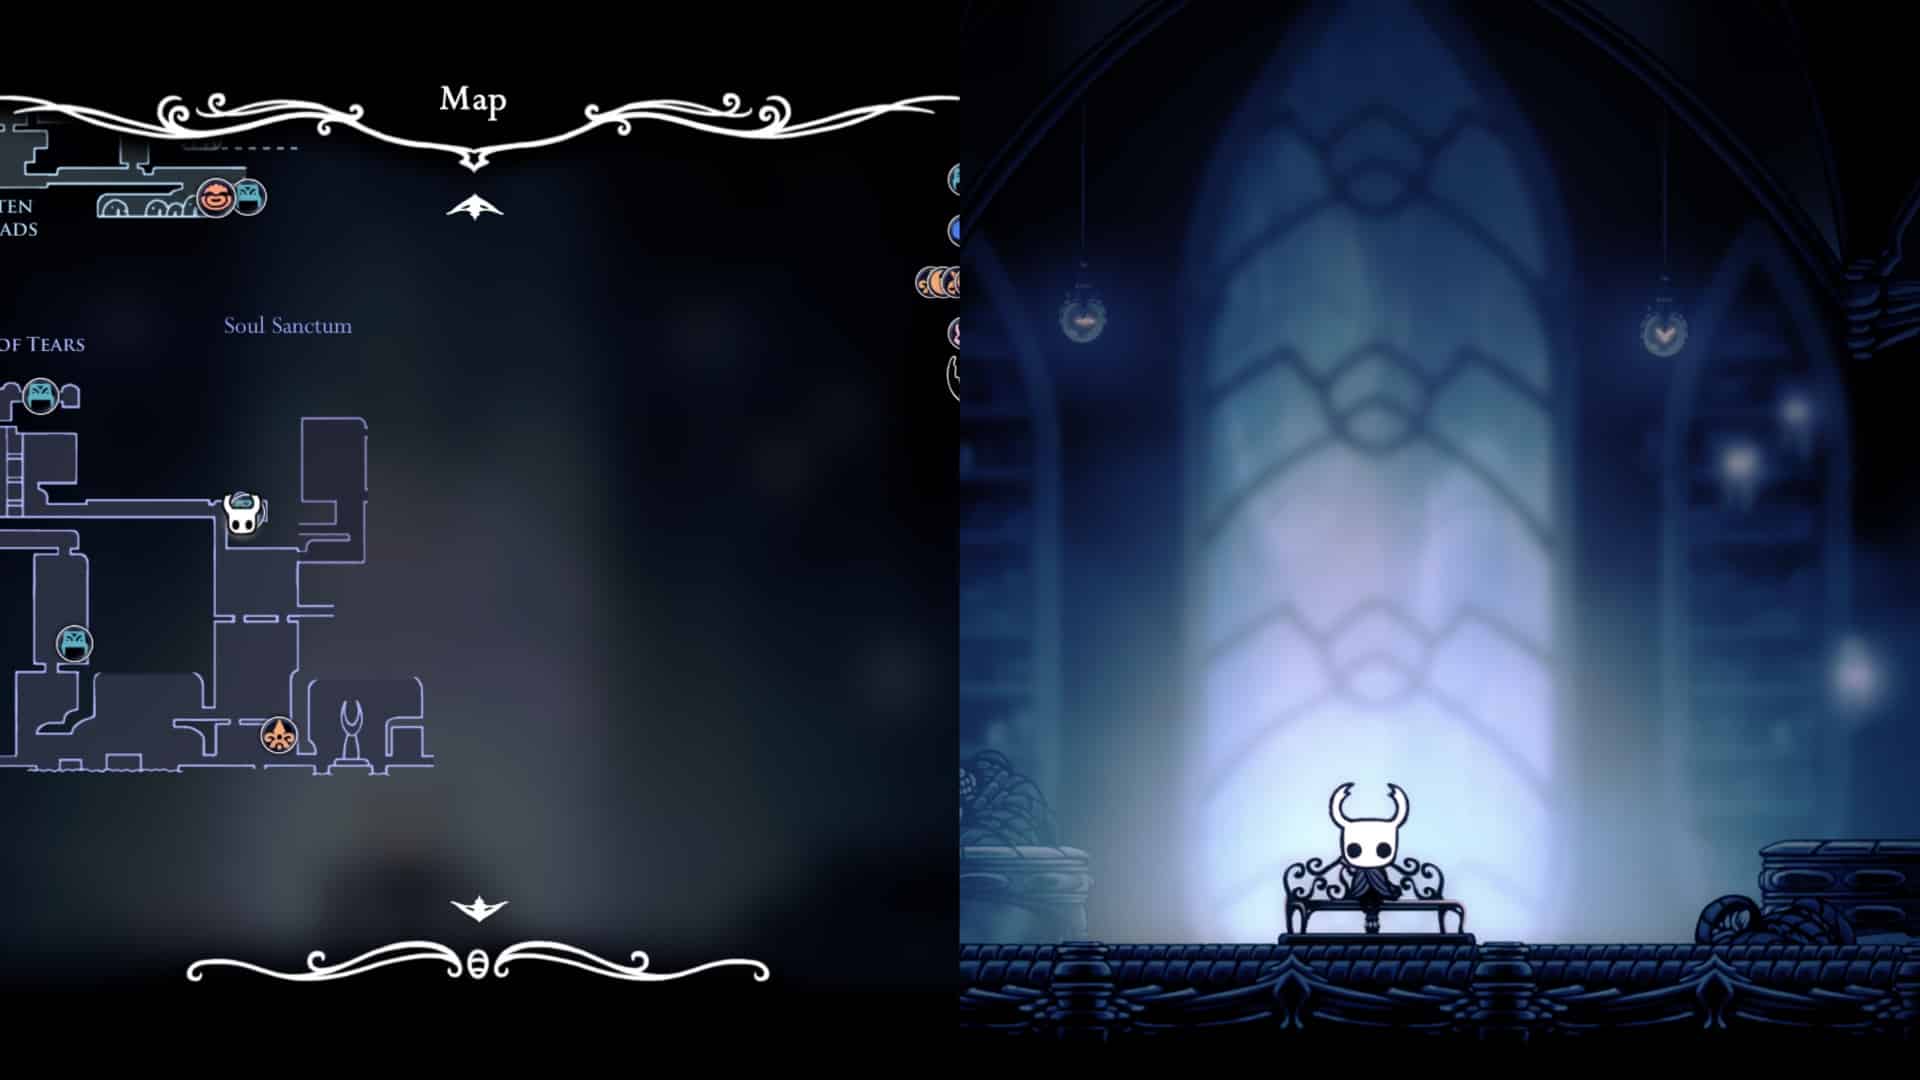
In this room you will find a Toll Machine for 150 Geo. Use it to make the second Bench appear. To the right of the Toll Machine/Bench is Cornifer. Buy the City of Tears Map from him for 90 Geo.
What Happens If You Don’t Buy the City of Tears Map from Cornifer?
If you don’t find Cornifer or you don’t buy his map from him before he moves to a new spot, don’t fear. Maps will appear in Iselda’s shop in Dirtmouth, but at a higher price than if bought directly from Cornifer.
Zote the Mighty
From the second Bench leave the room by going left. In this hallway you will encounter Zote the Mighty (if you saved him in Greenpath).
Approach Zote and speak to him. He will complain about the city and getting ‘wet from the rain.’ Continue heading left from Zote into th the next room.
Simple Key
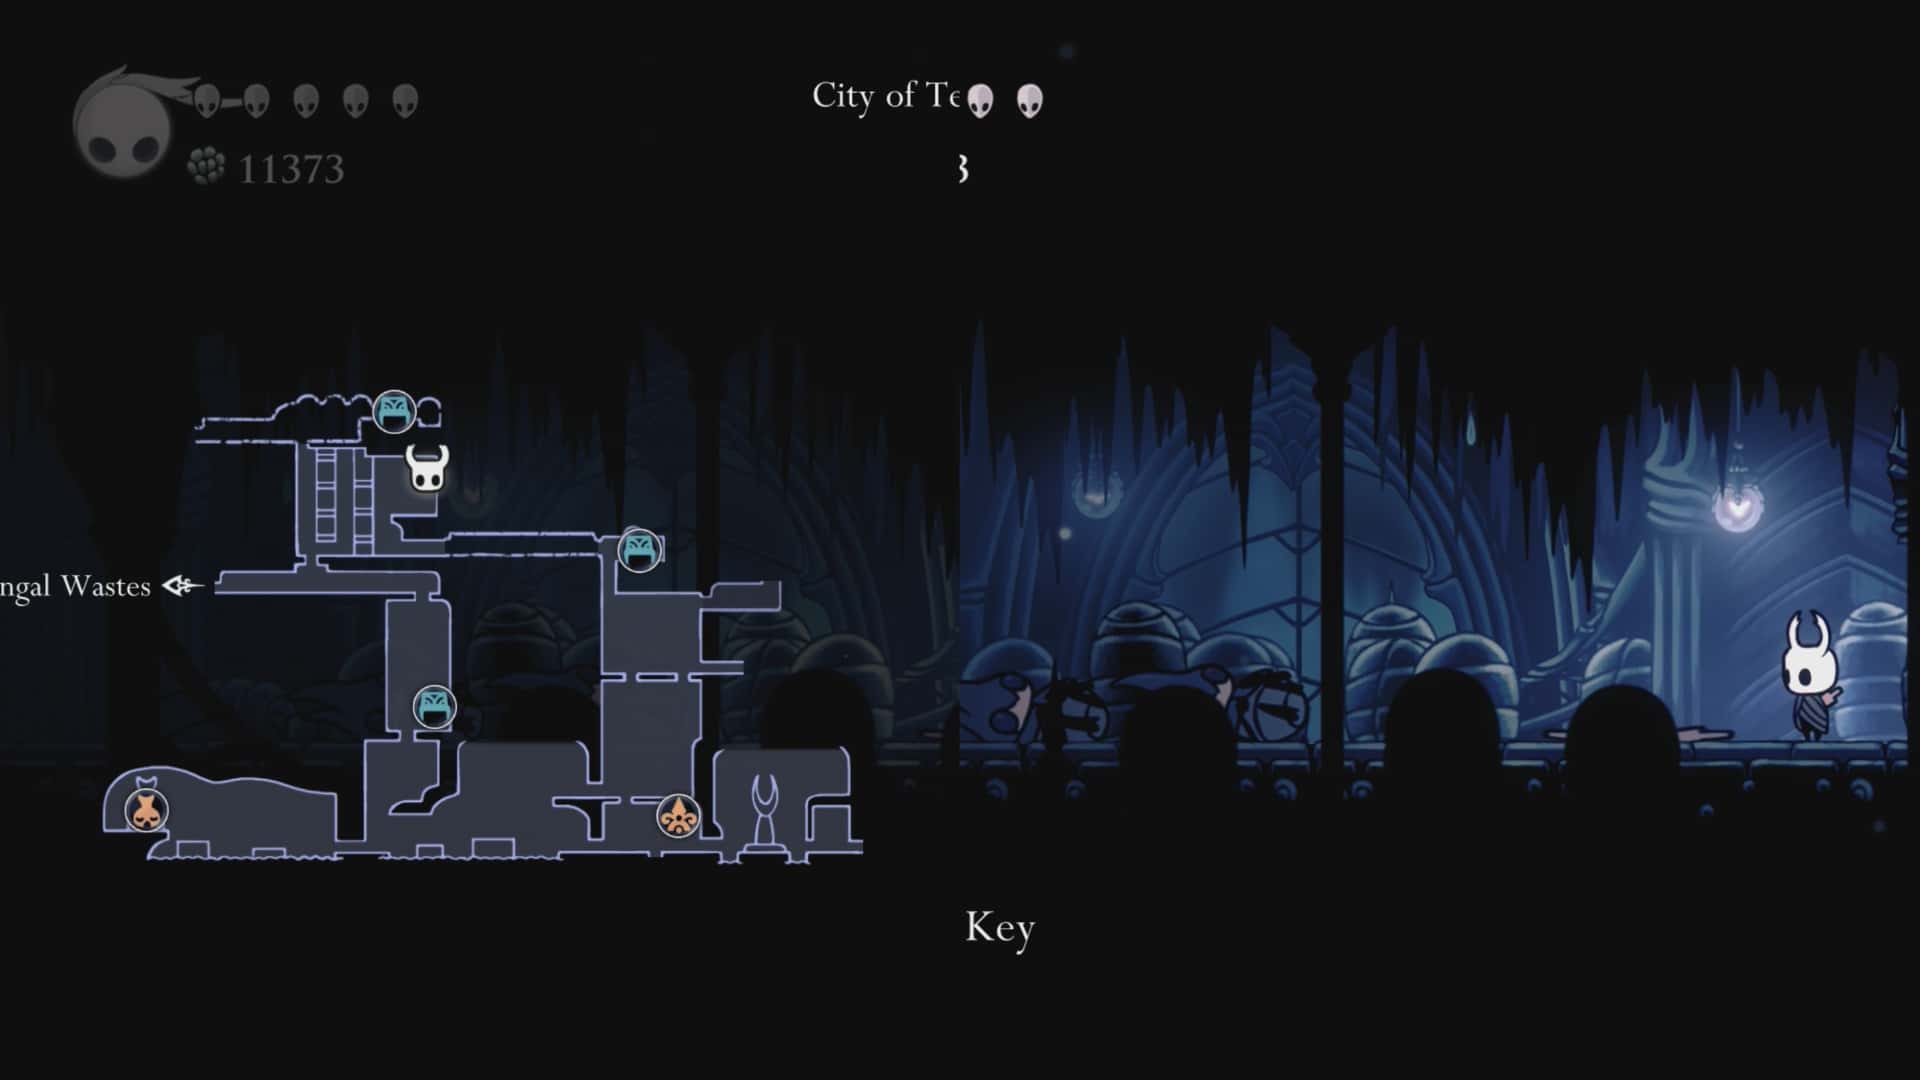
Go left on the ground floor until you reach a lever. Hit it to unlock a shortcut back to the entrance of City of Tears.
Use the platforms in this room to reach the top right. Go through the door there to reach a small area that has a Simple Key in it. Pick it up.
What Do Simple Keys Do?
Simple Keys are quest items used to unlock four specific locks scattered across Hallownest. Each key vanishes upon use, but there are exactly 4 Simple Keys in the game, matching the 4 simple locks perfectly.
Stag Station and Bench 3
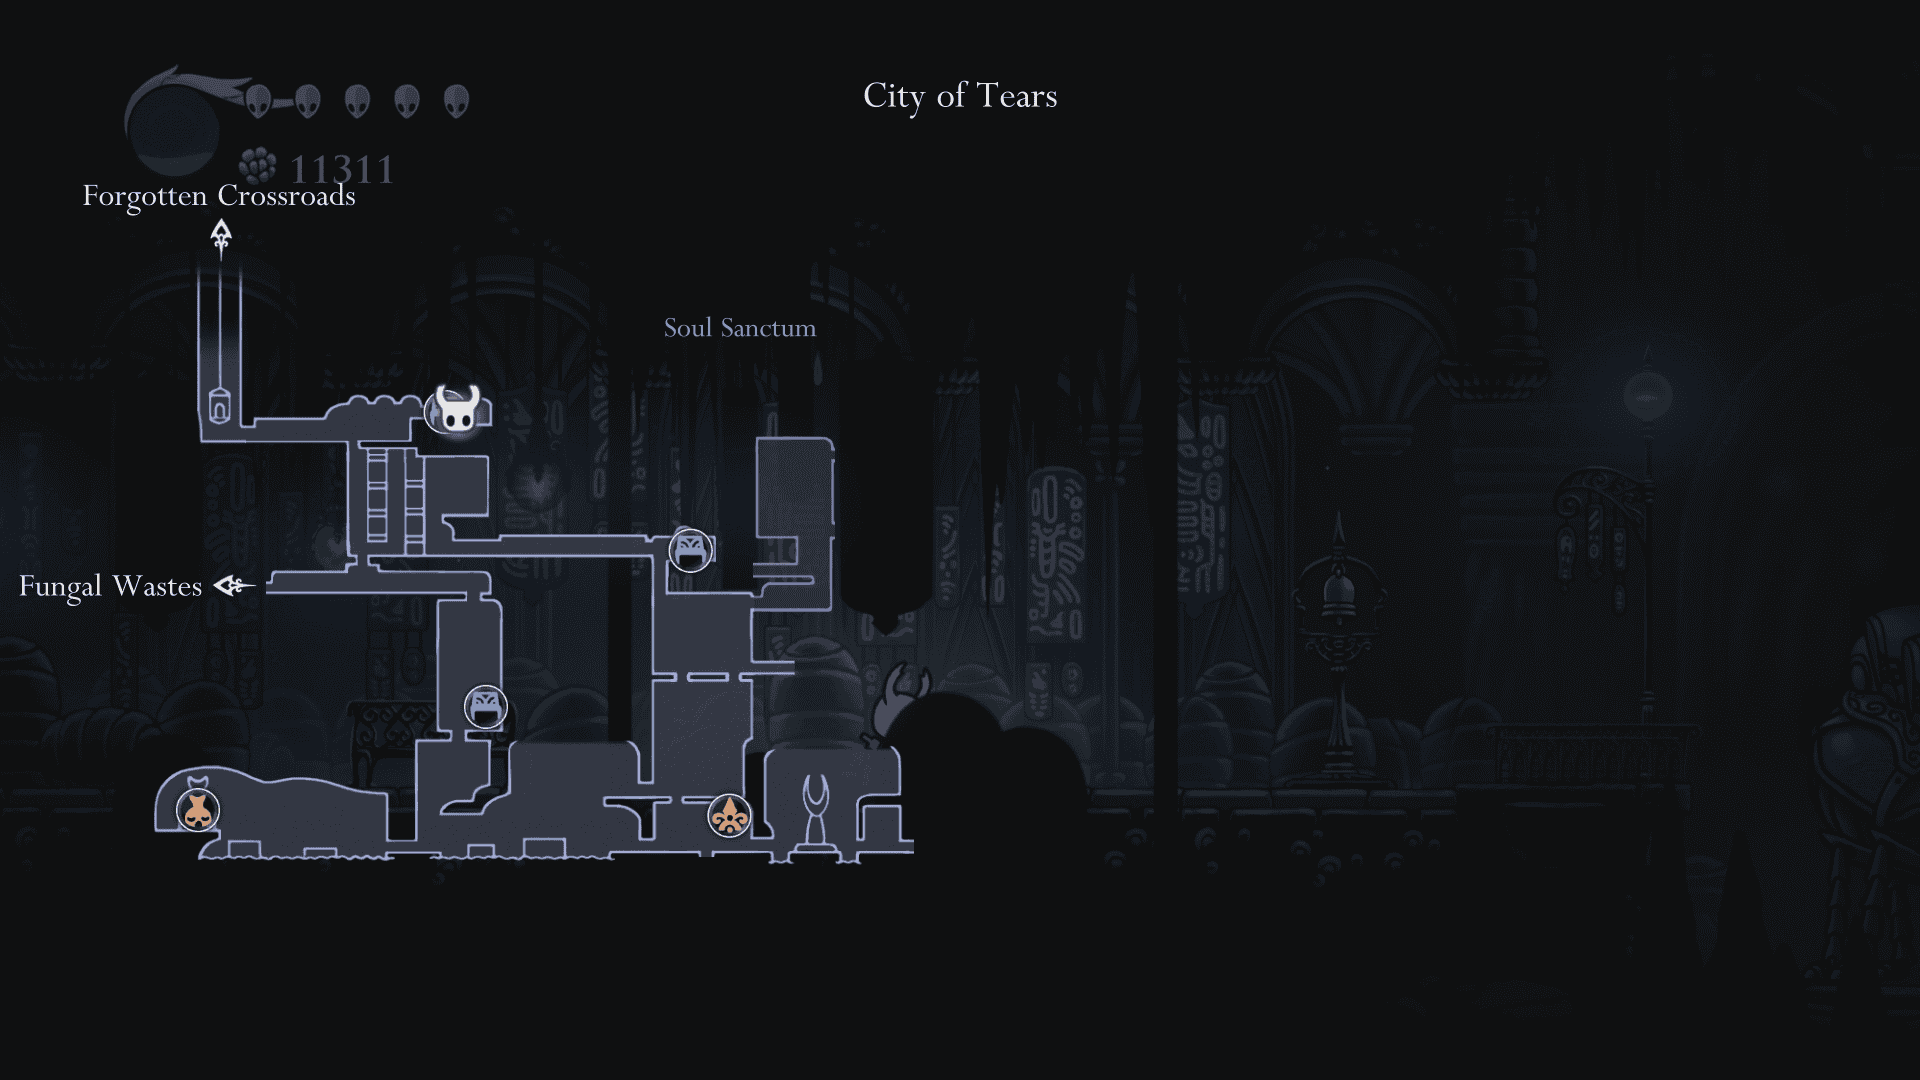
Leave the small area and use the platforms to head to the top left. Use the entrance there to go into the room above.
In the room above head to the right. You will see some hanging bug caskets. Slash them and it will drop below to make a platform you can use to cut some time off of reaching the bench in the future.
Once done and enter the room on the right. You will find the third Bench in this room and the City of Tears Stag Station. Unlock the station for 200 Geo.
Lift Back to The Forgotten Crossroads
Leave the Stag Station and head to the left. Cross this room and continue to the left to reach a new room. In this room you will find a Toll Machine. Pay 150 Geo to unlock a lift back to The Forgotten Crossroads.
Vessel Fragment
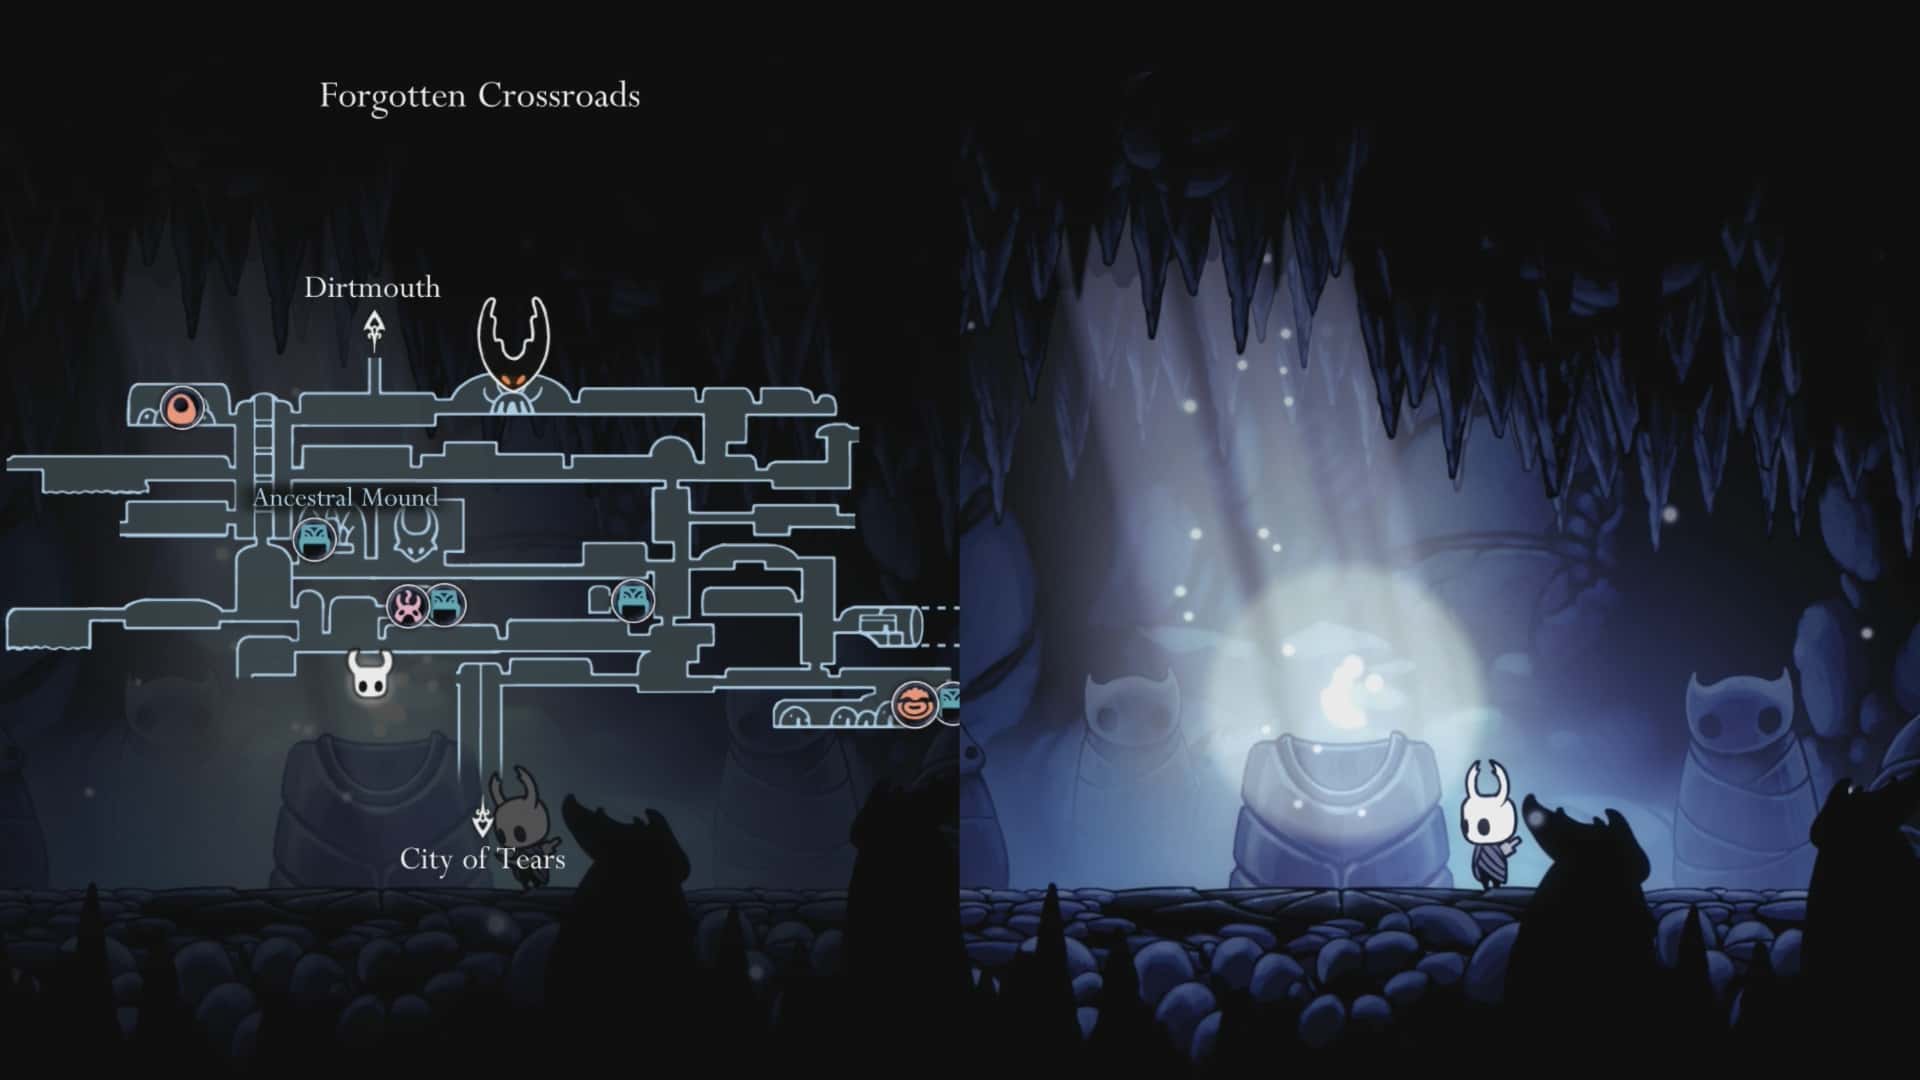
Use the lift to go up to The Forgotten Crossroads. At the top head to the left into the next room. Head to the left in this room. Drop down the spiked pit to reach an area below. Head left to reach a Vessel Fragment.
What Does the Vessel Fragment Do?
Vessel Fragments are collectible items used to permanently expand your maximum Soul capacity. Collecting 3 Vessel Fragments completes a full Soul Vessel, granting an extra reserve vessel next to your main Soul meter (holding up to 33% additional Soul for casts or heals).
Leave the area. Head back to the lift and return to City of Tears. Go back to the second Bench (where we bought the map). It’s time to head to a new sub area.
How to Reach Soul Sanctum
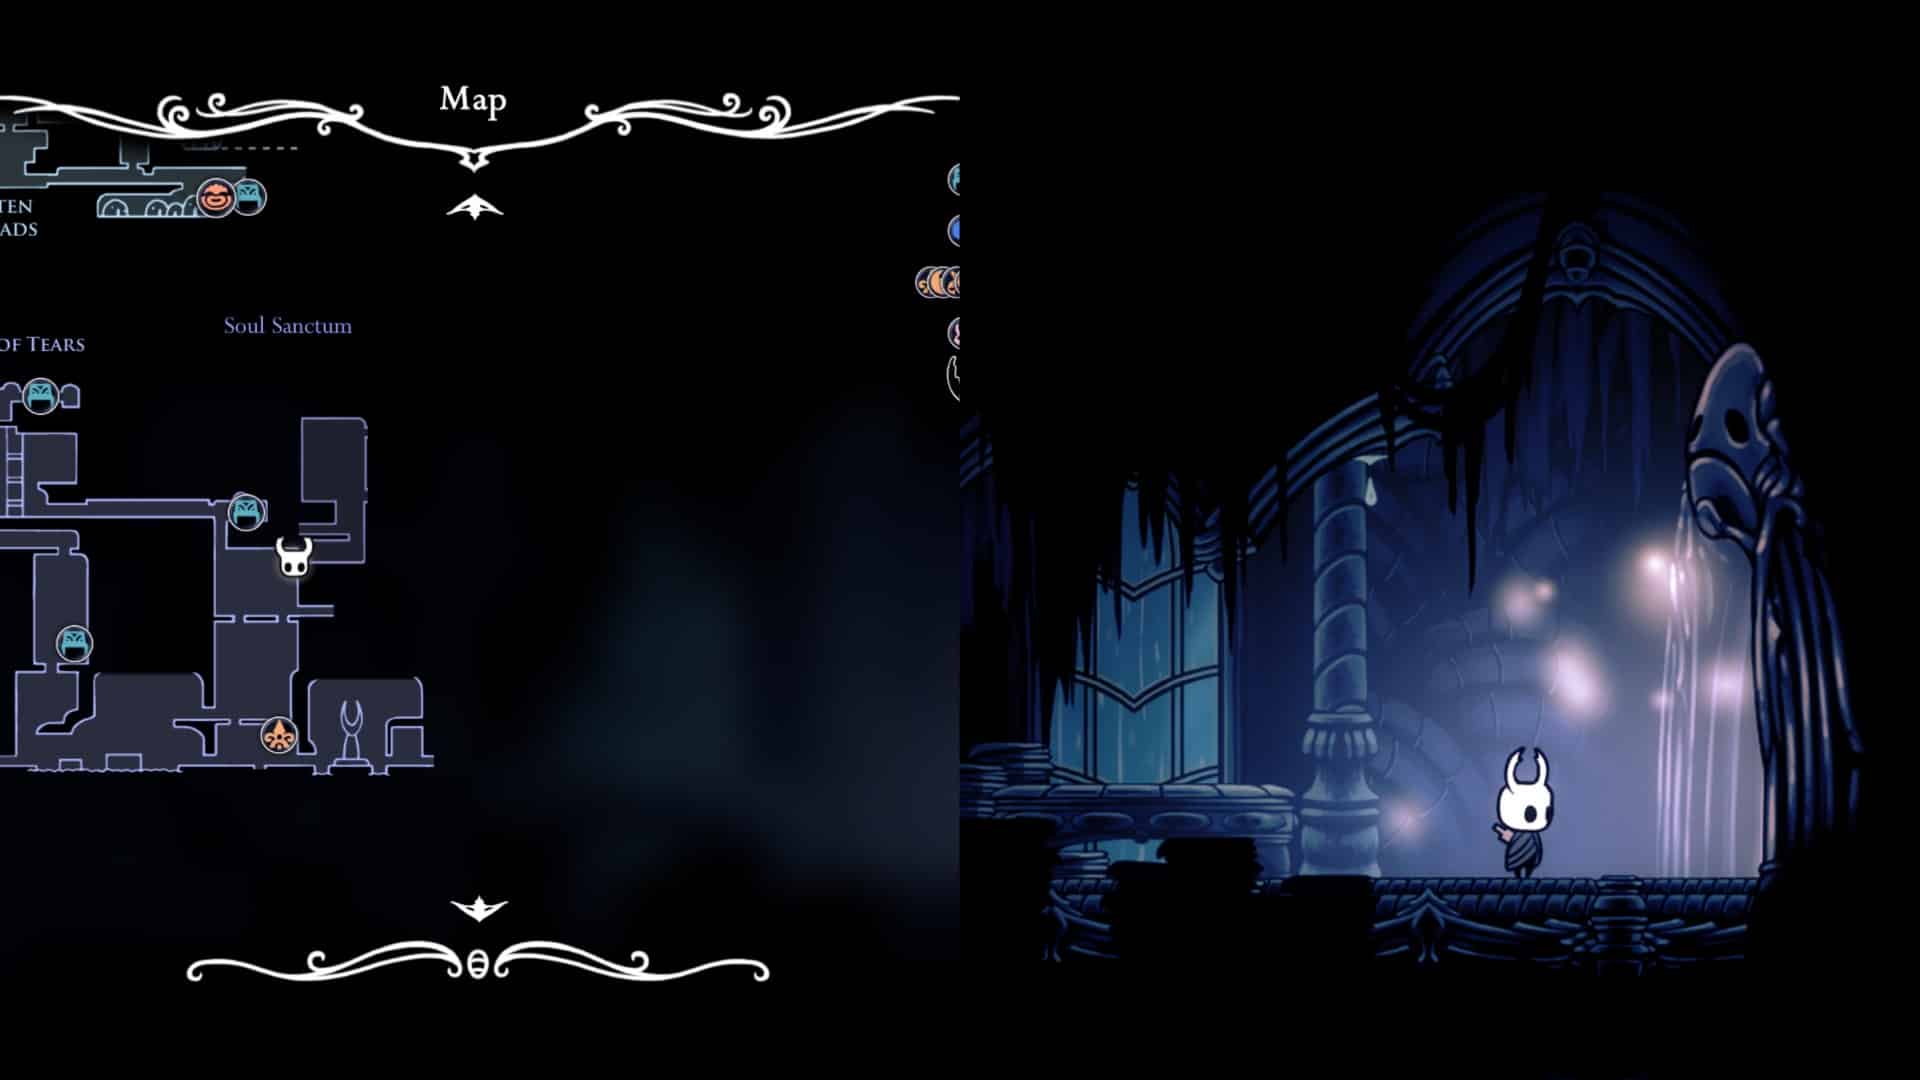
From the Bench head to the room below. Make your way to the right in this, past the elevator, and into the next room. Defeat the enemy that appears in this room then head up to enter Soul Sanctum.
For more guides like this one check out our other Hollow Knight guides and walkthroughs in the guide hub.
Thoughts on our Hollow Knight City of Tears (Left Side) guide? Drop them in the comments below.




missing link for royal waterways, had to find it manually at https://holdtoreset.com/hollow-knight-guide/2/ and main page link for 6. royal waterways links to The Abyss instead.
Thanks! Will update