Bloodstained Ritual of the Night Galleon Minerva Guide
Bloodstained Ritual of the Night starts the player on a ship headed for a demon infested castle. This ship, called the Galleon Minerva, acts as the game’s tutorial. To help you through it, here is our Bloodstained Ritual of the Night Galleon Minerva guide.
Galleon Minerva Map

Here’s a completed map of the Galleon Minerva. Use it to get a general idea of the layout of the ship. Not every room is accessible when you start the game.
Galleon Minerva: Crew Quarters
When you start Bloodstained Ritual of the Night there is a brief opening explaining the game’s general storyline. After this cutscene you are in the Galleon Minerva’s Crew Quarters with NPC Johannes. Johannes speaks to you then requests that you gear up using items from the green chest to his right. Go to the chest and open it to get the following items:
- Knife.
- Kung Fu shoes.
These items can be equipped via your Equipment screen. You will need to equip either the knife or Kung Fu shoes in the Weapon slot to advance the tutorial. Equip one of the weapons and a Seama will break into the left-side of the room.
Defeat the Seama and Get First Shard

The Seama that appears on the boat is a rather simple enemy to take out (see enemy info here). It shouldn’t be an issue for you. Killing the Seama will unlock your first Shard. This will earn you the Shard Binder Achievement/Trophy. Once the Shard has been absorbed you will unlock the Cerulean Splash ability which fires a bouncing ball of water at your enemies when activated.
Once you’ve killed the Seama and gotten the Shard there will be a brief interaction with Johannes and the door to your right will open. There are more enemies terrorising the ship and you will need to take care of them. Head to the right into the next room.
Galleon Minerva: Gun Deck

The next room is the Galleon Minerva’s Gun Deck. Here you will see a number of Cannons alongside the introduction of a new enemy type the Morte. The Morte is a lesser Demon with low HP (see enemy info here). This enemy should fall quickly to your blade. Once killed continue to the right until you reach a point where you can double jump up. Do this.
In the room above there is a locked door to the right and a chest to the left. Open the chest to get a consumable Potion. Make your way to the locked door. To open this door you need to use magic via raising Miriam’s hand in a direction that makes the door open. This is done rotating the right thumbstick (on controller) or by holding the right mouse button and moving your mouse on PC. The direction you need to raise Miriam’s hand can be seen above. Go through the door to reach the Galleon Minerva’s upper deck.
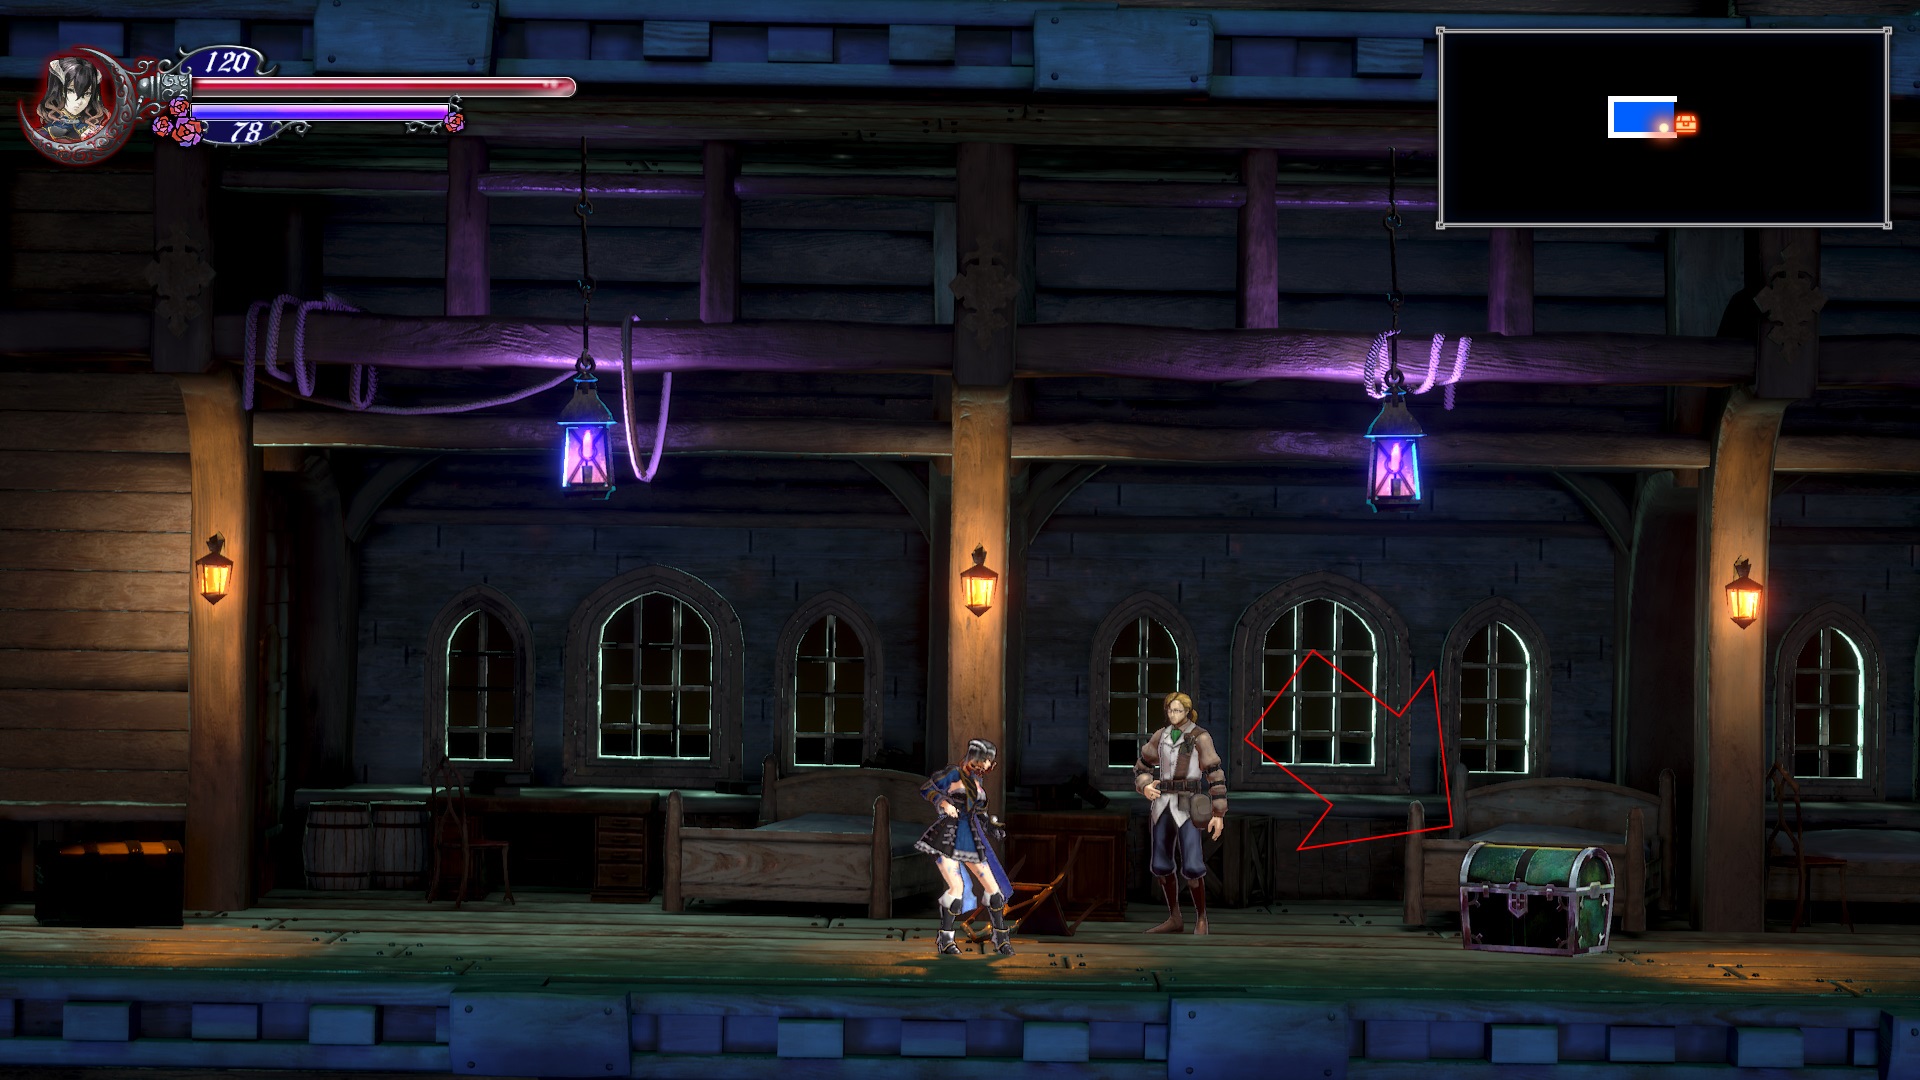
Galleon Minerva: Upper Deck

The Upper Deck of the Galleon Minerva features a set of enemies: Seama and the flying enemy type Aello (see enemy info here). The Seama will respawn infinitely it seems to be wary of the two coming over the deck constantly. Keep heading right until you reach the end of the swinging wood piece above. Here you have a choice, continue right or jump onto the swinging wood piece (optional).
Optional: Get the Country Dress
If you jump onto the swinging wood piece you can head left then jump across the gap onto a higher area of the upper deck. On this screen there is an Aello and a green Chest. Inside the chest is the Body item, Country Dress. Grab it and equip it for a nice boost to DEF, INT, and MND.
Return to the swinging wood screen and continue right past until you reach a ledge you can drop down. Before dropping down note you can continue heading right on the upper deck for another optional chest (will appear on your map).
Optional: Get Rusted Ring I

This chest is guarded by a Dullahammer (see enemy info here). The Dullahammer is a tough enemy, but they can be taken out easily with your Cerulean Splash ability. Once the Dullahammer is defeated, open the chest to get the Rusted Ring I accessory.
Drop down the hole you passed to reach the chest, to get to the second Galleon Minerva Gun Deck.
Galleon Minerva: Gun Deck 2
Inside the second Galleon Minerva Gun Deck you can go either left or right. To the left you will need to take out two Morte’s that are blocking your path to a Chest containing a Potion. To the right you need to slide under a wall to reach the next room. Inside this room there is a Chest with Body item Tunic inside.

In the room with the Chest you can go down or right. Go right to reach a Save Room. Save your game then double back and go down.
Galleon Minerva: Corridor 1

The next room you can go left or down. Left is where you need to go to progress the story (into Galleon Minerva: Gun Deck 3), but down features a number of goodies we should grab first.
Optional: Hairband, 1000G, and Max MP UP

At the bottom of Galleon Minerva: Corridor 1 there is a chest containing the Head item Hairband. Grab this item then walk over to the wall behind the chest. Hit the wall with your weapon two times to reveal a hidden room (this will get you the Might’ve Known Achievement/Trophy). In this hidden room there is a Chest containing 1000G and a MaxMP UP item. Grab both.
Optional: Musketoon and SP Rounds 5x

Leave the hidden room and head into the room directly to your left. This room features two chests which contain the Musketoon weapon and 5x SP Rounds. Leave the room and go up to Galleon Minerva: Gun Deck 3.
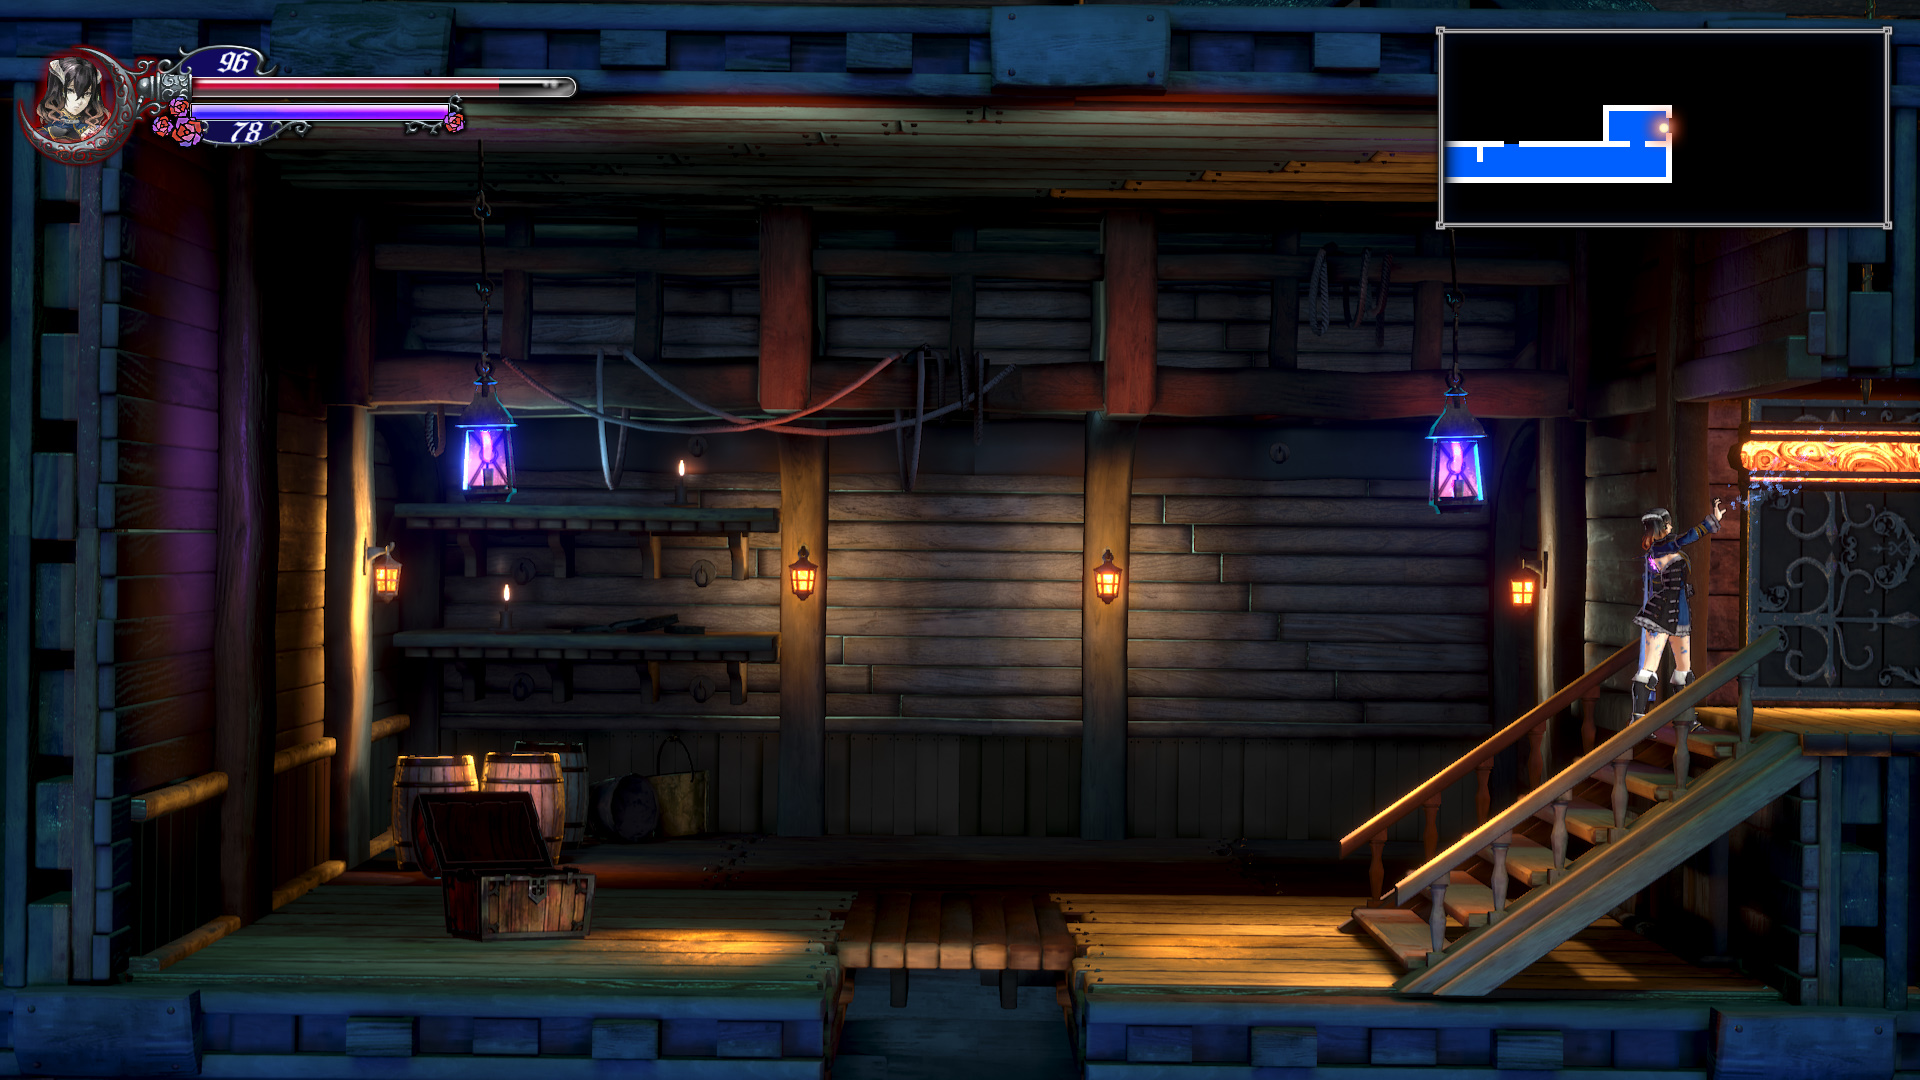
Galleon Minerva: Gun Deck 3
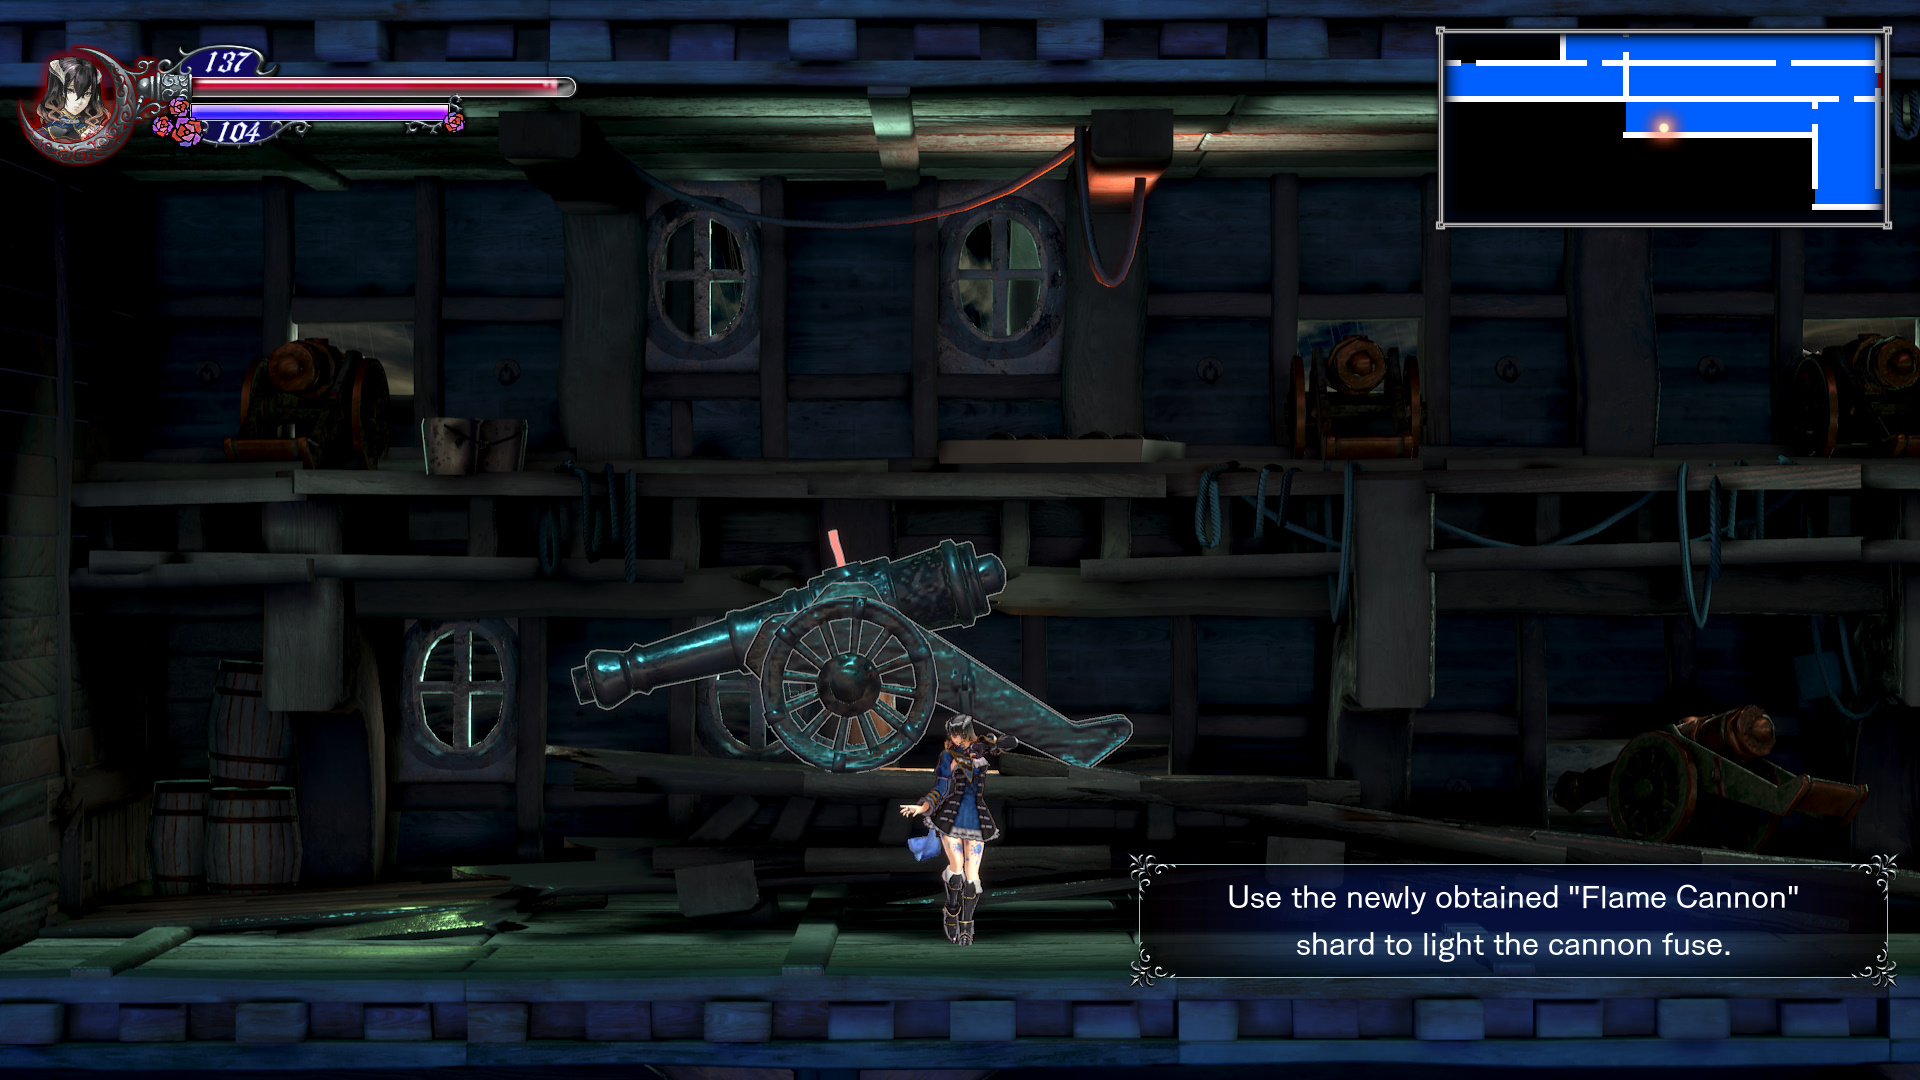
Make your way left through the Galleon Minerva: Gun Deck 3 (watch out for Mortes) and you will come to a new enemy type, the Cannon Morte (see enemy info here). Kill the Cannon Morte to unlock the Flame Cannon Shard. This ability can be aimed by holding the left mouse button then pressing the middle mouse button. Use it on the cannon to blow open a path for you. Continue left until you reach Galleon Minerva: Corridor 2.

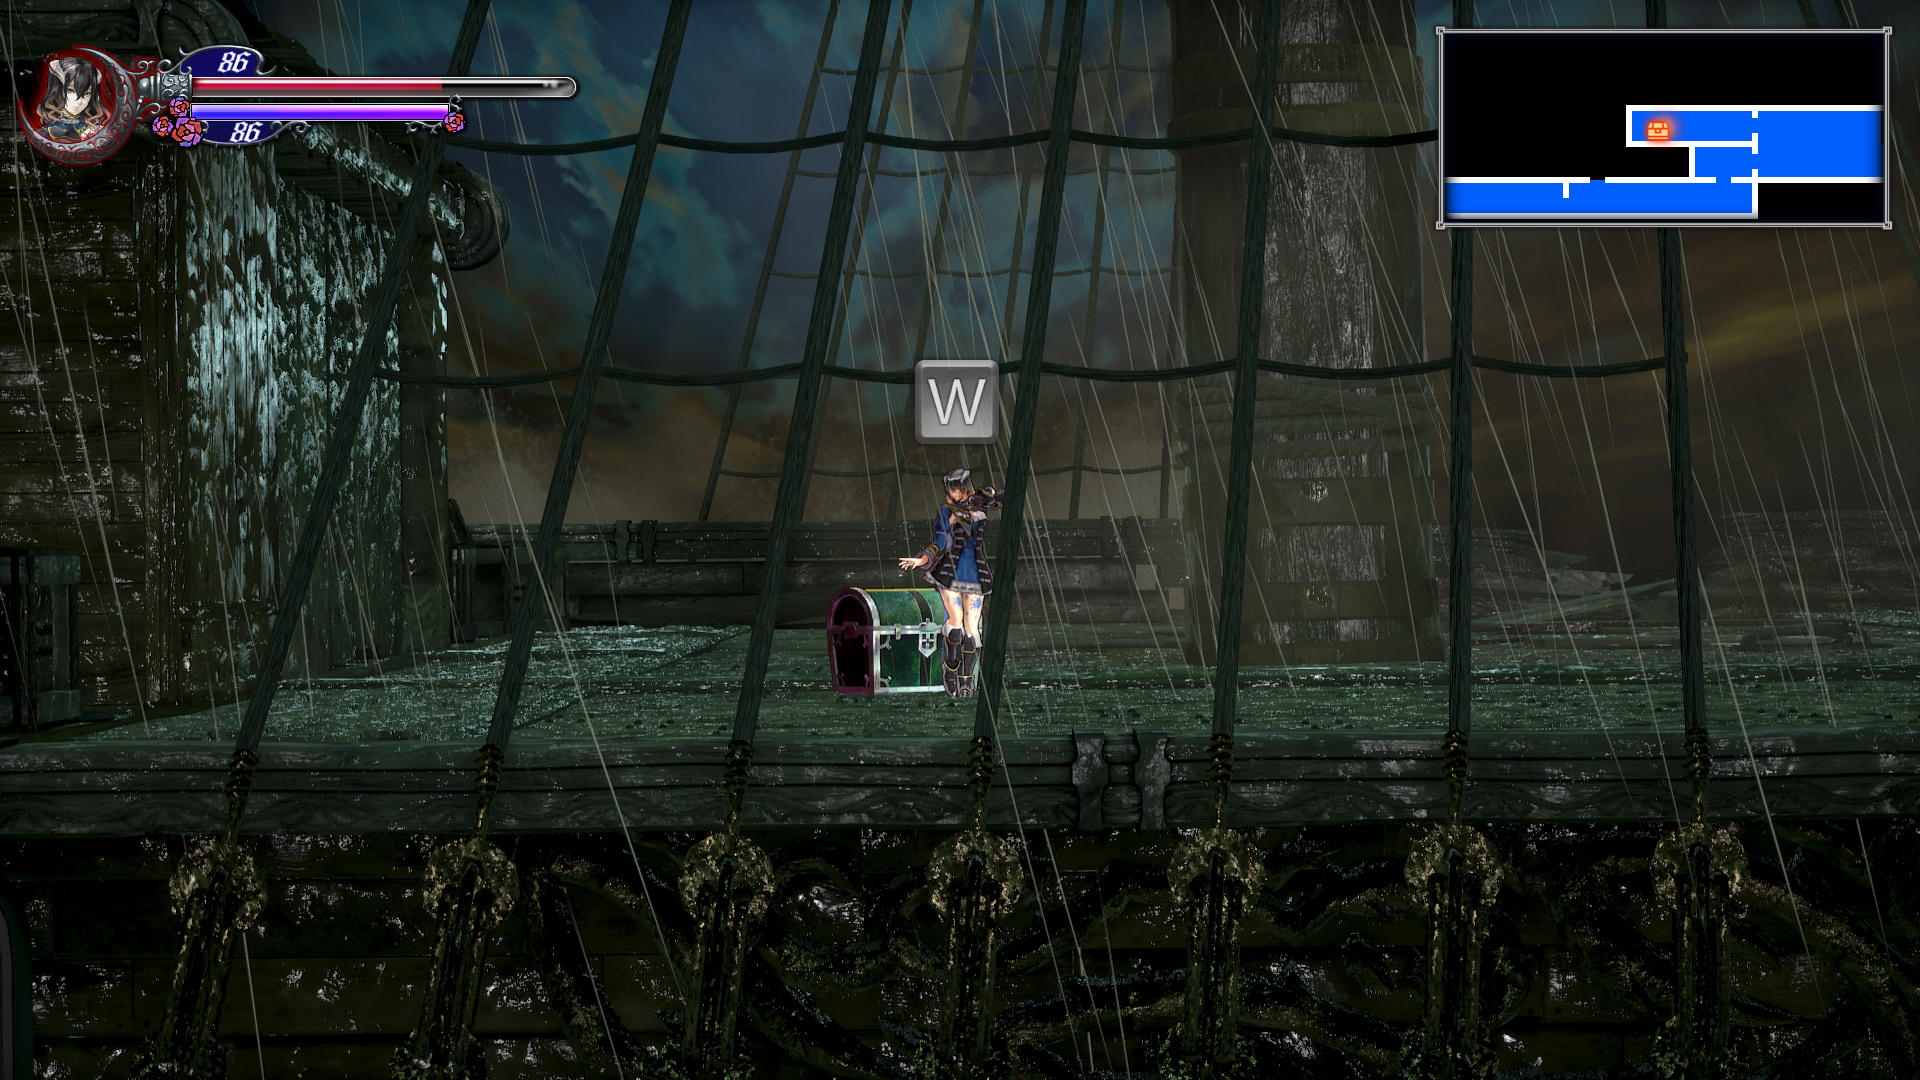
The only available direction you can go here is down. Before you go down grab the Chest here to get Materials Bronze and Cotton. Go down and into the Galleon Minerva: Hull.
Galleon Minerva: Hull

The Hull of the Galleon Minerva features a total of chests for you to open. These chests contain the following items:
- Galleon Map.
- 5x SP Rounds.
- Sugar.
- Short Sword.
Once you’ve collected all of these items, continue heading to the right until you reach the next room. On the bottom head to the right to reach another Save. Head back to the room after the Hull and go up to reach a chest containing Bronze and Halite, then go into the room on the right to find a chest containing the Tattered Scarf. Continue right into Galleon Minerva: Corridor 3. Head up in the corridor to reach a chest containing the Claymore weapon. Go left into the Galleon Minerva: Gun Deck 4.
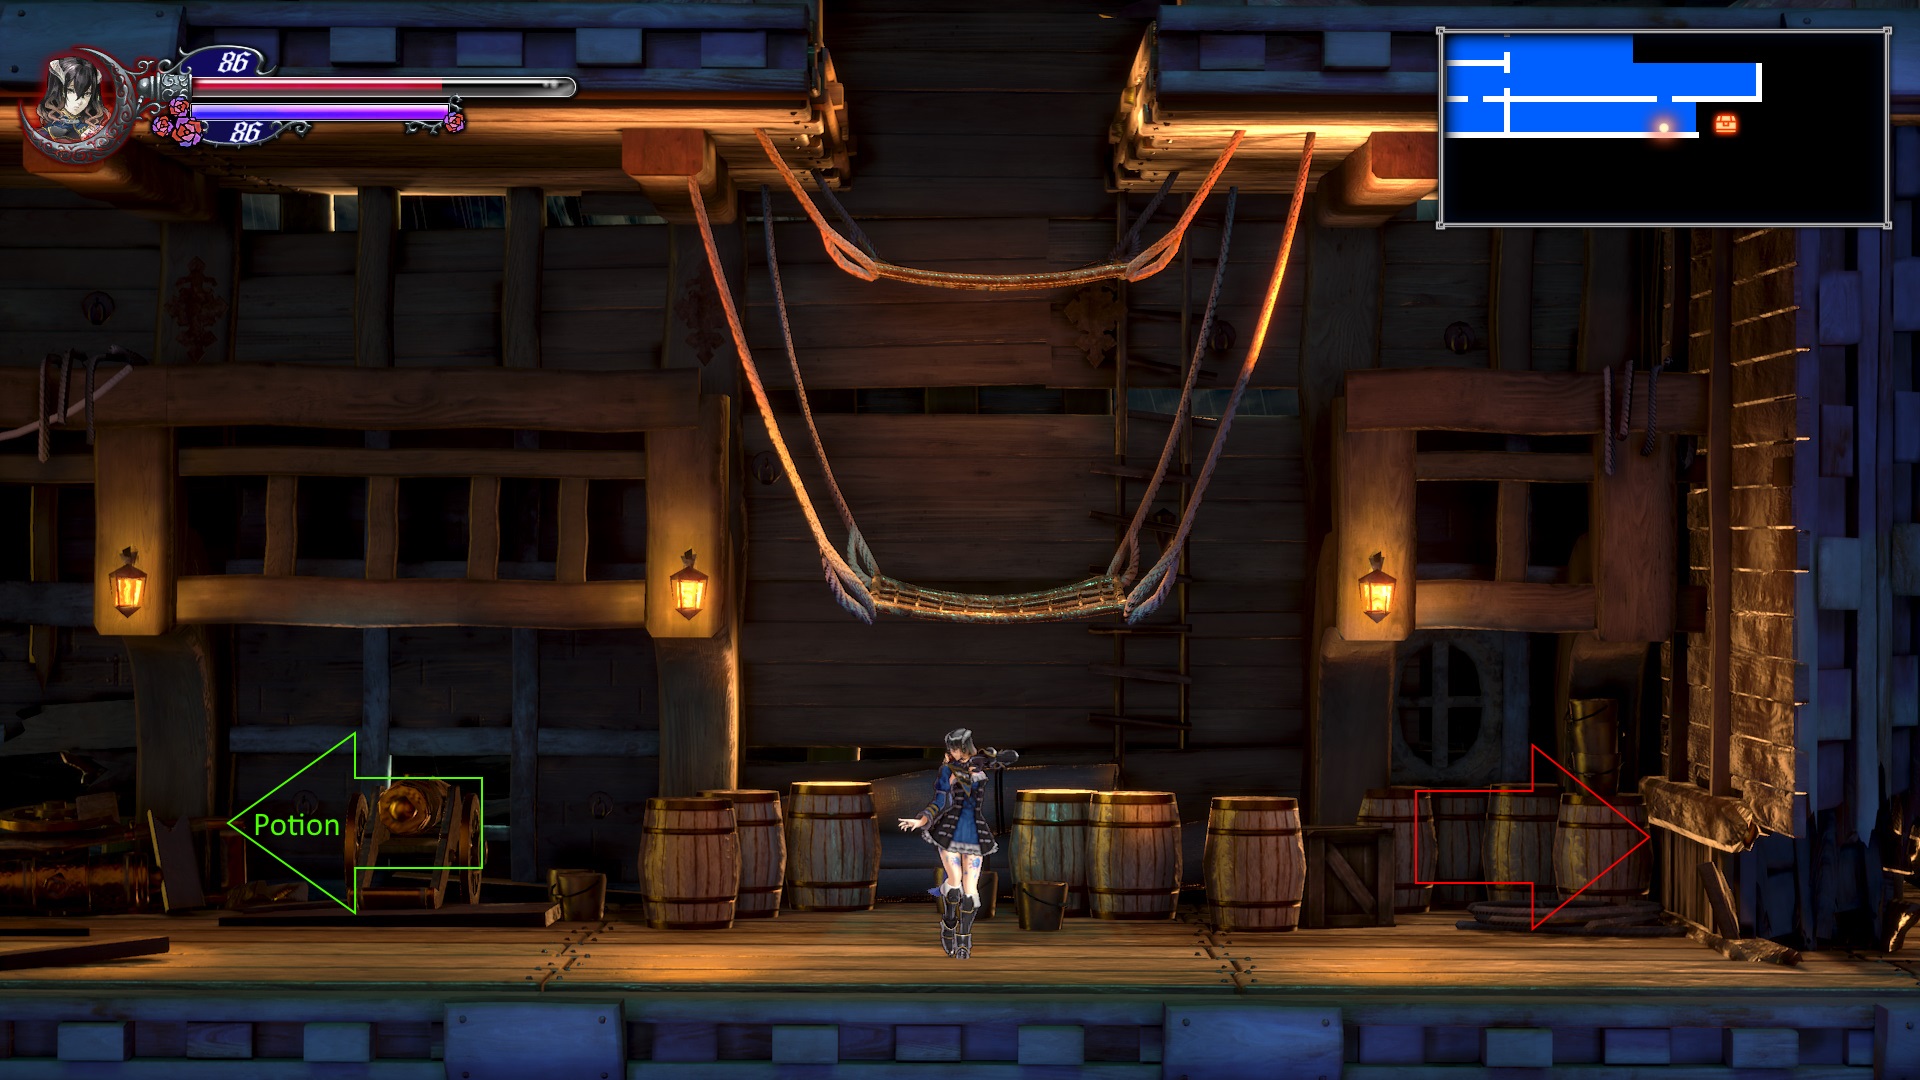
Galleon Minerva: Gun Deck 4

Head to the left in Galleon Minerva: Gun Deck 4 and grab the chest containing Corn Seed, Rice Seed, and Potato Seed. Continue left until you reach a point where you can jump up. Don’t jump up, instead go left, defeat the Dullahammer and trigger the cannon. This creates a shortcut back to Galleon Minerva: Corridor 1. Double back and jump up to reach Galleon Minerva: Upper Deck 2.
Galleon Minerva: Upper Deck 2

Before reaching the Galleon Minerva: Upper Deck 2 you need to complete a lite puzzle. Move the crate to the right so you can jump on top of it. Jump onto the crate then up to the ledge with the chest. Open the chest to get the Whip weapon. Continue up to the Upper Deck.
On the Upper Deck make your way to the left to grab a chest full of 500g, then double back to the right, take out the Dullahammer and head into the next room.

Inside this next room you can go right (into the boss room) or drop down. Before dropping down open the chest to get a Potion. Drop down and head left to a chest for 500G then go right into the Save room. Save then enter the boss fight.
Galleon Minerva Boss: Vepar

The boss you will face off against is named Vepar. This sea-demon is utilize tentacles to take down enemies along with projectiles. Beating this boss nets the player teh Thrashing Tentacle Shard, the Storm Abolisher Achievement/Trophy, and unlocks the next area, Arvantville.
Backtrack Spots

Once you’ve gotten Double Jump from the boss in the area Livre Ex Machina, you can backtrack to the Galleon Minerva to reach a couple of rooms which were unreachable. Right after the starting room there is a platform you can jump to using double jump. Up in this area you will find a Fast Travel room, a chair to sit in, and a room with MAX AMMO UP and the Culverin.

In the bottom of the ship there is a chest that appears far to high to be able to reach. This chest can be reached later with a combination of Reflector Ray and Double Jump. Return when you’ve acquired both abilities to unlock the Sanjiegun.

With double jump and the Reflector Ray ability you can reach the upper right room on Upper Deck 2. After you make this jump you will reach a chest containing the Pirate Hat. User Veare the Great also mentioned you can use the Flashing Air Kick technique to reach this ledge immediately.

The last spot to backtrack to is the Upper Deck 1 with the High Jump (can be made at Johannes). Head to the far right area (behind the Dulahammer) and super jump up to reach a platform with the Hair Apparent XII.
More: Bloodstained: Ritual of the Night guides.
What is with the blank Canvas the back of the ship after the living painting?
For the Sanjiegun you can bait the Seama enemy below it into jumping into the air and then use the double jump kick to attack it from the top and then double jump again to reach the ledge. That way you can get it before you have the Reflector Ray.
There is also a breakable wall behind the chest that contains a Plunderer’s Ring.
Thanks for the tip! Will add.
Upper deck 2, top part
With the Flashing Air Kick technique (“hadouken”) the top right room can be reached early. If timed correctly with a triple execution the Pirate hat can be obtained immediatly