Zorah Magdaros Guide: How to Hunt, Defeat, and Craft Gear

Monster Hunter: World’s storyline revolves around the enormous Zorah Magdaros, an Elder Dragon that wreaks havoc wherever it goes. This giant creature is the reason behind your shipwreck at the beginning of the game. Naturally, it becomes your responsibility to hunt down and defeat this formidable monster. However, unlike many of the creatures you’ll face, Zorah Magdaros is not a traditional hunt and will be fought twice during your playthrough. This guide will walk you through both encounters.
Zorah Magdaros Information

- Difficulty: Insane (6⭐) – Misleading
- Location: Everstream
- Size: Huge
- Species: Elder Dragon
- Storyline Quest: A Colossal Task
- Hunting Quest Text: The operation is set to commence in the Everstream. Do everything you can to force Zorah Magdaros out to sea. We must not fail! May the Sapphire Star light our way!
- Reward Money: 8200 Z
- Weak To:
- Water (3⭐)
- Dragon (3⭐)
- Weak Points (Severable/Breakable):
- Head (Weak Point)
- Stomach (Breakable)
- Other Stomach Piece (Breakable)
Materials (High Rank Carves + Rewards)
- Zorah Magdaros Heat Scale (⭐⭐⭐⭐)
- Zorah Magdaros Ridge (⭐⭐⭐⭐)
- Zorah Magdaros Pleura (⭐⭐⭐)
- Zorah Magdaros Magma (⭐⭐⭐)
- Zorah Magdaros Carapace (⭐⭐⭐)
- Zorah Magdaros Gem (⭐)
Zorah Magdaros Boss Fight
You will face Zorah Magdaros twice during your Monster Hunter: World playthrough, first during One for the History Books and again in A Colossal Task. Both encounters play out similarly, but the second fight comes after you’ve made significant progress in the game.
Fight Mechanics and Strategy
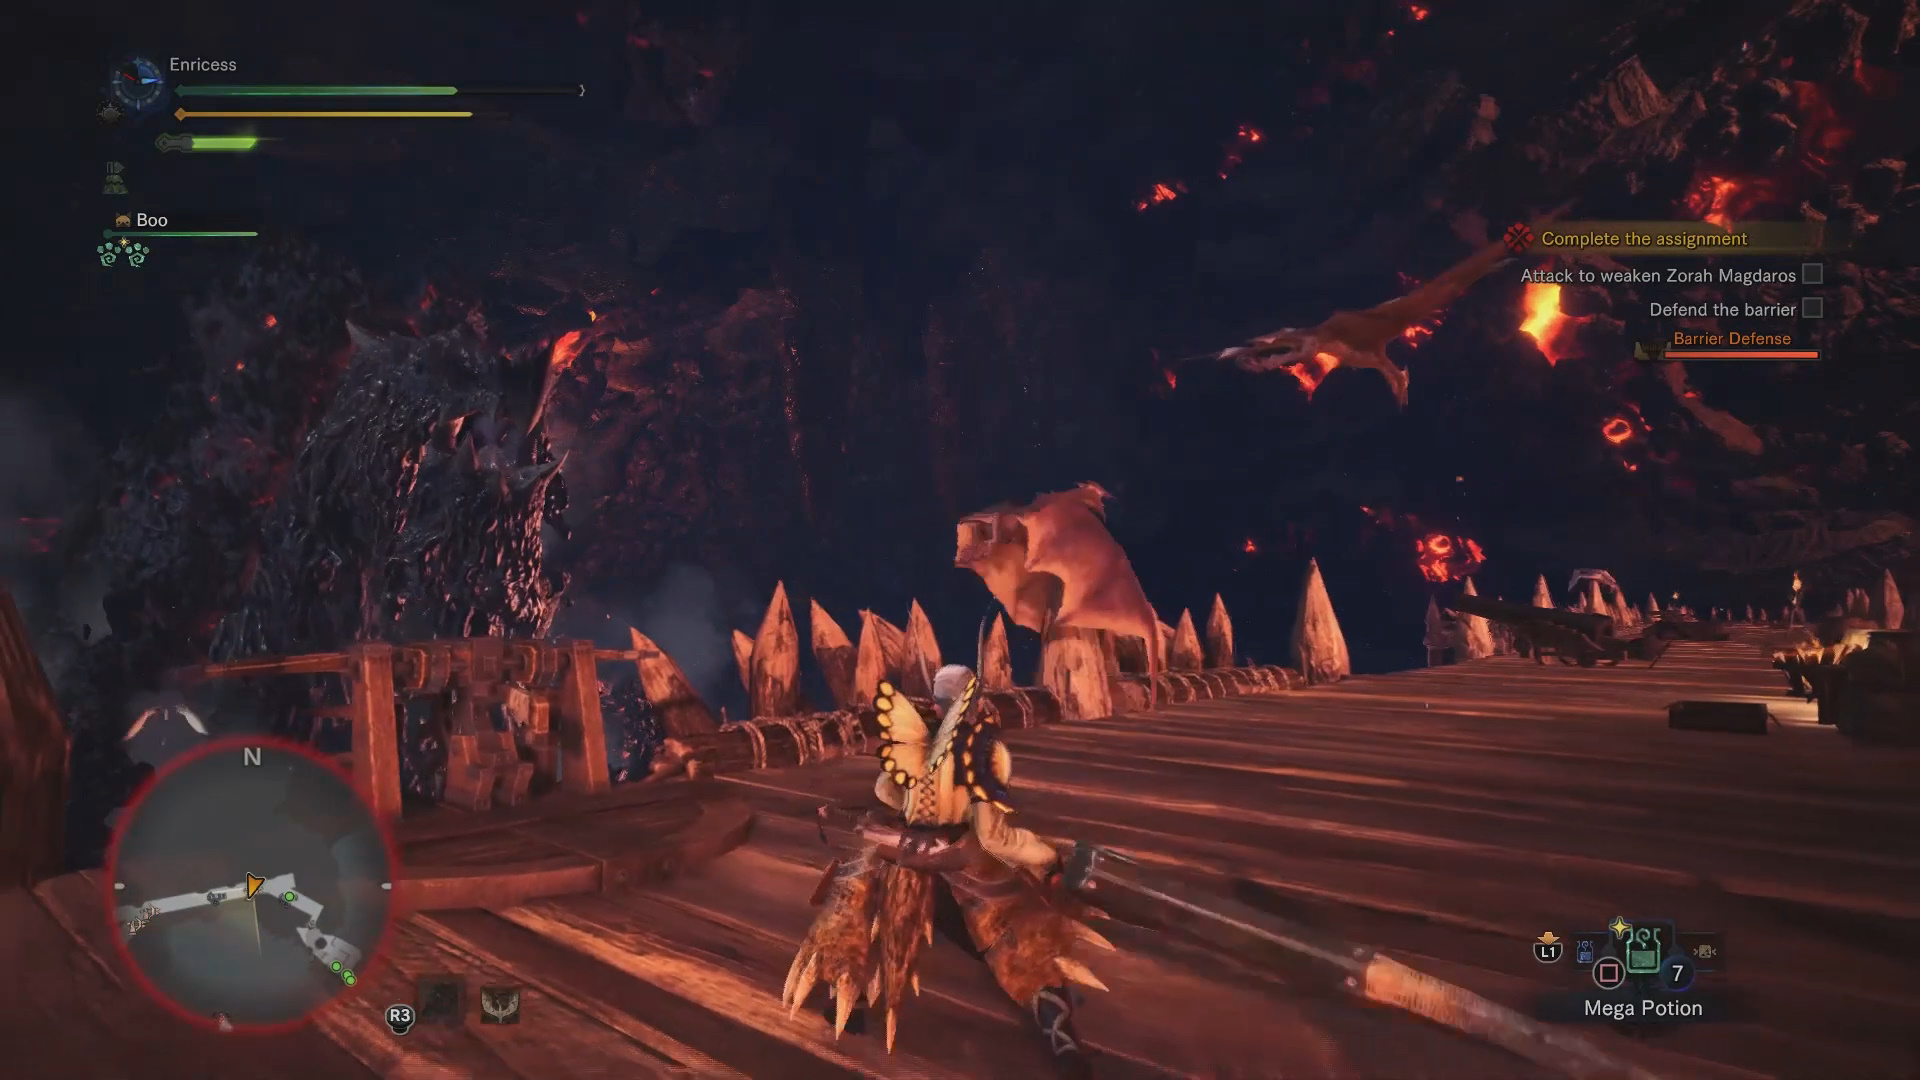
- Magdaros Body: In the A Colossal Task quest, you’ll begin by attacking Zorah Magdaros’ body. Your main goal is to destroy three Magmacores, which are marked on your minimap. These cores are dangerous, as they spew magma that can cause serious damage and burn you.
- Nergigante Encounter: After you’ve destroyed a few Magmacores, Nergigante will appear. You must briefly fight and drive Nergigante away before returning to focus on the Magmacores.
- Barricade Phase: Once you’ve done enough damage to Zorah Magdaros, you’ll be transferred to a barricade. Use the defensive weaponry on the barricade to continue the assault. Eventually, you’ll be able to use the Dragonator on a ship (located on the far left of the barricade) to deal significant damage. Repeat this process until Zorah Magdaros is defeated.
High Rank and Farming
After completing A Colossal Task, you will gain access to High Rank expeditions. You’ll need to head to the Wildspire Waste at your Handler’s request to unlock High Rank content. As you progress, Zorah Magdaros will occasionally reappear as a mission, allowing you to farm materials for the Zorah Magdaros sets.
Zorah Magdaros Armor Sets
Zorah α + β Armor Set Requirements (Rarity 6)


Human Armor
- Headgear: 2x Scale, 2x Ridge, 6x Carapace, 8x Dragonite Ore
- Hide: 6x Carapace, 1x Scale, 2x Ridge, 1x Pleura
- Claws: 3x Scale, 3x Pleura, 2x Magma, 8x Dragonite Ore
- Spine: 8x Carapace, 1x Scale, 3x Ridge, 2x Magma
- Spurs: 3x Ridge, 3x Carapace, 3x Magma, 1x Gem
Set Bonuses
- 3 or more pieces equipped: Zorah Magdaros Mastery (Critical Status) – Increases abnormal status effect damage (paralysis, poison, sleep, blast) when landing critical hits.
Palico Armor
- Puppet: 1x Magma
- Crown: 1x Heat Scale
- Suit: 1x Pleura
Now that you’ve conquered Zorah Magdaros, why not take on another formidable foe? Check out our Pink Rathian guide for tips on defeating this dangerous monster and acquiring its powerful gear.
Thoughts on our Zorah Magdaros guide? Drop them in the comments below.
