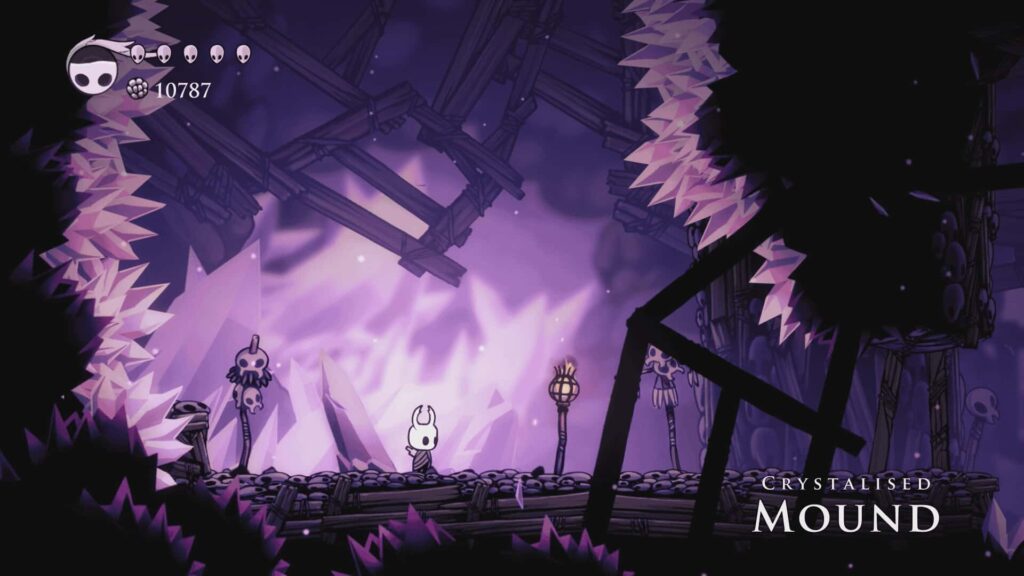
Soul Sanctum is a sub area players can visit off the left side of City of Tears. This location is home to a special boss fight and an ability: Desolate Dive that we need to unlock to advance the main storyline. To help you complete this area see our Soul Sanctum guide below.
Soul Sanctum Map
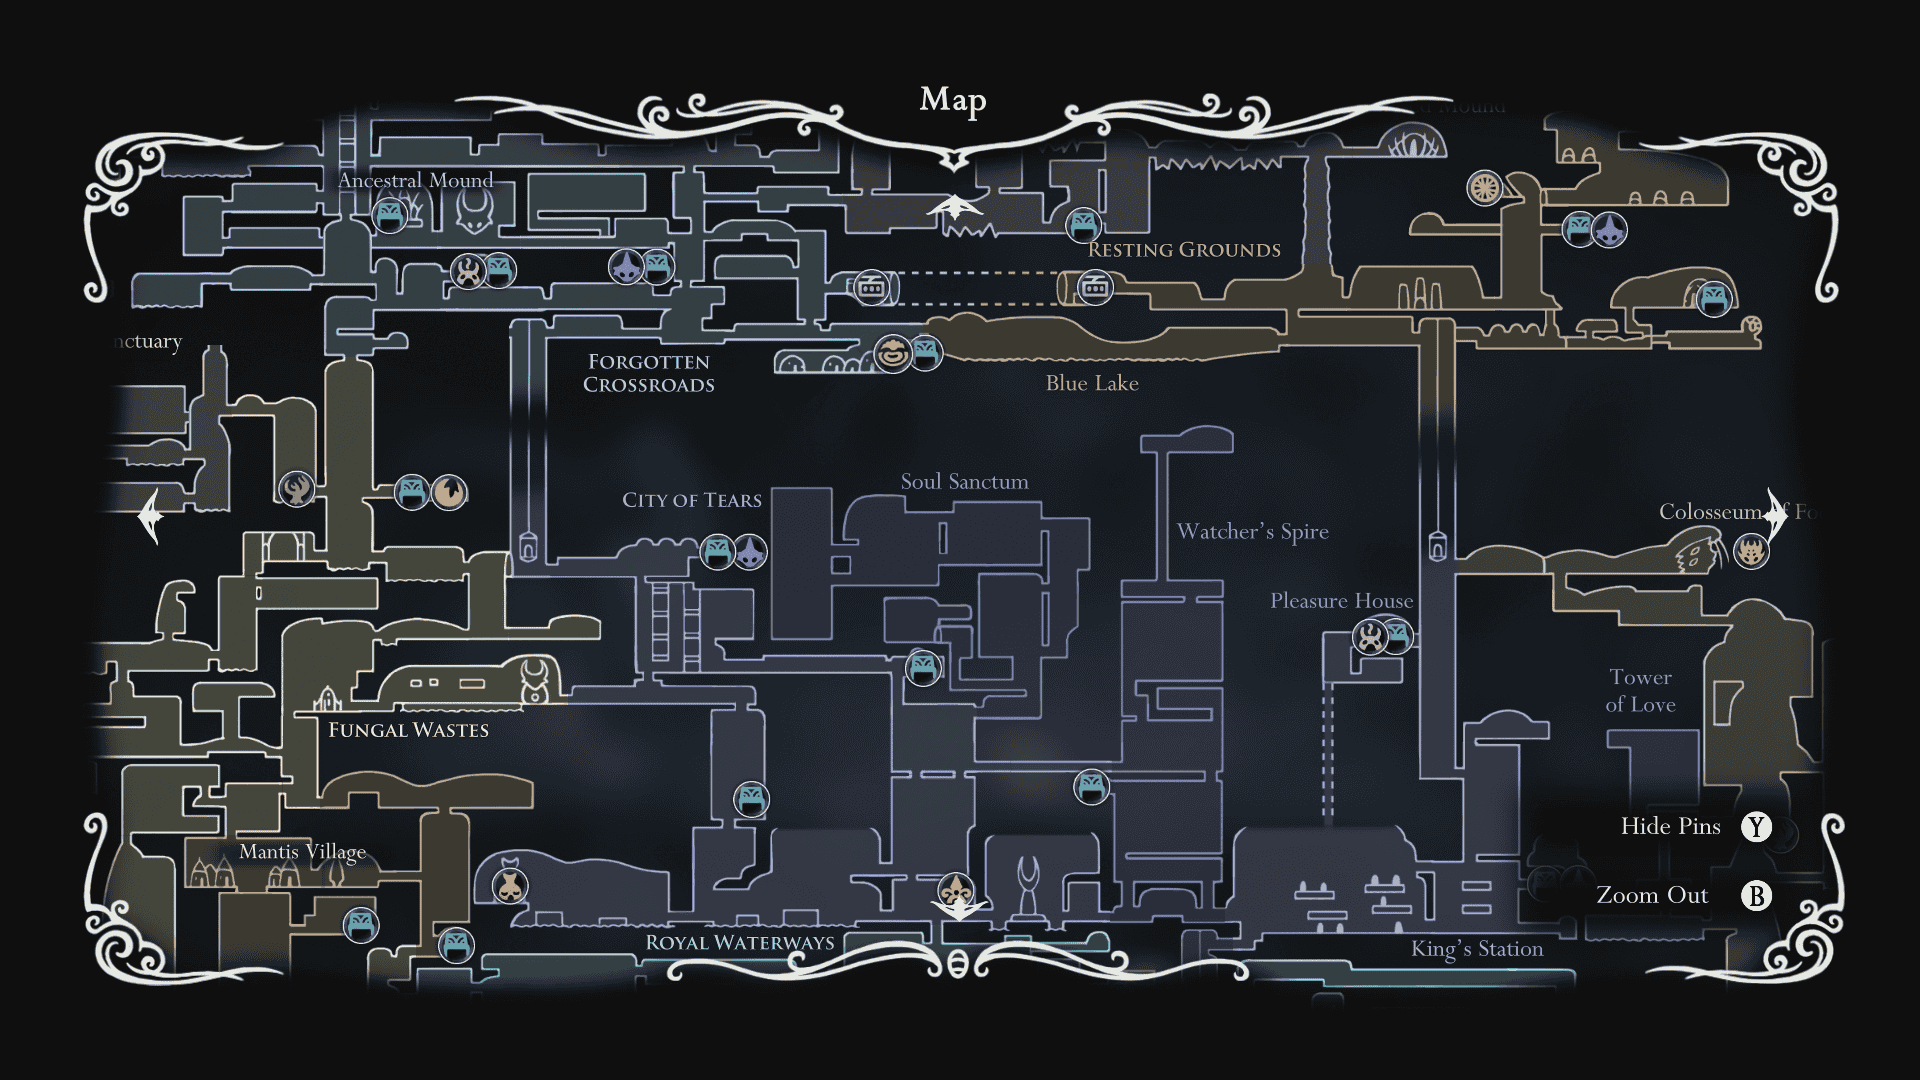
Soul Sanctum is a fairly small sub area located in the City of Tears. This location is home to a few collectibles, a boss fight, and an ability unlock we need to complete to advance the main storyline. Use the map above to navigate this area.
How to Reach the Soul Master
The first room you enter in Soul Sanctum is a combat room. In this room you need to defeat an enemy called the Soul Twister. Defeat this enemy and the door above will open. Wall jump up to it and go through it into the next room.
In this upper room head up to the elevator you see above you. Ride the elevator up. Head right and follow the platforming path all the way up until you reach the lever you can hit next to the elevator shaft. Hit it to open the gate above.
Return below and ride the elevator up to the gate we opened. Enter the area to the right. This will trigger a boss fight with a Soul Warrior. Defeat the Soul Warrior and head right into the next room.
You can go up or down in this room. Go down to open a shortcut back to the elevator room from earlier. Head up when you’ve done that. Hit the lever to open the gate and use the elevator to go up. Enter the room to the left.
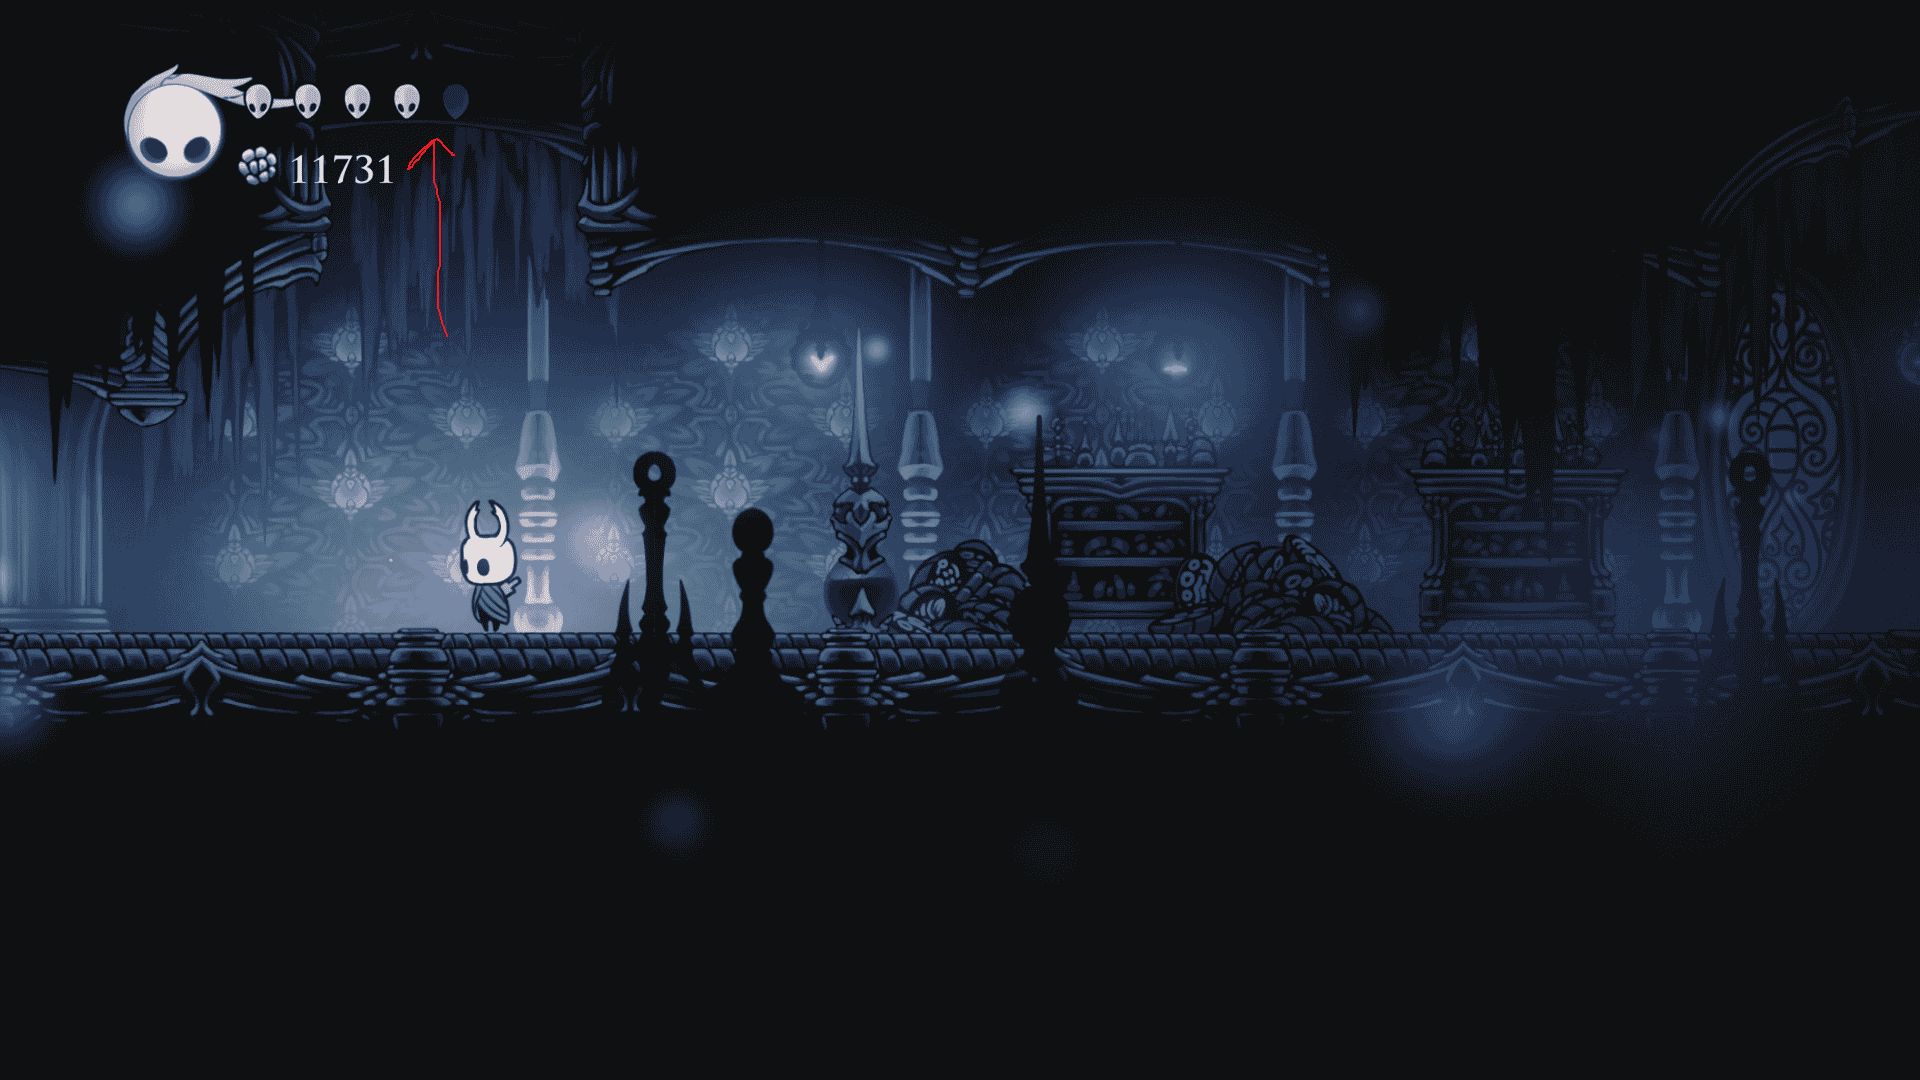
Follow the path through this room to reach the lever in the middle. Hit it to open the gate then go left to the exit. Don’t go through the exit, instead go up using wall jump.
Spell Twister Charm
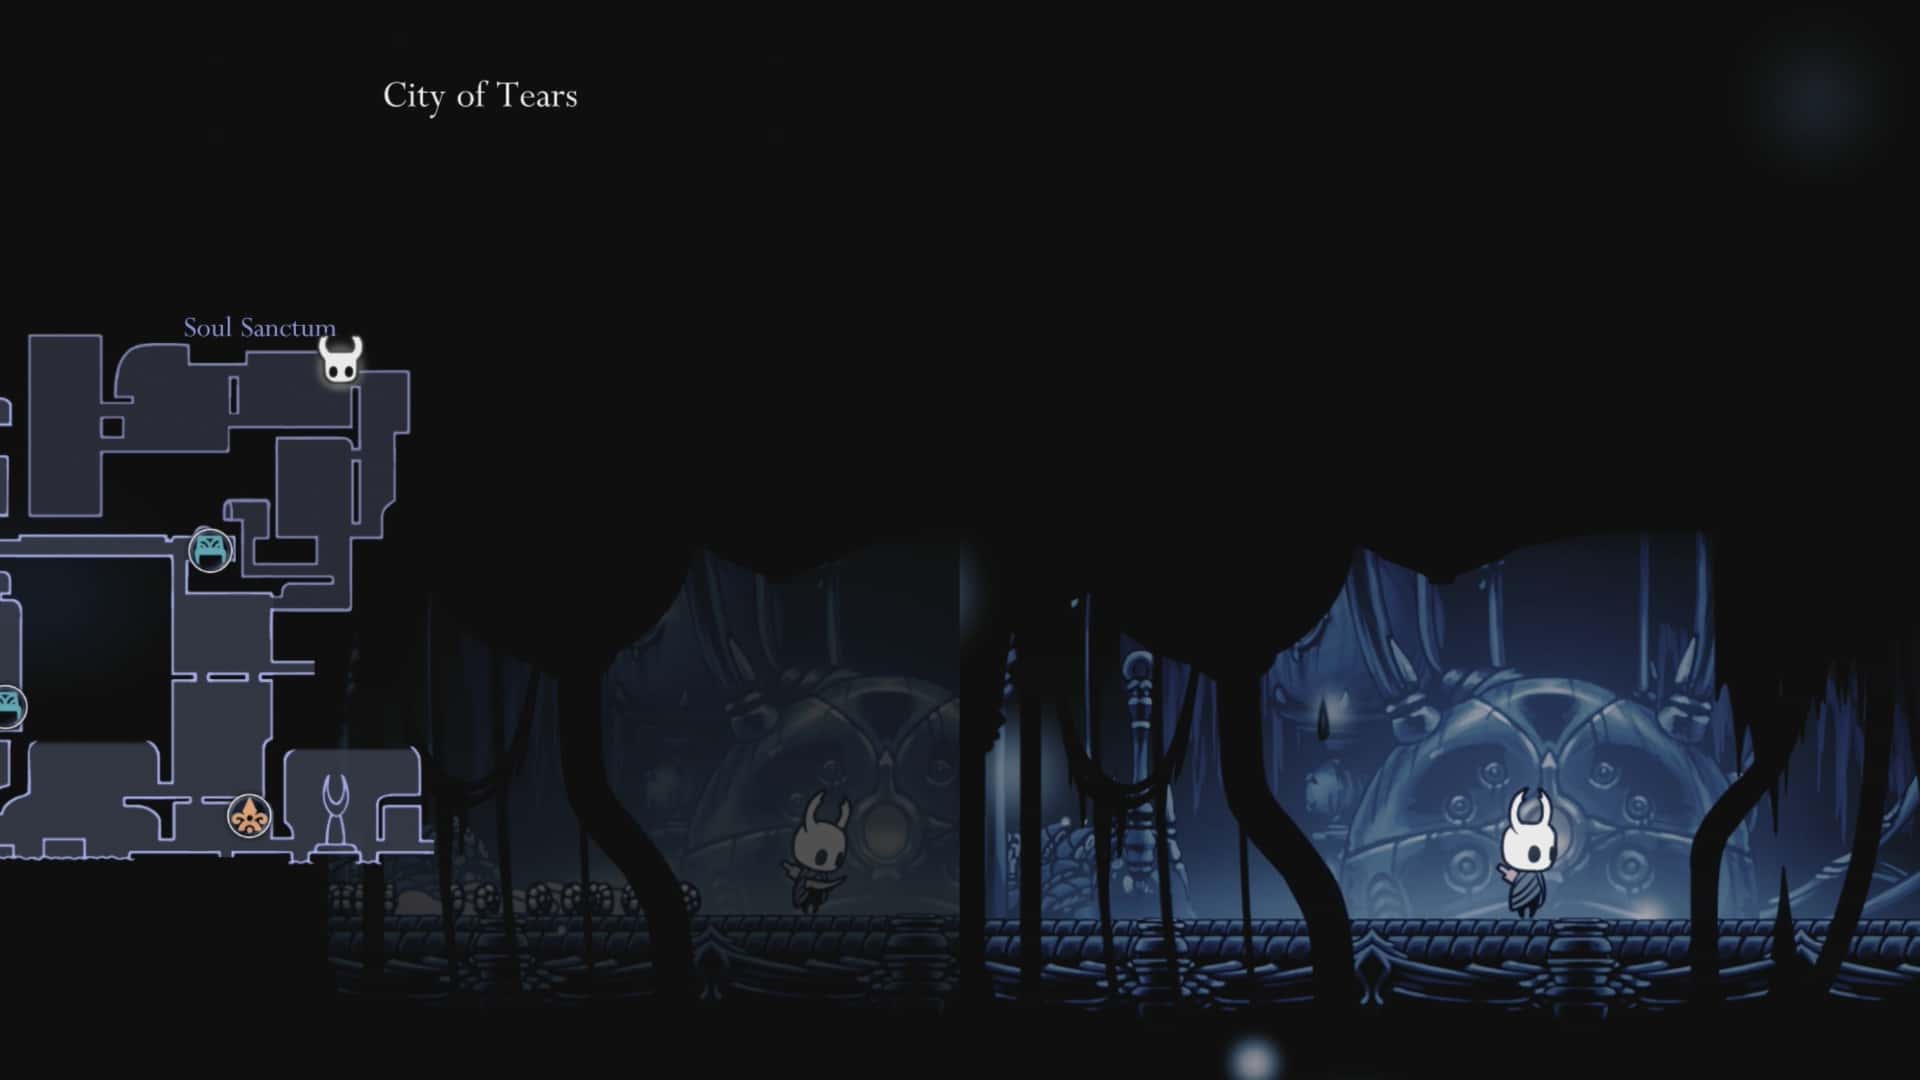
In this upper area you will be in an attic. Head right. In the big area a bunch of enemies will appear. Clear them out and continue heading to the right to reach a new area. In this area you will find the Spell Twister Charm. Pick it up.
What Does the Spell Twister Charm Do?
The Spell Twister charm reduces the amount of SOUL required to cast spells by 33%. This lets you cast spells more frequently before needing to gather more SOUL.
Leave the attic area and head back down below. Take the exit to the left. It is time for a boss battle!
Boss: Soul Master
The Soul Master boss fight is pretty tough so be sure to be ready to go when you start. It features two phases to complete:
Phase 1
Soul Master spends most of this phase teleporting around the arena and attacking from different positions.
- Fireball Burst: He launches four fireballs that spread outward. Stay near him or move between the gaps.
- Homing Fireballs: Four fireballs circle around the arena and track you. Keep moving and focus on avoiding them.
- Dive Attack: Soul Master dives toward you. Dash or move away to avoid him.
- Shockwave: When he slams into the ground, jump over the shockwave.
Stay mobile and attack whenever Soul Master finishes an attack. Don’t get greedy with hits—his teleporting makes it easy to be caught off guard.
Phase Transition
Don’t relax when Soul Master appears to die. His first “death” is a fake-out—he suddenly smashes through the floor, sending both you and him into the lower arena, where phase 2 begins.
Phase 2
His main attack is repeatedly diving toward the ground, creating shockwaves that travel across the arena.
Jump over the shockwaves and attack him when he becomes vulnerable after a dive. Keep your distance when necessary and prioritize avoiding damage over getting extra hits.
Ability: Desolate Dive
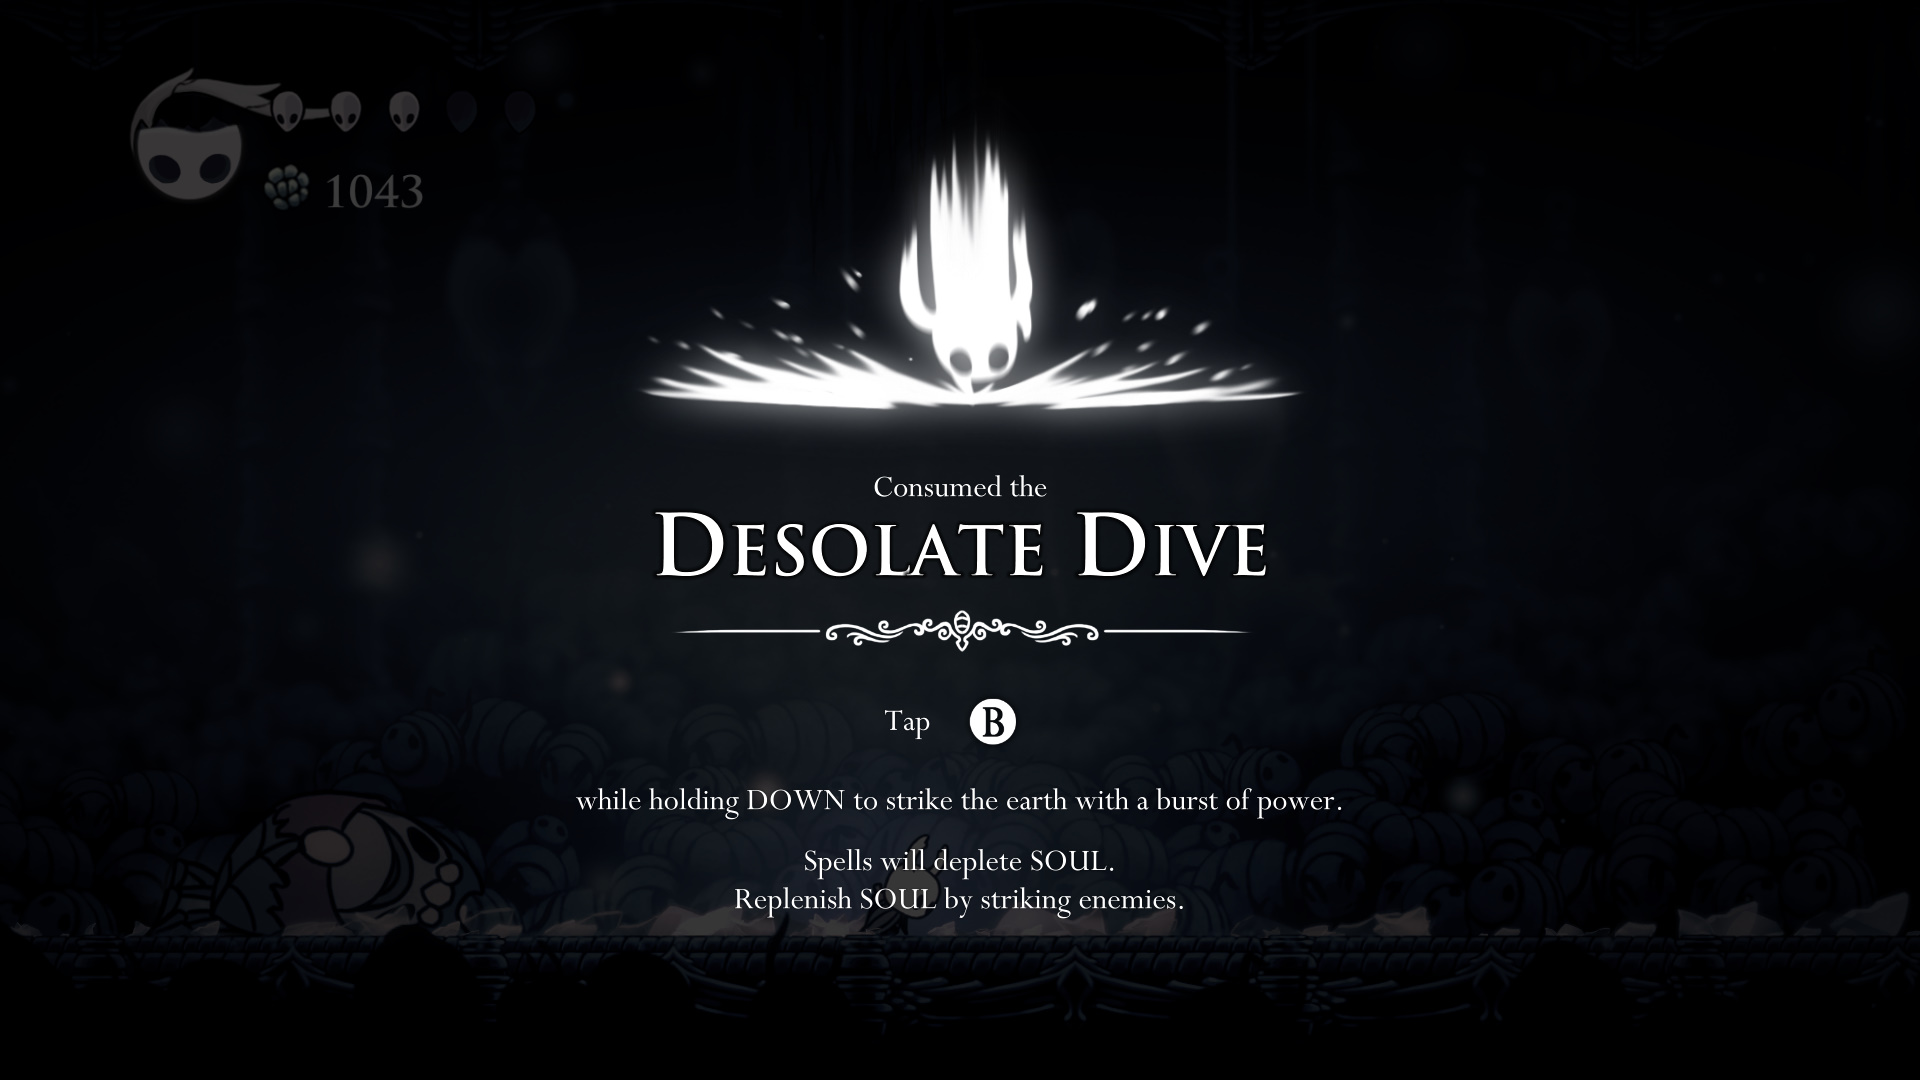
Upon completing the second phase you will defeat Soul Master. There will be a floating spirit in the middle of the arena. Jump up into it to unlock the Desolate Dive ability. This ability allows you to ground pound using SOUL.
Grub 1
Leave the bosss arena via the left exit. Go up a floor and ground pound the cracked glass floor so you reach the section below. Ground pound the next section. You will drop through a few floors.
At the bottom wall jump back up. Grab the item to your right to get a Hallownest Seal. Continue up until you are on the floor with the SOUL statue.
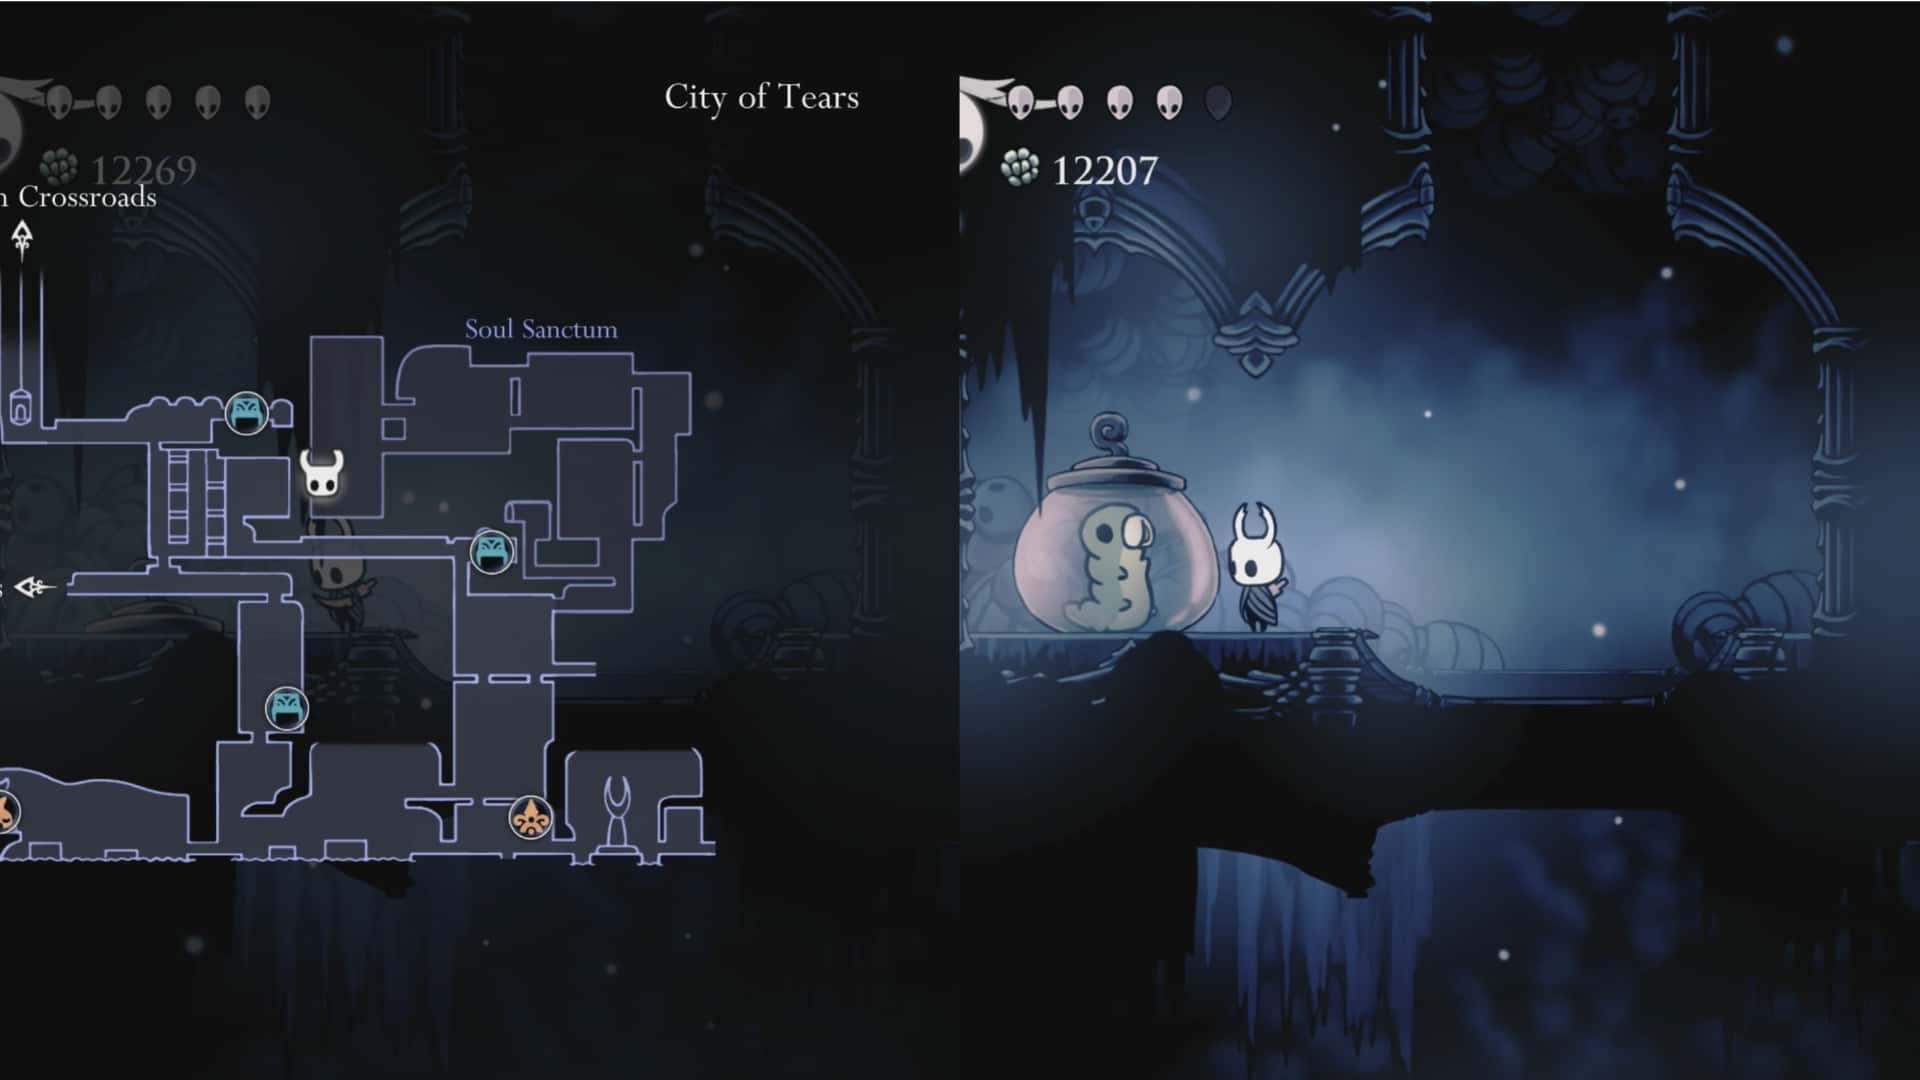
To the right of the statue is a cracked floor. Ground pound through it to open a path to the little area below that has a Grub (12/46) in it.
You will smash through, past the Grub, to the large section below. Head up the right side and go back up top to the hole you made. Drop down to reach the Grub.
That’s all for this area for now. The next major area we will visit is called Crystal Peak.
How to Get to Crystal Peak
There are two methods to getting to Crystal Peak: using Desolate Dive or the Lumafly Lantern. I will walk you through both methods below.
Method 1: Desolate Dive
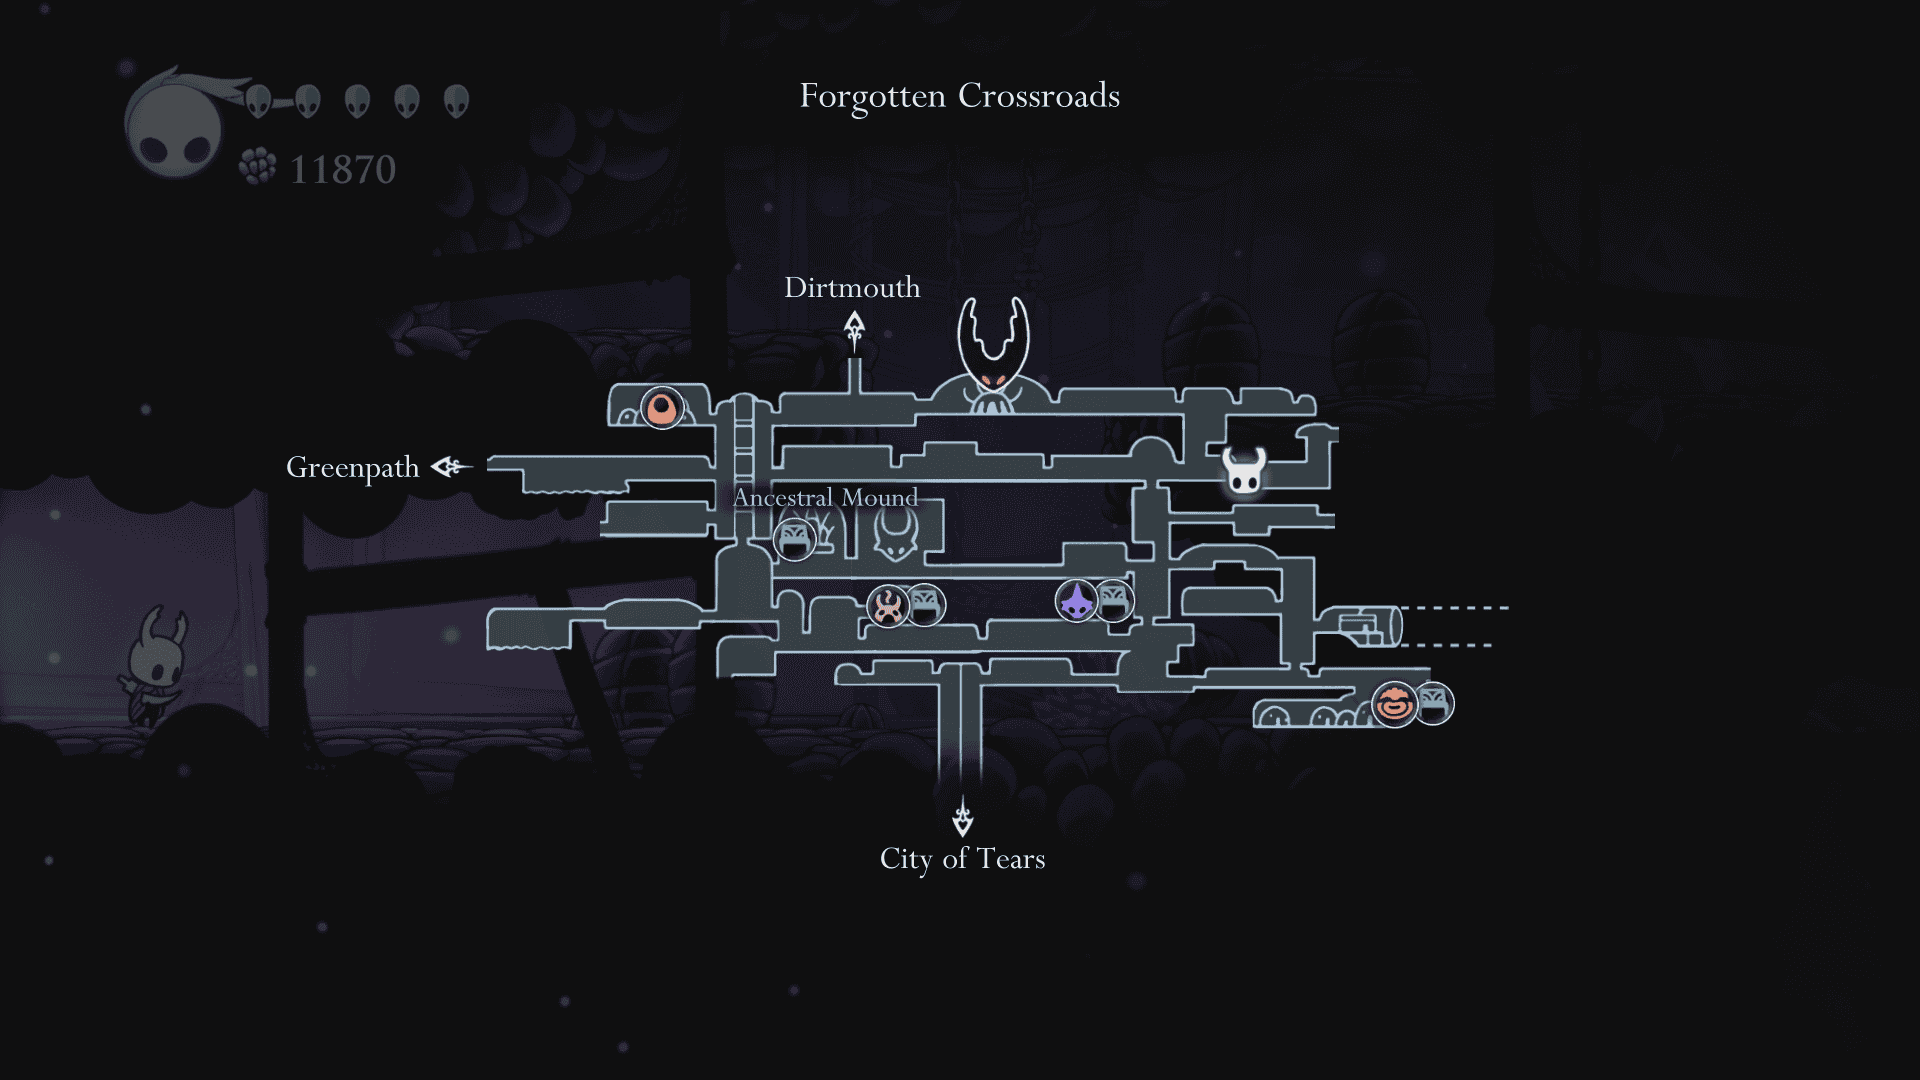
Head to the Forgotten Crossroads. Make your way to the room shown on the map above. Go right into the mine area. Speak to the NPC named Myla who is mining.
Continue following the path above to the right. Ride the lift up and take the right into the next room. Stand on the stone and use Desolate Dive to break through to the area below, which is Crystal Peak.
Method 2: Lumafly Lantern
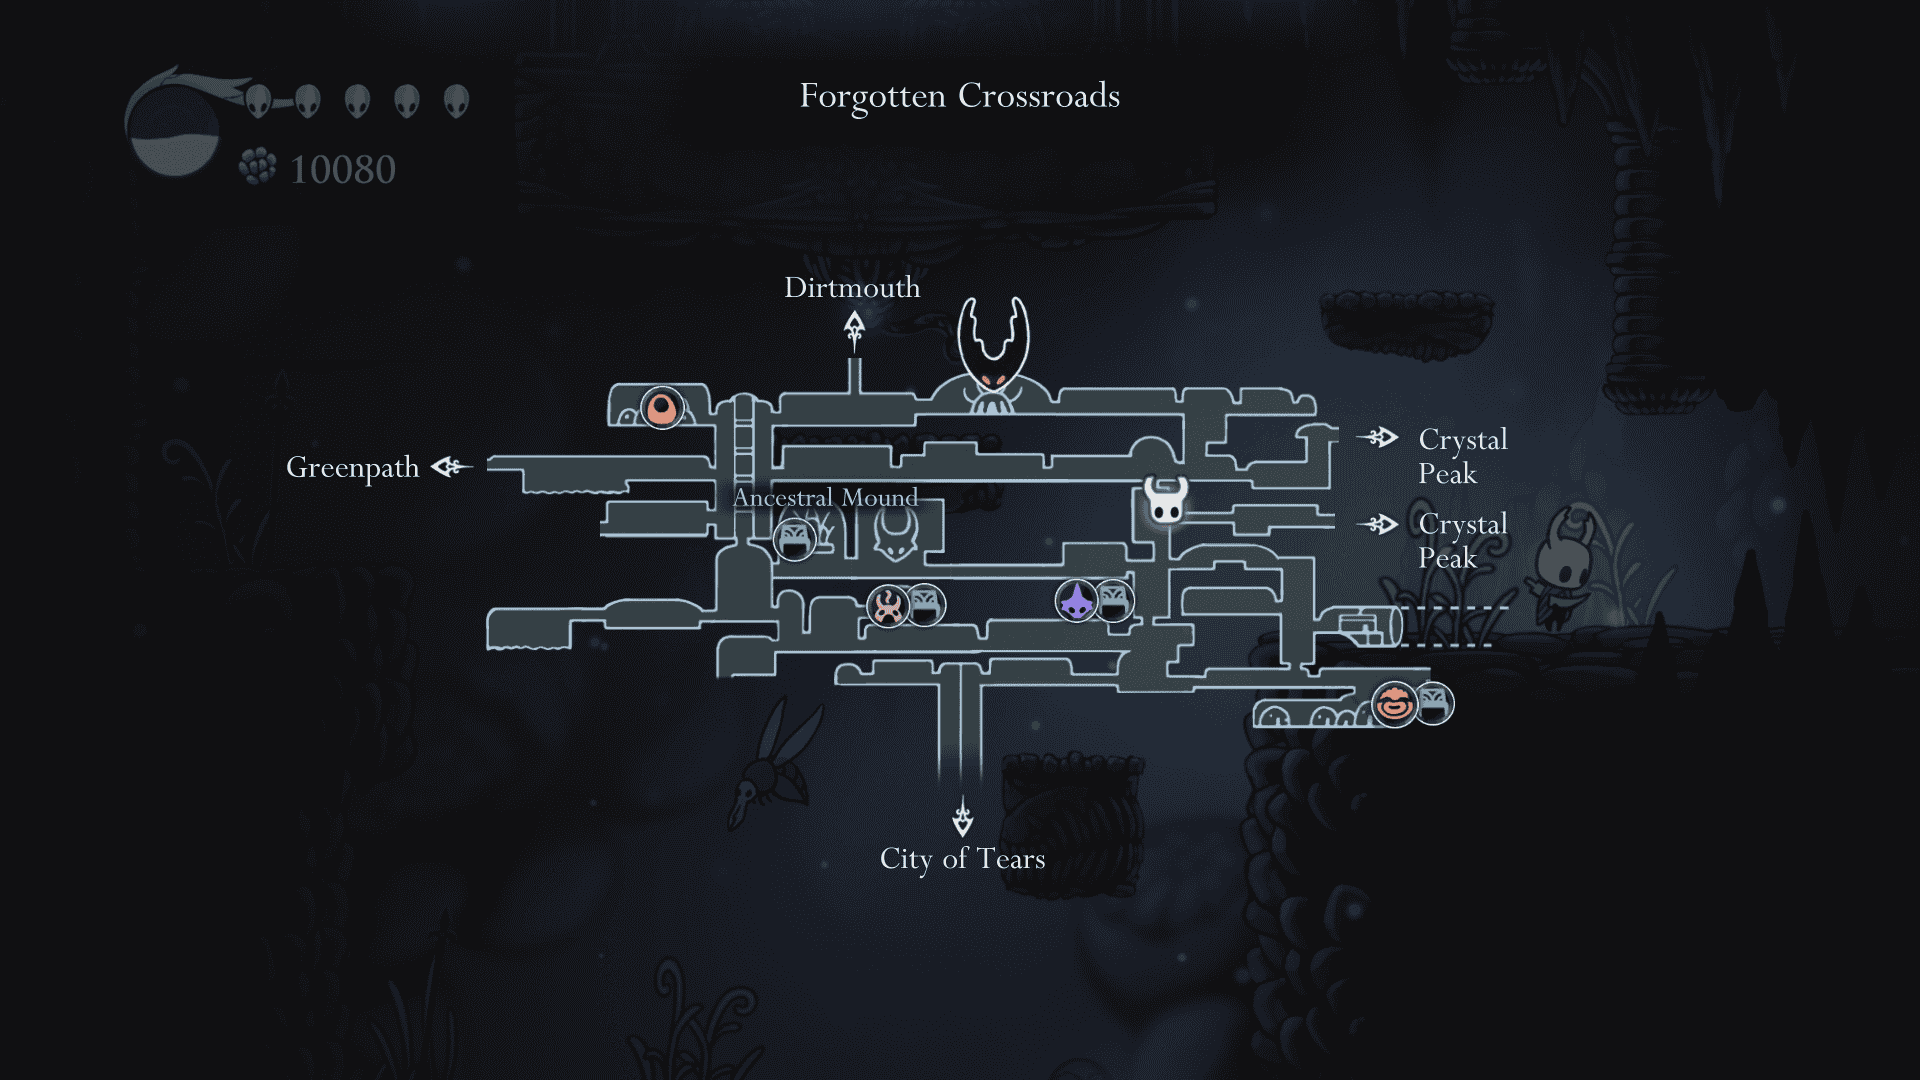
In Dirtmouth visit Sly and buy the Lumafly Lantern from him for 1800 Geo. Leave Dirtmouth and head to the Forgotten Crossroads.
Make your way to the room shown on the map above. With the lantern you can now see in this area. Head right to the Toll Machine and pay 50 Geo to open the gate. Head right into Crystal Peak.
Regardless of which you choose you will end up in the same area. To navigate this new section check out our complete Crystal Peak guide.
For more guides like this one check out our other Hollow Knight guides and walkthroughs in the guide hub.
Thoughts on our Hollow Knight Soul Sanctum guide? Drop them in the comments below.