Poppy Playtime Chapter 4 Safe Haven Meeting Yarnaby Guide
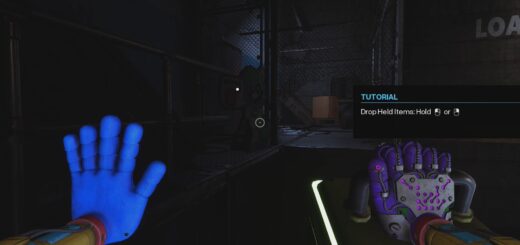
After completing the Prison Cell Blocks area in Poppy Playtime Chapter 4: Safe Haven, you will enter a Red Cell blocks area. This area features a few puzzles to complete and introduces a new enemy toy, Yarnaby. To help you complete this section of the game, use our Poppy Playtime Chapter 4 Safe Haven Meeting Yarnaby guide below.
Red Cell Block
Walk forward into the Red Cell Block area. Take the path on the left. Follow it until you reach a pile of rubble blocking your way that you can crawl through. Crawl through the rubble.
Escaping the Red Gas
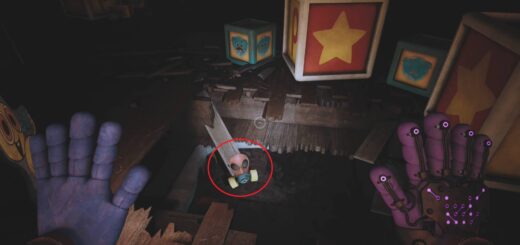
When you reach the other side of the rubble The Doctor will pump Red Gas into the area. You need to quickly navigate your way through the next section.
To start look on the railing for a pink toy. Beside it are two pieces of railing (marked with yellow) you can bend to reveal a hole you can drop down to reach the floor below. Drop down.
Once you drop down look for a fence that is blocked by some boards. Pull the boards off and follow the path forward. Squeeze between the cell door and wall.
Continue forward until you reach the Mechanical Room. Inside turn right and run to the Workbench there. Grab the Yellow Handle from off of it.
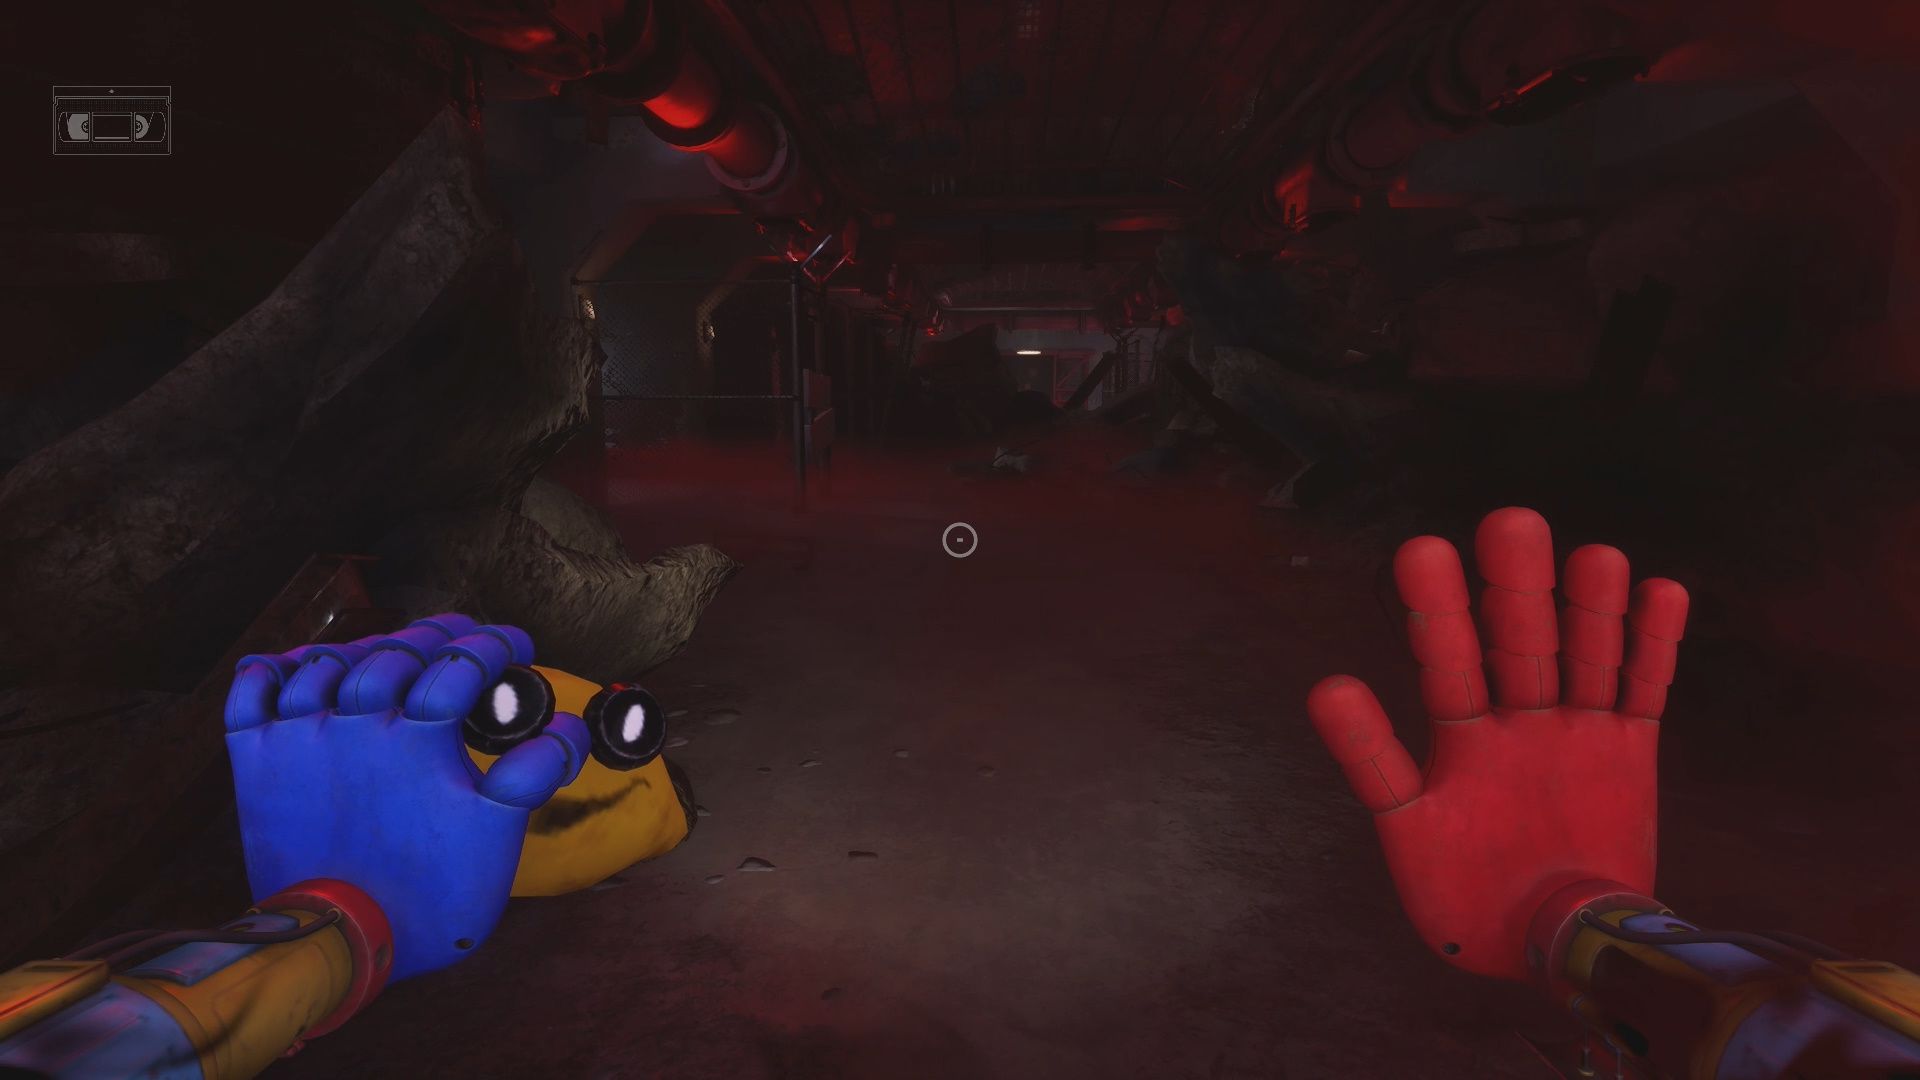
Return back outside. Go through the path in the fence on the left. Squeeze through the rubble. Pull the Block that is blocking the hole in the fence out of the way. Go through the hole and turn left.

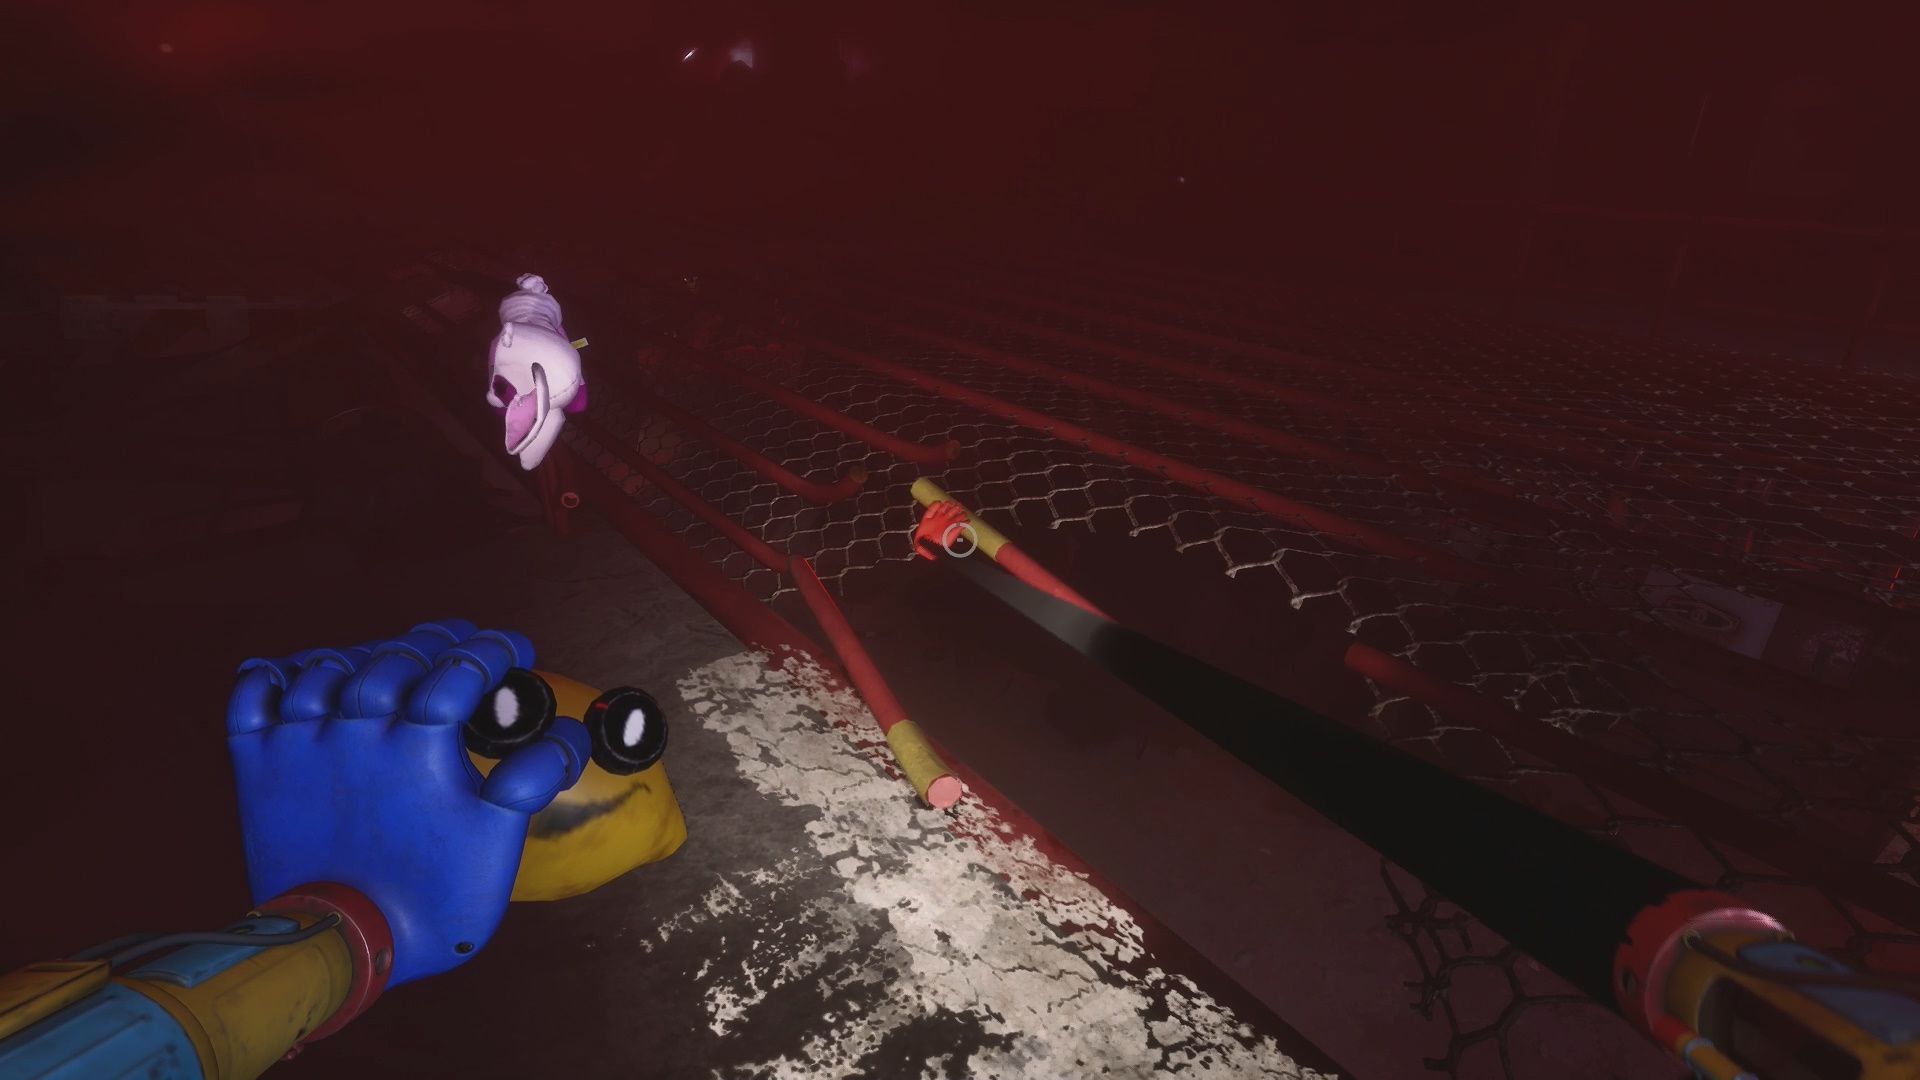
Make your way to the Red Pipe with the gas coming out of it and put the Yellow Handle on it. Turn the handle to stop the flow of gas. Use your Red Hand on the sensor beside it to open the door.
Head upstairs. Turn left at the top of the stairs and enter the office to reach a puzzle we need to complete to continue.
How to Solve the Calendar Puzzle in the Prison

Inside the office you need to figure out the proper code to input into the console to remove the Red Gas from the area. To learn the solution use the Calendar nearby.
The clue to solve this is to use the CAGE sticky note at the bottom. Use the letters on the Calendar to get the numbers, so the solution is 3-6-4-2.
Input 3-6-4-2 into the console’s number pad and then push the Red Button. This sucks all the Red Gas out of the cell block. It also cause pressure to build and burst, shattering the window to your left in the control room.
Go through the newly shattered window. Head down the hallway. Use the Purple Hand Launchpad to reach the ledge above. Continue forward to the through the two shutter area.
Use the second Purple Hand Launchpad. Go through the Vent to reach the Shutter Puzzle Room.
How to Complete the Shutter Puzzle Room
When you drop down from Vent you will end up in a control room. Go through the control room into the room that has two open shutters.
To solve this room, pull the two large blocks so they are directly under both shutters. Once they are setup go into each room and hook your hand onto the Red and Blue Hand Sensors. This will powerup the large shutter in the room, revealing the path forward.
Meeting Yarnaby
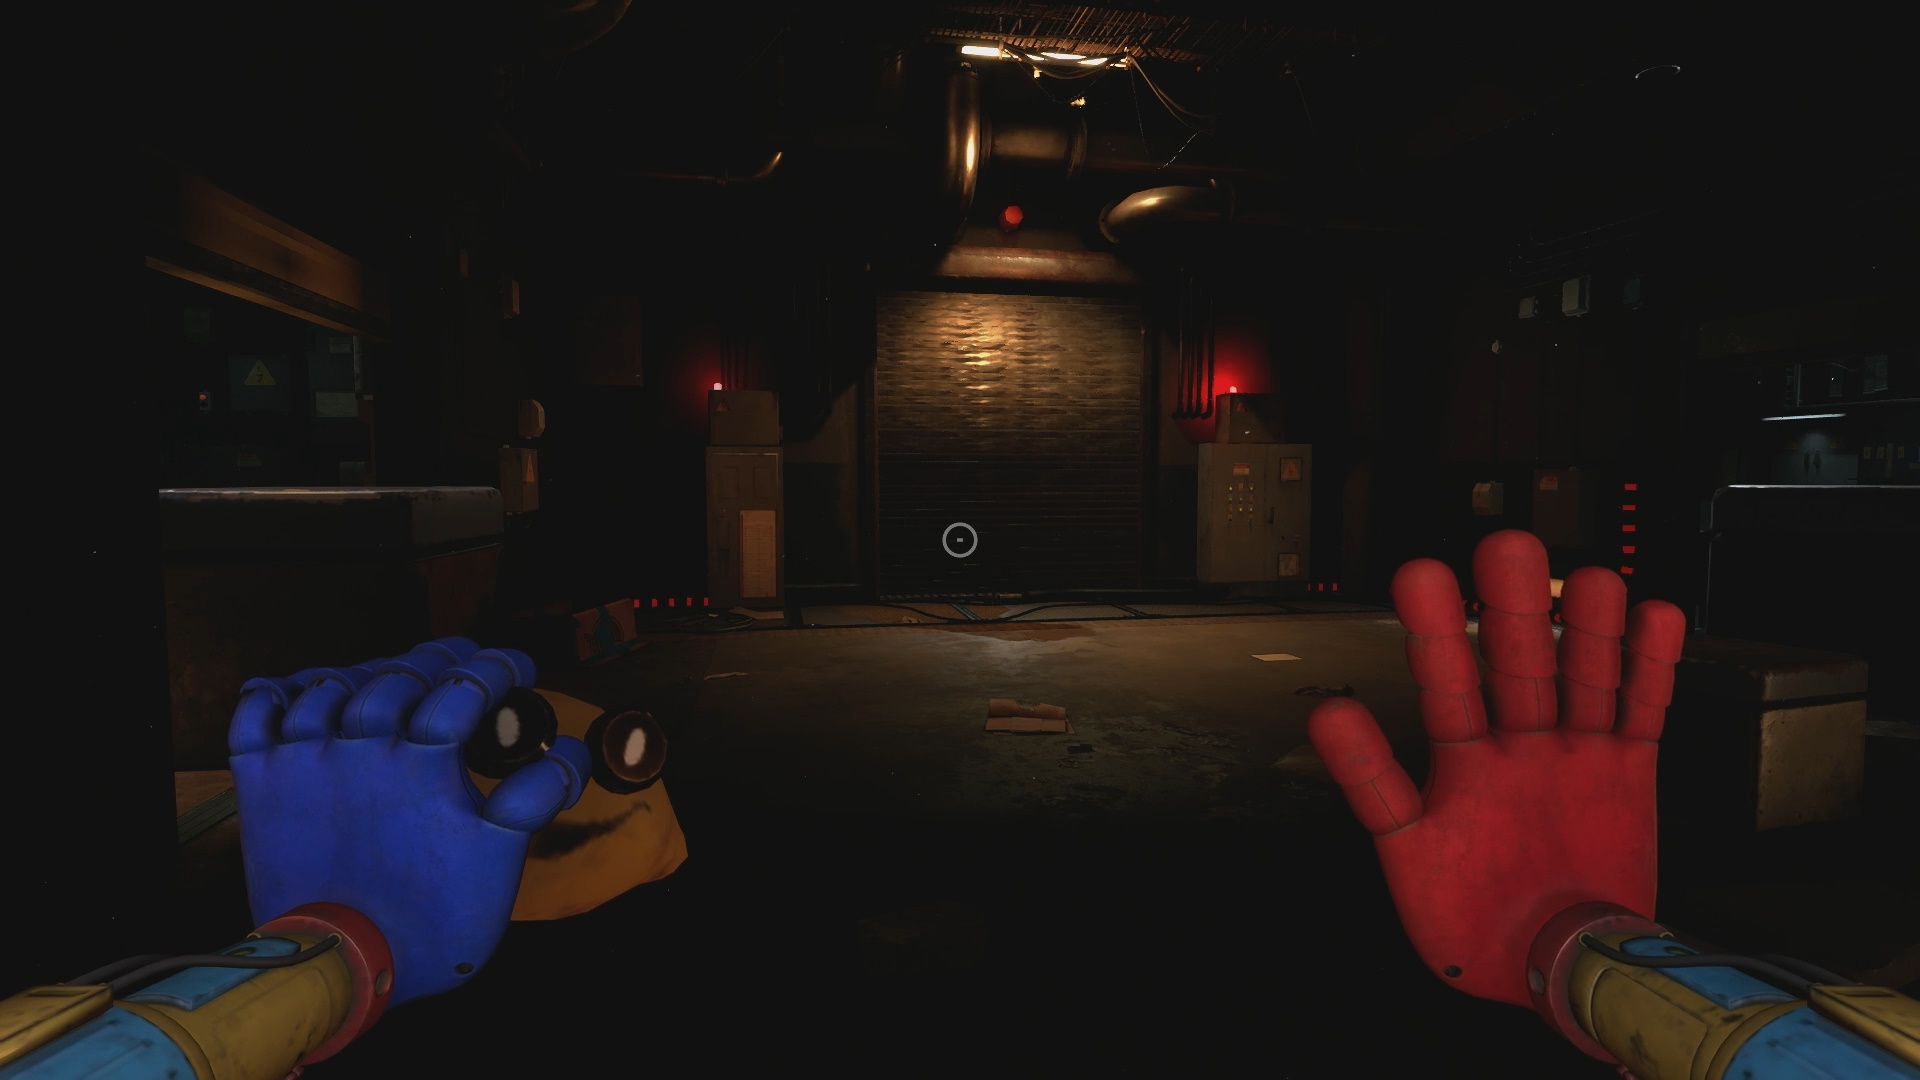
Make your way into the next area. You will be decontaminated. Proceed forward into the Containment Zone Area. There are multiple containment cells in this area. The one we want to go into is 3.
When you enter Cell 3, The Doctor will speak to you about different experiments you’ve bested. He will then release Yarnaby, who will try and attack you. Luckily we are safe behind the glass.
Containment Cell 3 Power Puzzle
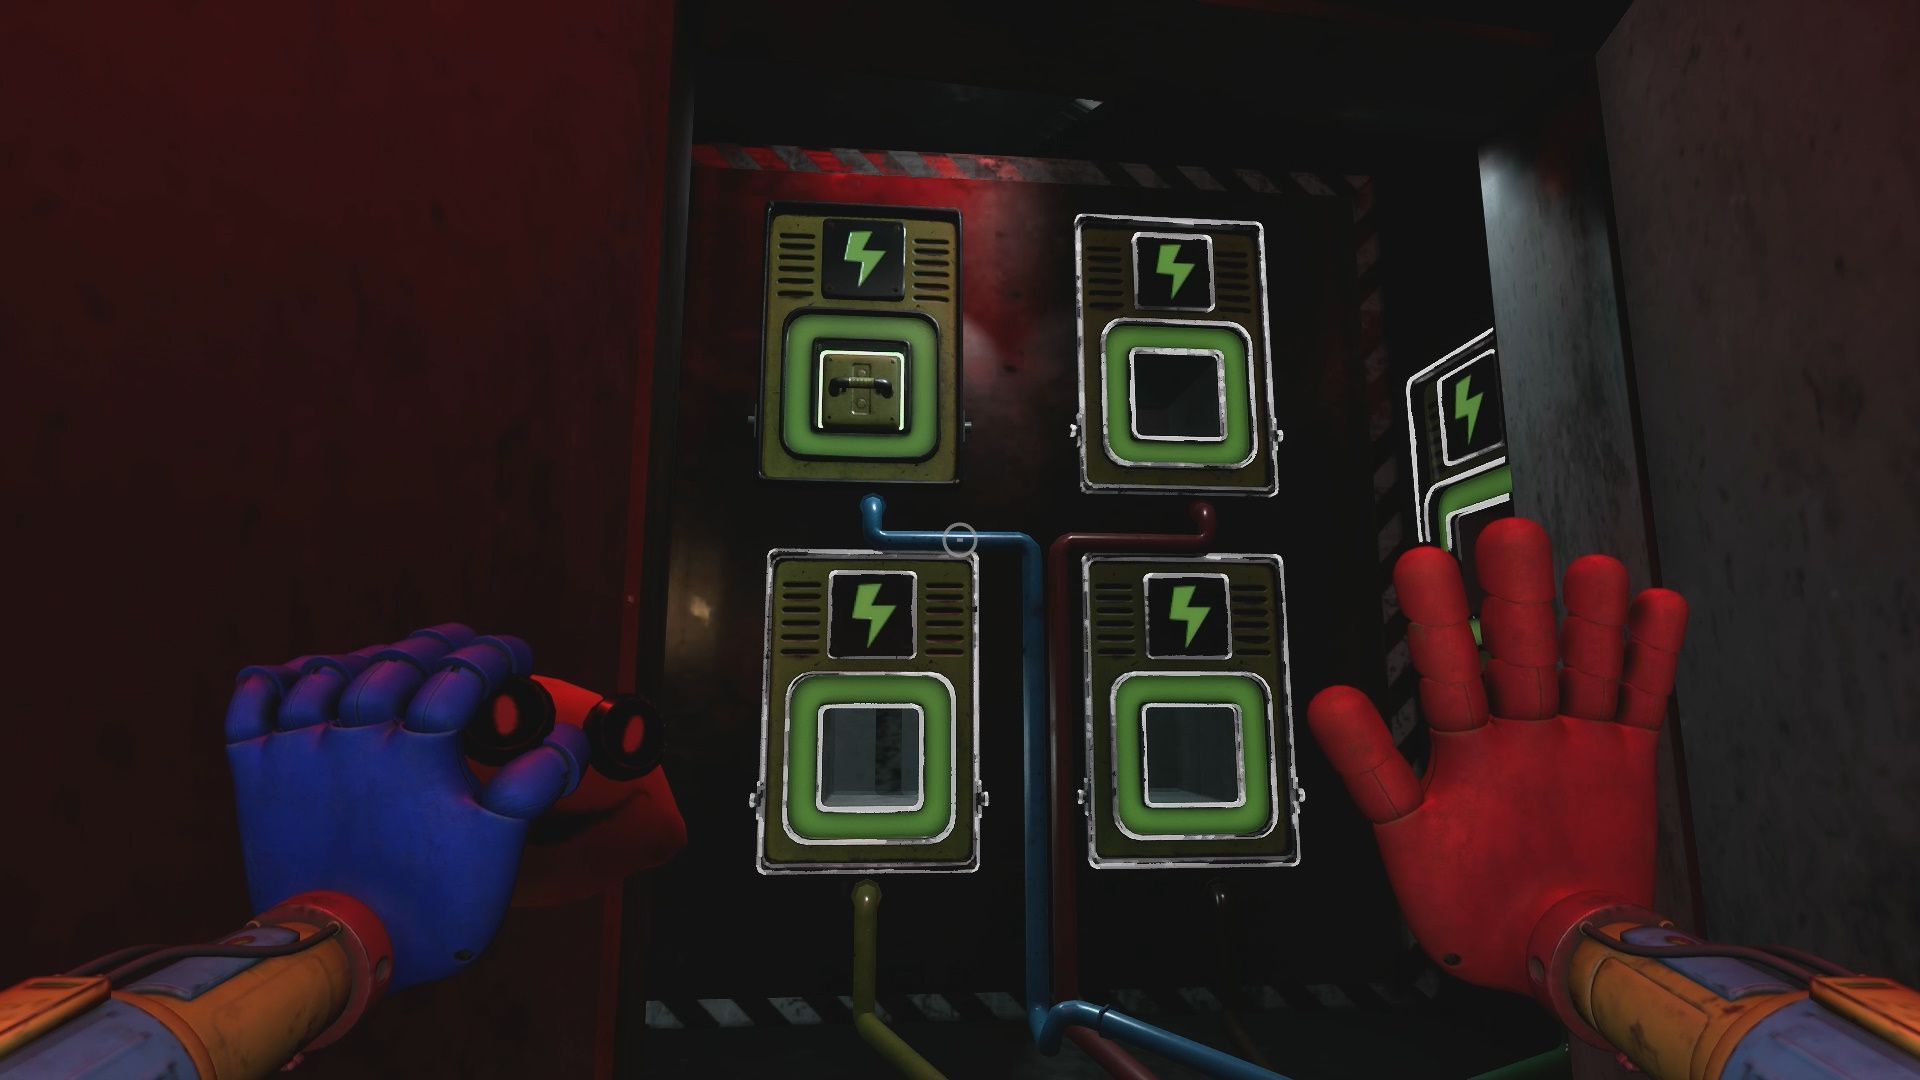
When Yarnaby hits the glass it opens the fuse box to the left. Open it further to reveal five Battery Sockets. Take the Battery out of the Yellow Battery Socket and place it into the Blue Battery Socket.
Turn around and use the Blue Hand Scanner to open the door. Go through the door into the next area. You will reach a locked gate. A mysterious stretchy arm will unlock it for us. Go forward into the next area. Brace yourself, we are about to encounter Yarnaby!
Yarnaby!
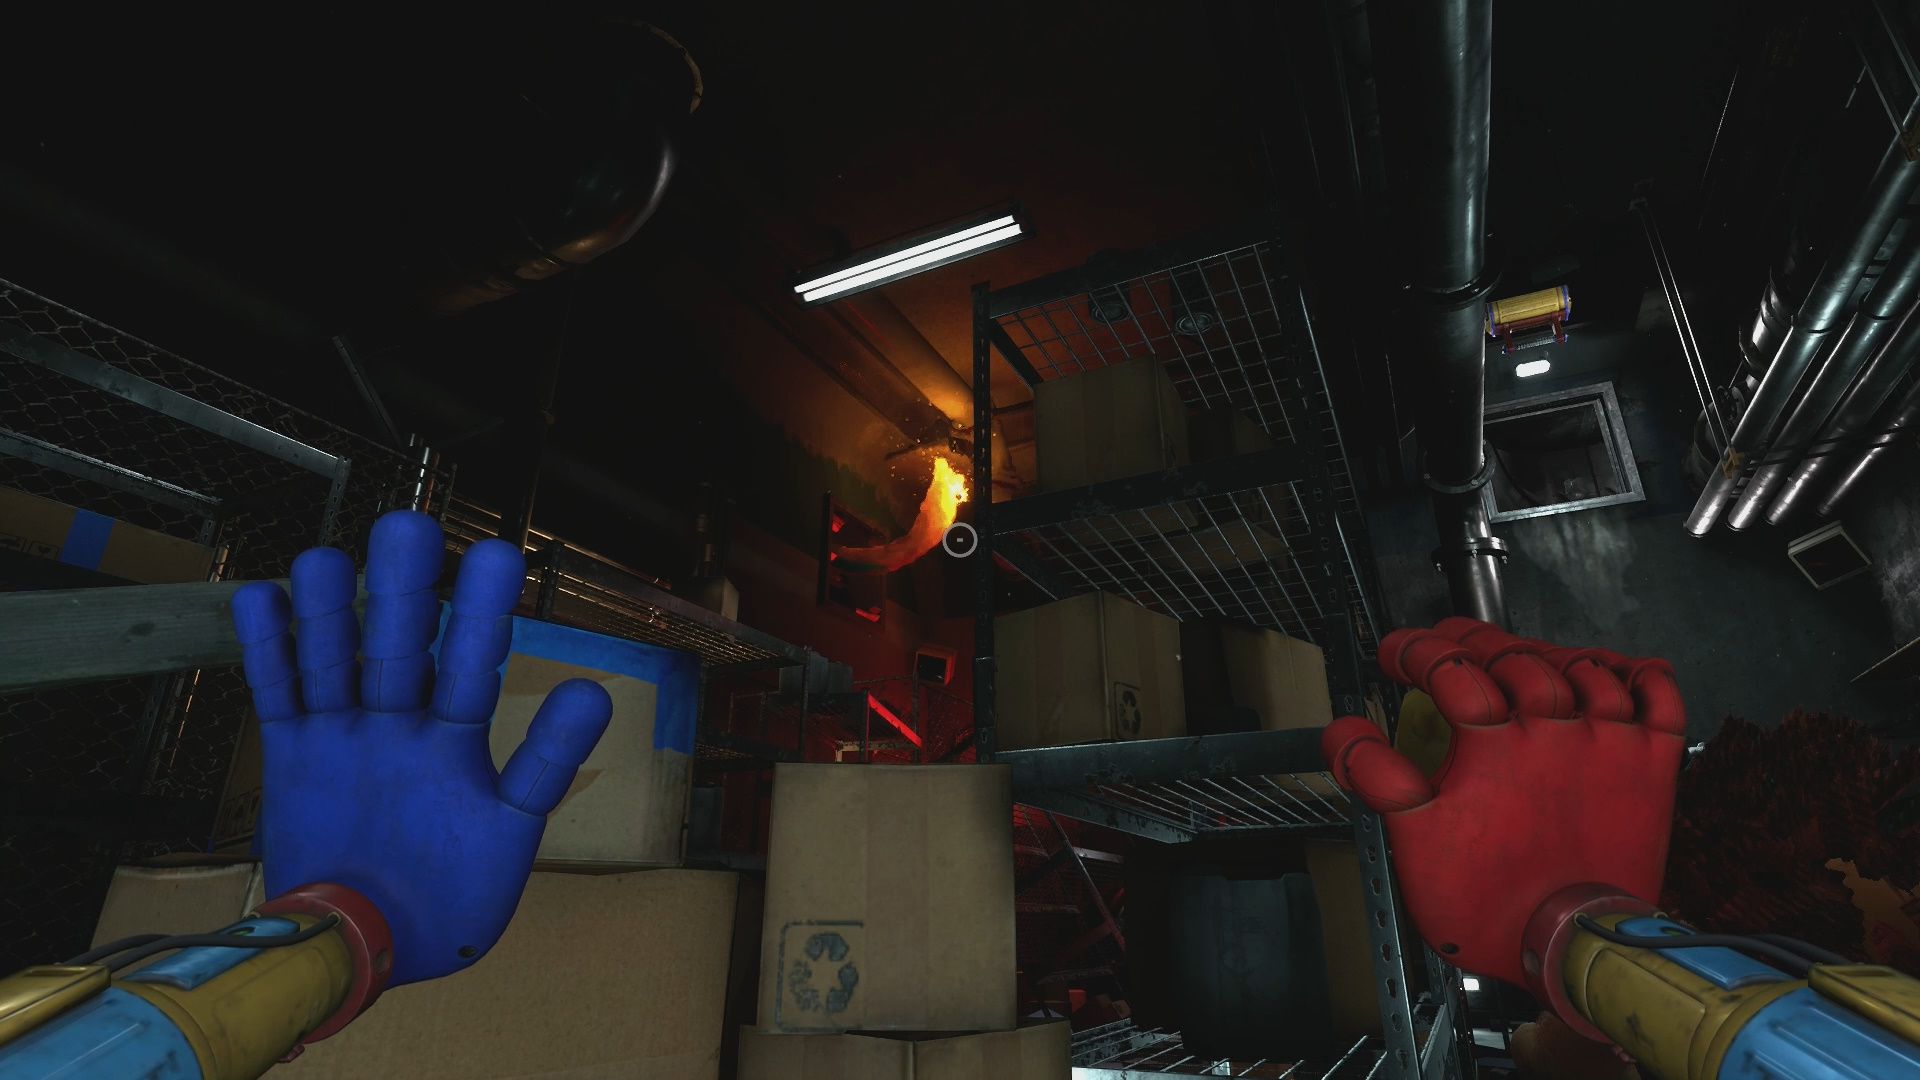
Go forward through the doors until you reach a storage room. Move forward until you have to crouch under some stacks of boxes. Yarnaby will jump out of the huge Vent to the right of you.
When safe, crouch and move forward slowly behind him. As you do that, the mysterious arm will appear from a Vent in the corner of the room. It will set off a flare that causes Yarnaby to be distracted.
While Yarnaby is distracted, use the hook on the ceiling to climb up to the Vent. Go into the Vent and head forward into the Server Room area.
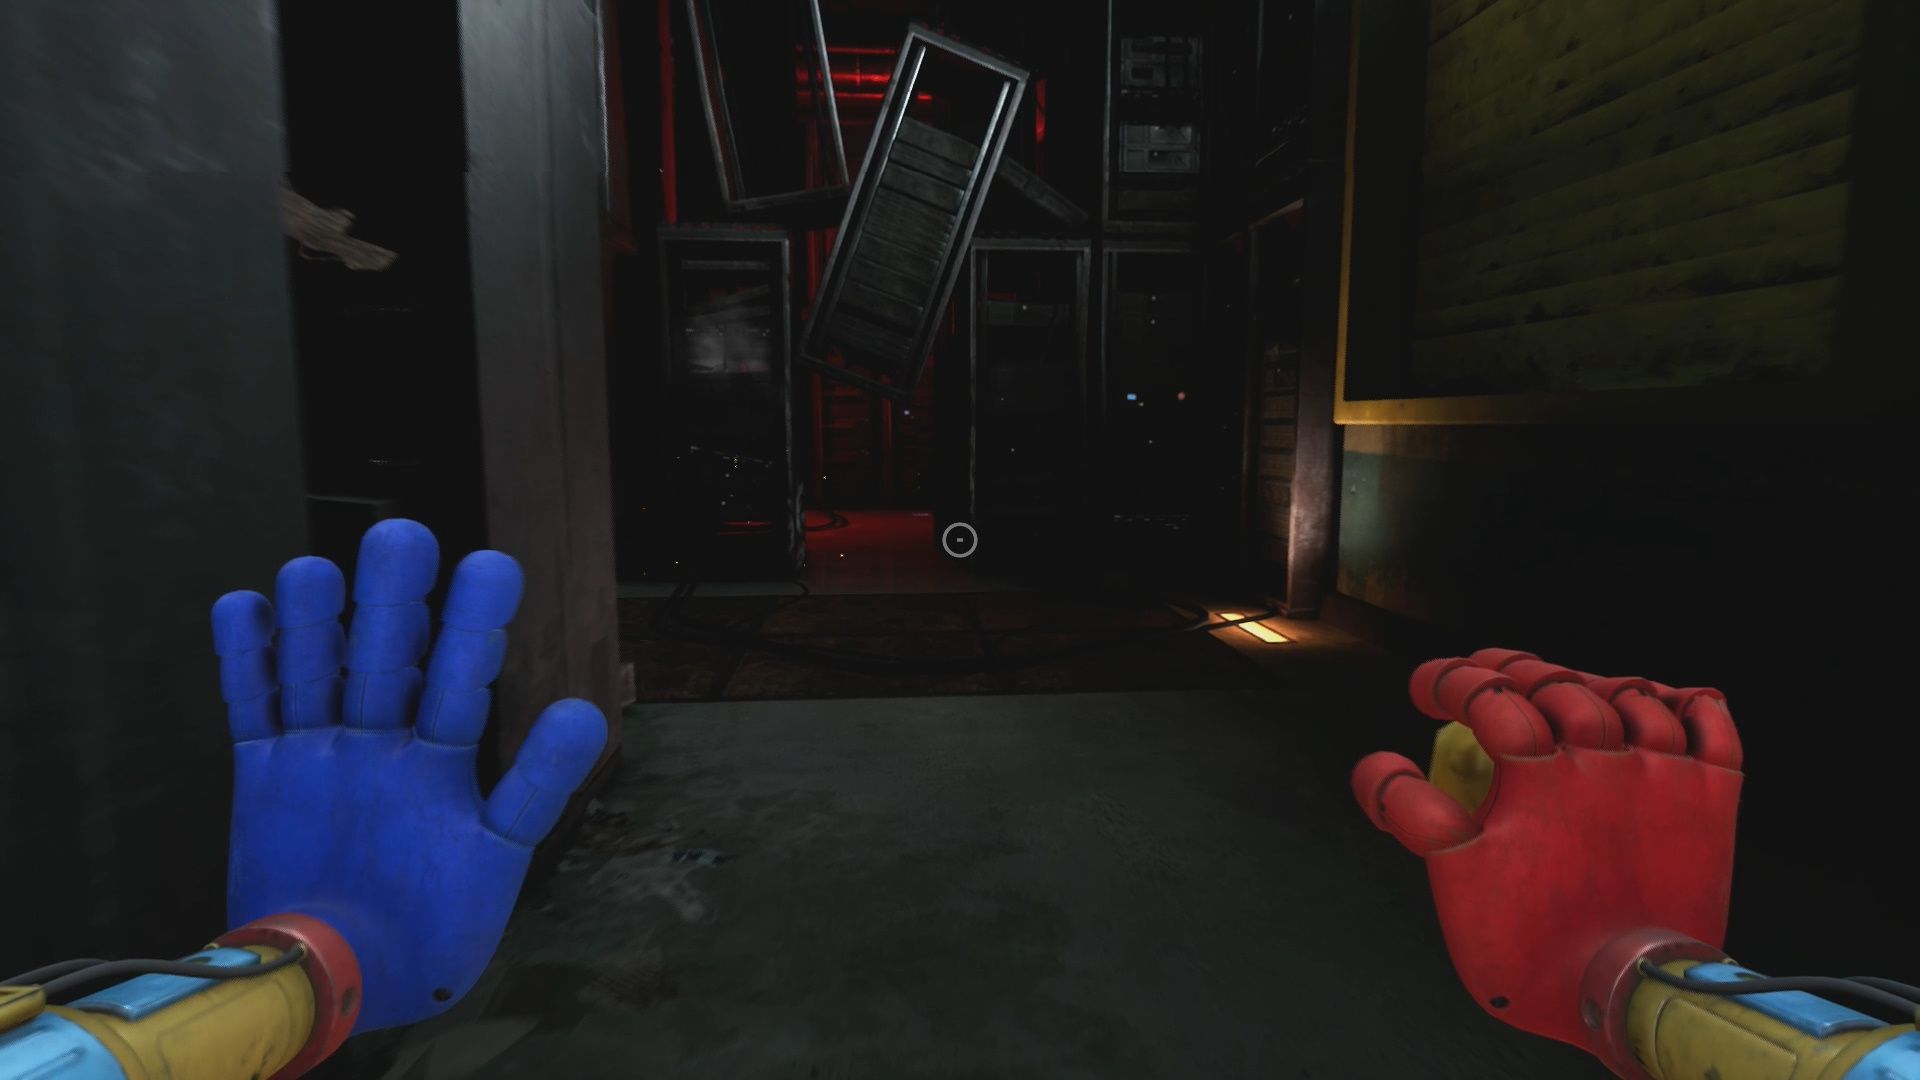
In the Server Room area leave the Vent and drop to the floor below. Walk forward and Yarnaby will appear in the path in front of you. Wait for him to walk away and sneak across the room under the server rack you can crouch under.
Go through this area and Yarnaby will be on the fence in front of you. Wait for it to break the fence down and leave the area. You are safe to come out and explore now.
There is another Vent on the floor in this room you can crawl through. Do that now. In the next room.
Yarnaby Chase
Make your way through the next room into the long corridor section. When you reach this section, Yarnaby will jump down from the shelf above you.
All you need to do here is run down the corridor. Avoid the boxes, and make it to the Yellow Door at the end. Open the door and go through it to safety.
In this room, go through the Vent in the floor. Make your way through the Vent until you reach the Archives Room.
Archives Room

In the Archives Room turn left and grab the Green Keycard off the table. Turn right from the keycard and walk to the very end of the room. Use the keycard on the console to open the door. Head forward into the next room.
Meeting Pianosaurus Rex
In the next room walk towards the observation area. There is a place where the glass is missing. Walk out onto the ledge there. You will trigger a cutscene.
During this cutscene you meet Pianosaurus Rex for a brief few seconds. Pianosaurus Rex gets killed by the mysterious arm who turns out to be a new ally named Doey. Doey has a safe place named Safe Haven that we will be making our way to.
This ends this guide. Our next guide details getting to Safe Haven. Check it out if you want more help with Chapter 4.
For more help with Poppy Playtime head over to our Poppy Playtime guides hub for guides, codes, and other resources.
What did you think of our Poppy Playtime Chapter 4 Safe Haven Meeting Yarnaby guide? Was it helpful? Let us know in the comments below.