Poppy Playtime Chapter 4 Safe Haven Getting to Safe Haven Guide
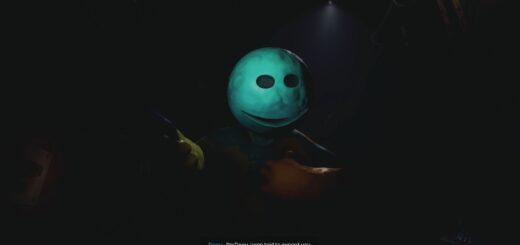
After you meet Yarnaby and complete the chase sequence you will meet Doey for the first time. Doey is one of the most important new toys in Poppy Playtime Chapter 4: Safe Haven. Doey tells you he has a Safe Haven for the player to go to. Our Poppy Playtime Chapter 4 Safe Haven Getting to Safe Haven guide walks you through all of the steps to getting there for the first time.
Follow Doey
After you meet Doey officially for the first time, he will tell you to follow him. Doey will start to lead you to Safe Haven. Turn right and hook yourself up to the ledge above. Make your way forward.
You will arrive in a hallway with a bunch of rooms. Go into the room on your right. Use the ramp to go into the next room. In the hallway go left at the T. Go into the office on your left and through the hole in the wall.
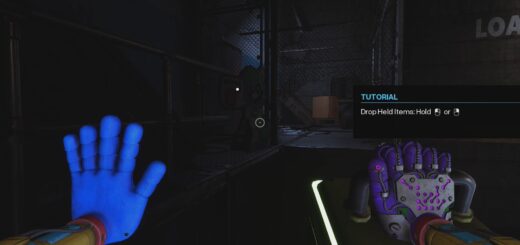
Squeeze through the bigger hole in the wall. Then go left and go through the open door that Doey’s head was sticking out of. In the next room Doey will go through a grate. Pull the bars off the grate so you can go through them.
Use Doey’s platforms to complete the short platforming section to reach the Prison Yard where you will need to complete a puzzle to advance.
Get Out of the Prison Yard
Inside the Prison Yard there is a large gate you need to open. This gate requires using the hooks on the walls and Prison Levers to pull it open.
You need to find all of the Prison Levers, set the hooks and levers up, and then use them on the door. Here’s where they are located:
Prison Lever 1
The first Prison Lever is located on the ground in the Prison Yard. You will find it near the first hook on the wall. Pick it up and slot it into the Blue Box next to the hook.
Once the lever is in, grab the hook and attach it to the door handle.
Prison Lever 2
Doey will throw down a second Prison Lever for you to use in the Prison Yard after you set up the first hook and lever. Grab the lever and setup the hook exactly as we did the first one (connect it to the door).
Prison Lever 3

Go up the Red Tower (31). Walk over to Blue Tower (33). In the blue tower you will find a locker that requires a code. Input the code 3021 to open the locker and get the Prison Lever.
Head back down into the Prison Yard. Setup the last hook and lever. Attach it to the door. Attach the other hook (that had a lever to begin with) to the door.
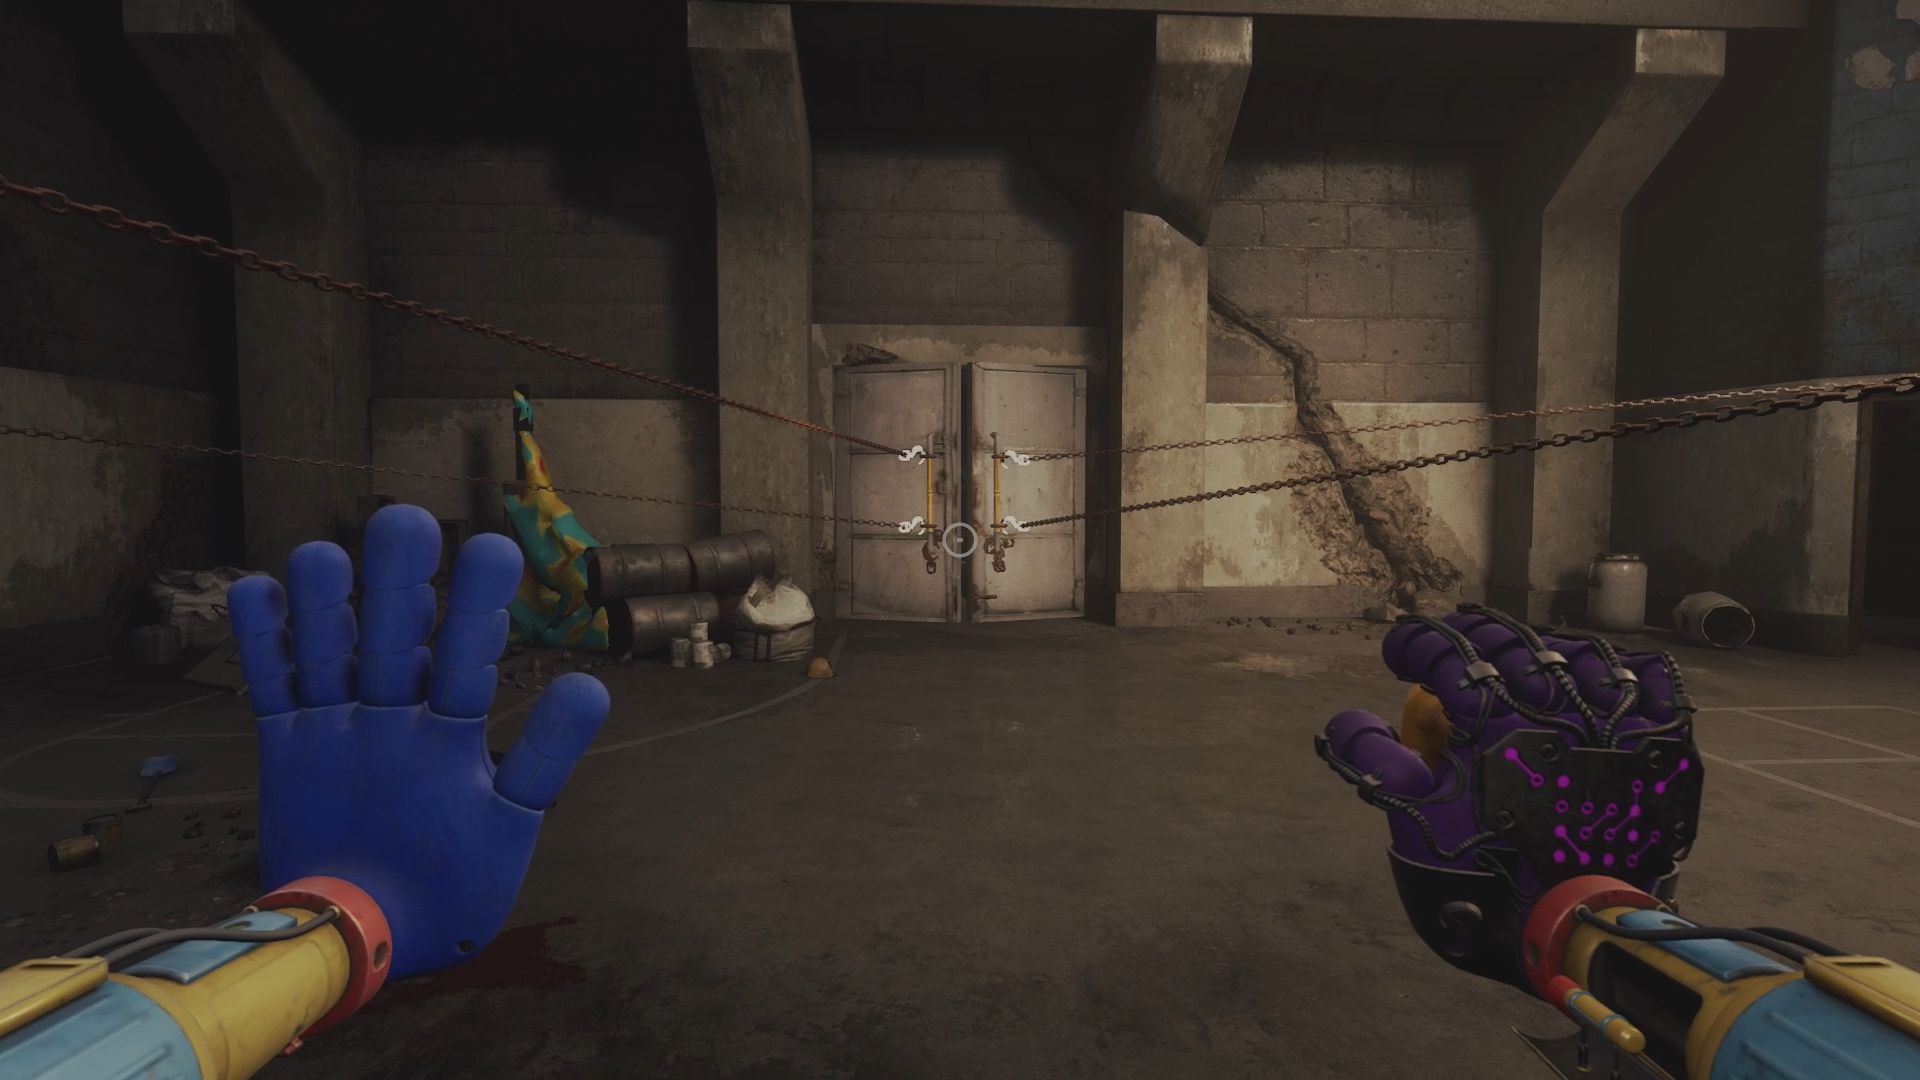
When it is ready to be open it will look like the screenshot above. All you need to do now is pull all of the levers to open the door. Proceed through the door to the next area.
Catch Up to Doey
Doey will start moving quickly ahead of you. Follow the paths through the different rooms (in one you need to remove the wood blocking the Vent and then go through it).
You will eventually reach him. He is standing next to a hole in the ground. Drop down the hole into the Generator Room. You will need to get the generator running down here.
How to Start the Generator
Make your way forward in the Generator Room. Walk towards the Battery Socket. Doey will drop a Battery down for you. Grab it and put it in the Socket to get power running.
Find the Cogs and Place Them Correctly
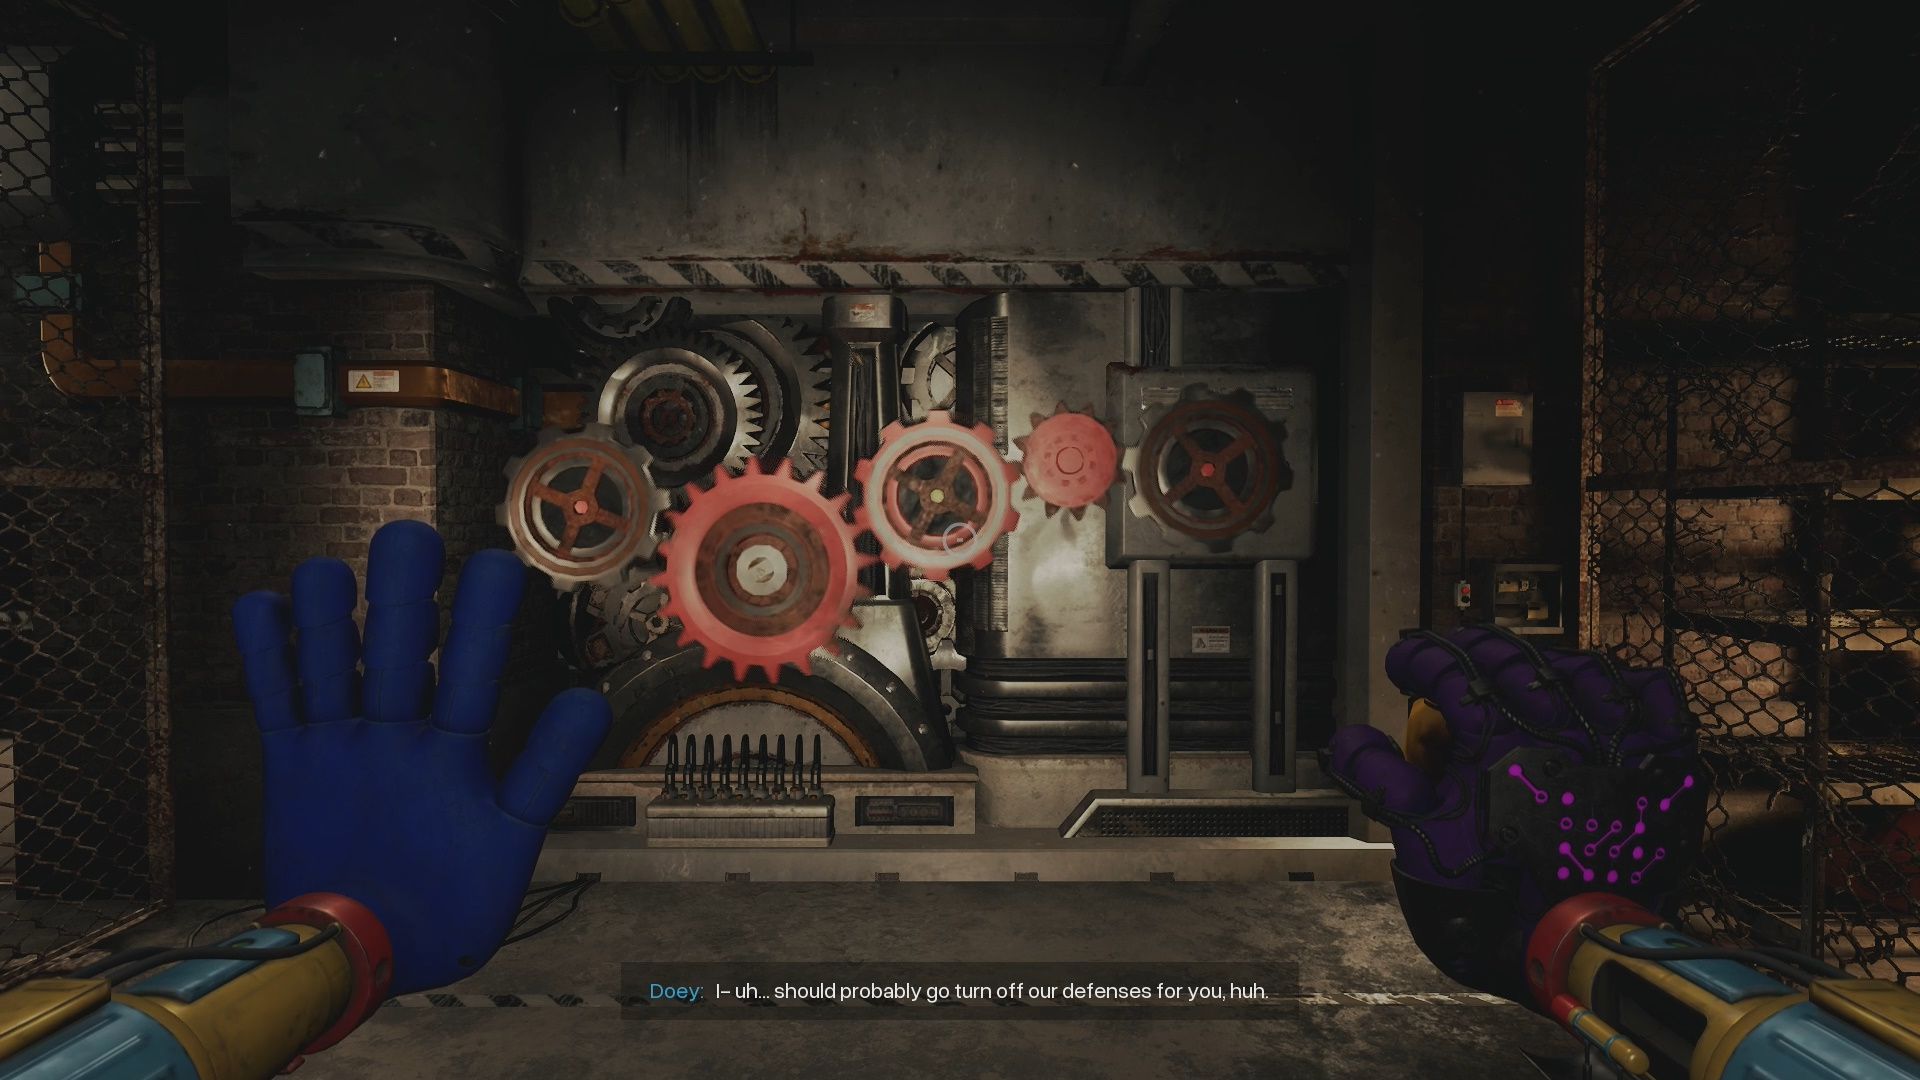
Once the power is running you need to locate three missing cogs to place on the Generator. They are all located in the fenced in area. DO NOT GRAB THE SMALL ONES. Those are useless. Instead look in these areas:
- Near the Generator on a Workbench (left of the pile of boxes).
- Under the Playtime boxes pile by the gate near the entrance of the area
- On a bottom shelf in the same area as the Playtime Boxes
After you’ve collected the three cogs we need, slot them in the same order I did in the screenshot above. This gets the power going everywhere and opens the gate to the left of the Generator. Go there and go through it.
Kitchen
You will enter a Kitchen. Go through the Kitchen. You will see a Fridge has fallen over on your left and is blocking the door. Nearby is a hook and lever setup we can use to move it, but first we need to find the missing lever.
Missing Lever
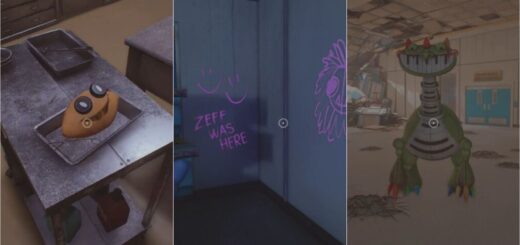
Head right and go into the walk in fridge area. Go past the hanging bodies to the end and take a right. Grab the lever from off the ground by the lone Smiling Critter.
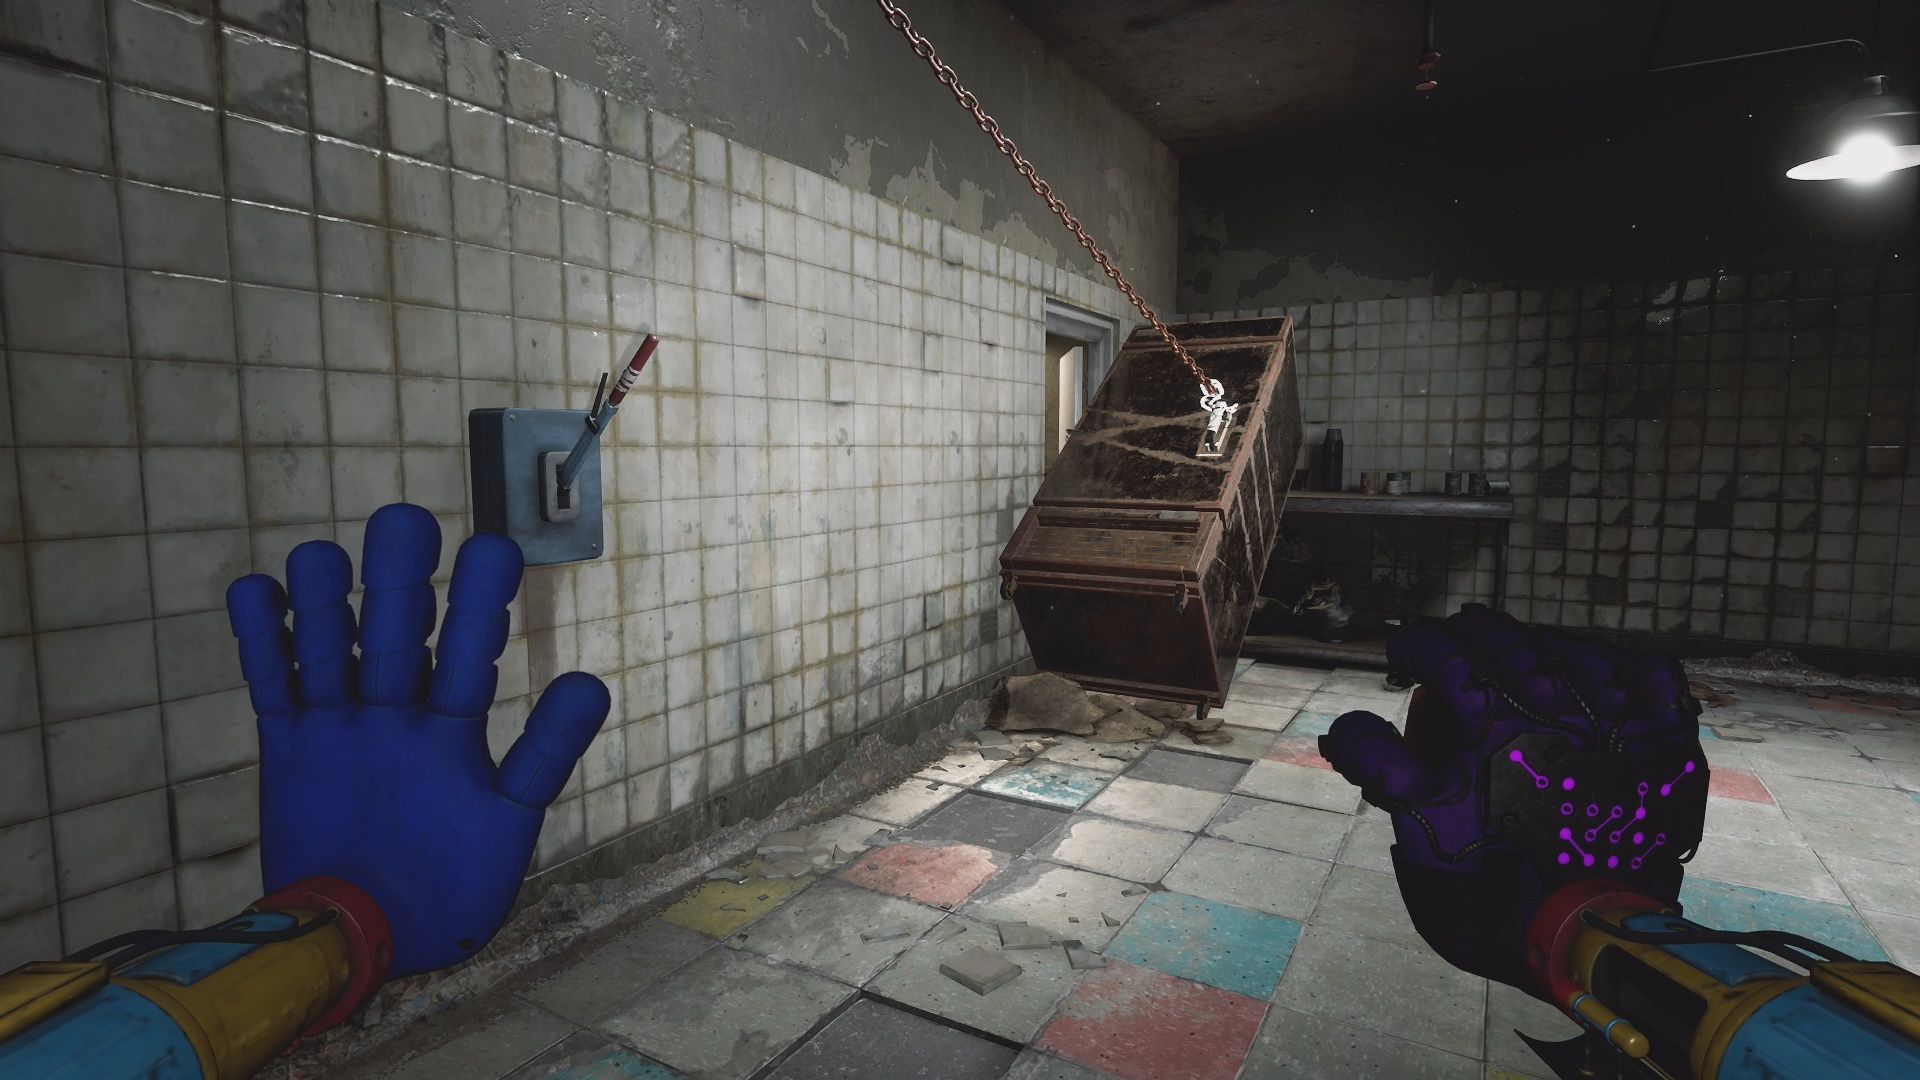
Take the lever we got and head back to the Fridge. Attach the hook to the Fridge and insert the lever, then pull the lever to move the Fridge. Go through the door.
Poppy and Kissy missy Take You to Safe Haven
Walk down the hallway. About halfway you will be grabbed by Kissy Missy, who will pull you into her hiding spot. Her and Poppy are together. They are helping you hide from the Prototype who appears.
After this happens, Poppy and Kissy Missy will lead you to Safe Haven. It is a short walk together, but there are no enemies or other things to be concerned about in this sequence.
Talk to Doey in the Auxiliary Power Room
You are free to explore the Safe Haven area. There are a number of interesting things to find and achievements to unlock here.
When you are ready, make your way to the Auxiliary Power room. Speak to Doey inside this room. He will give you a general rundown of what the plan is.
You will then get your next objective which is to Find and Defeat the Doctor. This means leaving Safe Haven and venturing out into new sections of the Playtime Co. Factory. Check out our No Man’s Land guide when you are ready to do so.
For more help with Poppy Playtime head over to our Poppy Playtime guides hub for guides, codes, and other resources.
Thoughts on our Poppy Playtime Chapter 4 Safe Haven Getting to Safe Haven guide? Drop them in the comments below.