Borderlands 3: Meridian Outskirts Crew Challenges Guide
The second planet you will visit in Borderlands 3 is called Promethea. This planet is experiencing a war between corporations. You will land in the first area called Meridian Outskirts. This area contains a total of five Crew Challenges. Use the Meridian Outskirts Crew Challenges guide below to complete them all.
Meridian Outskirts Crew Challenges Locations Map

The map above shows the location of all the Crew Challenges in the Meridian Outskirts zone. Use it with the descriptions below to complete the Crew Challenges for this area.
Dead Claptrap: Ratch Nest

The first Crew Challenge you can complete is the Dead Claptrap. As you travel through the opening section of this zone between Meridian Outskirts – Drop Pod and Meridian Outskirts Fast Travel points there is a cave to the right you can enter. Inside the cave are some Ratch. Take them out then grab the Universal Translator from the Dead Claptrap.
Typhon Log #1: The Spillways

The first Typhon Log can be found in the large elevated community in The Spillways. It is sitting on a balcony on the eastside of the raised houses. You need to drop down to it.
Typhon Log #2: The Spillways

The next Typhon Log is northeast of the log #1 on ground level. It is sitting in between the glowing power line.
Crimson Radio

As you drive along through the Meridian Outskirts you will round a corner and will see this broadcast tower in front of you. Climb to the top of the tower and interact with the computer there to sabotage it.
Hijack: Sticky Technical

West of the radio tower is the Hijack Target which is a Sticky Technical. The Sticky Technical is sitting on a platform high in the air. Use the shipping containers to reach it then drive it off the platform to the nearest Catch-A-Ride.
Typhon Log #3: The Spillways
The final log can be found north of the Hijack Target nestled among some rocks next to the shielded entrance.
Typhon Dead Drop: Above Elevator
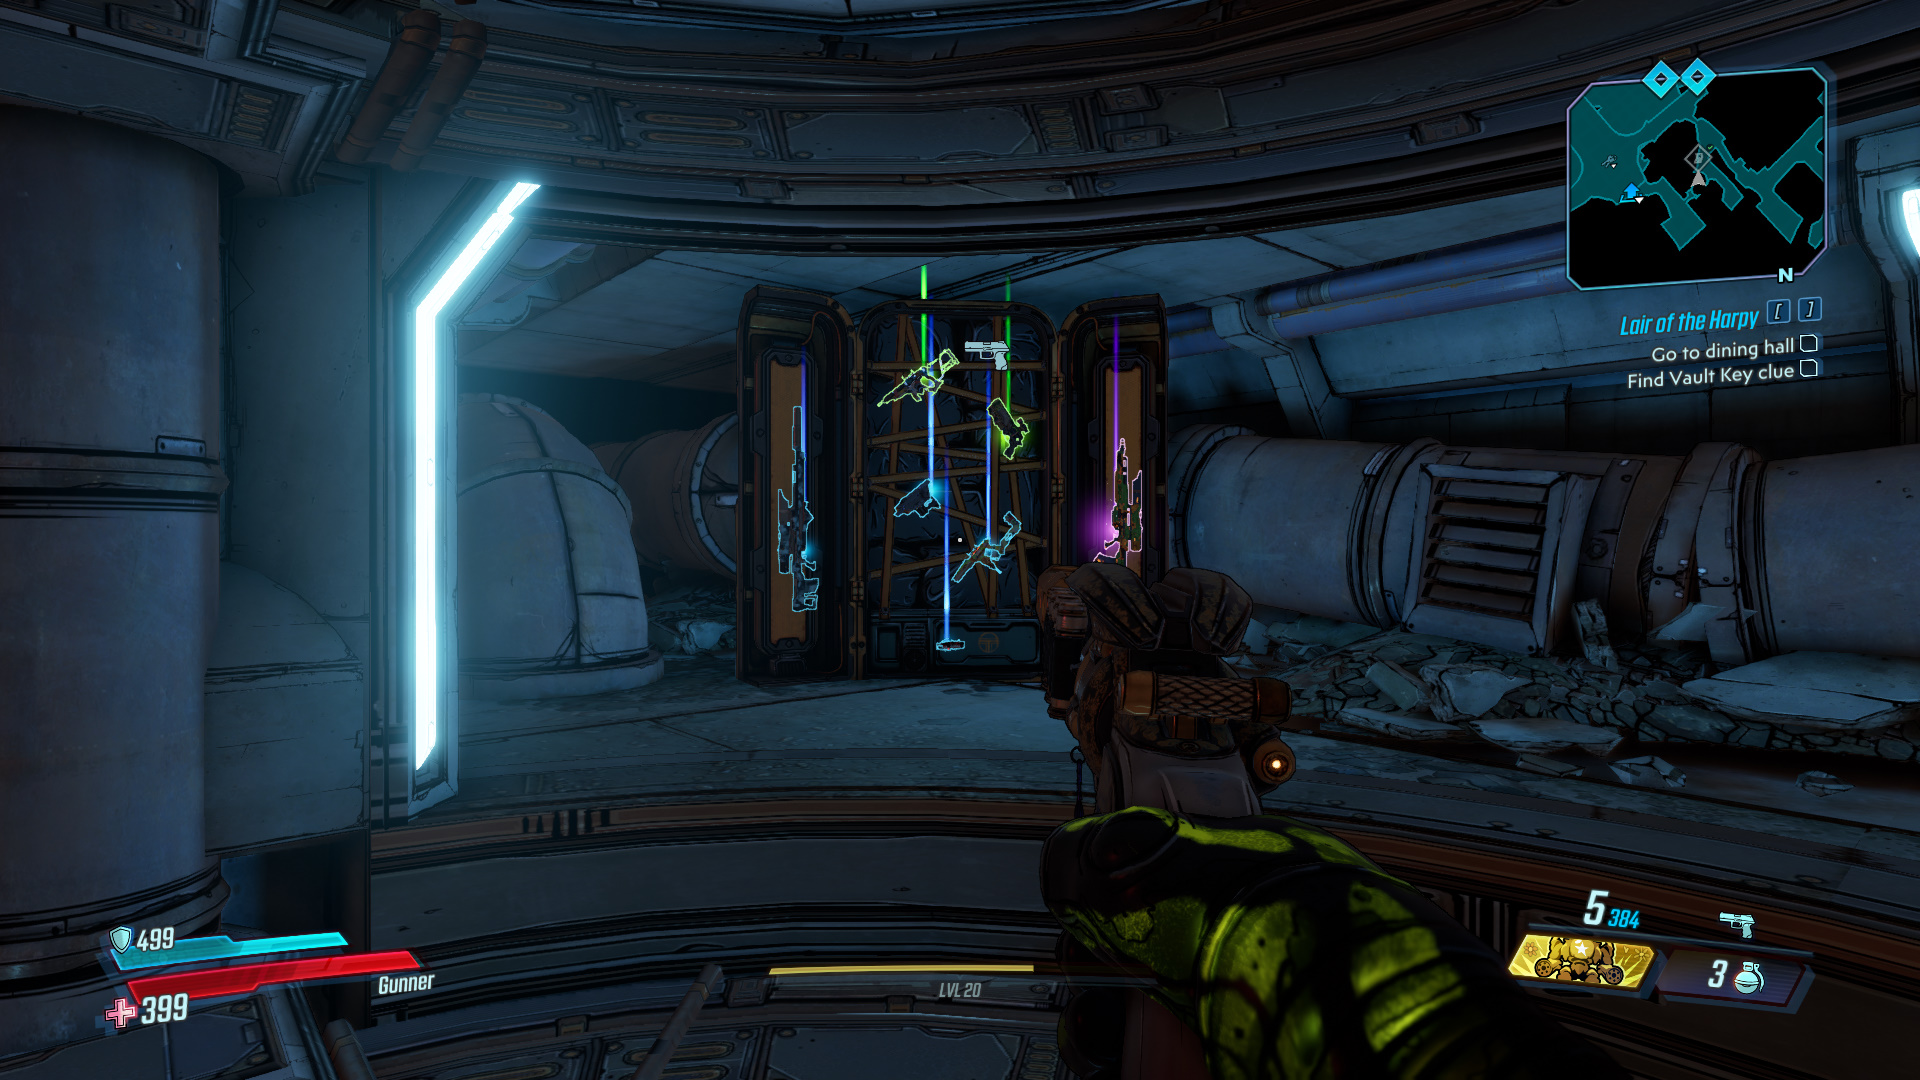
Note: If you go to the here without gathering the logs, the chest is locked.
Once you’ve collected all three of the Typhon Logs make your way to the Elevator in the Atlas resistance base/regrouping area. Send the elevator down, but get out of it. Trigger the elevator and drop down on top to ride it up to an area above the elevator. Here you will find the dead drop.
Next Guide: Meridian Metroplex Crew Challenges guide.