Borderlands 3: The Anvil Crew Challenges Guide
After the Floodmoor Basin zone, you will enter The Anvil to free Sir Hammerlock from prison. In this new zone there are a total of seven Crew Challenges for you to complete. To make completing these challenges easier, use The Anvil Crew Challenges guide below.
Check out more guides in our Borderlands 3 Wiki & Guides hub.
The Anvil Crew Challenges Locations Map

The Anvil zone is a large prison. In this zone you will travel from the prison’s exterior into the high security section where Hammerlock is being held. As you travel through this area keep in mind the seven Crew Challenges you can complete. Use the map above to find the exact locations of each challenge.
Typhon Log #1: The Anvil Entrance

As you enter The Anvil you will walk along a pathway. In front of your there will be a guard tower with a poster and graffiti on it. On top of this guard towers is the Typhon Log.
Typhon Log #2: West of Gross

Inside Hector’s Lament on the west side of the area you will see a large cement structure you can access via walkways. Inside this structure is West of Gross. In the upper east walkway you will find the Typhon Log by the entrance.
Dead Claptrap #1: Hector’s Lament

Enter the huge building in Hector’s Lamenta and make your way into the room on your west. Inside the closet in this room you will find the Dead Claptrap.
Crimson Radio #1: The Yard

Inside The Yard on the west side there are a stack of storage containers. On the top off these containers is the radio tower. Climb the stack to reach the computer.
Dead Claptrap #2: The Yard
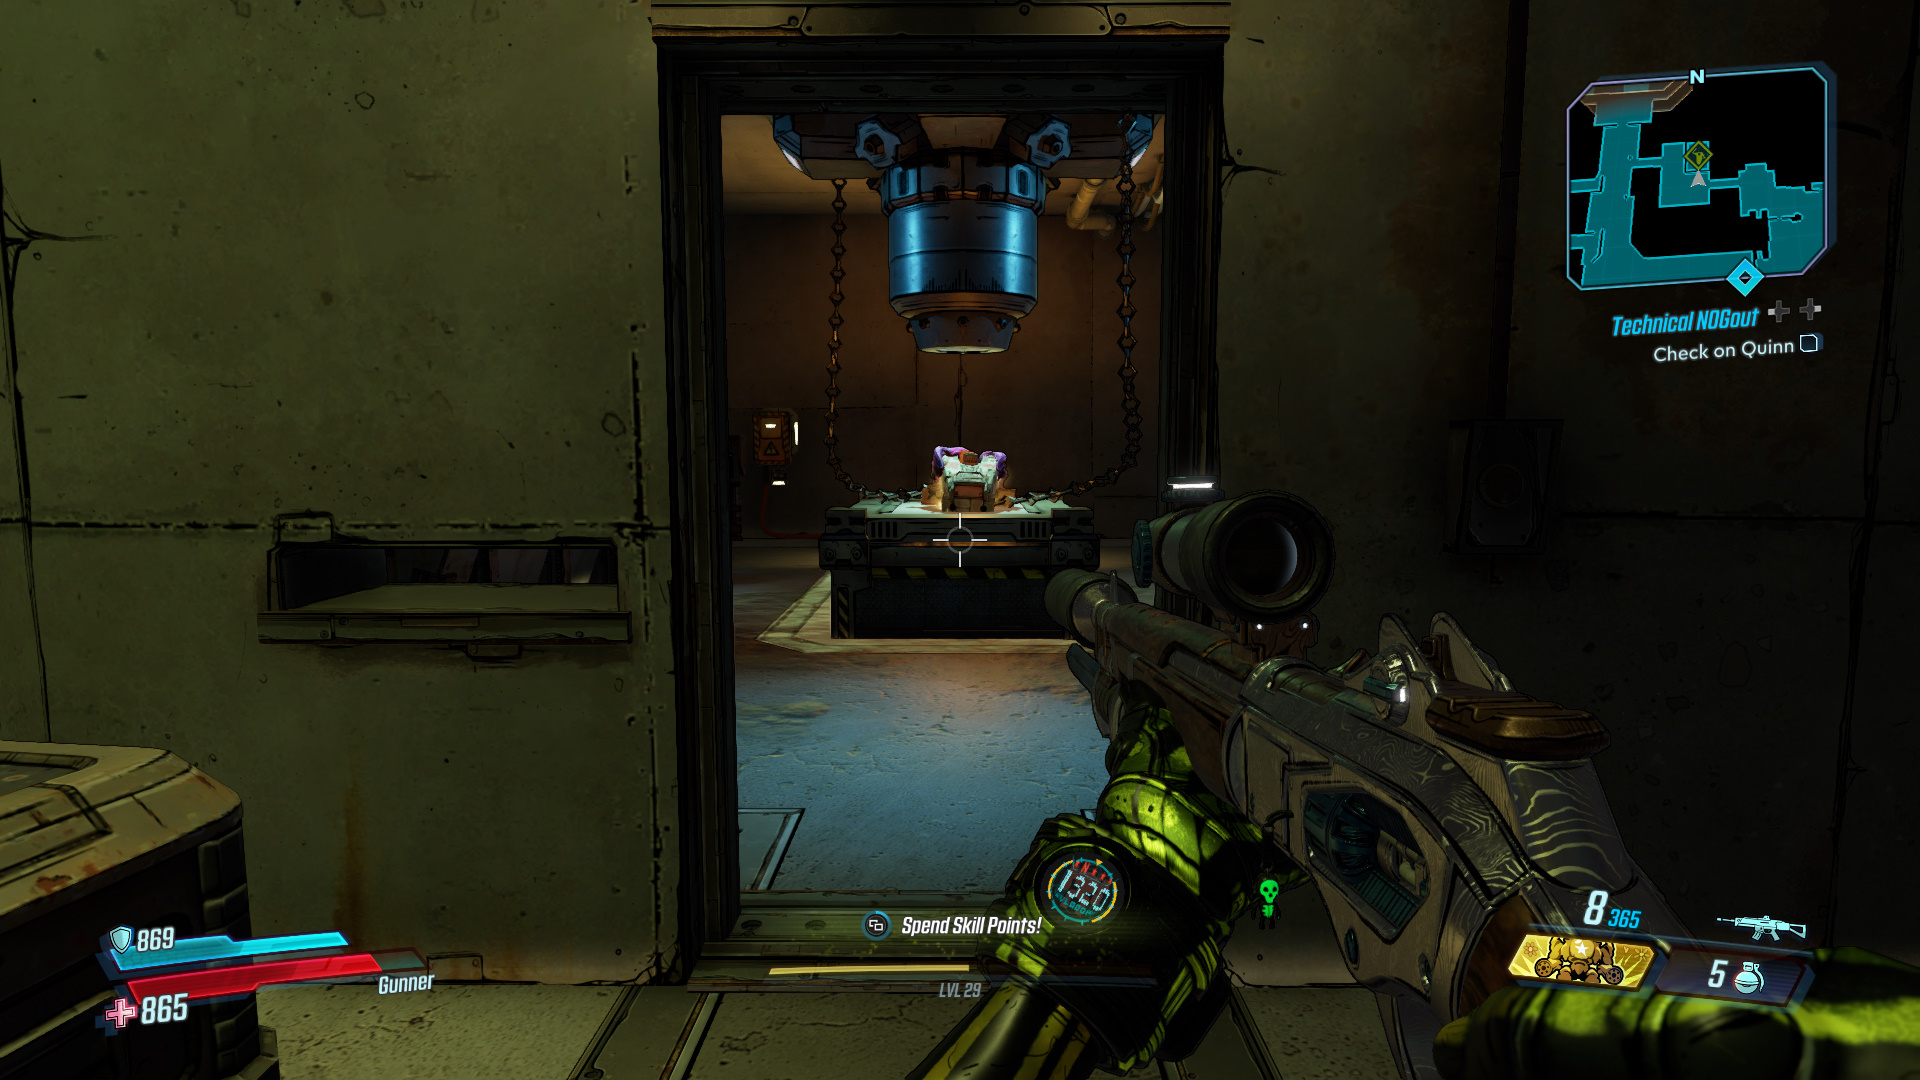
Head west into the area attached to the yard. Make your way through the area until you reach a testing room. Inside this testing room you will find the Dead Claptrap on the table.
Target of Opportunity: The Devil’s Saucepan

Make your way through the west portion of The Yard to reach The Devil’s Saucepan. Inside The Devil’s Saucepan area you will find the Sky Bullies. Eliminate them to complete this Target of Opportunity.
Typhon Log #3: The Yard

Make your way northeast through The Yard. Right before the gate to the Ultramax Spire look up for an enclosed walkway between two building. On top of this enclosed walkway you will find the Typhon Log.
Typhon Dead Drop: The Yard

Note: If you go to the here without gathering the logs, the chest is locked.
After you’ve acquired all of the Typhon Logs you will unlock the Dead Drop. This Dead Drop is located at the entrance to The Yard. Drop down the hole and the Red Chest will be there for you to open.
Crimson Radio #2: Ultramax Spire

In front of the Ultramax Spire to the south you will find a large prison tower. On the top of this tower there is a radio tower. Climb the exterior of this tower to reach the computer.
Next Crew Challenges Guide: Jakobs Estate.


