Assassin’s Creed Valhalla A Fated Encounter Guide
The second part of the Assassin’s Creed Odyssey and Assassin’s Creed Valhalla crossover event occurs in Valhalla. This set of side quests has been added and it sets up things for year 2 of the game. The full set of quests takes players to the Isle of Skye where they must find information as to what’s been happening to the people their. To help you complete this questline see our Assassin’s Creed Valhalla A Fated Encounter guide below.
Where to Start A Fated Encounter

Before you can start this questline you need to ensure you meet the quest requirements as laid out by Ubisoft. To be able to do the A Fated Encounter you need to have your Settlement at 4+ rank and have completed the side quest called A Wise Friend. Once the requirements are met you will find a mysterious stranger in the northwest of your settlement. Speak to her and select let’s go to the Skye to head to the newly added area and begin the quest.
Complete Chapter 1: Tossing and Turning
Once you’ve spoken to the stranger and set sail you will arrive at the Isle of Skye. You and the stranger will walk up onto a hillside and will discuss where to go first. She mentions the village of Kiltaraglen. This starts the first quest called Tossing and Turning. Head to the village located to the south of Brother’s Point to get started.
Ask the Villagers about the Nightmares
When you enter the village you will get a new quest objective to ask the villagers about the nightmares. This is fairly straightforward to do. Speak to Groom standing next to the butcher stall first. Once you’ve spoken to him walk down near the docks and look for Bride. Speak to her about her dreams.
Find the Warrior with the a Braid
Once both individuals have been spoken to you need to find the warrior with a braid. This character is located to the west of Kiltaraglen in the Cursed Church. Make your way to this location and you will trigger a cutscene. During this cutscene you meet up with Kassandra.
After the battle and you and Kassandra agree to team up you need to find the Cursed Symbol in the area to unfog it. Head up to the church and open the door. Shoot the chandelier so it drops onto the floor below, opening a hole in the ground. Go down the hole into the crypt. If you can blow up the stone blocking using ability to access the room on your left which has the symbol in it. If not move the movable object to reach a oil can you can throw at it.
Once the symbol has been destroyed follow the markers to leave the crypt. On the outside you will be attacked by a group of enemies. Clear them out to trigger a cutscene with Kassandra where you can speak to her about the curse. You then plan your next move which is to investigate another church in the area.
Complete Chapter 2: Night and Day
After you meet Kassandra and layout the plan you will trigger a new quest sequence called Night and Day. This sequence tasks you with finding more information on where the curse came from. To do this you will explore the Isle of Sky for clues on the curse and what it is doing to the area.
Meet Kassandra in Tobhta
From your meeting place with Kassandra you will need to head to an area called Tobhta. This location lies to the northeast of the Cursed Church. Make your way to the map marker and speak to Kassandra next to the Stables. Kassandra doesn’t know where the artifact is but she does know the next step. Choose Let’s go to get started.
Follow Kassandra to the Artifact

After you agree to go mount up and follow Kassandra. You two will ride to a location called Fairy Glen. This location is a Standing Stone puzzle. To complete this puzzle go to the southwest side of the stones where there is a camp. In the camp there is a moveable object. Move the object along the track so it reaches the end. Climb on top and look at the Standing Stones. Lineup the symbol as shown in the screenshot above to solve it.
Once you’ve solved the Standing Stones head back to Kassandra and speak to her. This triggers a cutscene. During the cutscene the duo looks at the markings and determines it is a map. After the cutscene concludes mount up and follow Kassandra to the next location which is the Cave of Gold.
Inside the Cave of Gold Kassandra will instruct you to stand on a specific spot. Do as you are told and an ambush will trigger. Defeat the enemies that appear. After the ambush is complete you will learn you need to find a shards to open the door. The duo then splits and a new quest chapter begins.
Complete Chapter 3: Counting Sheep

After the ambush in the Cave of Gold you will learn that you need 5 Shards to open the door inside the cave. These shards are located across the Isle of Skye in certain locations. To complete this chapter you need to find all of the shards on the isle. The shards are located in the following named locations:
- Hungladder: In tunnel in middle of town.
- Excavation Site: Enter the excavation site (hole on east side). Destroy the wall to find the shard.
- Brother’s Cave: Find letter in cave. Follow footsteps to Inverarish. Read letter in hut. Follow footsteps to NE. Defeat bears. Climb up to the platforms above. Grab shard from chest.
- Fairy Pools: Go behind waterfall and interact with slab. Speak to Old Woman in middle that appears. Buy (500)/Fight/or charm her for the shard.
- Dun Ardtreck: Read letter in large building. Continue south to shore. Swim into ruins to find shard next to a treasure.
Once you’ve grabbed all five of the shards listed above you will complete this chapter and will start Chapter 4: What Dreams May Come.
Complete Chapter 4: What Dreams May Come
Make your way back to the Cave of Gold. Inside the cave interact with the slab to place all of the shards collected earlier. When you d this a cutscene plays which shows the door opening. After the door opens you need to explore the Cave of Gold. Simply follow the linear path forward until you reach a room full of water. Dive into the water and dive down. Swim through the hole on the left and then surface. Continue up the stairs deeper into the cave.
In the next room you will find a number of enemies. Clear the cursed villages to trigger a cutscene. During the cutscene you almost get killed and Kassandra appears. Defeat the villagers that attack after the cutscene ends.
How to Open the Door Using the Ancient Mechanisms
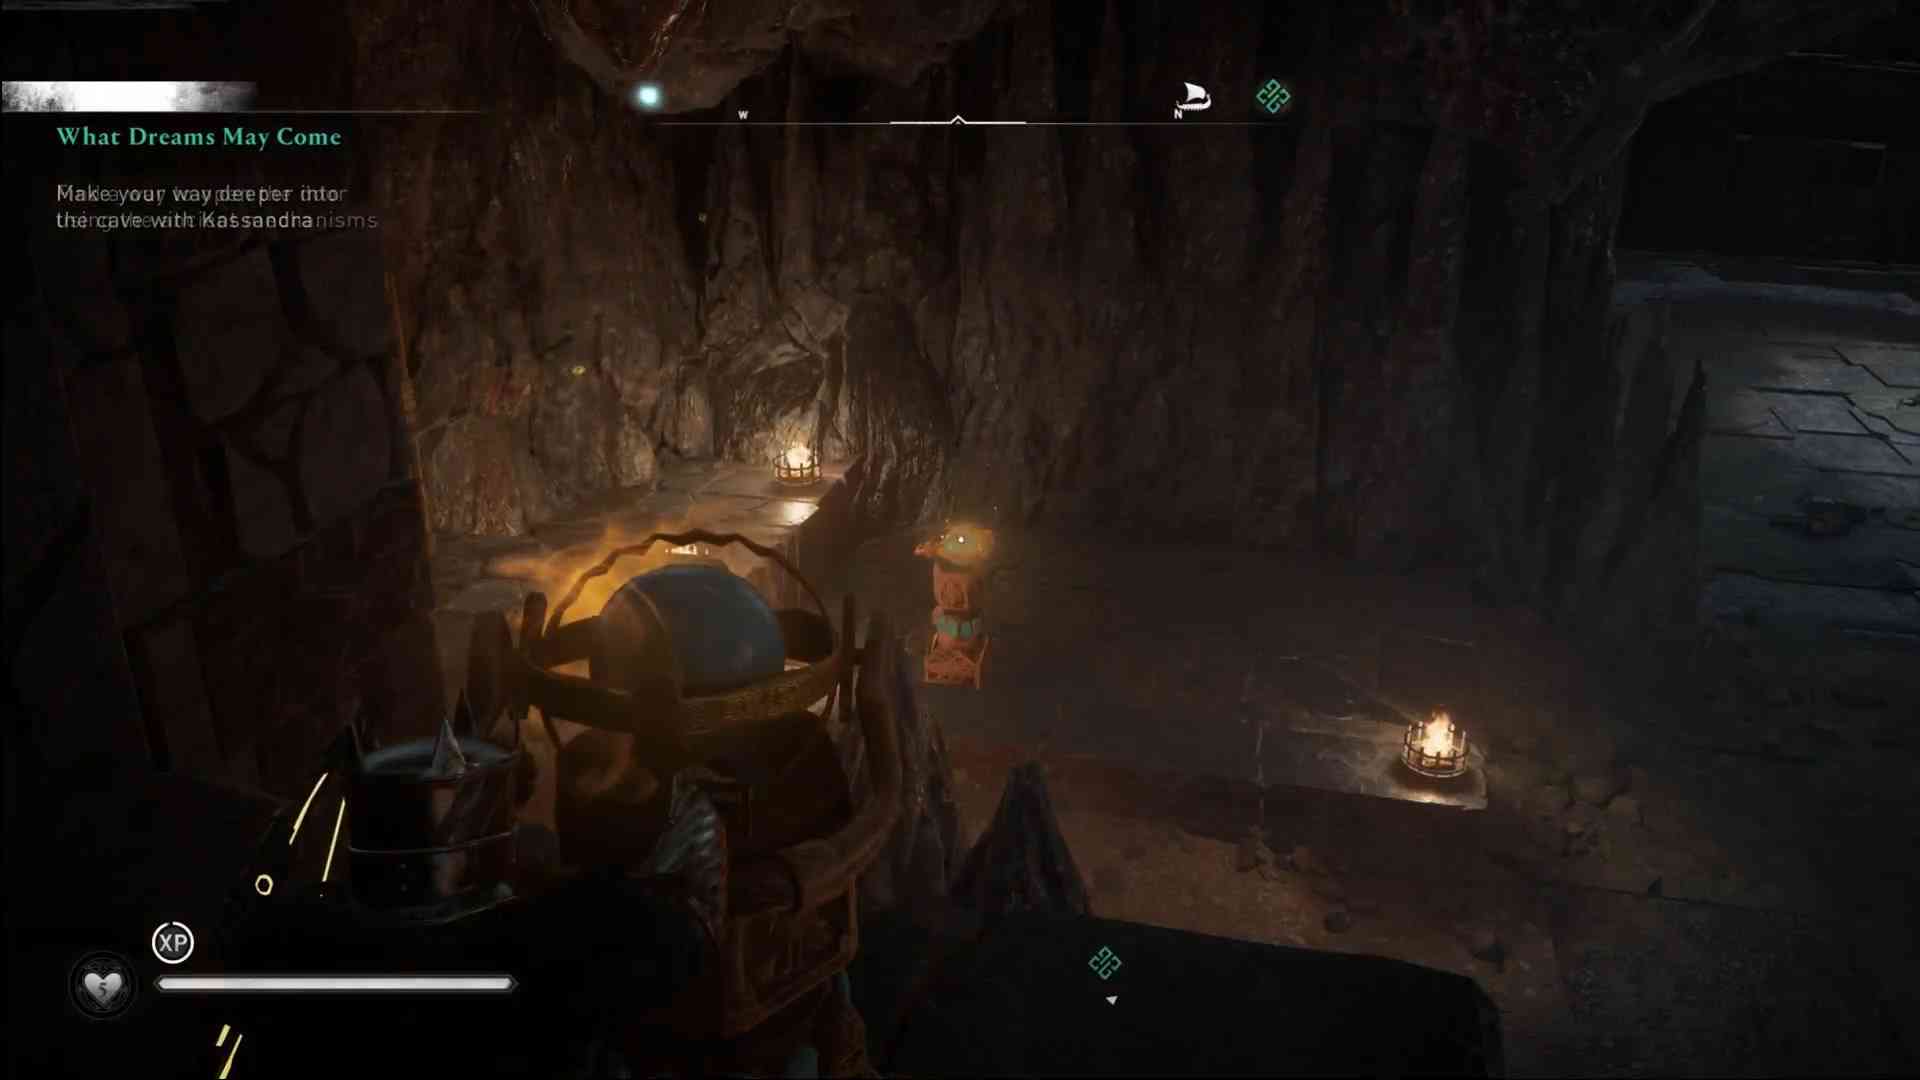
Once the villagers are dead you will get a new objective to open the door using the ancient mechanism. Go to the orb to the right of the locked door and turn it down so it is facing the orb below. Point this orb at the mechanism to the left of the door. Go back to the entrance and you will see an orb there you can move around. Move it so it shoots the light at the other orb to the left. Point this orb at the right door mechanism to open the door.
Upon opening the door Kassandra will go through. Follow her through the hallway full of strange pots. Continue going forward until you trigger a cutscene. After the cutscene walk forward towards the artifact on the pedestal to trigger another cutscene. This ends the chapter.
Complete Chapter 5: One Last Sleepless Night
During the cutscene in the Cave of Gold Eivor invites Kassandra to celebrate their victory by meeting at the longhouse in Kiltaraglen. Make your way to this location and head to the longhouse. Speak to Kassandra outside to trigger a cutscene. Tell her you are ready to go inside the longhouse to start the festivities.
When you regain control of Eivor head over to the drinking station and challenge Kassandra to a drinking contest. Complete the contest then sit at the table nearby. After the interaction walk over to the big guy and speak to him. This starts a fight. After the fight speak to the Groom and give a toast in the form of the flyt. Grab one final drink to trigger a cutscene.
After the cutscene you wake up in a pig pen. You look out on the horizon and the quest comes to an end. You then officially complete the A Fated Encounter quest arch.
Thoughts on our Assassin’s Creed Valhalla A Fated Encounter guide? Drop them in the comments below.
How tf do I get home after this? Google only says to visit Edyt at her house and ask to go home but I don’t know where her house and can’t find it wandering around. Can’t find a map online to tell me either.
Do you mean back to your settlement? You can open your map and then open the Atlas to travel back home. The button for the Atlas is in the bottom left corner on the map screen. Once the Atlas is open you can select locations to go to including England which is where your settlement is.
If you want to visit Edyt’s Hut it is directly east of Kiltaraglen on the edge of the island (longhouse symbol on map). She should be outside and you can speak to her to go back to your home.
Hey go to the map and u will see a settlement icon (looks like a hut) And fast travel there and go near the house where you see Edyt and ask her to return home
So I killed the lady never got the shard I’ve done it multiple times. Never drops it, never find it I just can’t get it.
At the end of the what dreams may come quest after you give the orb to kassandra if you go back into that room before meeting her at the longhouse there are pillars that have what look stone glowing squares to insert pages or stones of some sort, what is that? What are you supposed to do there, I can’t find any information on it anywhere. Someone please email me and send any information possible, I can’t be the only one who noticed this.
It’s possible this is for future content.