ACNH Island Architect Guide: The Complete Walkthrough from Tent to 3-Star Rating
Welcome to your new life! Moving to a deserted island is exciting, but the early days of Animal Crossing: New Horizons (ACNH) can be a grind if you don’t have a plan. This guide acts as your master roadmap, taking you from a simple tent to unlocking Isabelle, reaching a 3-star island rating, and finally hosting K.K. Slider.
This is part of our Animal Crossing: New Horizons wiki. Check it out for more help with the game!
Phase 0: Choosing Your Island Layout
Before you even touch down on the sand, you have to pass through the Nook Inc. application process. This is where you lay the literal groundwork for your future paradise.
How to Select the Best Island Map

Start up the game and fill out your application for the Deserted Island Getaway Package. After choosing your name, birthday, and character design, you will face two critical choices:
- Northern vs. Southern Hemisphere: This determines when your seasons occur. If you want the in-game seasons to match your real-world weather in Alberta, choose the Northern Hemisphere!
- The Four Map Layouts: You will be presented with four random island maps. While the total landmass size is roughly the same, you are looking for specific features:
- River Mouths: Look at where the river meets the ocean. You cannot change these locations later, even with terraforming.
- Resident Services Location: Note where the Nook Tent is located. This will eventually become your Town Square, so make sure it’s in a spot you like!
- The Secret Beach: Every island has a tiny private beach at the very back of the map—check its position.
The Island “Reset” Strategy
If you don’t like any of the four maps provided, you can close the game entirely and restart. This will generate four brand-new maps for you to choose from. Many players “reset” until they find a map with a large, centered Resident Services area.
Once you’ve selected your layout, you’ll be whisked off by Nook Inc. After a short video showing off the island lifestyle, you’ll land and meet Mr. Nook to officially begin your adventure.
Phase 1: Your First 24 Hours (The Deserted Island Getaway)
Your first day is all about mastering the basics: shelter, tools, and earning your first Nook Miles.
How to Setup Your Tent in Animal Crossing: New Horizons

After completing the opening orientation with Tom Nook, Timmy, and Tommy, you will be prompted to head to the town square. To start the settlement process, speak to either Timmy or Tommy to receive the Tent item.
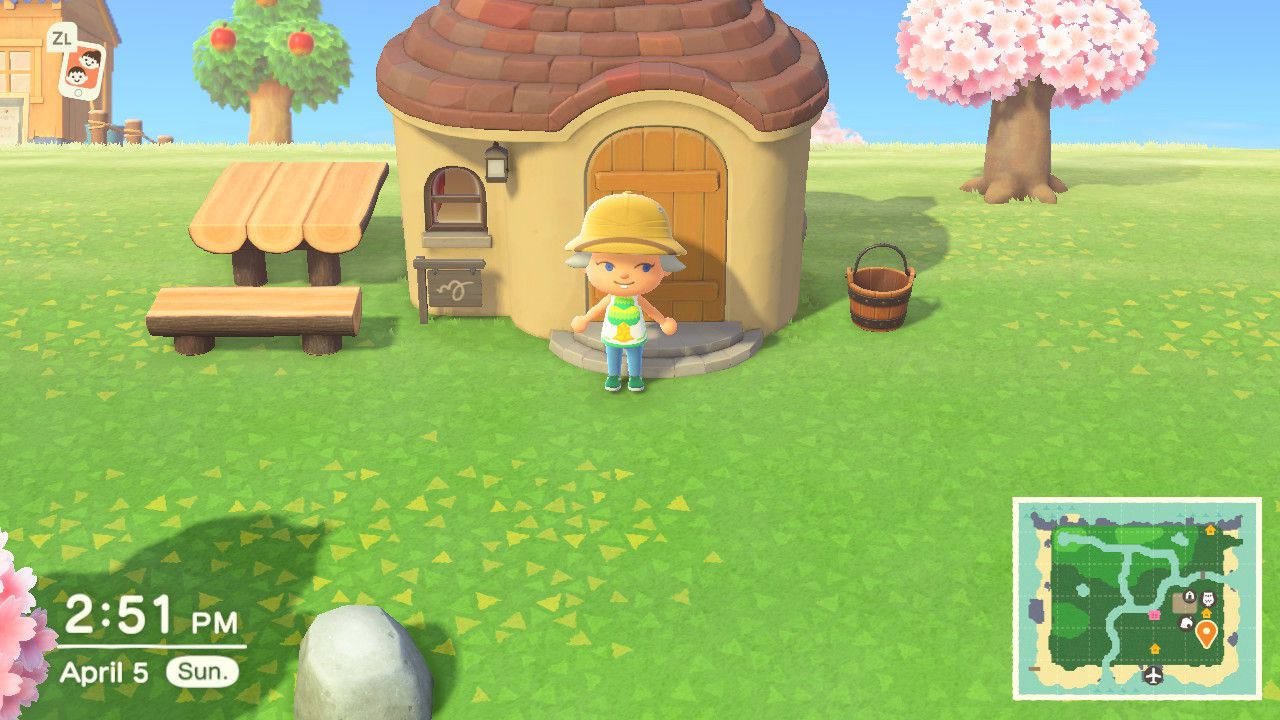
To place your tent effectively:
- Scout the Island: With the Tent in your inventory, head to a location you think is best for your setup.
- Location Strategy: Ideally, you want to place your tent near a collection of resources like trees and rocks. This makes early-game crafting much faster.
- The Preview Trick: Open your inventory (X button), select the Tent, and choose “Build Here.” Select “Let me imagine it…” to visualize exactly how the tent will look in that spot.
- Finalize: If you like the spot, build it! If not, keep scouting until you find the perfect view.
Can you move your house later?
Don’t worry about being stuck forever. While your initial choice is important, you can relocate your house later in the game once you upgrade to the Resident Services building and pay a fee in Bells.
Helping Your Neighbors Settle
Note that the process for setting up tents for your two “starter” NPCs is identical to yours. Tom Nook will hand you their housing kits, and you get to decide where your first friends live.
The First DIY Workshop & Tools
Talk to Tom Nook in the Resident Services tent to trigger a mandatory DIY Workshop.
- Flimsy Fishing Rod & Flimsy Net: You’ll craft these using Tree Branches.
- How to Get Tree Branches: Shake every tree on your island to gather branches, but keep your net equipped in case you disturb a Wasp Nest!
Paying Off the Getaway Package (5,000 Nook Miles)
Tom Nook will charge you 5,000 Nook Miles for your travel and tent. This is your first major goal.
- How to earn Nook Miles fast: Open your NookPhone and check the Nook Miles+ app. Complete simple tasks like “Catch 10 Fish,” “Sell Items for Bells,” or “Take a Photo.”
- The Reward: Once paid, talk to Nook to upgrade to a House. This arrives the next day, provides a Home Storage bin, and unlocks the Nook Stop terminal.
Phase 2: Building the Foundation (The Museum & Nook’s Cranny)
Once you’ve slept in your tent for the first night and upgraded to a house, your goal shifts from survival to expansion. This phase is dominated by two major projects: bringing a world-class curator to your island and opening a permanent shop.
1. The Blathers Museum Quest

To turn your deserted island into a cultural destination, you need to convince Blathers the Owl to set up the Museum!
- Step 1: The Initial Donation: Hand over five different species of fish or bugs to Tom Nook in the Resident Services tent.
- Step 2: Placing the Tent: After the fifth donation, Tom Nook will receive a call from Blathers. He will give you a Museum Tent kit. Place this where you want the final Museum building to stand.
- Step 3: The 15-Item Goal: Blathers will arrive the next day. He will give you the recipes for the Flimsy Shovel and the Vaulting Pole (essential for crossing rivers!). To upgrade from a tent to a real building, you must donate 15 additional unique items (fossils, fish, or bugs).
2. How to Build Nook’s Cranny (The 30 Iron Nugget Grind)

While you’re helping Blathers, Timmy and Tommy will ask for your help building a dedicated shop. This is the first major “grind” of the game and requires a massive amount of raw materials.
Materials Required:
- 30x Wood: The regular light-brown wood.
- 30x Softwood: The lightest colored wood.
- 30x Hardwood: The darkest wood.
- 30x Iron Nuggets: The rarest of the four materials.
The Fastest Way to Farm Iron Nuggets: You likely won’t find 30 Iron Nuggets on your home island in a single day. To speed this up:
- Nook Miles Tickets: Buy a ticket for 2,000 miles at the Nook Stop terminal and head to the airport.
- Mystery Island Rocks: Every Mystery Island has 3–4 rocks. Use the “Hole Technique” (bracing yourself with two holes behind your back) to ensure you get all 8 drops from every rock.
- Balloon Presents: Keep your ears open for a whistling wind sound. Blue balloons often contain stacks of 5x Iron Nuggets.
Do not eat fruit before hitting your rocks! If you have a fruit buff, you will shatter the rock on the first hit and only get one item. You want the rock to stay intact so you can hit it 8 times.
Phase 3: The “Three Houses” Expansion
Once Nook’s Cranny is open, Tom Nook will receive a phone call during his daily announcement. This triggers the most important early-game milestone: preparing for three new villagers to move to your island.
1. The Bridge Construction Kit

Before you can set the housing plots, Tom Nook will give you a recipe for a Bridge Construction Kit. This is your first permanent bridge, allowing you to cross rivers without using your Vaulting Pole.
- Materials Needed: 4x Log Stakes, 12x Clay, 12x Stone.
- Placement: Find a straight section of the river to place the kit. The bridge will be finished and ready for use the following morning.
- Crafting Note: If you don’t have the recipe for Log Stakes, check your DIY app—it is crafted using 3x Wood.
2. Placing the Three Housing Plots
Tom Nook will give you three Housing Plots. You should place these in the new area you just opened up with your bridge.
- Plot 1: Lazy Villager
- Plot 2: Peppy Villager
- Plot 3: Normal Villager
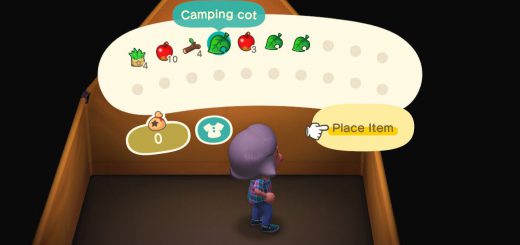
3. Crafting the Interior & Exterior Furniture


Each plot requires three interior items and three exterior items. You must interact with the wooden box at each plot to see your specific requirements (these can vary slightly based on your island’s native fruit).
| Plot | Interior Items (Must be in box) | Exterior Items (Must be near plot) |
| Plot 1 | Native Fruit Wall, Fruit Wreath, Pot | Hay Bed, Swinging Bench, Barrel |
| Plot 2 | Wooden Block Toy, Wooden Block Table, Birdhouse | Garden Lantern, Log Garden Lounge, Natural Garden Chair |
| Plot 3 | Wooden Chair, Wooden Simple Bed, Classic Pitcher | Log Dining Table, Log Bench, Stone Stoolv |
Interior items must be placed inside the “Deposit Box” at the plot. Exterior items must be placed on the ground outside the plot, within a few tiles of the rope border. If the item is too far away, it won’t count toward the requirement. Check the box to see a checkmark appear next to the item once it’s correctly placed.
4. Inviting Specific Villagers
While you are crafting these items, you can influence who moves in.
- Mystery Island Tours: Use a Nook Miles Ticket to visit an island. If you have an open plot, you’ll find a villager there. Talk to them twice to invite them.
- Autofill: If you don’t invite anyone, Tom Nook will sell the plot to a random villager after a few days.
Phase 4: Establishing Your Town (Isabelle & The Able Sisters)
After your three new villagers have fully moved in, Tom Nook will make a big announcement: the Resident Services tent is being upgraded to a permanent building.
1. Upgrading Resident Services
To trigger this upgrade, you must have completed the “Three Houses” quest and had all three villagers move in.
- The Construction Gap: Resident Services will be closed for one full day during construction. During this time, you cannot access the Nook Stop terminal (to pay your mortgage) or the recycling bin.
- The Reveal: The next day, you’ll have a beautiful new Town Square and a proper building. Inside, you’ll find Tom Nook and a new face: Isabelle.
2. Unlocking Isabelle and Island Evaluations

Isabelle takes over the “front desk” duties, and she is the key to your endgame goals.
- Island Evaluations: Talk to Isabelle to get your current Star Rating. She will tell you exactly what your island needs to improve (more flowers, more furniture, or fewer weeds).
- Changing the Tune & Flag: Isabelle also allows you to customize your Island Tune and the flag that flies over Resident Services and the Airport.
3. Opening the Able Sisters Tailor Shop

While Resident Services is growing, you should also be looking to upgrade your fashion options.
- Step 1: The Visiting Merchant: Once Nook’s Cranny is open, Mabel (the blue hedgehog) will occasionally appear in your Town Square with a small clothing stall.
- Step 2: Buy from Mabel: You need to spend at least 5,000 Bells over at least two different visits to Mabel’s stall.
- Step 3: The Shop Plot: On her third visit (after meeting the spending requirement), Mabel will ask to open a permanent shop. She’ll give you a Tailor’s Plot kit. Place it, and two days later, the Able Sisters shop will be open for business.
4. The Campsite and the First Camper

Once Resident Services is upgraded, Tom Nook will give you one more job: building a Campsite.
- Materials: 15x Wood, 15x Softwood, 15x Hardwood, 15x Iron Nuggets.
- The Forced Invite: You must invite the very first villager who visits your campsite, even if you don’t like them! This is a mandatory step to progress the “Project K” storyline.
Phase 4: Reaching Project K (The 3-Star Rating)
Now that Isabelle is settled in and your campsite is built, Tom Nook will reveal his ultimate goal: Project K. He wants the world-famous musician K.K. Slider to perform a concert on your island. To make this happen, you must reach a 3-Star Island Rating.
1. How to Get a 3-Star Rating
Talk to Isabelle at Resident Services and select “Island evaluations.” She will give you a star rating and specific feedback. To hit three stars, you generally need to meet these hidden requirements:
- Population: You need at least 8 villagers living on your island. Use Nook Miles Tickets to find them or wait for campers.
- Florals: Plant at least 50-100 flowers. They don’t need to be hybrids; basic seeds from Nook’s Cranny work fine.
- Greenery: Plant around 20-30 trees (including fruit and cedar).
- Furniture: Place at least 20-25 pieces of outdoor furniture. This includes items you’ve crafted (like the Stone Stool) and items you’ve bought (like the Garden Lantern).
- Cleanliness: Ensure there are zero weeds and no “clutter” (items dropped on the ground rather than “placed”).
If Isabelle mentions “appealing to the senses,” add more furniture. If she mentions “natural beauty,” plant more flowers and trees!
2. The K.K. Slider Concert
Once Isabelle confirms you’ve hit 3 stars, Tom Nook will interrupt. He’ll call K.K. Slider on the spot, and the concert will be scheduled for the very next day.
- The Event: When you start the game the next day, the concert will play automatically.
- The Reward: You’ll receive the song “Welcome Horizons” and the credits will roll. But don’t worry—the game isn’t over!
Hosting K.K. Slider is a huge milestone, but your work as an architect is just beginning. Now that the “main story” is complete, it’s time to refine your paradise. If you’re ready to reshape the land, dive into our Terraforming Guide to master cliffs and rivers. To add more luxury to your island, check out our guides for opening The Roost or building a custom Island Hotel.
Got a 5-star layout you’re proud of? Drop your Dream Address in the comments below!