Poppy Playtime Chapter 5 Guide – Research & Development
Once you’ve completed the Elevator Shaft in The Boilers you will arrive in the Research & Development area. This is one of the longer areas to complete in the chapter. It contains a few secrets, a ton of collectibles, and a bunch of puzzles to complete. To help easily complete it, see our Poppy Playtime Chapter 5 Research & Development guide below.
Research & Development Collectibles/Easter Eggs List
- Reminder
- Lab Report: Medium Growth & Plantlife
- Dr. Atkins Personal Letter 1
- GrabPack Hands Rejection
- Master Backup (Unmissable)
- Negation Compound Presentation (1 of 6) (Unmissable)
- Negation Compound Presentation (2 of 6) (Unmissable)
- Negation Compound Presentation (3 of 6) (Unmissable)
- Negation Compound Presentation (4 of 6) (Unmissable)
- Negation Compound Presentation (5 of 6) (Unmissable)
- Negation Compound Presentation (6 of 6) (Unmissable)
- Letter To Leith #1
- Medical Report: Edward M.N. Ritterman
- To Whomever Finds This
- Wrongside Outimal Plushie – Bindle BOOGIE
- Golden Chum
- Focus Test: The Wrongside Outimals
- Pierre/Ritterman, August ’95
- Limon
- Developer graffiti
Find a Way Out
At the end of The Boilers you will go through a door and trigger a loading screen. Following the loading screen walk forward until you reach another Elevator Shaft.
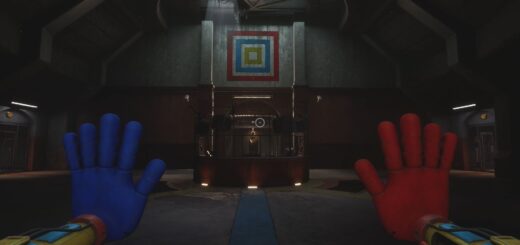
Elevator Shaft
Look up. You will see a handle you can grab. Use it. Turn left and jump across the gap leading towards the Blue Door. Turn left at the Blue Door and look up for a handle. Hook onto it and go up.
Hold yourself up. Look for another hook by a Yellow Door. Hook over to it (you will be on Floor 03 now). Jump over the gap and walk to the edge of the catwalk that has the Yellow Railing. Look up and hook onto the handle. Pull yourself up.
Hold yourself up. Turn and look for a handle. Grab it to go over to that walkway. Turn and jump across the gap leading to the Red Door.
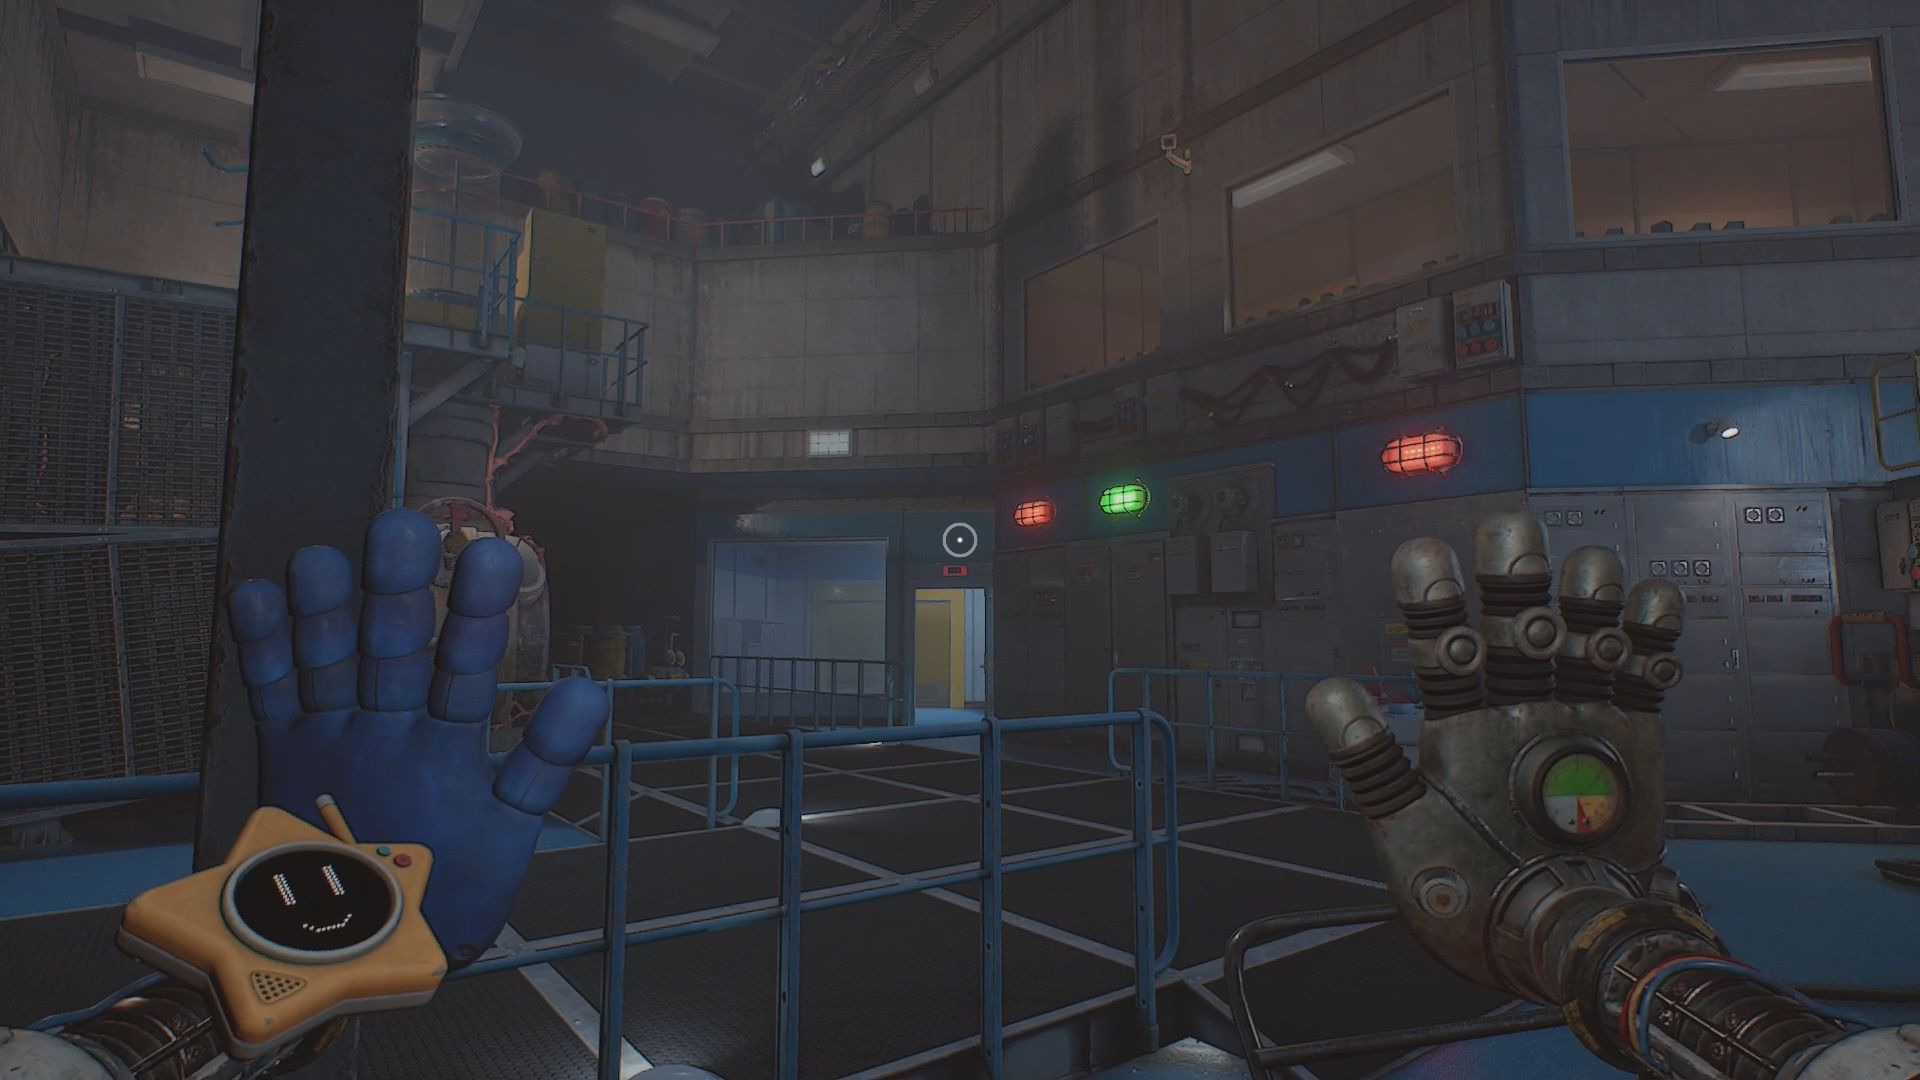
Follow the walkway path up. Turn and look for another handle to the right. Pull yourself up. Hold and turn and hook onto the handle by the door on Floor 05.
Make your way onto Floor 05. When you enter you will see a Red Door straight ahead of you with a Blue Hand Sensor beside it.
Optional Easter Egg: Limon
You can do an optional Easter Egg at this point. The Easter Egg is to do with the Lemon named Limon. Limon is located above you on Floor 06, which is accessible through this elevator shaft. Watch the video above to see how to do it.
If the video guide helped you, be sure to drop a like and consider subscribing to our Hold To Reset channel. It really helps us out!
Optional Collectible
Before you go through the door you can snag a collectible Audio Tape. Instead of going through this door, take a left. Follow path until you see a pillar. At the base of the pillar is the Focus Test: The Wrongside Outimals Audio Tape [3/10].
Explore the Biodiversity Labs
Go through the door into the Biodiversity Labs. Inside you will get a new objective to Explore the Biodiversity Labs. This area is fairly linear. You really can only go one forward direction. Follow the path until you reach a T at the end. Go left.
Optional Collectible
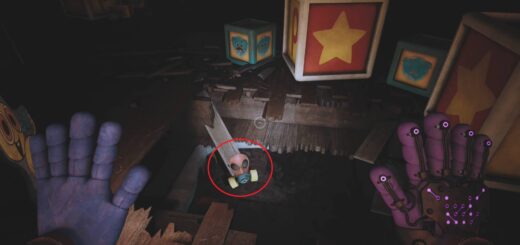
- Reminder [9/35] – Turn right at the T’s end. Look right. You will see a path to a broken Vent Cover. Destroy the Vent Cover and crawl inside. Go through the Vent. About halfway hook across. Turn left and enter the lab. Next to the Limon’s on the board is this Note.
This is the same place you take Limon to complete his Easter Egg. Use the video from earlier if you need further help with how to get into the lab.
Back at the T go left. Walk forward. You will see a Note in front of you on a blue box. Snag it to get the Lab Report: Medium Growth & Plantlife [10/35].
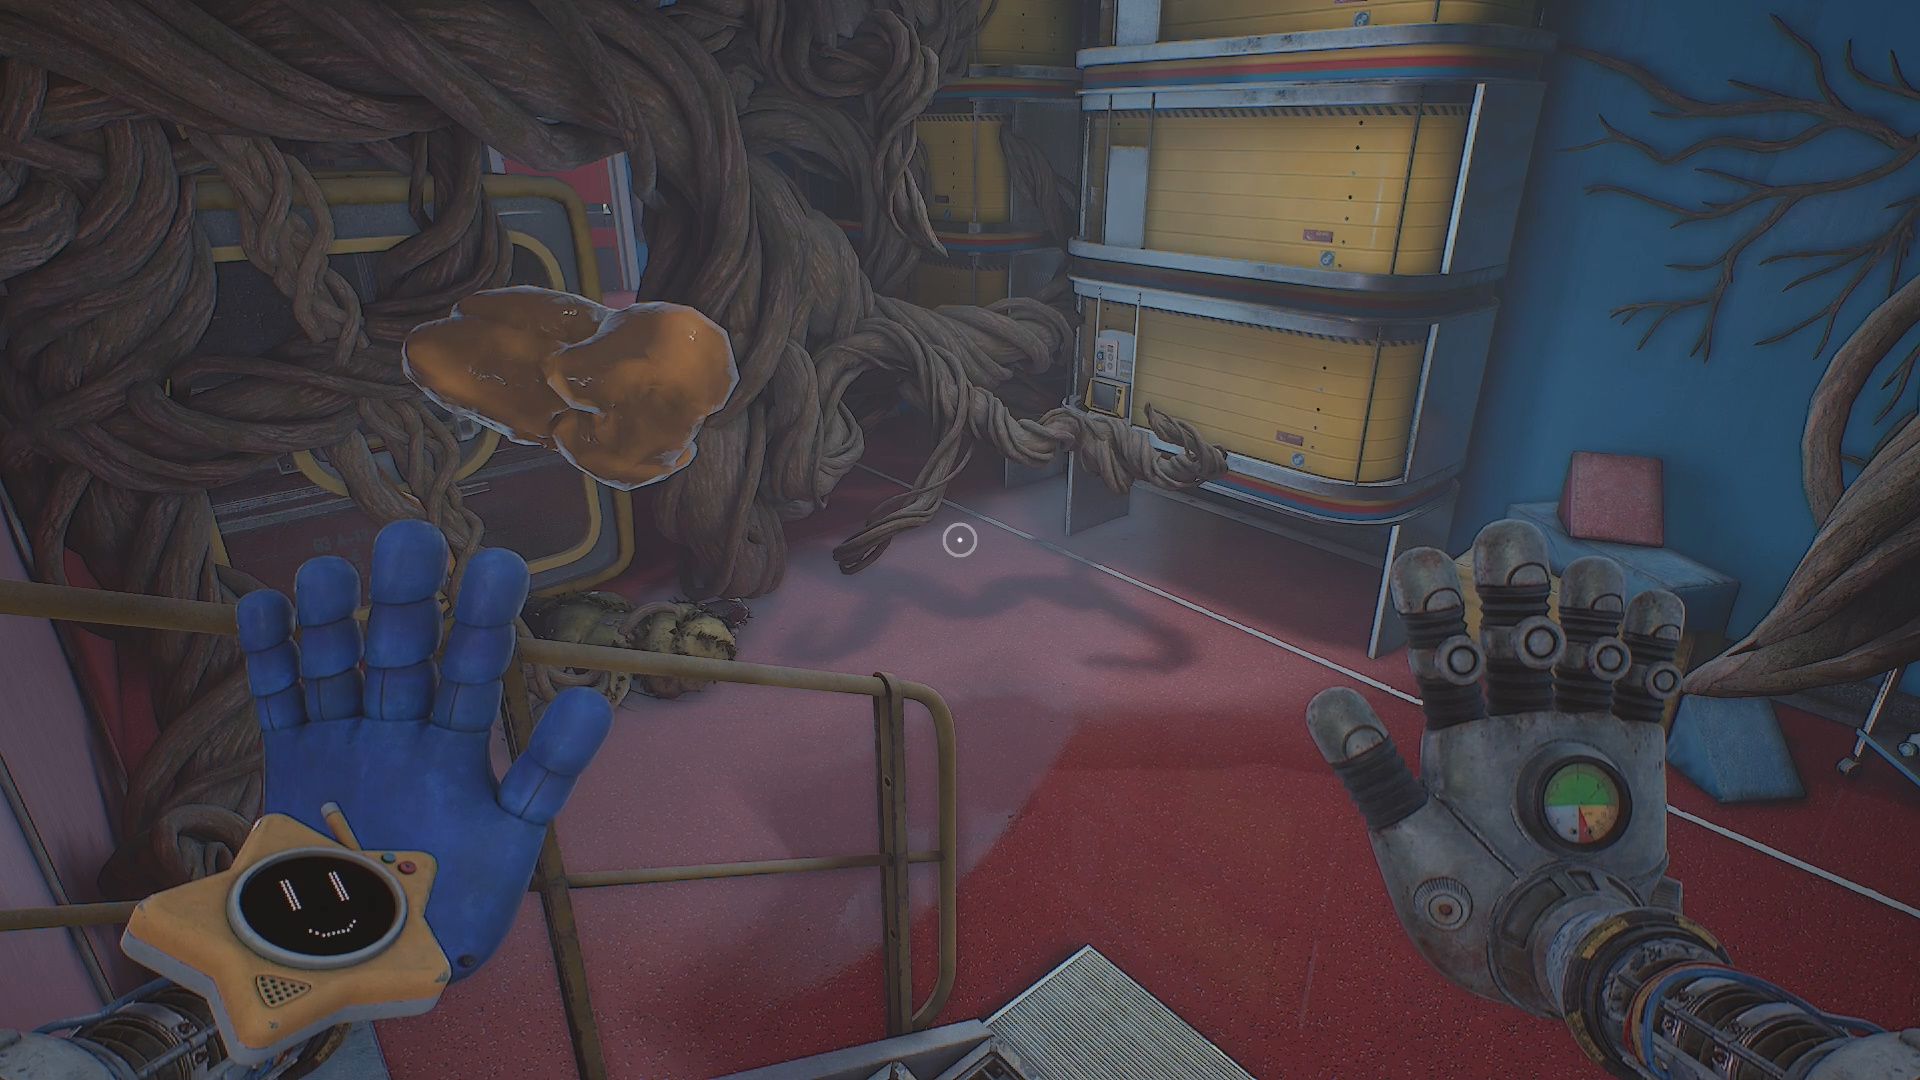
Turn left you will see tree blocking your way with a large yellowish sac on it. Use your Pressurized Hand on the sac to destroy it. Once it is destroyed a branch will be highlighted in white. Grab it and break it off.
After the wood is cleared, attach the Pressurized Hand to the large block. Use the pressure to push it out of the way. Crawl through into the next area.
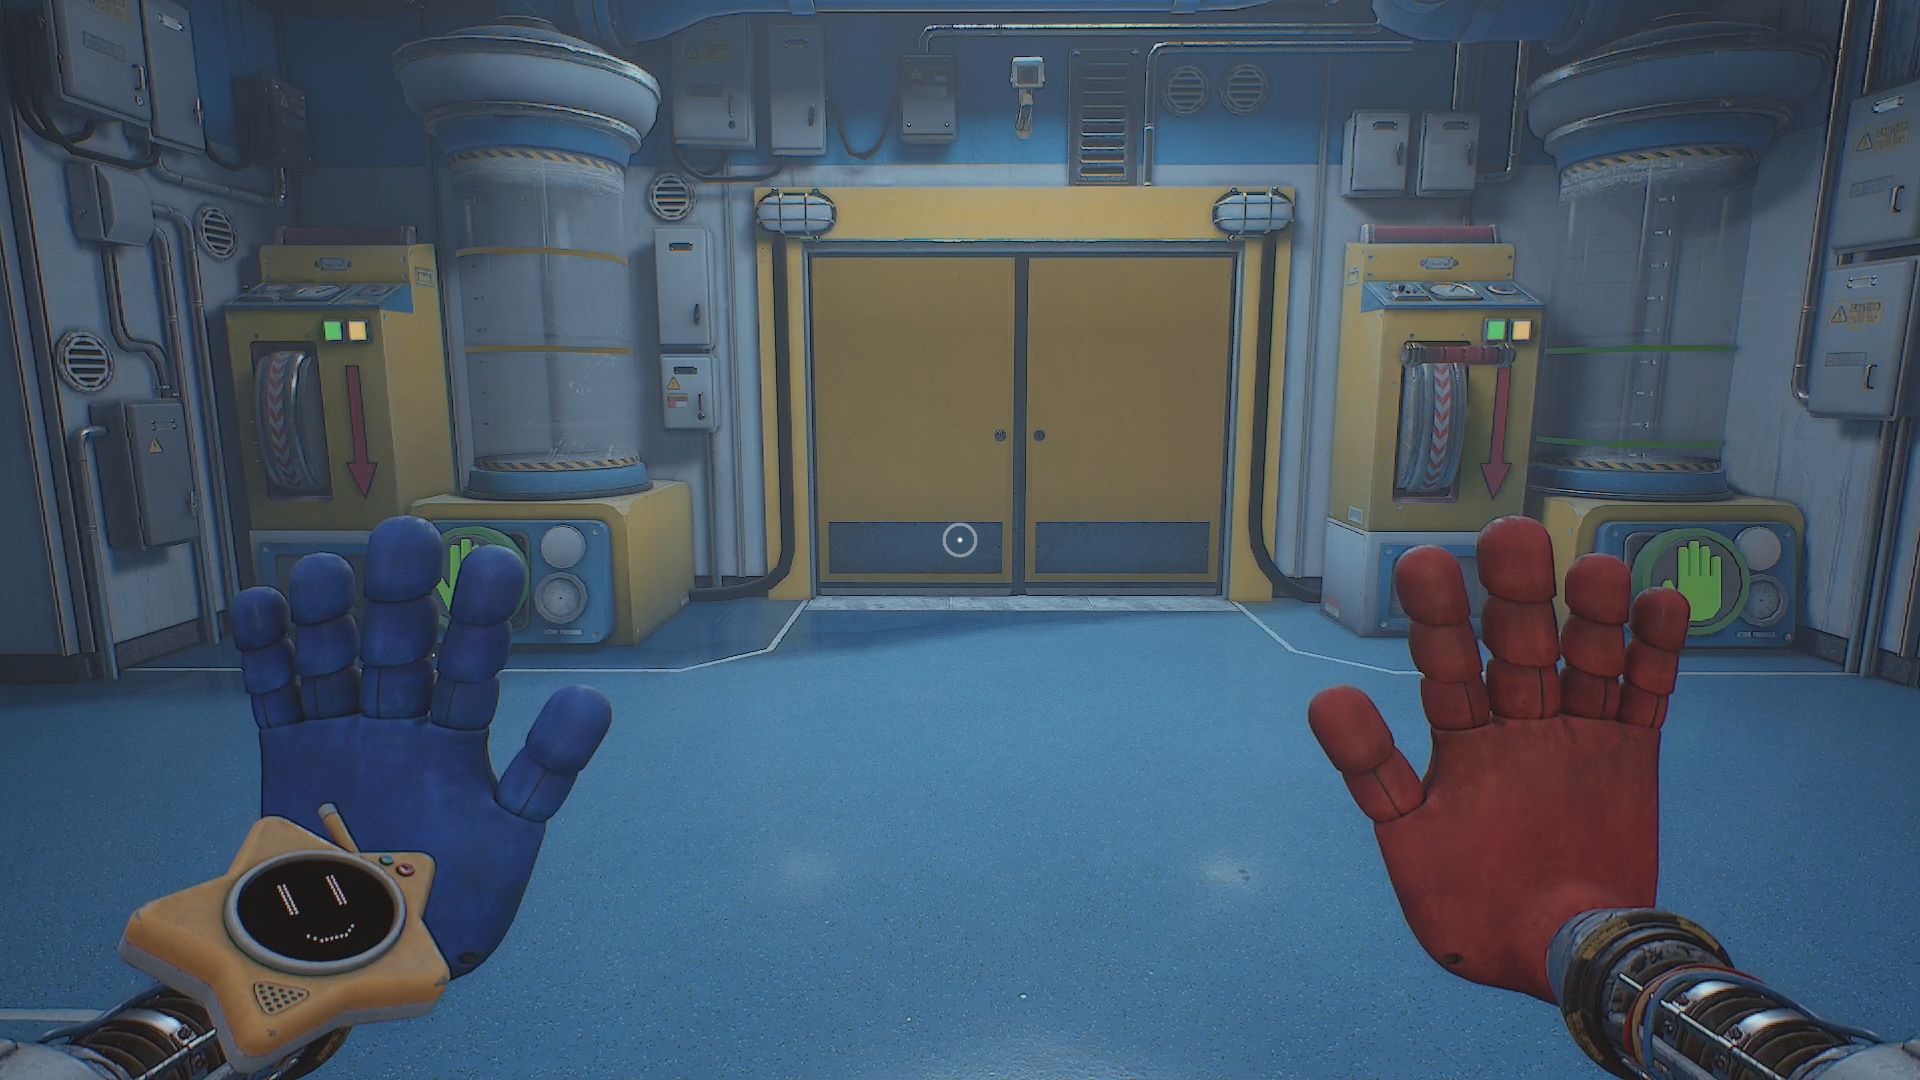
Pressure Tank Door

In the next area you will arrive at a Red Door with a Pressure Tank and Switch next to it. The Pressure Tank has a Green Hand button. Use your Pressurized Hand to pressure it up to between the two yellow lines then use the handle open the door.
Tree Puzzle
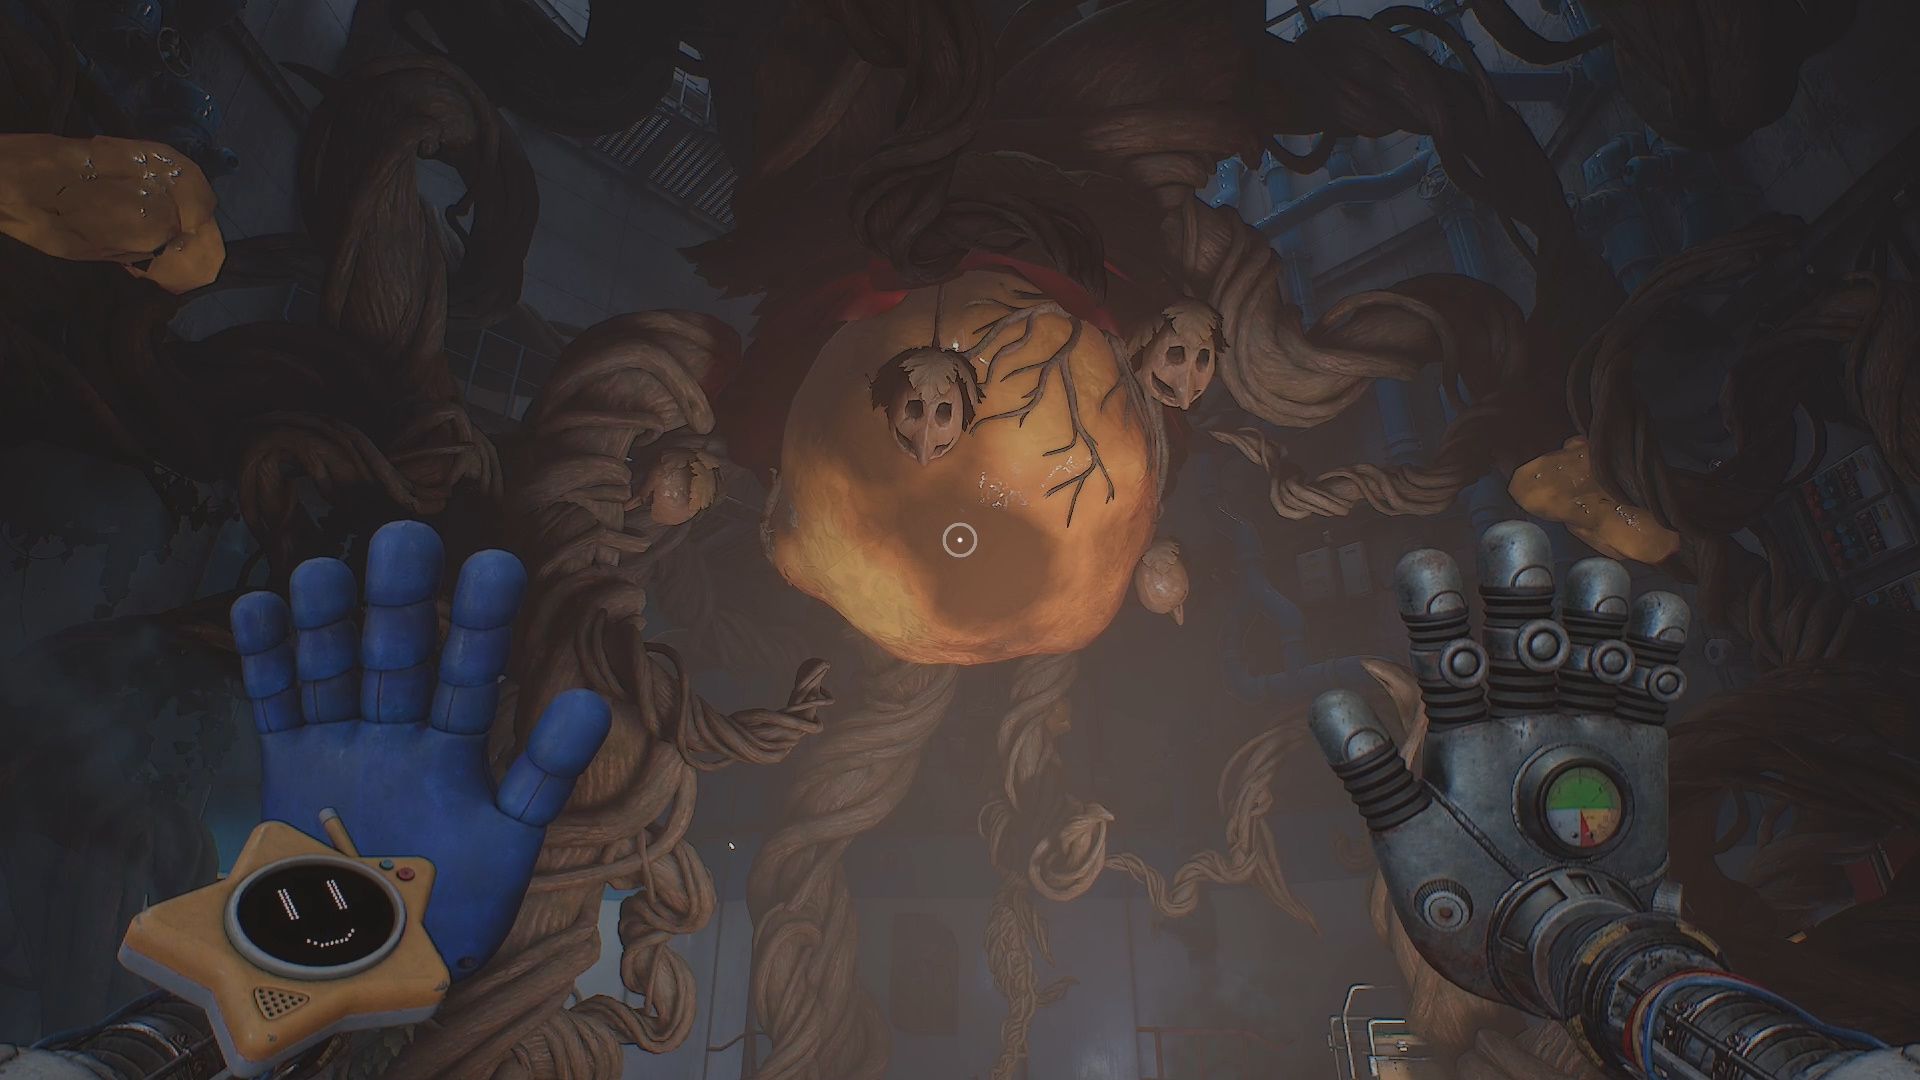
There is a large tree in the middle of the room. On this tree there are 7 yellow sacs on the different roots. Destroy them to reveal three branches highlighted in white. Break those branches.
To reach two of the branches you need to turn off the freezing gas pumping out of the pipes. Use the Yellow Valves on the blue pipes to do this.
Once the three branches have been broken, use your Pressurized Hand to destroy the large sac in the middle of the room. Doing this opens a decontamination room. Go into it and proceed into the next area.
In the next area you will see a Yellow Door marked Utility. We need to go in there. However, before you do enter the office area to the left. Grab the Dr. Atkins Personal Letter 1 [11/35] from off the desk there.
Utility Room
In the Utility Room grab the Battery from in the corner. Use the nearby boxes to reach the Vent. Blow it open using the Pressurized Hand. Go through into the next room.
In the next room grab the second Battery off the floor. Put both into the Battery Sockets. Attach to the power plug then wrap yourself around the poles as shown above. Connect to the second plug.
Go out the now open door. When you do you will trigger a cutscene where you meet Chum Chompkins. He is going to eat you but Giblet stops him. Turns out Chum is working with him. After the cutscene follow the duo. You will go to Engineering.
Engineering
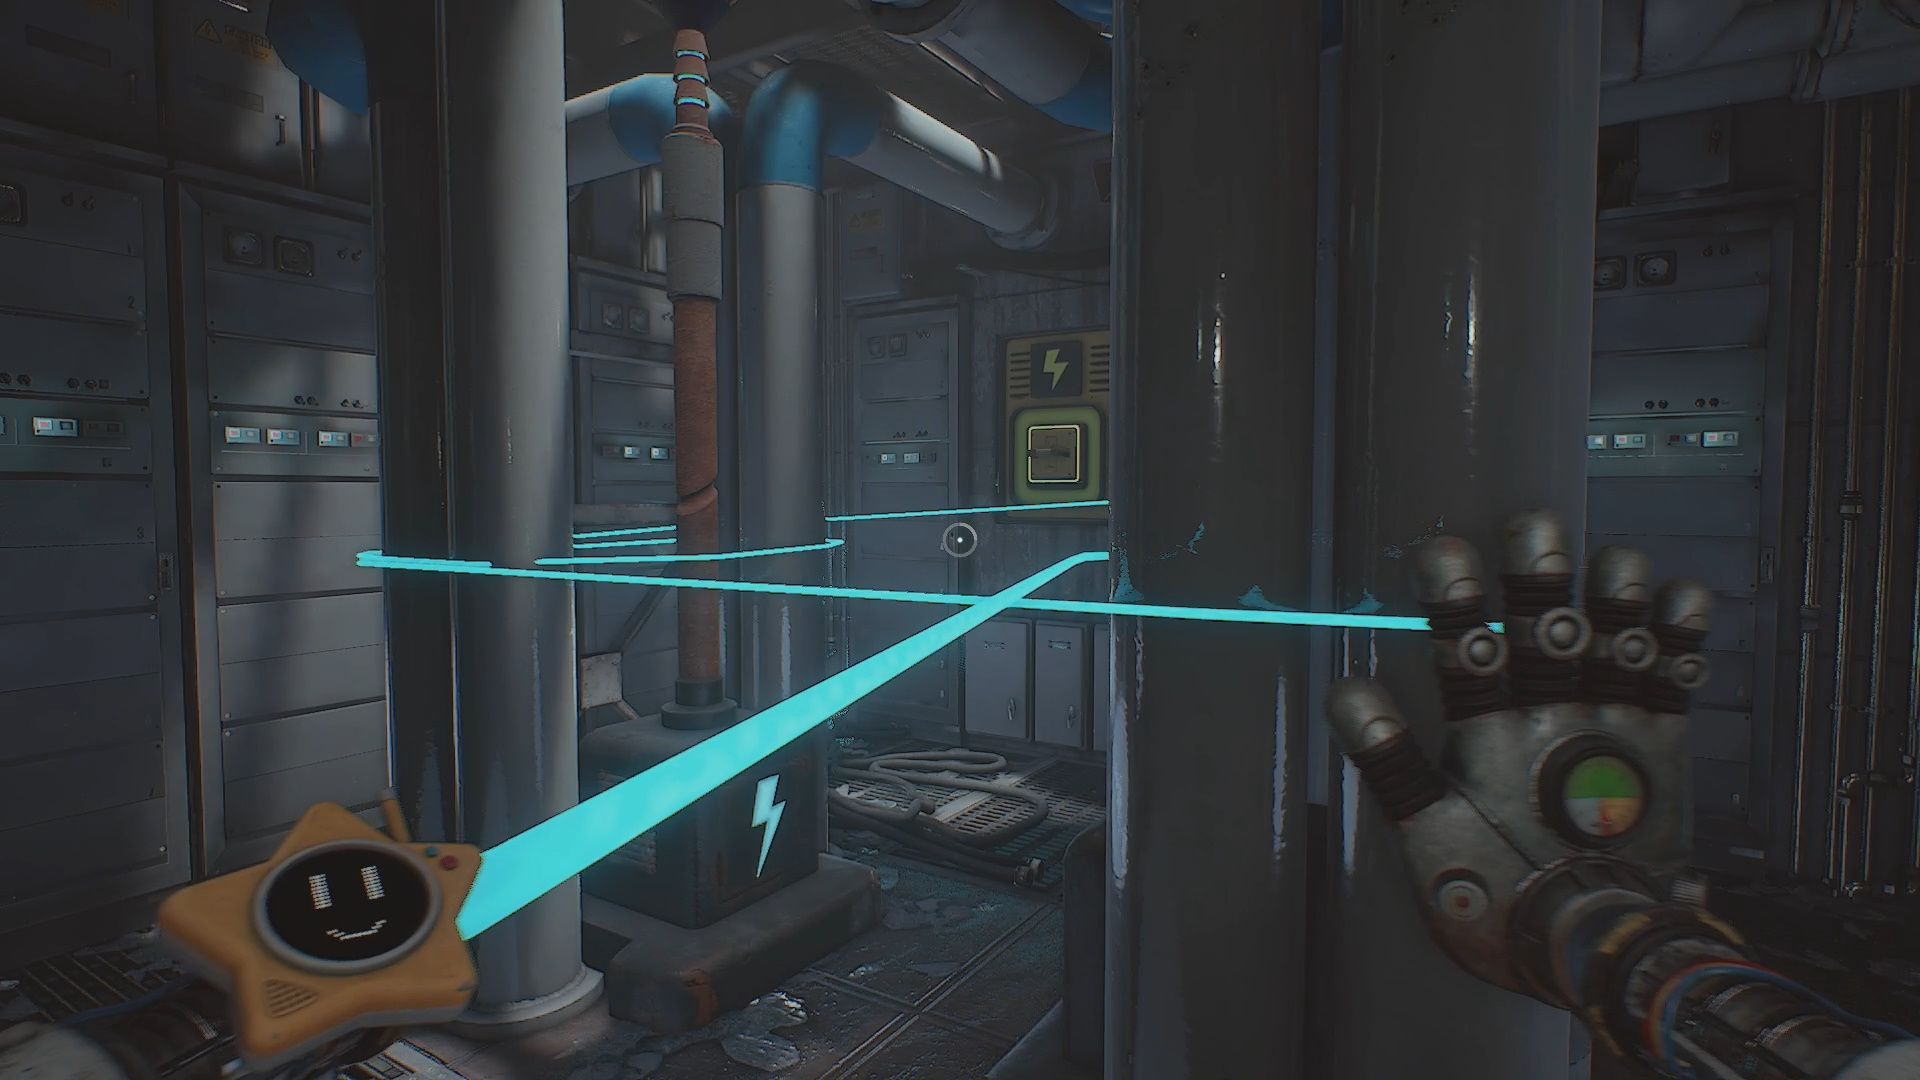
Inside Engineering go up the stairs and squeeze past piled up items. Walk to the end of the hallway and use your Pressurized Hand on the crack in the window. Blow it open. Go through the window into the next room. Straight ahead you will see a Pressure Door puzzle we need to solve.
Optional Collectible
When you enter the room turn right. Walk forward and turn right again. You will find a partially opened Green Door. Go through the door into the room.
Complete the power puzzle in this room to open a nearby door to a Control Room. Inside the Control Room is the Wrongside Outimal Plushie – Bindle BOOGIE [5/19].
Pressure Door Puzzle
Go to the Pressure Door puzzle. To solve it you need to Fill Two Tanks. One has a handle, one doesn’t. Do the tank without the handle first. Pressure it up between the yellow lines. Do the second tank (with the handle). Pressure it up above the Green Line. Pull the handle. Should look something like the screenshot above.
Proceed into the next room where we have another puzzle to complete.
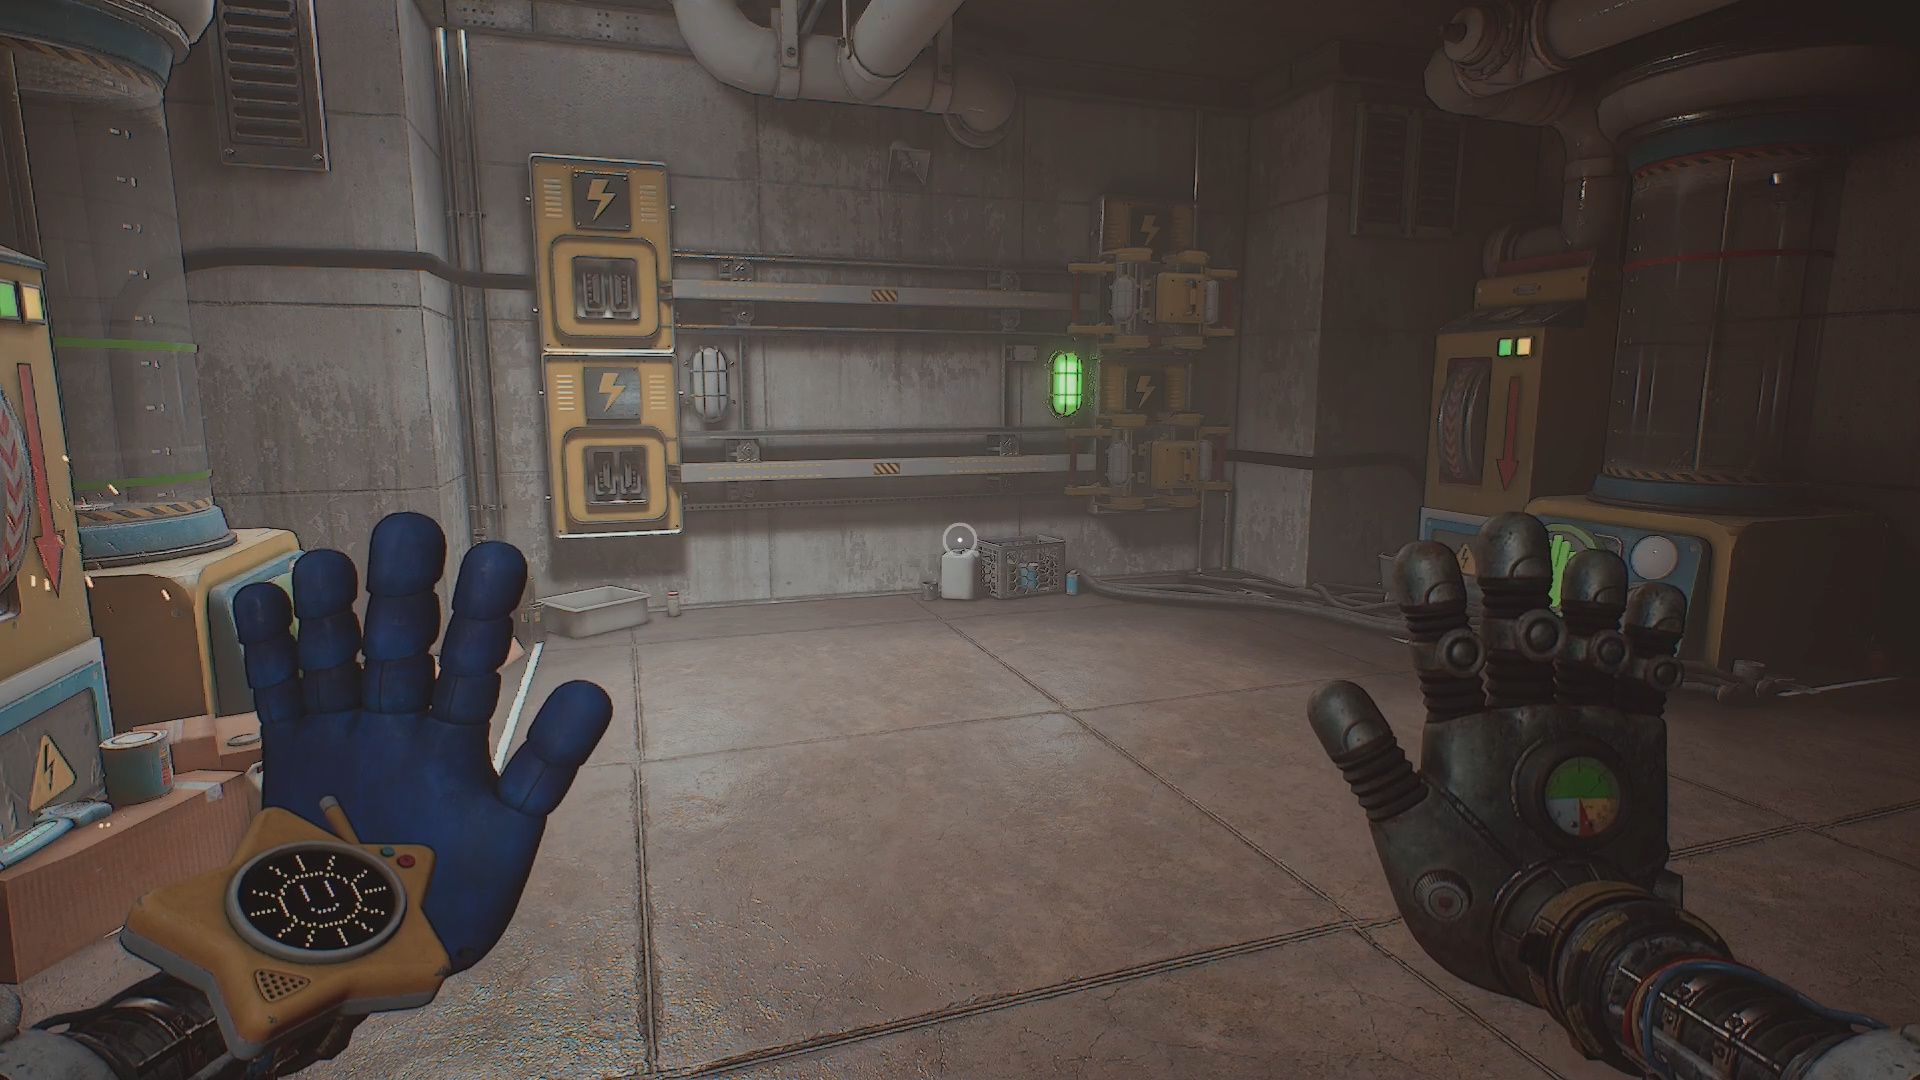
Engineering Power Room Puzzle
In the Power Room you will find three things you can interact with. A Pressure Container and handle, a Valve, and a Plug. To solve this problem things in the following:
- Activate the Power Pressure Tank and Lever
- Turn the Valve
- Hold the Plug In
Trigger all three moves the Container Mover on the ceiling above. Repeat this process until it reaches the other side. Use it to reach the ledge above you. Open the Double Red Door using the Blue Hand Sensor. Go through it into the next area.
Storage Room Part 1
In the next room you will enter a huge Storage Room with multiple sections. The first section you need to simply move the Yellow Crates over to the Blue Pallets in the middle of the room. Use them to jump onto the Pallet to enter the next section.
Optional Collectible
In this first room there is a Note you can snag. It is hidden in the corner opposite side room of the Yellow Blocks by some shelving. The GrabPack Hands Rejection [12/35] is on a crate.
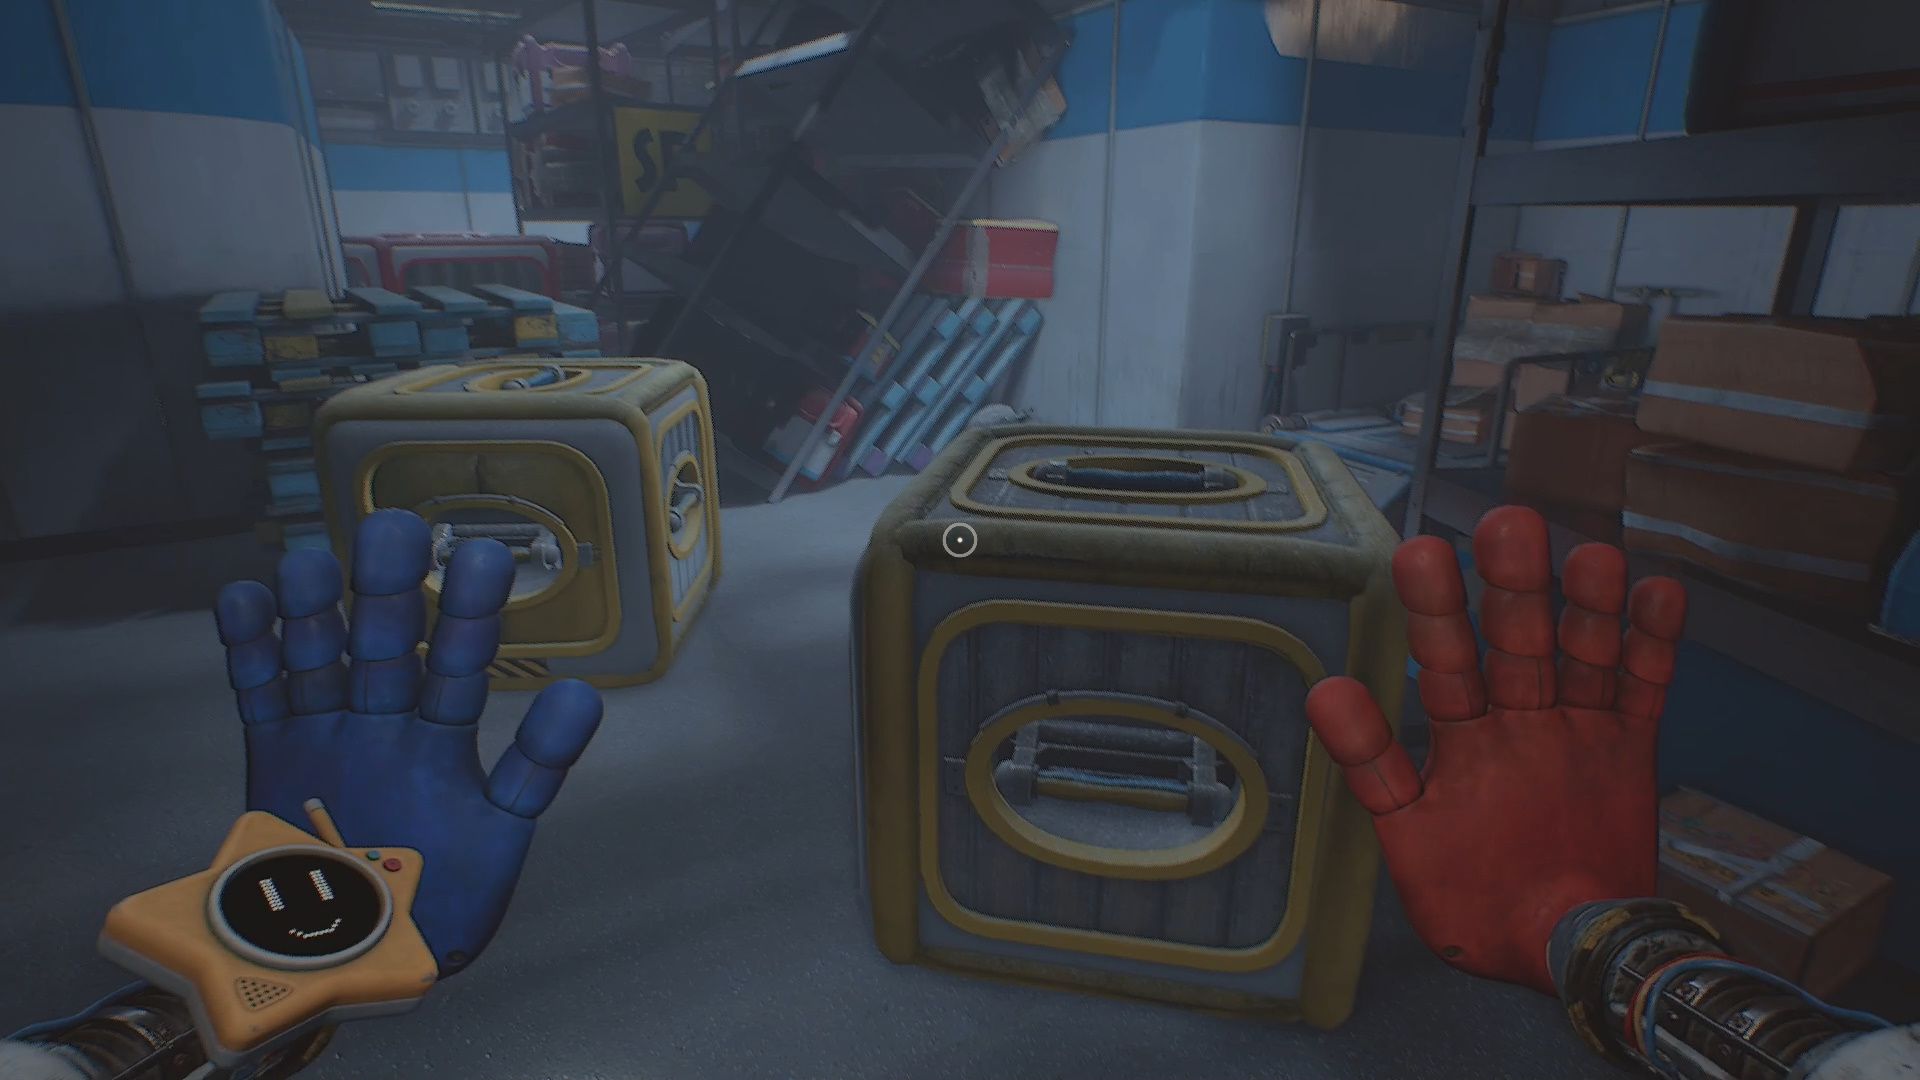
On the Pallets use your Pressurized Hand to blow the Red Block out of the way. Push or pull the Red Block so it is next to the leaning Blue Catwalk.
Storage Room Part 2
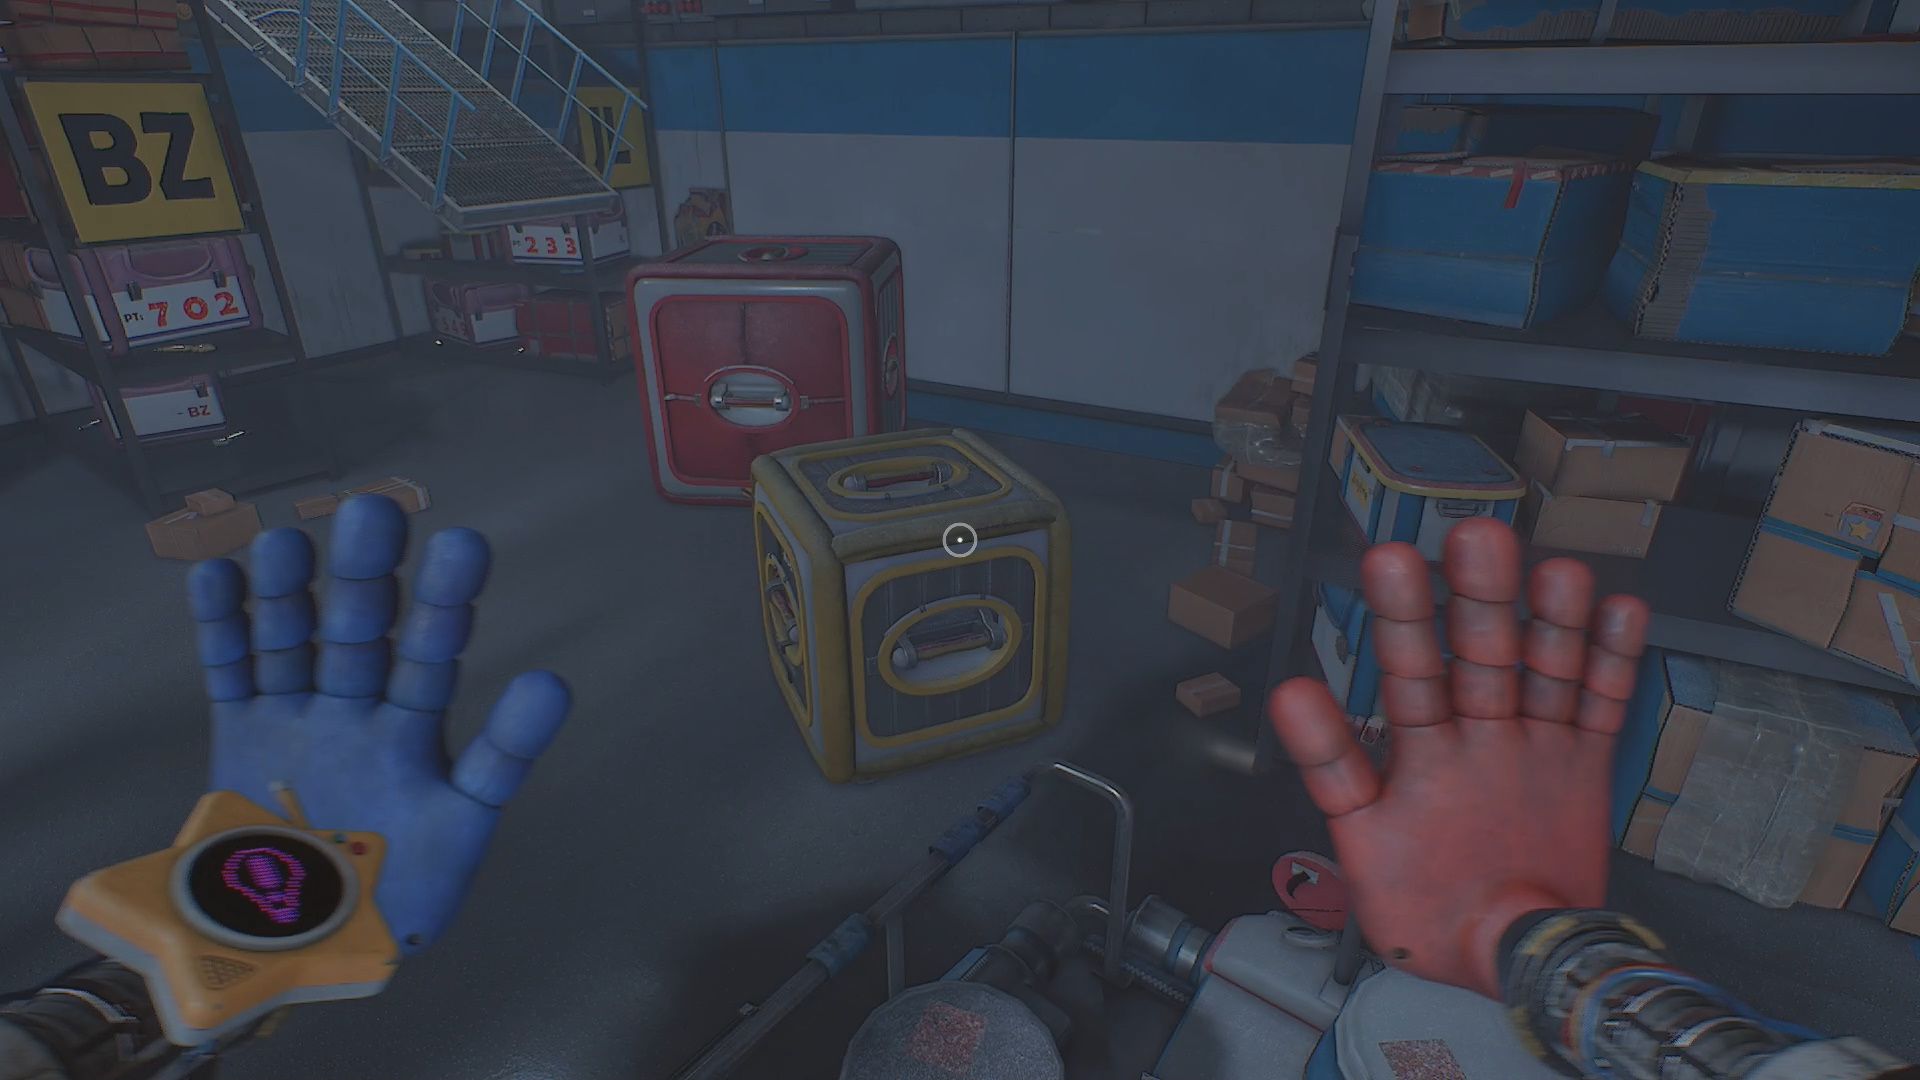
Go over to the Red and Yellow Blocks. Push the Red Block out of the way so you can pull the Yellow Block out. Take the Yellow Block over to the Red Block we moved. Set it up like the screenshot above. Use the setup to jump up onto the catwalk.
Optional Secret
In the second section of the Storage Room you can find some graffiti left by the developers. Use your Blacklight to find “Zeff Was Here” and a Yarnaby face by a Blue Door. This reference is to Seth Belanger one of the co-founders of Poppy Playtime maker MOB Games.
Catwalk
Walk forward on the catwalk. You will see some small crates ahead of you. Go over to them. Grab the Battery on the other side of them. Take the Battery and go into the Control Room.
Control Room Puzzle
The files we need are inside of the middle locked locker in the Control Room. Put the Battery into the in the Socket to the left of the lockers.
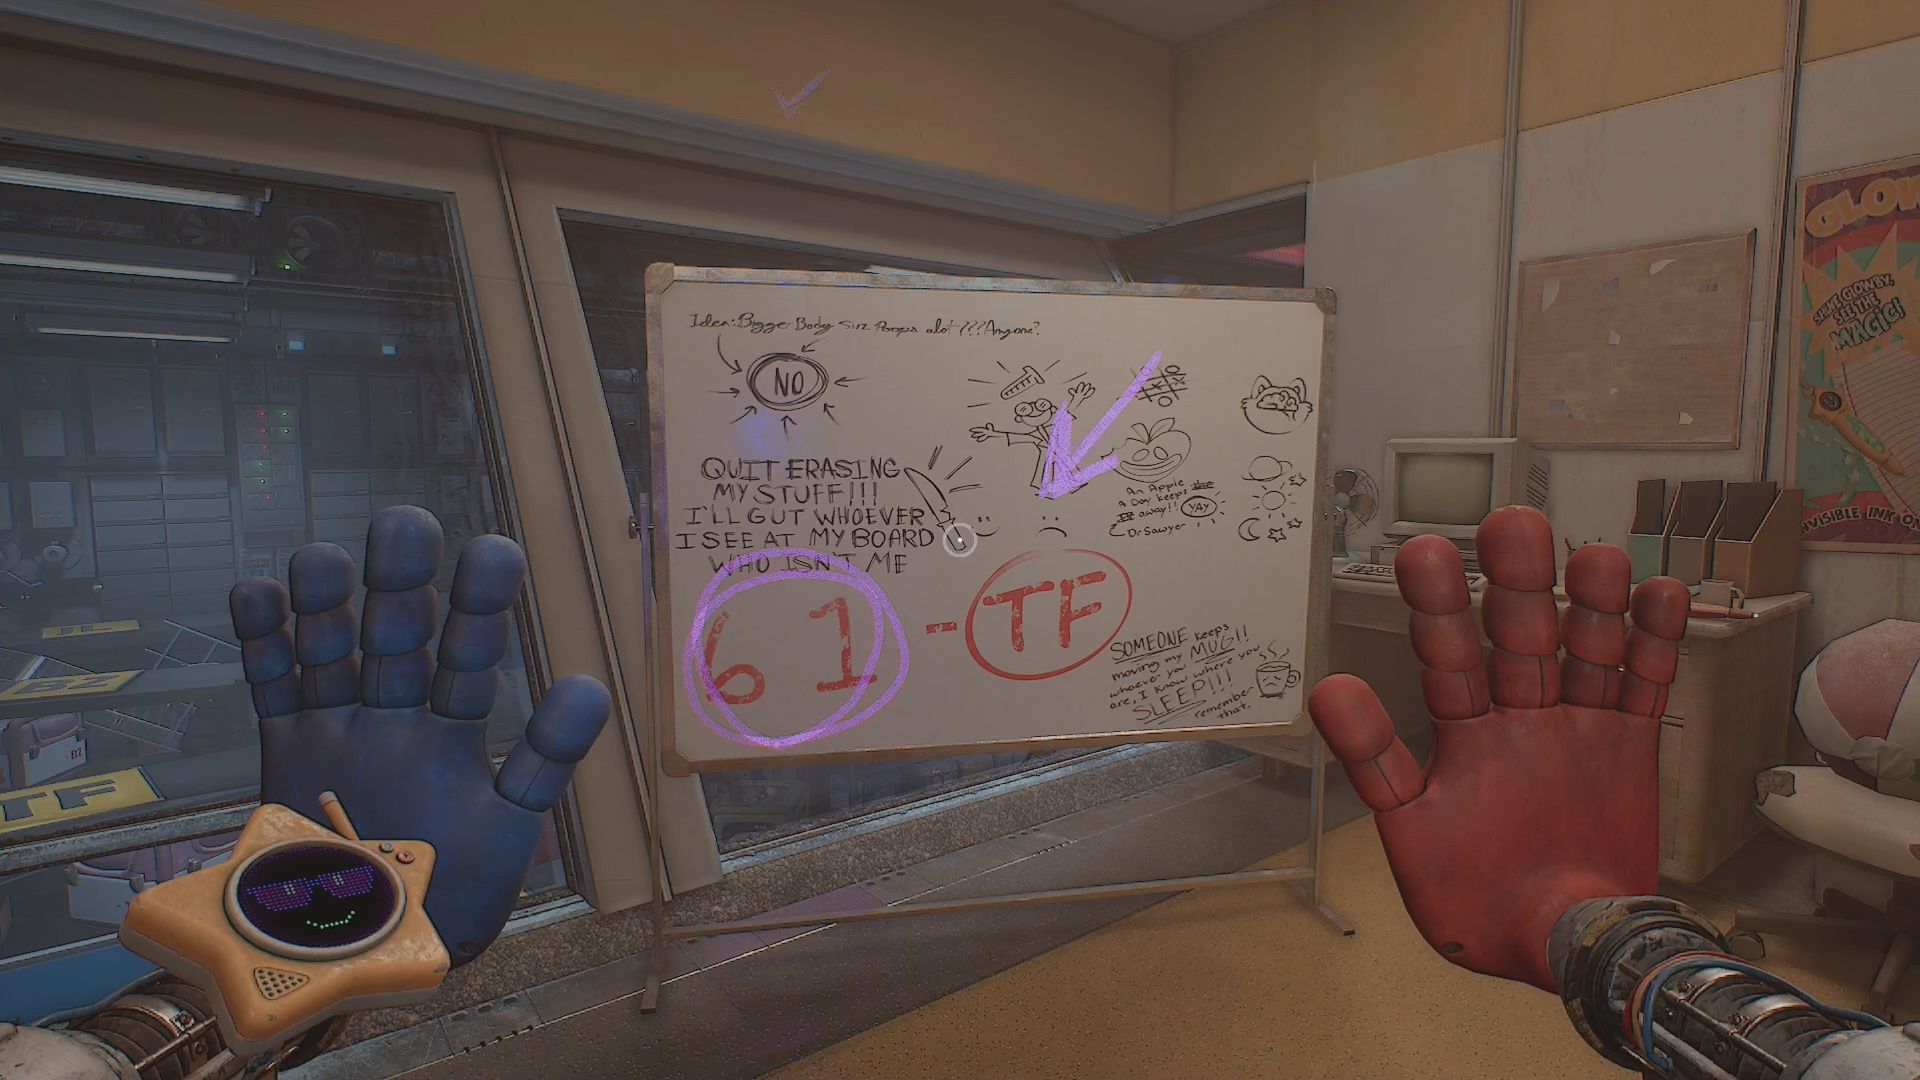
After you’ve powered up the keypad you need to determine the code. To do this, go over to the whiteboard. Flip it over and use your Blacklight to reveal a message (the message is randomized). It will be ##-Initials (for me it was 61-TF).
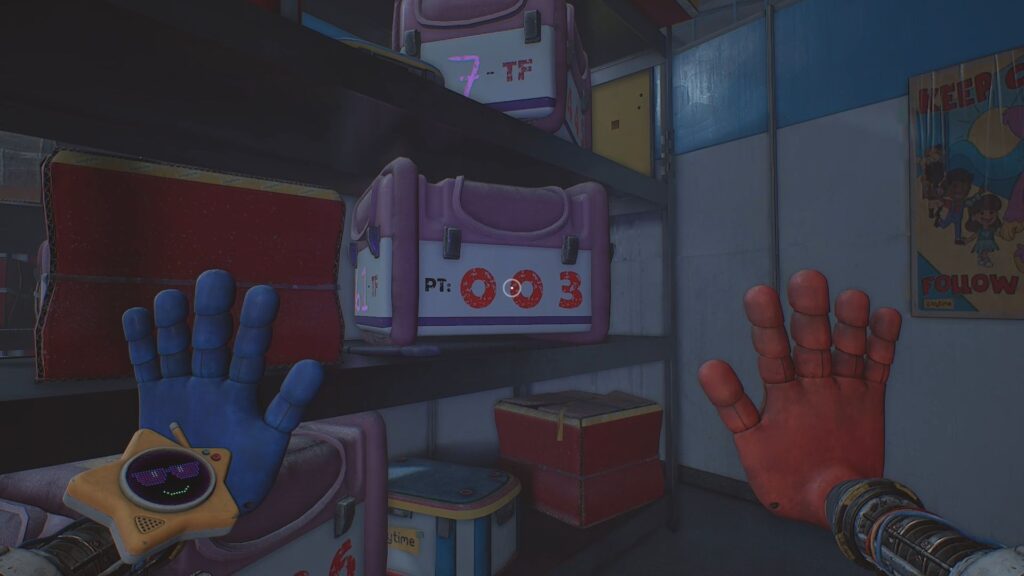
Remember the number and initial. Look out the window at the Storage Room. On top of the shelves you will see Initials. Find yours.
Head into the Storage Room. Go to the shelf that has the initials of your clue. Use your Blacklight on the crates on the shelf to reveal hidden numbers. Since mine was 61-TF my Code is 003 (the crates PT).
Getting the Notes and Emu Cuffs
Go back to the Control Room and input your code using the keypad. Grab the following Notes from the Locker:
- Master Backup (Unmissable) [13/35]
- Negation Compound Presentation (1 of 6) (Unmissable) [14/35]
- Negation Compound Presentation (2 of 6) (Unmissable) [15/35]
- Negation Compound Presentation (3 of 6) (Unmissable) [16/35]
- Negation Compound Presentation (4 of 6) (Unmissable) [17/35]
- Negation Compound Presentation (5 of 6) (Unmissable) [18/35]
- Negation Compound Presentation (6 of 6) (Unmissable) [19/35]
Under the Notes there is also an item. Grab the Emu Cuffs.
The Emu Cuffs, when picked up, automatically apply to your GrabPack. These cuffs allow you to use magnet pads to pull yourself up and across. When you can use the magnet you will see a small magnet icon on your reticule.
Go back out to the Blue Catwalk. Walk back like you are going to go into the Storage Room. Stay on the walkway. Look straight ahead and you will see a magnet pad you can attach to to get to the other side.
Optional Collectible
In the Storage Room on the Blue Catwalk after you pull yourself across using the magnet pad look for a hole in the railing on your left. Drop down it. Go into the room here to grab the Pierre/Ritterman, August ’95 [5/10] Audio Tape.
Optional Collectible
In the Office before the Decontamination Room grab the Letter To Leith #1 [20/35] Note off the nearby desk.
Walk forward into the Office. Go through the Decontamination Room into the next room. You will see a bunch of magnetic pads in a destroyed hallway.
Magnetic Pad Hallway
Use your GrabPack and the magnetic pads to go across the hole in the floor to the other side. Look left. There are some flames blocking your progress. Make note of this platform (we will go here to get a collectible and Glitched Hand Sensor).
Turn around and look in the middle. There is a pad you can attach to to reach the middle section of the room. Go there and look up. Attach to the pad above you to go to the platform above. There will be a Red Pipe to your right.
Optional Collectible & Hand Sensor
There is a platform that has a nearby Red Pipe and flames coming out of it. Use the magnet pads to pull yourself up so you can look into the pipe area. Turn the Valve to turn off the flames.
Head back to the platform that had the flames blocking your progress. The flames are shut off now. Don’t cross the gap right away. Instead drop down. Turn around and you will find a Glitched Hand Sensor [3/8]. Activate it with your Blue Hand.
Cross the gap. Squeeze past the filling cabinets to reach the Office of Edward M.N. Ritterman. Grab the Medical Report: Edward M.N. Ritterman [21/35] off the desk.
Back on the Red Pipe platform continue forward using the magnetic pad. Use the next pad to reach a platform. Use the next pad and the next pad to reach the Yellow Door. Go through the Yellow Door to enter the Gel Cleaning Station.
Gel Cleaning Station Puzzle
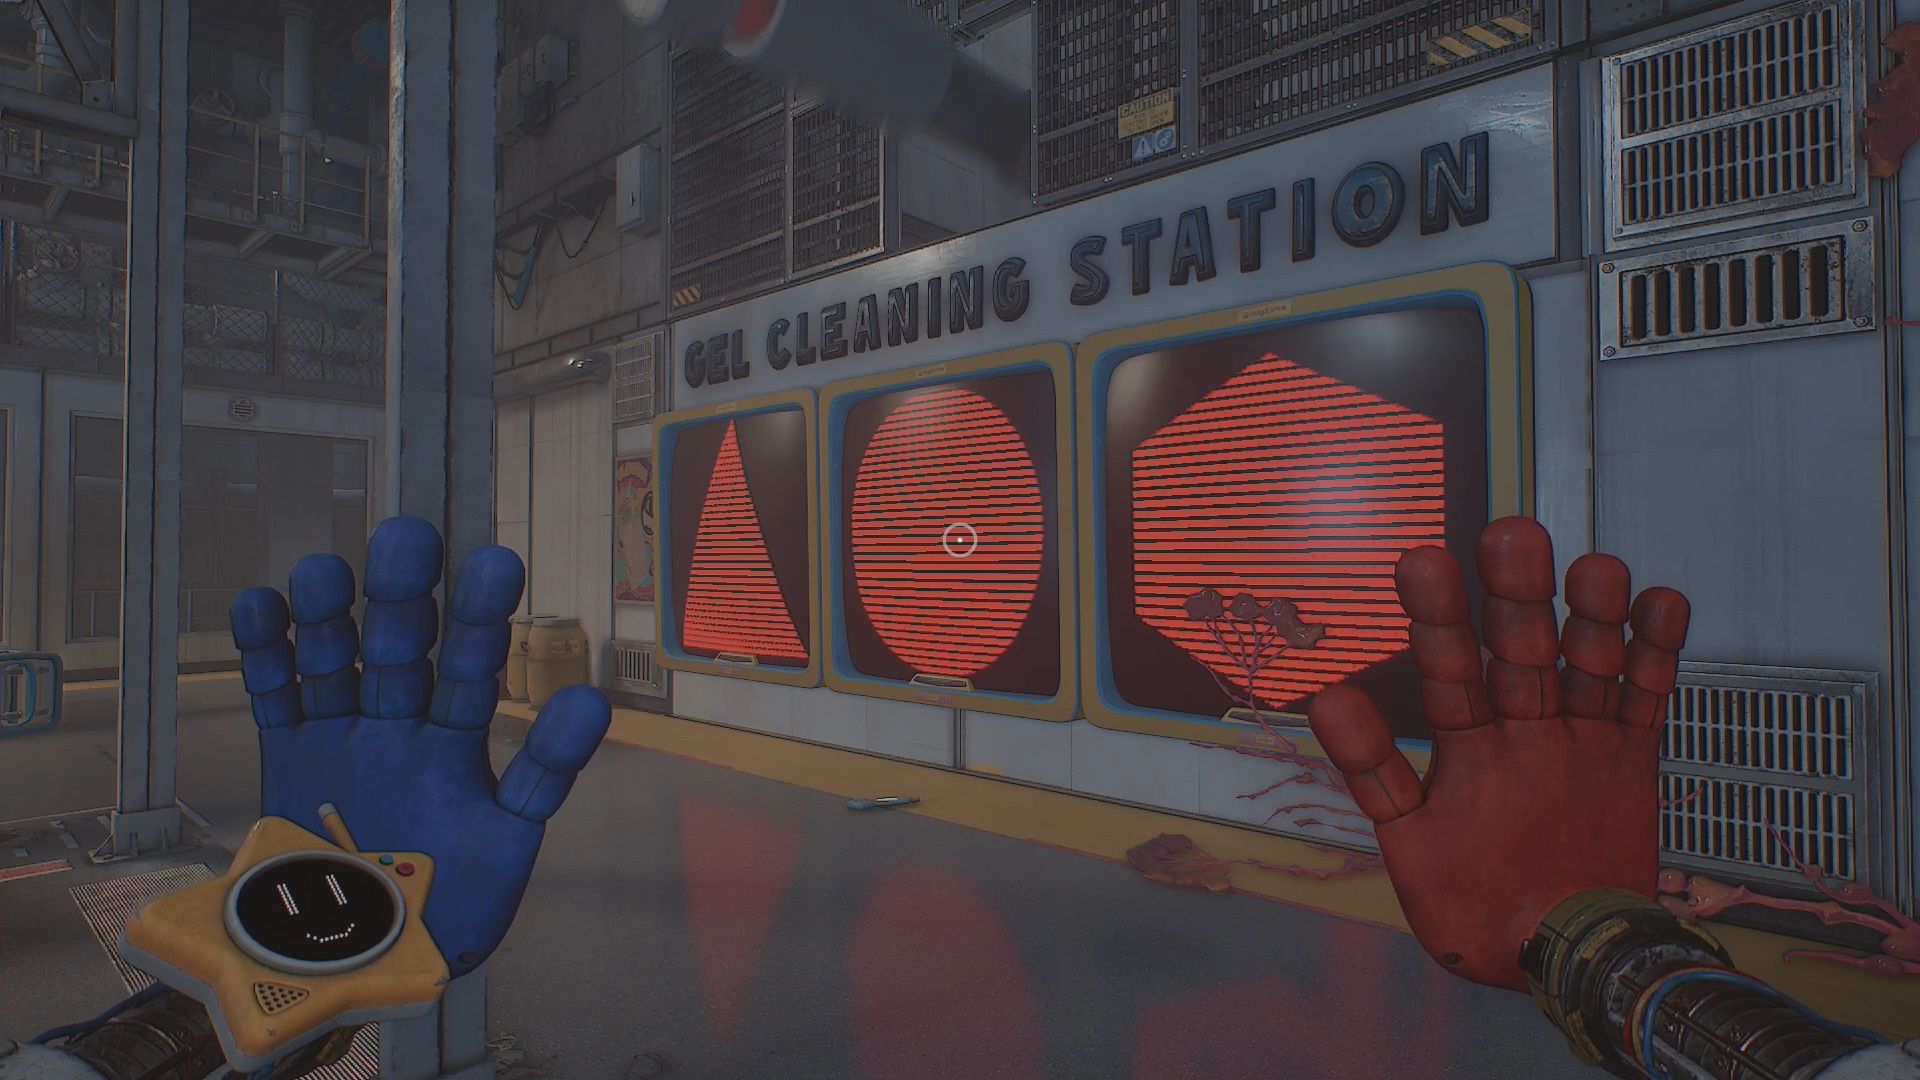
In the Gel Cleaning Station you will see three symbols on the screens on the wall. Make a note of them and their order. Order is 1-3 starting from the left.
Go over to the levers. Turn on your Blacklight. Beside each lever will be a shape. Pull the levers in the order of the shapes on the monitors. This stops the spinning machinery.
Look on the ceiling. You will see a green magnetic pad you can pull. Pull it halfway so it sits above the broken catwalk above. Go up to the catwalk using the magnetic pad. Head into the middle where there are the controls.
Optional Collectible
Instead of going to the middle, go to the catwalk along the wall. There is a Blue Pipe with a Valve on it. Turn the Valve. This freezes the gel outside of the Blue Door on the lower floor.
Use your Pressurized Hand to destroy the frozen gel blocking the door. Go into the room. Complete the puzzle in this room to get the Golden Chum [6/19].
On the platform on the second floor in the middle of the Gel Processing Room you will find two pressure buttons you can push. Use your Pressurized Hand to to push the one on the right first and then do the one on the left.
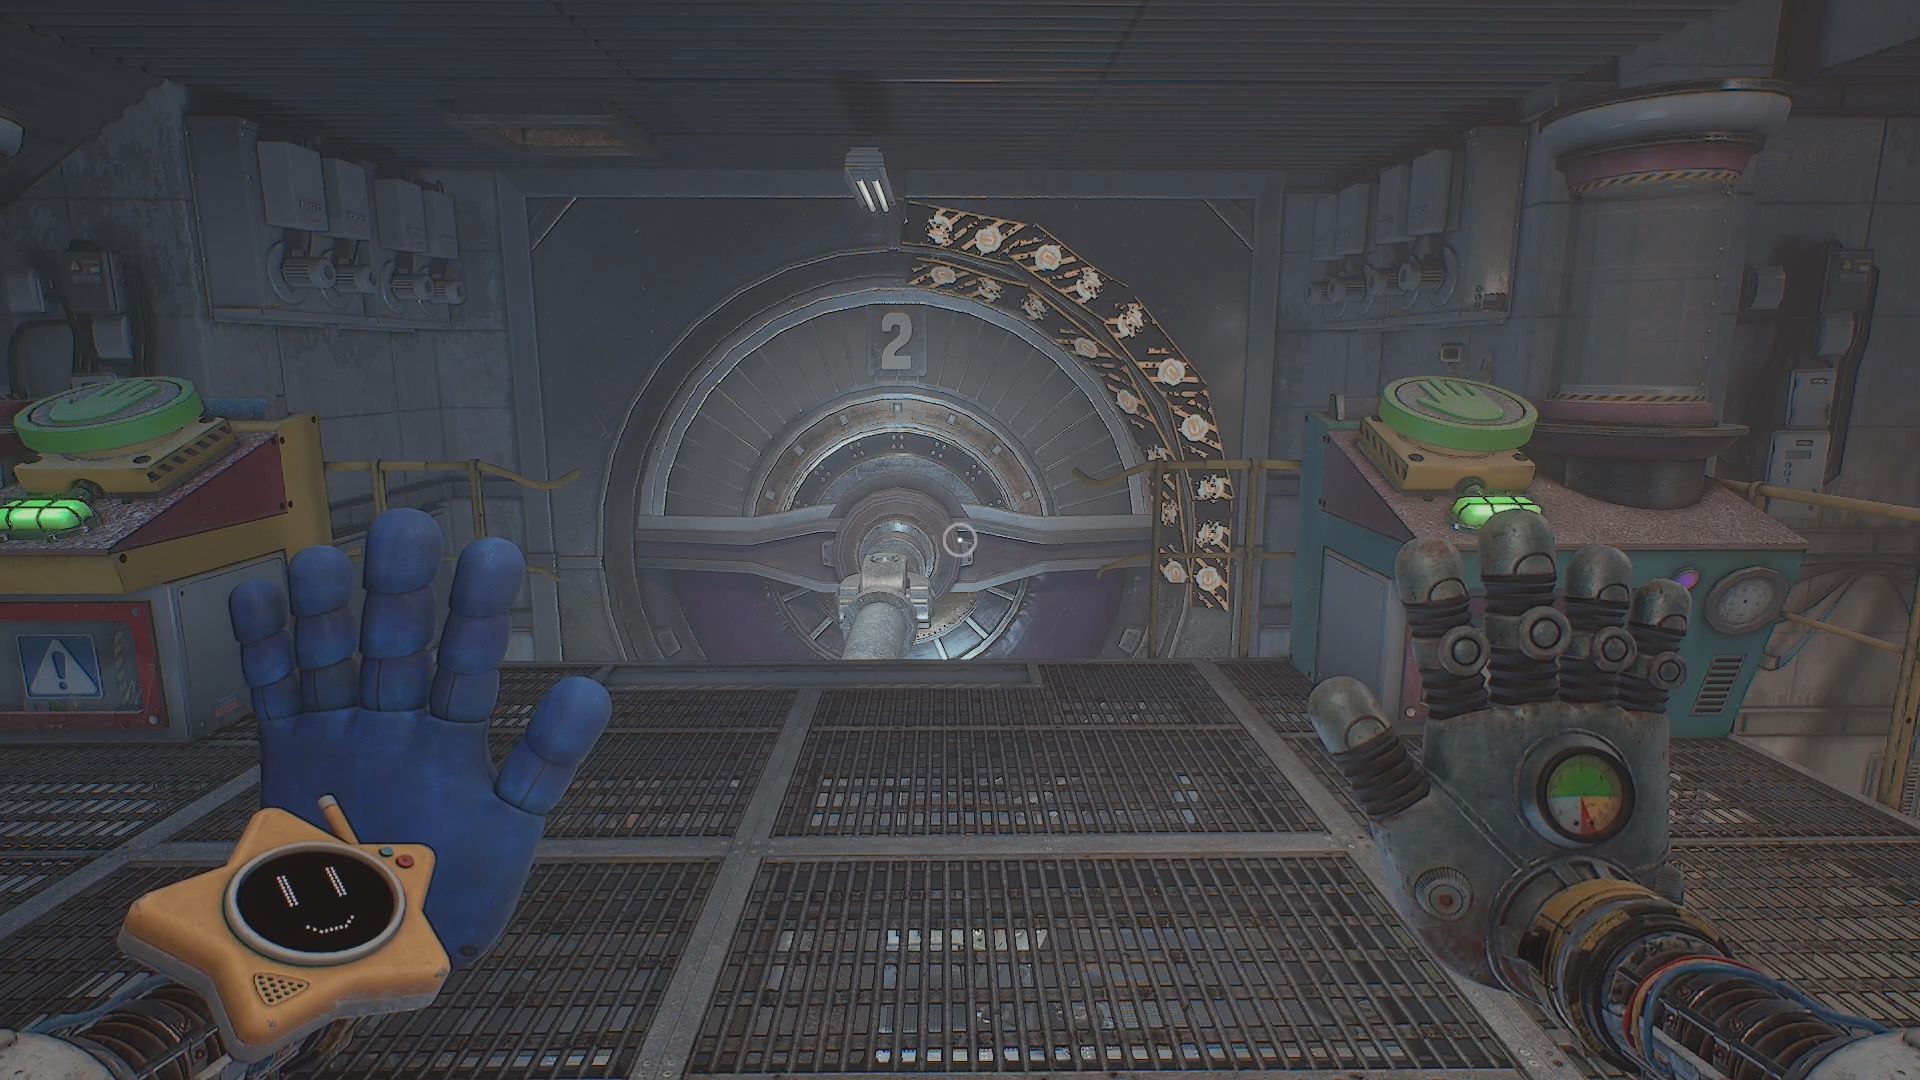
This opens the two shutters along the (formerly spinning shaft) use the magnet pads to quickly go through the open shutters. Walk to the end and the fan will blow you down into a hole which leads to a new area.
Return to Giblet and Chum
When you enter this room you will get a new objective to Return to Giblet and Chum. There is a puzzle directly in front of you. Before doing it you can grab a Note.
Optional Collectible
Turn left when you enter and go into the elevator shaft. You will land on top of an elevator. Walk to the end then crouch and look down. You will see a Battery on the ground below. Grab it and then use the magnet pad to leave the shaft.
Go past the puzzle. Enter the room with the Blue Door. Put the Battery in the Battery Socket to open the Red Door to the Office. Go into the Office. Grab the To Whomever Finds This [22/35] note off the desk.
How to Solve the Pressure Puzzle
On the wall you will find a pressure puzzle to complete. This puzzle features two pressure tanks that don’t have handles and power breakers on the wall you can move when they are powered up.
Grab the bottom breaker first and keep the right pressure tank pressurized above the red line. Pull the breaker until it is slotted into the the slot on the left.
After that grab the top breaker. Keep the left pressure tank’s pressure between the two green lines. Pull the breaker to the left until it is slotted in.
Once both breakers are slotted in, the elevator behind you will become available. Go inside of it to go to a new area.
In the new area use the magnetic pads to go up to the catwalk above you. Go into the third Vent away from you. Crawl through the Vent until you reach the other side.
Walk forward, hang a left, and then give Giblet the papers we collected by interacting with him. This triggers a cutscene where The Prototype appears. After the cutscene you will get a new objective to Find a Way to Reanimation.
Walk forward and go through the Blue Door. You will reach a new area called Testing. Use our Testing guide to complete it.
For more help with Poppy Playtime head over to our Poppy Playtime guides hub for guides, codes, and other resources.
Thoughts on our Poppy Playtime Chapter 5 Research & Development guide? Drop them in the comments below.

PLEASE HELP
What do you need help with?