Poppy Playtime Chapter 5 Guide – Testing
At the end of Research & Development, Chum Chompkins will eat you to hide you from The Prototype. He will then take and spit you out in a new area called Testing. In Testing you are given the objective to Find a Way to Reanimation. To help you get through this area, use our Poppy Playtime Chapter 5 Testing guide below.
Testing Collectibles/Easter Egg List
- Conditioning Observations
- Observation: Lily
- Letter to Leith #2
- Field Test: Chum Chompkins
- Experiment 1170
Find a Way to Reanimation
Walk forward and go in the Blue Door. You will enter a reception area. Go through the Blue Door to the right of the front desk.
In the next room you will enter a hallway. On your right are various different rooms for observation. Walk to the very end of the hallway and enter the open door on your right which leads to a room that looks like the outside of a house.
Open the sliding door using your GrabPack and go into the next room. Open the next door and you will enter a classroom room. Make your way through the classroom and the next few rooms until you reach the final bedroom.
Optional Collectible
On the floor of the classroom by the teacher’s desk you will find Conditioning Observations [23/35].
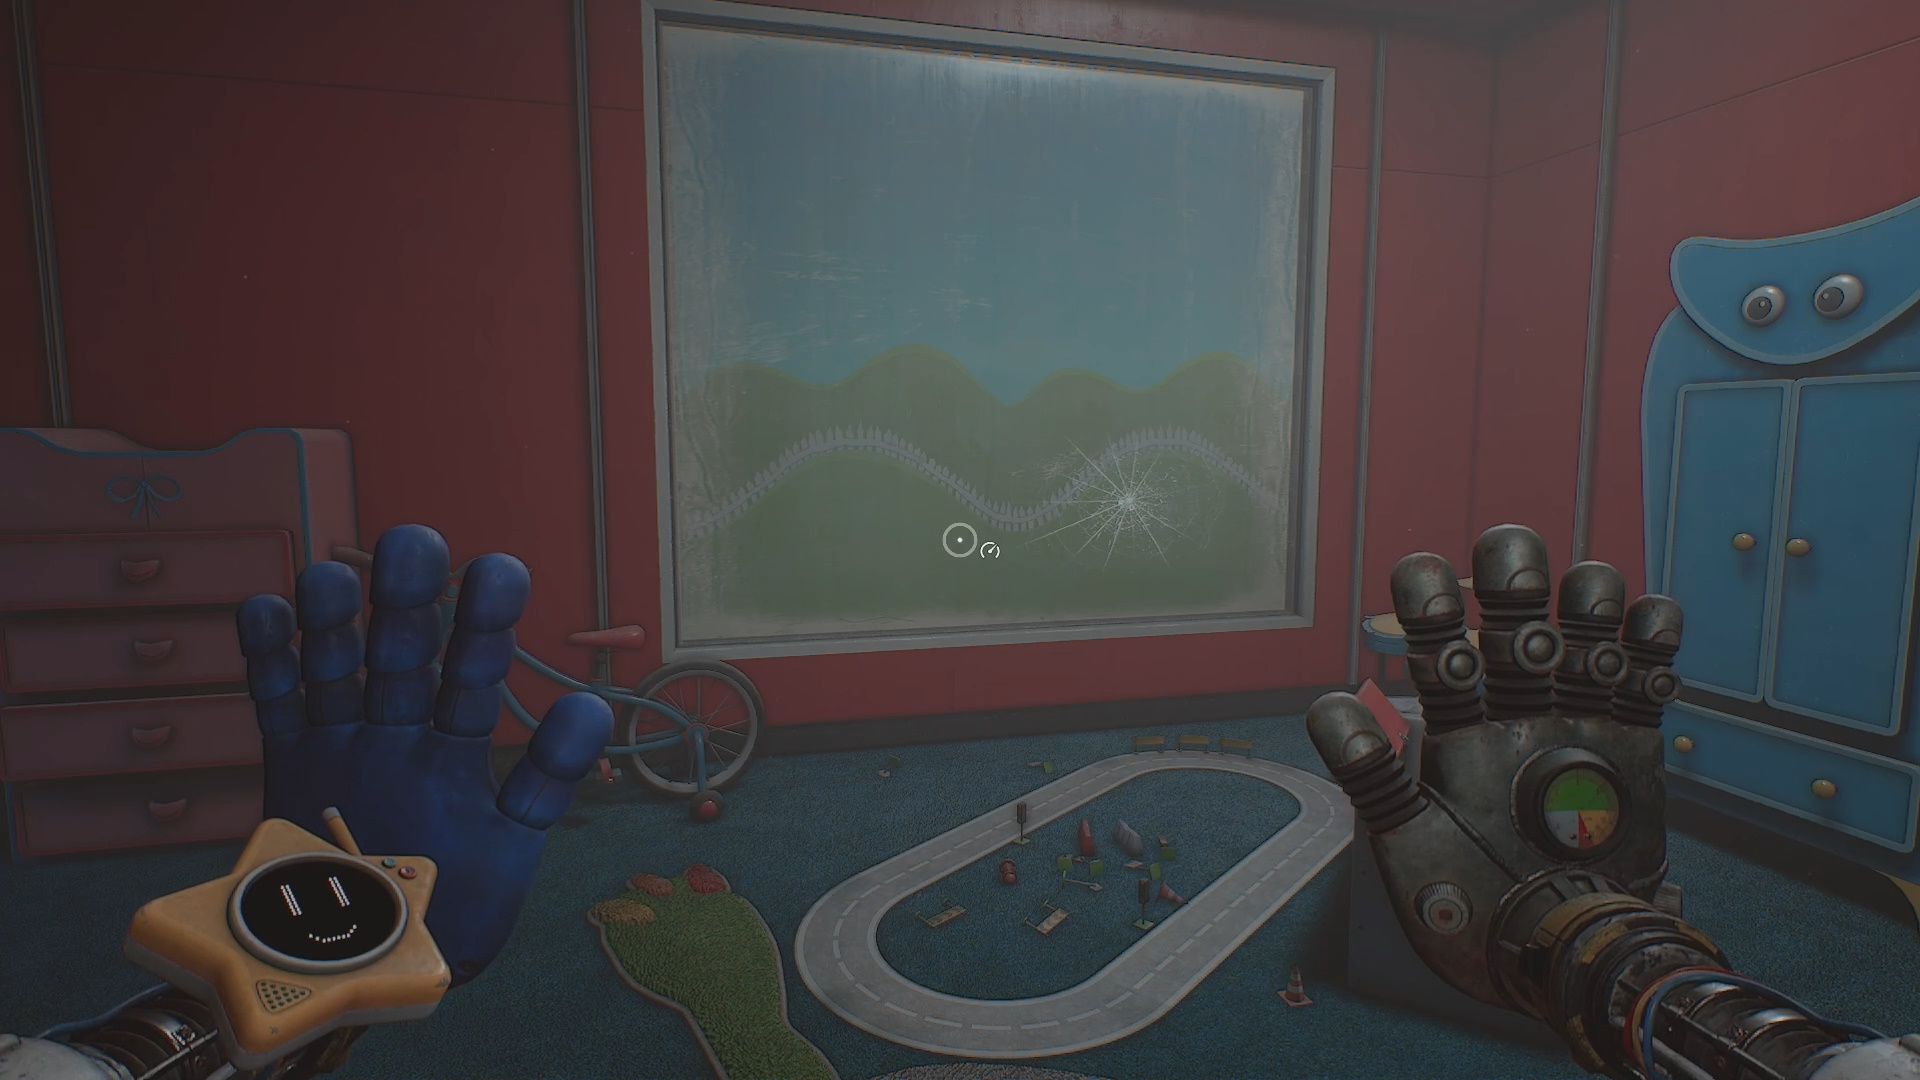
In the bedroom you will find a window that has a crack in it. Use your Pressurized Hand to destroy the window, allowing you to enter a large atrium area called Observation.
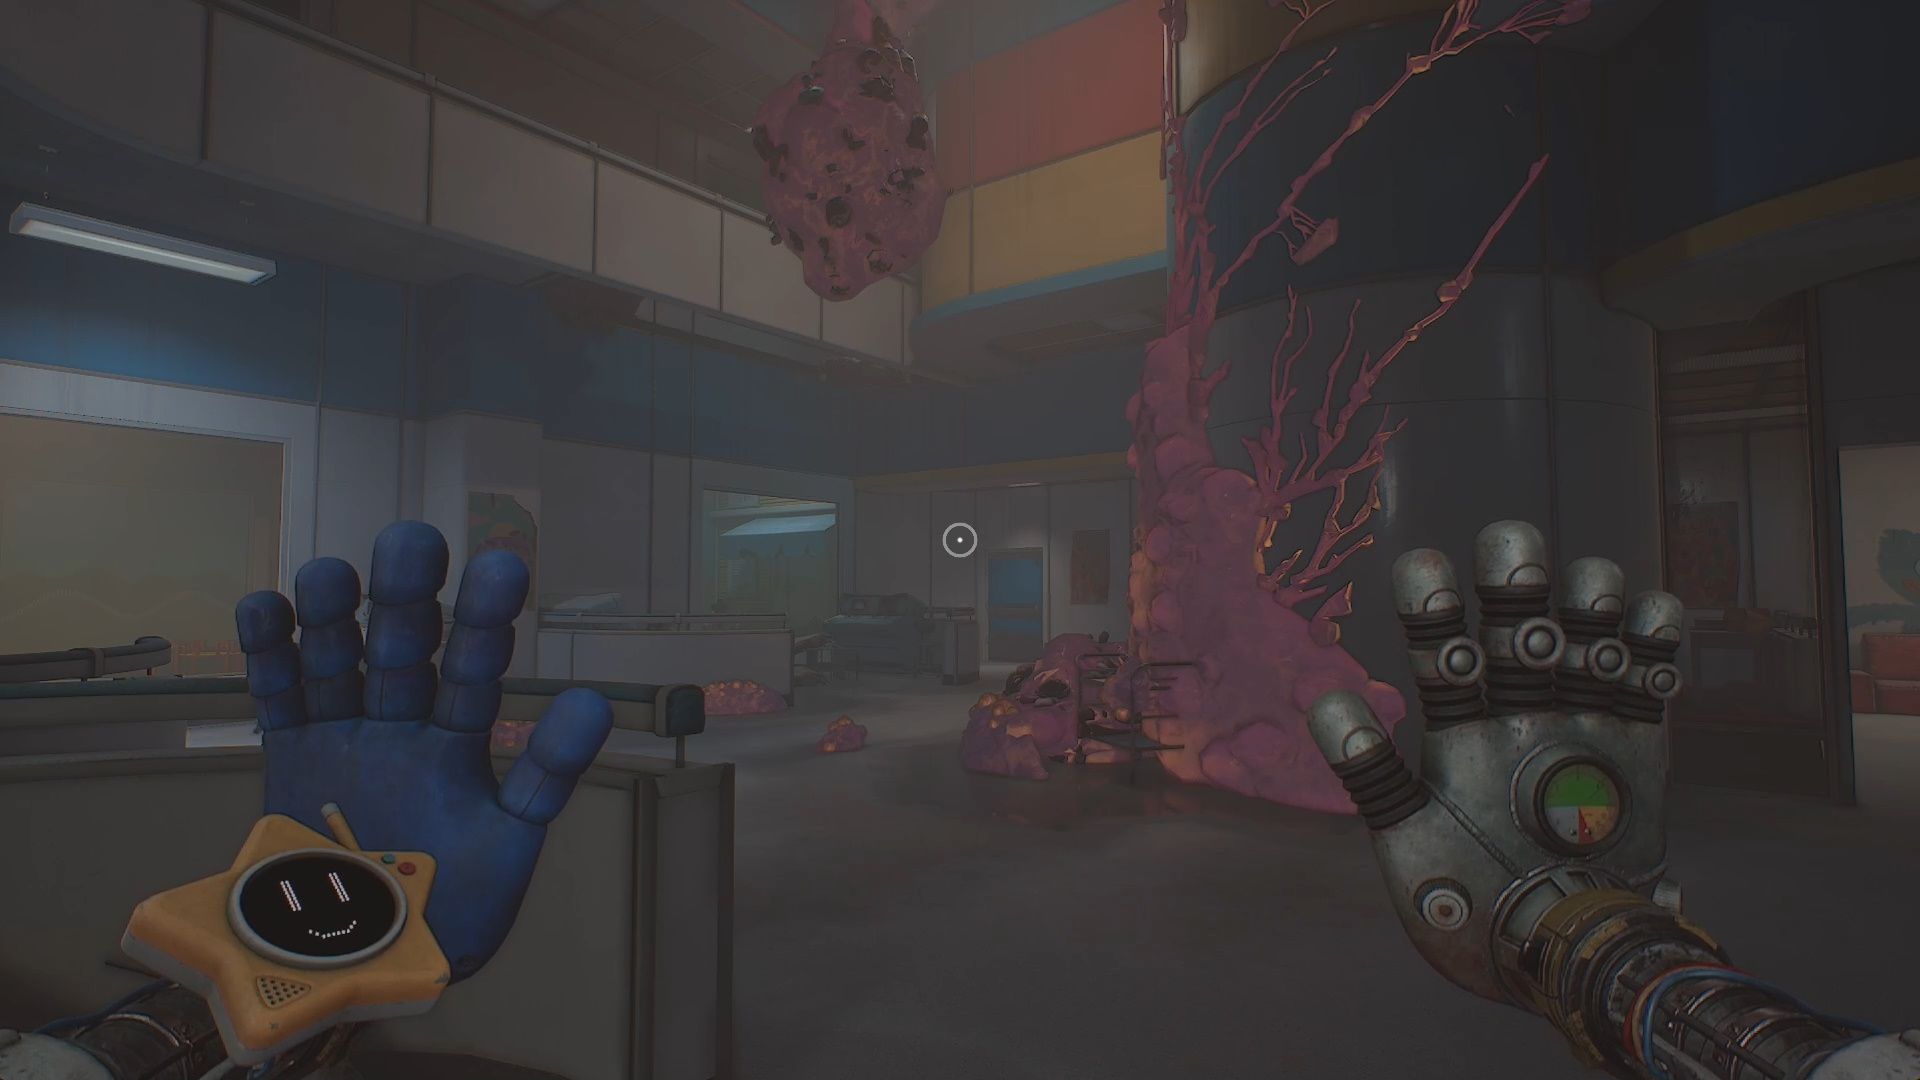
Upon entering the atrium you will get a new objective to restore power to the facility. Straight ahead of you there is a Blue Door that has a flashing light over it. Go to this door and go through it.
Restore Power to the Facility
In the next area go through the next Blue Door. You will enter a hallway. Ignore the Yellow Door on your right for now. Instead go in the Red Door further down.


In this room grab the Yellow Battery Pack on the floor and drag it back down the hallway to the Yellow Door. Go through the Yellow Door and place the Battery in the Yellow Socket on the floor.
This powers the area and the cabinet above it. In the cabinet grab the Conductive Hand.
The Conductive Hand is an update to the Green Hand. It allows you to hold either a Hot, Cold, or Electric charge when charged off of special Sockets.
Leave this room. Go back to the room you got the Yellow Battery from. On the wall is a Blue Socket (Cold). Use the Conductive Hand to get a Cold charge.
Go back to the Yellow Door room. Apply the Cold charge on the gel blocking the Red Socket (Heat). Use your Pressurized Hand to destroy the gel.
Use your Conductive Hand to get a Hot Charge from the Red Socket. Go down the hallway to the door with the Lily Lovebraids braid on it. Use the Hot Charge on it to burn it away. Enter this room.
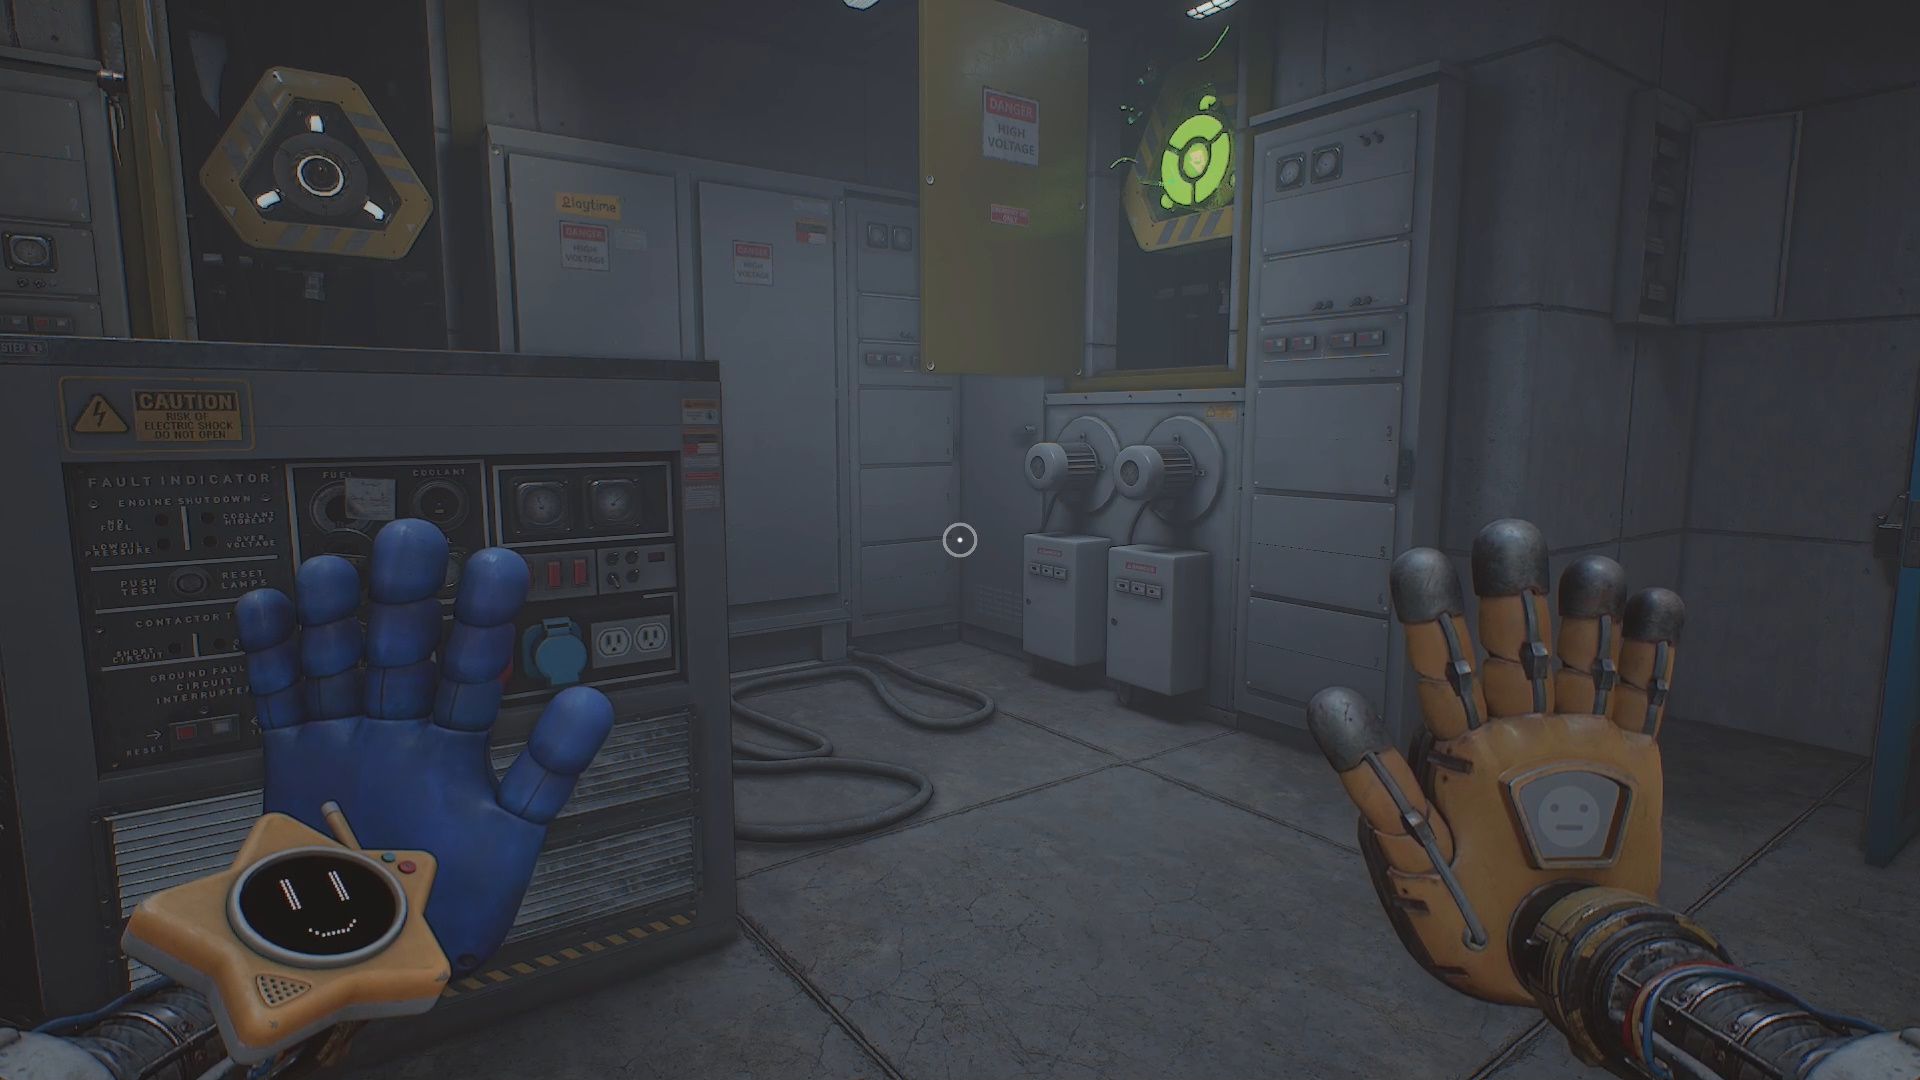
Open the Yellow Utility Covers (3 total). Charge your Conductive Hand using the Green Socket (Electric) then power up the threes sockets. This will turn on the power.
Go back down the hallway and use your Red Hand on the Red Hand Sensor above the door to leave this area.
Memory Room- Memory 1
Outside turn left. You will see a double Yellow Door with a Blue Hand Sensor next to it. Open the door using the sensor and head inside.
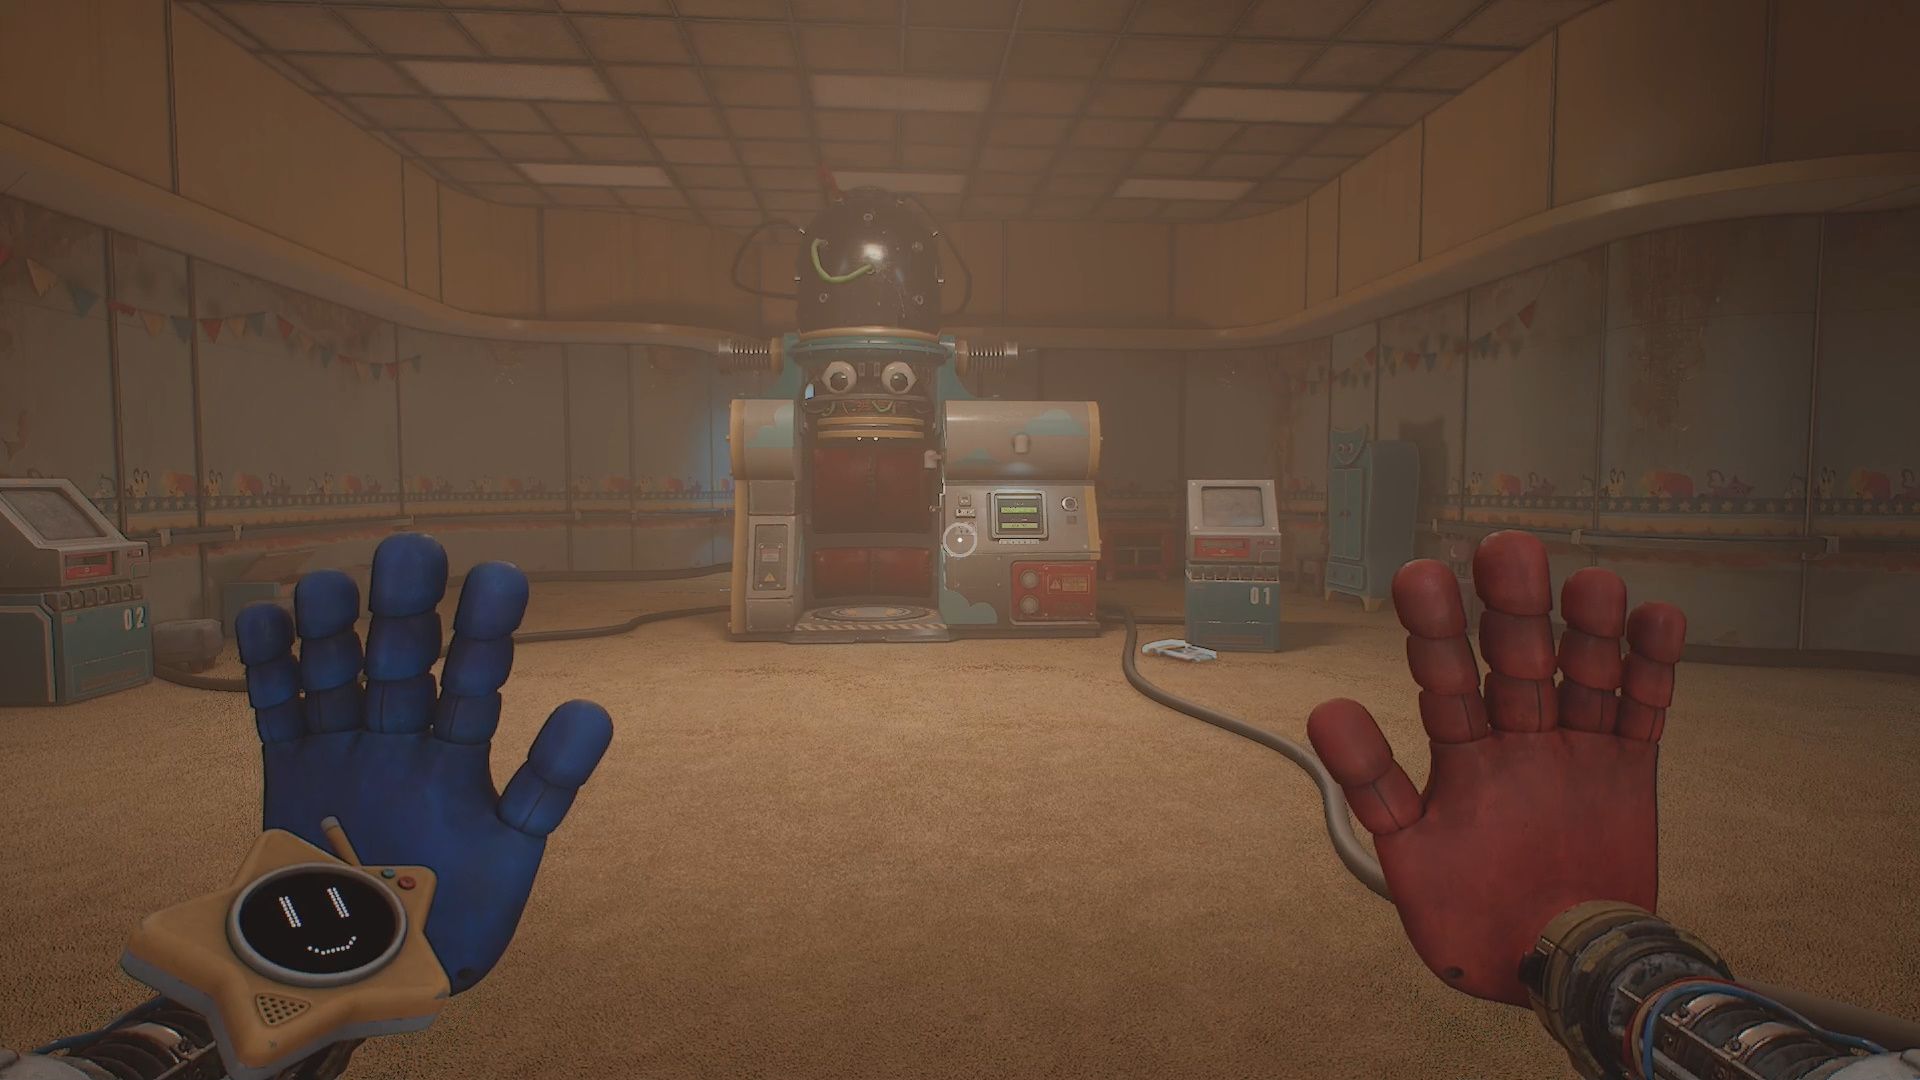
This is the Memory Room. In it there are three consoles. Each console powers a memory. Walk over to Console 1 and grab the Memory Disk 01 on the floor.
Optional Collectible
In the Memory Room behind the central machine on the floor you will find Observation: Lily [24/35].
Insert the Memory Disk into the memory console then stand inside of the Big Memory Machine. Pull the lever inside the machine to start the first memory.
Huggy Wuggy Memory 1
The first Huggy Wuggy memory has you gain control in a bedroom. In this room Ms. Gracie appears on a screen and she tells you to pick up the blocks in the room and sort them.
This section isn’t beatable. It is designed to make Huggy Wuggy angry. There are three rounds and each round gets more difficult. Complete (or just stand there) for each round. At the end you will wake up and have completed the memory.
There are two more memories we need to complete to advance. These memories need to be found in Testing. We need to grab both.
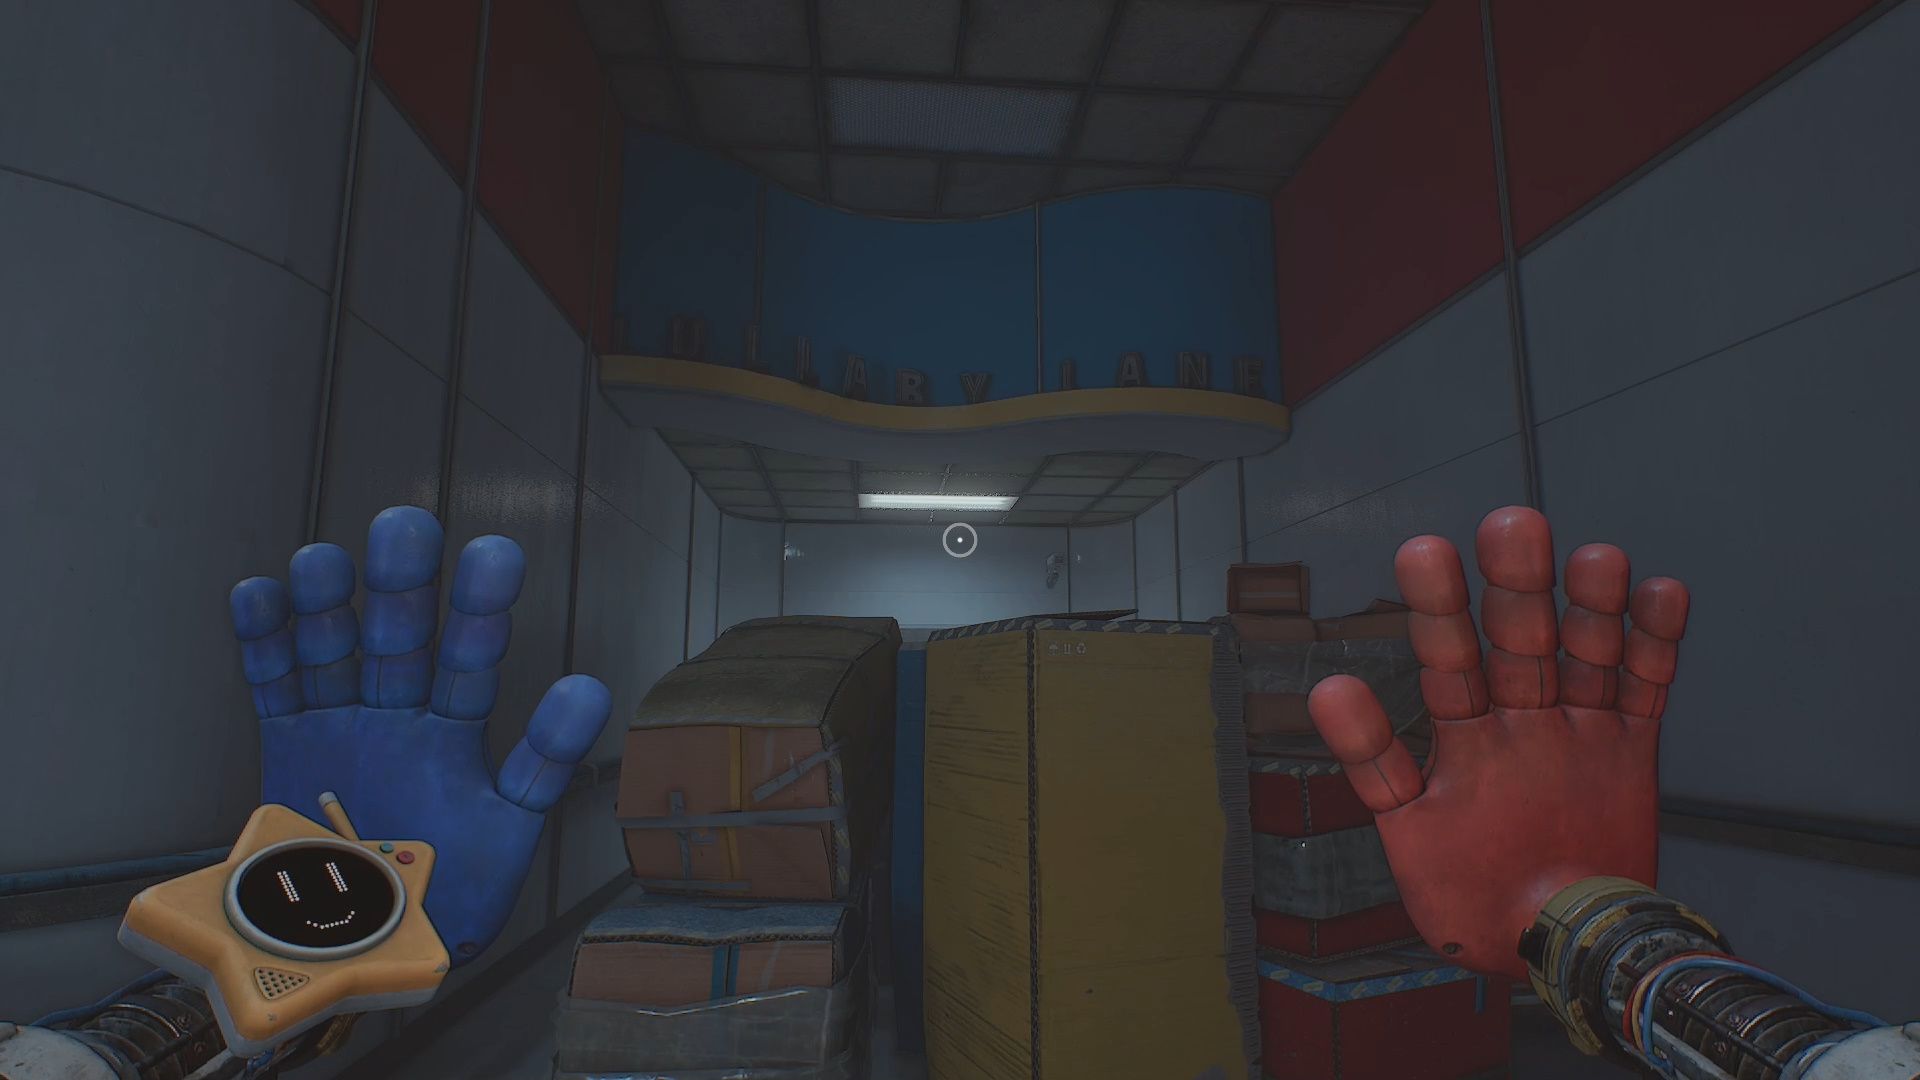
Leave the Memory Room and follow the hallway to the left. You will see a bunch of boxes piled in your way leading to Lullaby Lane.
Squeeze past the boxes then open the Blue Double Doors using your Blue Hand. Go through the doors into the Lullaby Lane area.
Lullaby Lane – Memory 2
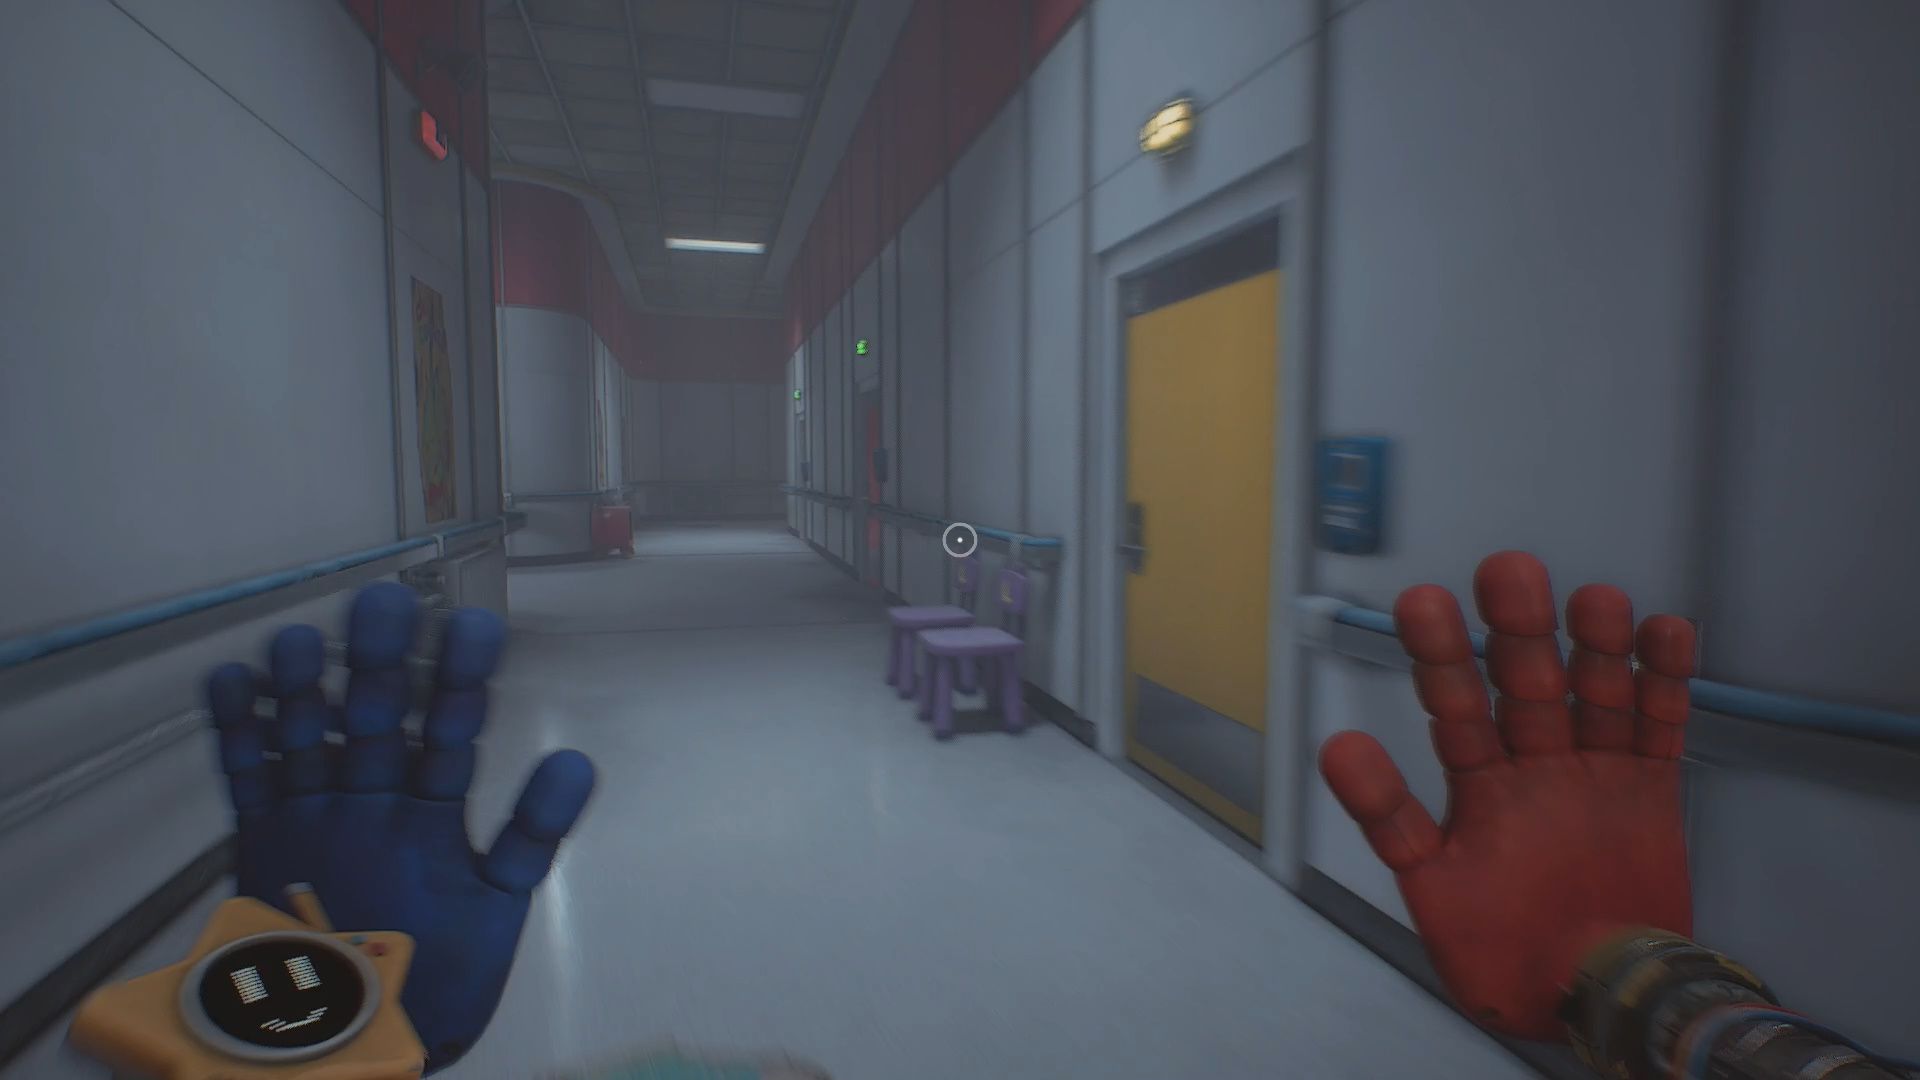
Take your first left. You will see a row of three doors that have green lights over them on your right. Open the Red Door.
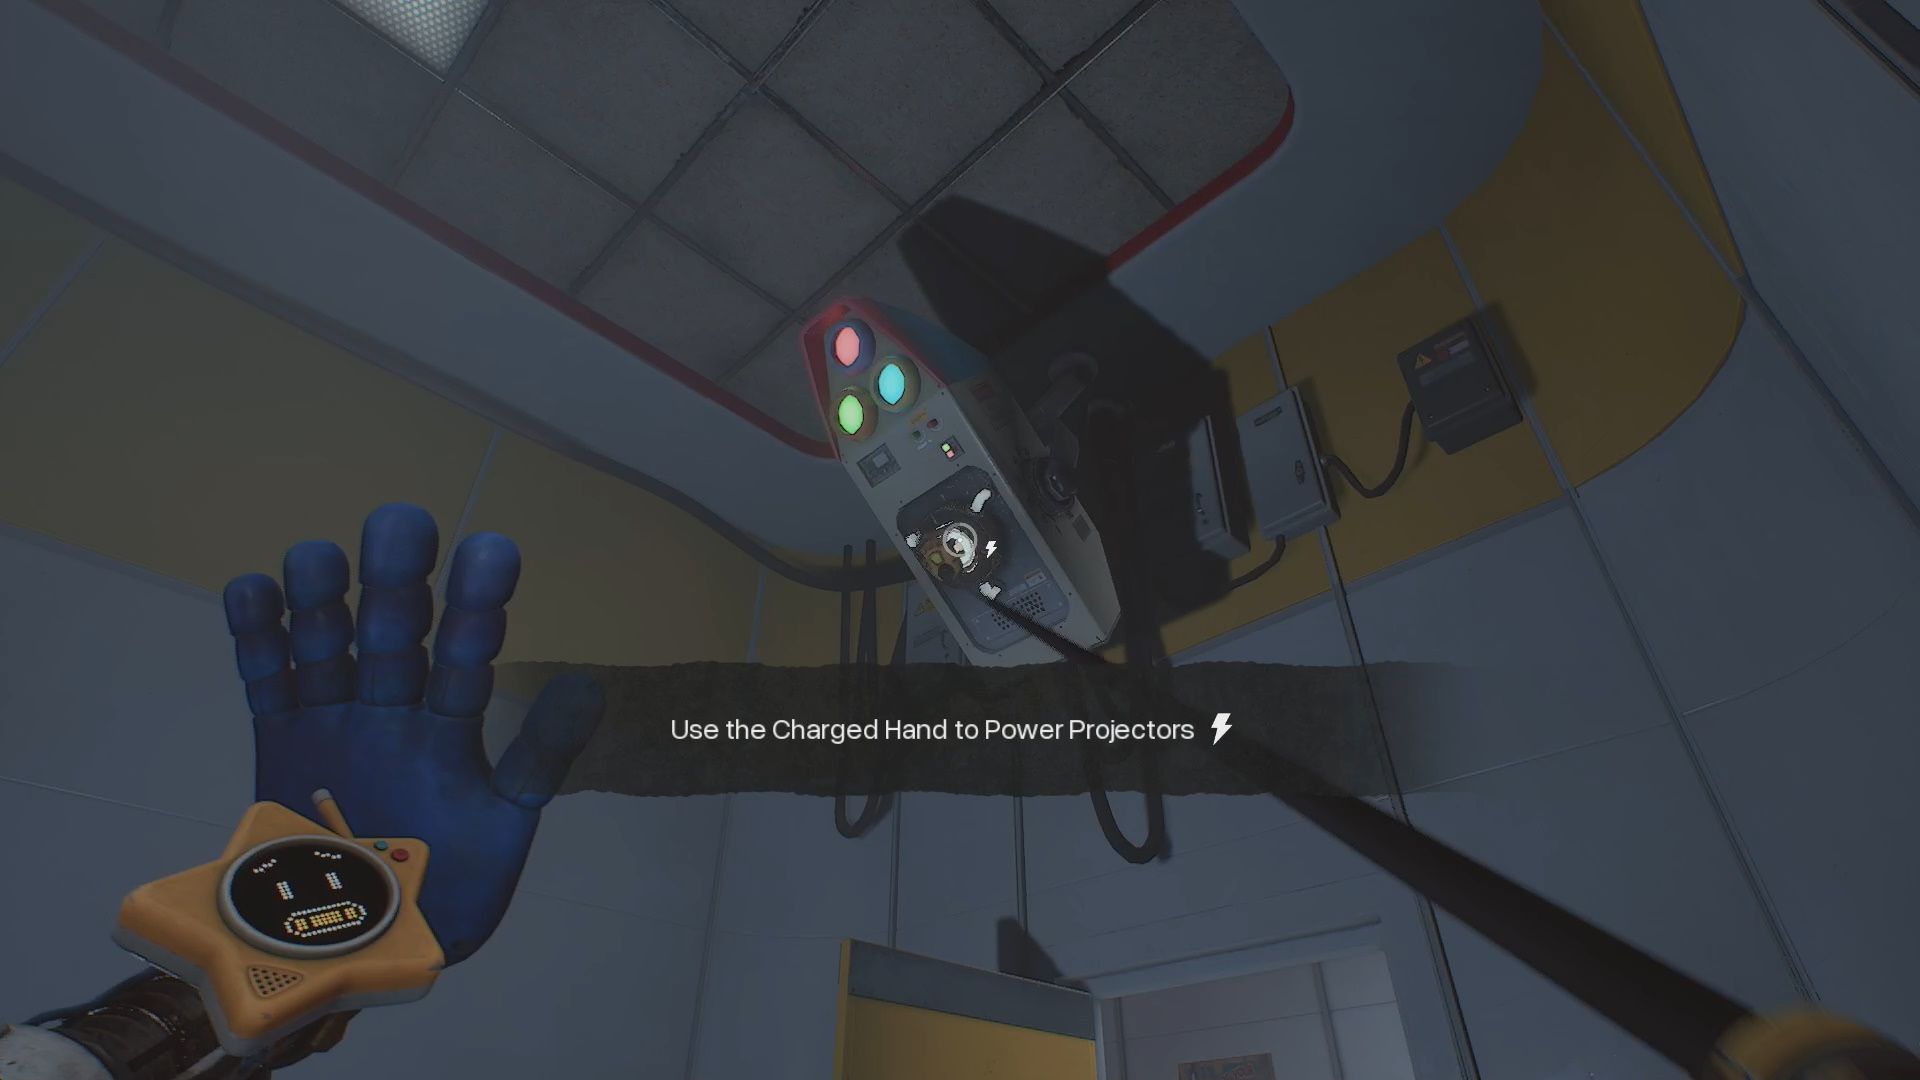
Use your Conductive Hand on the Green Socket to get an electric charge. Enter the Yellow Door room and power up the projector on the ceiling.
Get another Electric charge. Run all the way to the other side of Lullaby Ally. Enter the Blue Door and charge the projector in that room.
Repeat this again but charge up the projector in the Yellow Door room. Doing this powers up the Red Door.
Getting to the Office to Get the Memory
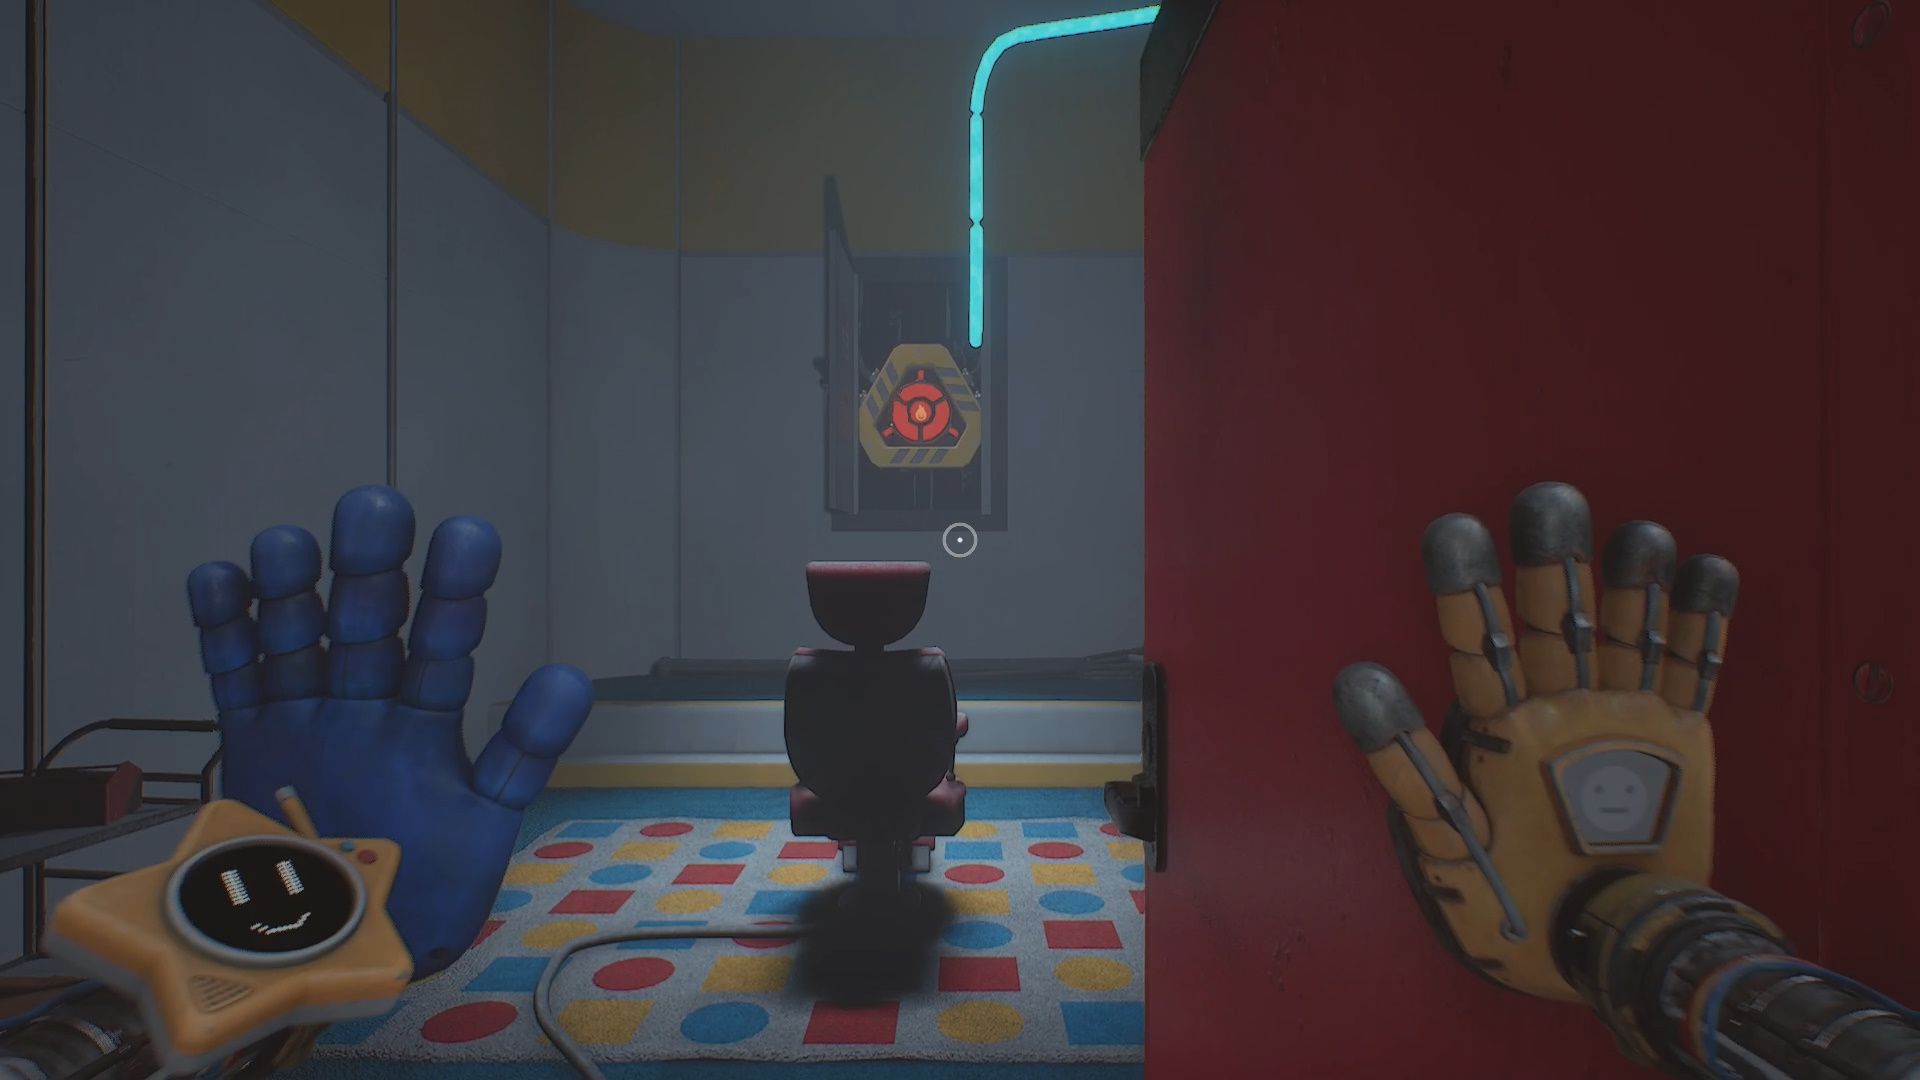
Open the Red Door room. You will find a Red Socket. Get a Heat charge from that socket. Take the Heat charge and go up the stairs. Burn the Lily Lovebraid braid from off the door. Enter the Office. Grab Memory 02 from inside.
Go back to the Memory Room and insert the Memory in machine 2. Use the Machine to enter it.
Optional Collectible
Inside the Office with Memory 2 in Lullaby Lane you will find the Letter to Leith #2 [25/35] note on the floor next to the purse.
Optional Collectibles
There is a door in Lullaby Lane that has a Faces Pad next to it that leads to Conditioning. Push the faces in the following order:
- Happy
- Happy
- Disgust
- Sad
- Fear
- Happy
This opens the door, allowing you to go inside. The Experiment 1170 [1/3] tape is on the ground in the hallway. The VCR is down the hallway in the open conditioning room.
In the Conditioning Room there is a Glitched Hand Sensor [4/8]. In the room look to the left. There is a half closed shutter. Crouch so you can look through the shutter. The sensor is in the corner. Use your Blue Hand on it.
Huggy Wuggy Memory 2
In the second Huggy Wuggy Memory you will gain control inside of a play area. In this play area you need to dance while the music is active and then stand on the Huggy Wuggy light symbol that appears on the ground when the music stops.
As you progress, the other toys you are dancing with will start failing. Ms. Gracie will tell you to get rid of them. Grab them and put them in the Bad Toy Box. Repeat this process. Eventually you will just be picking up toys and placing them in the Bad Toy Box. The memory will then end.
Leave the Memory Room. Head into the large atrium area from the start, Observation.
Observation – Memory 3
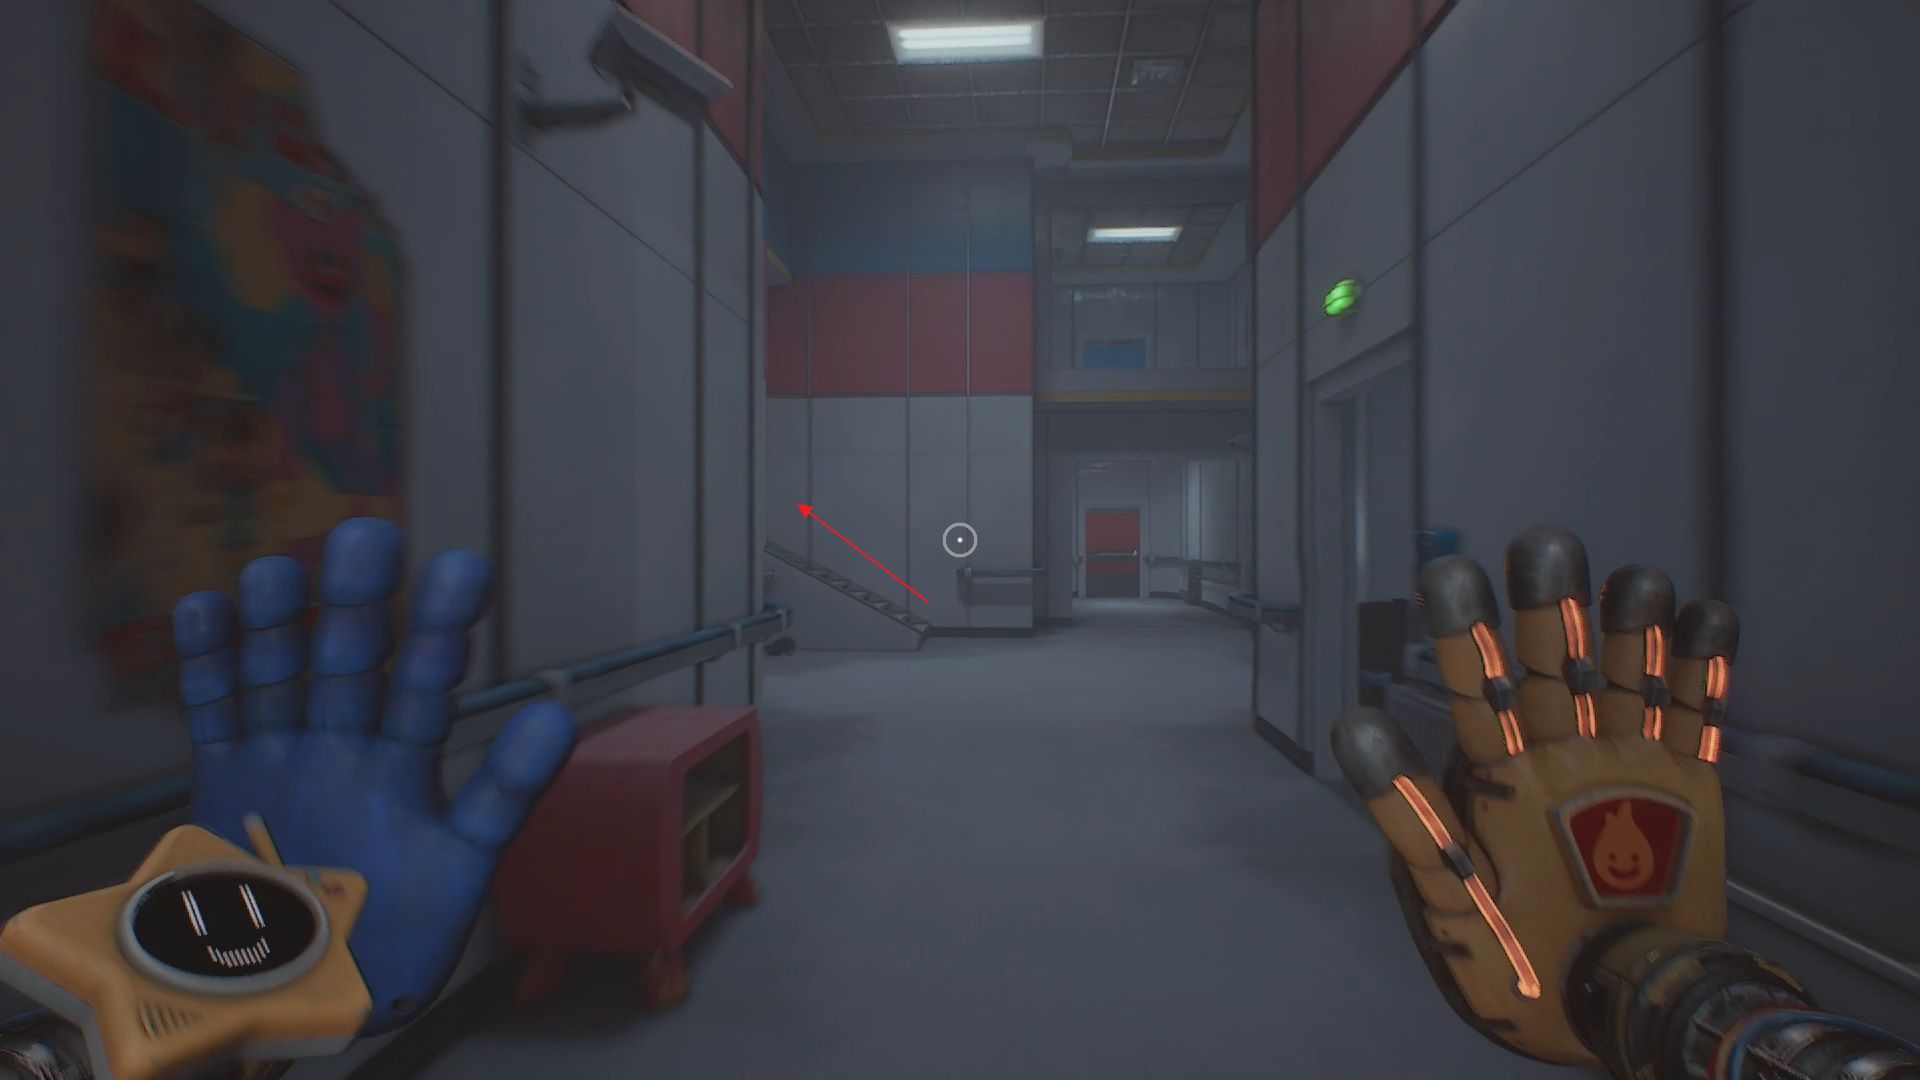
Inside Observation look for a Blue Door that has a Blue Hand Sensor beside it. Open this door and go through it. Head upstairs.
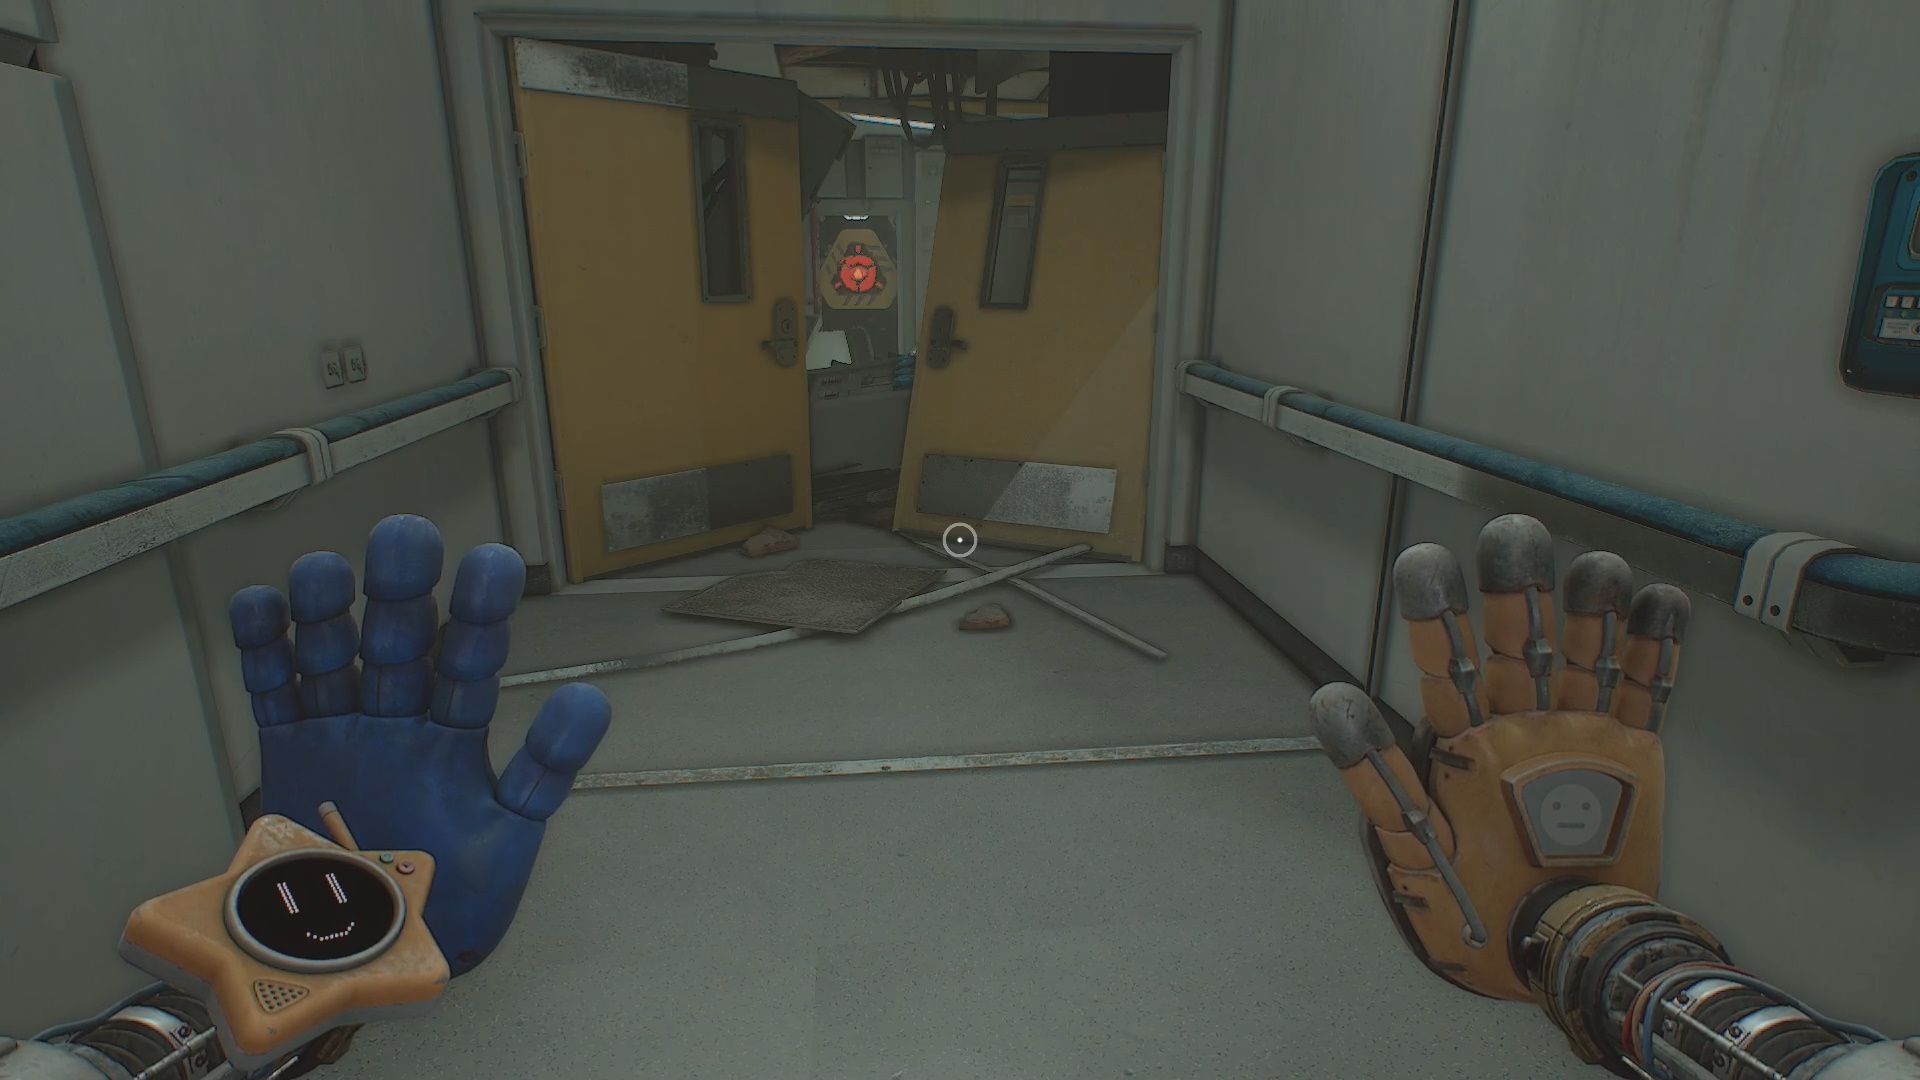
Go left at the top of the stairs and head down the hallway to the very end. Use your GrabPack to open the Red Door you see between the broken Yellow Doors. This will reveal a Red Socket.
Charge your Conductive Hand with Heat. Turn and enter the Science Lab. Go over to the Bunson Burner next to the window. Use the Valve to turn it on then use your Conductive Hand to light it on fire. This causes an explosion that cracks the glass.
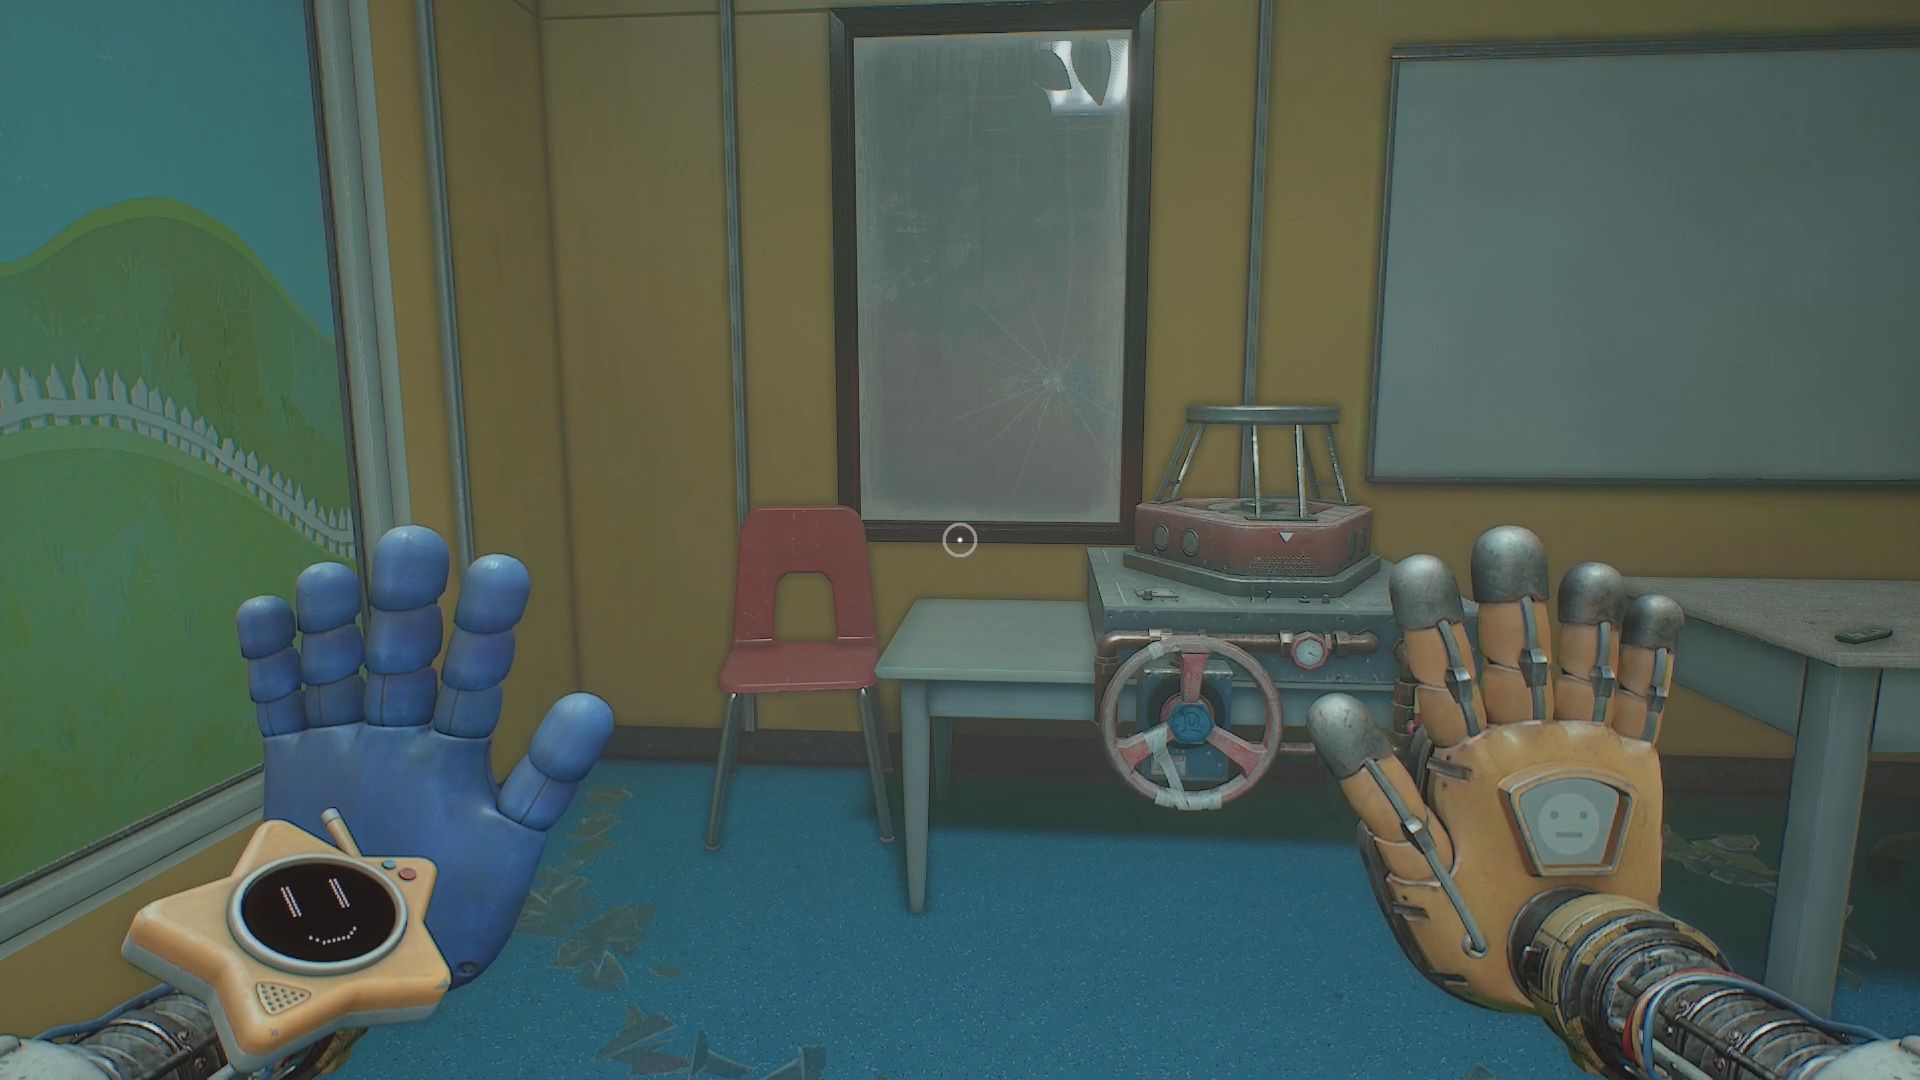
Use your Pressurized Hand on the glass to break it. Doing this causes the Red Smoke to leak into the room. Leave the Science Lab and head back to the hallway.
Red Smoke Leak Puzzle
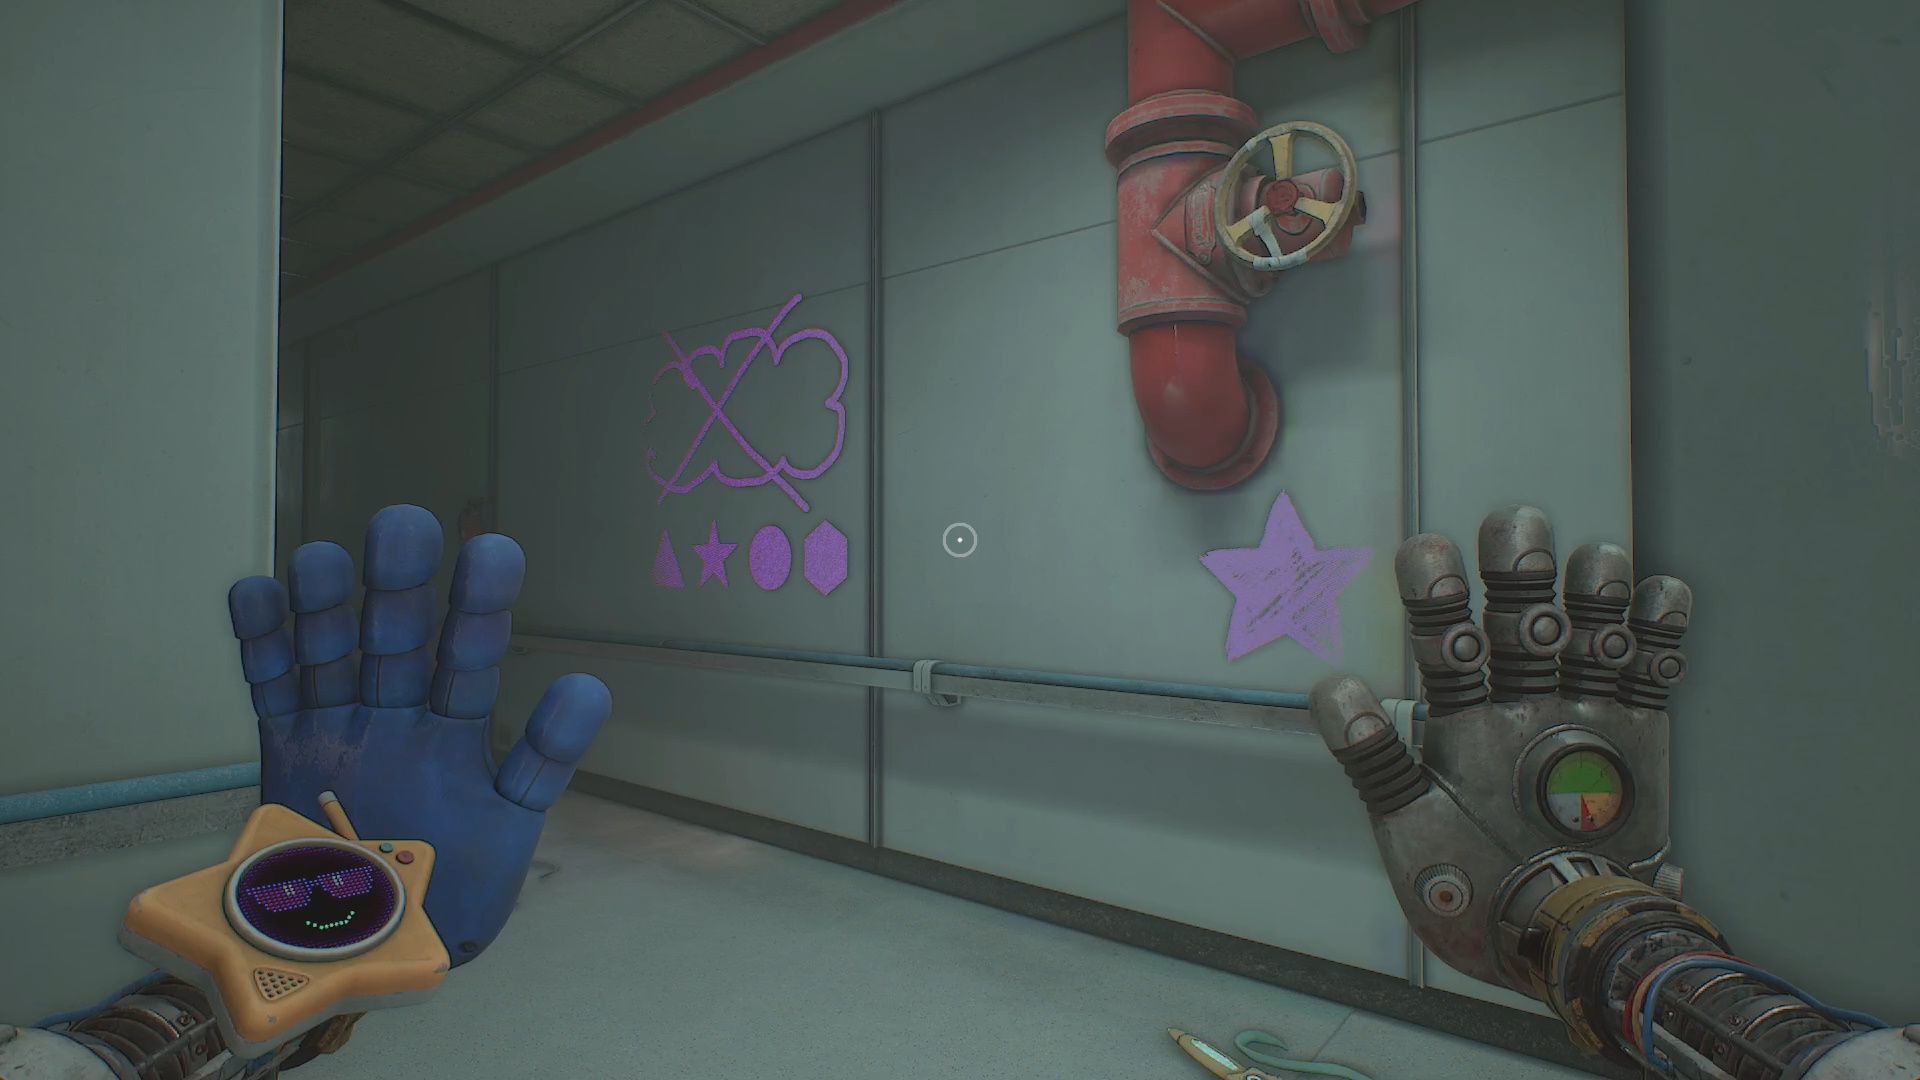
Go down the hallway. Go past the stairs and turn right. You will see a Red Pipe. Turn on your Blacklight. Next to the pipe will be four symbols.
The order is Triangle, Star, Circle, and finally Hexagon.
Optional Collectible
If you turn around from the Red Pipe and follow the walk along the upper pathway to the very end, you will find a collectible. Across the gap next to a cardboard box by the Red Door is the Field Test: Chum Chompkins [6/10] Audio Tape.
Keep your Blacklight on. Follow the Red Pipe you see on the ceiling. Go down the stairs to the bottom. Turn right. You will see a Red Pipe in the corner with a Triangle beside it. Turn the Valve on it to shut it off.
Head back up the stairs to the first Red Pipe. Turn off this pipe using its Valve.
Head down the stairs. Halfway you will find another Red Pipe, turn this one off now.
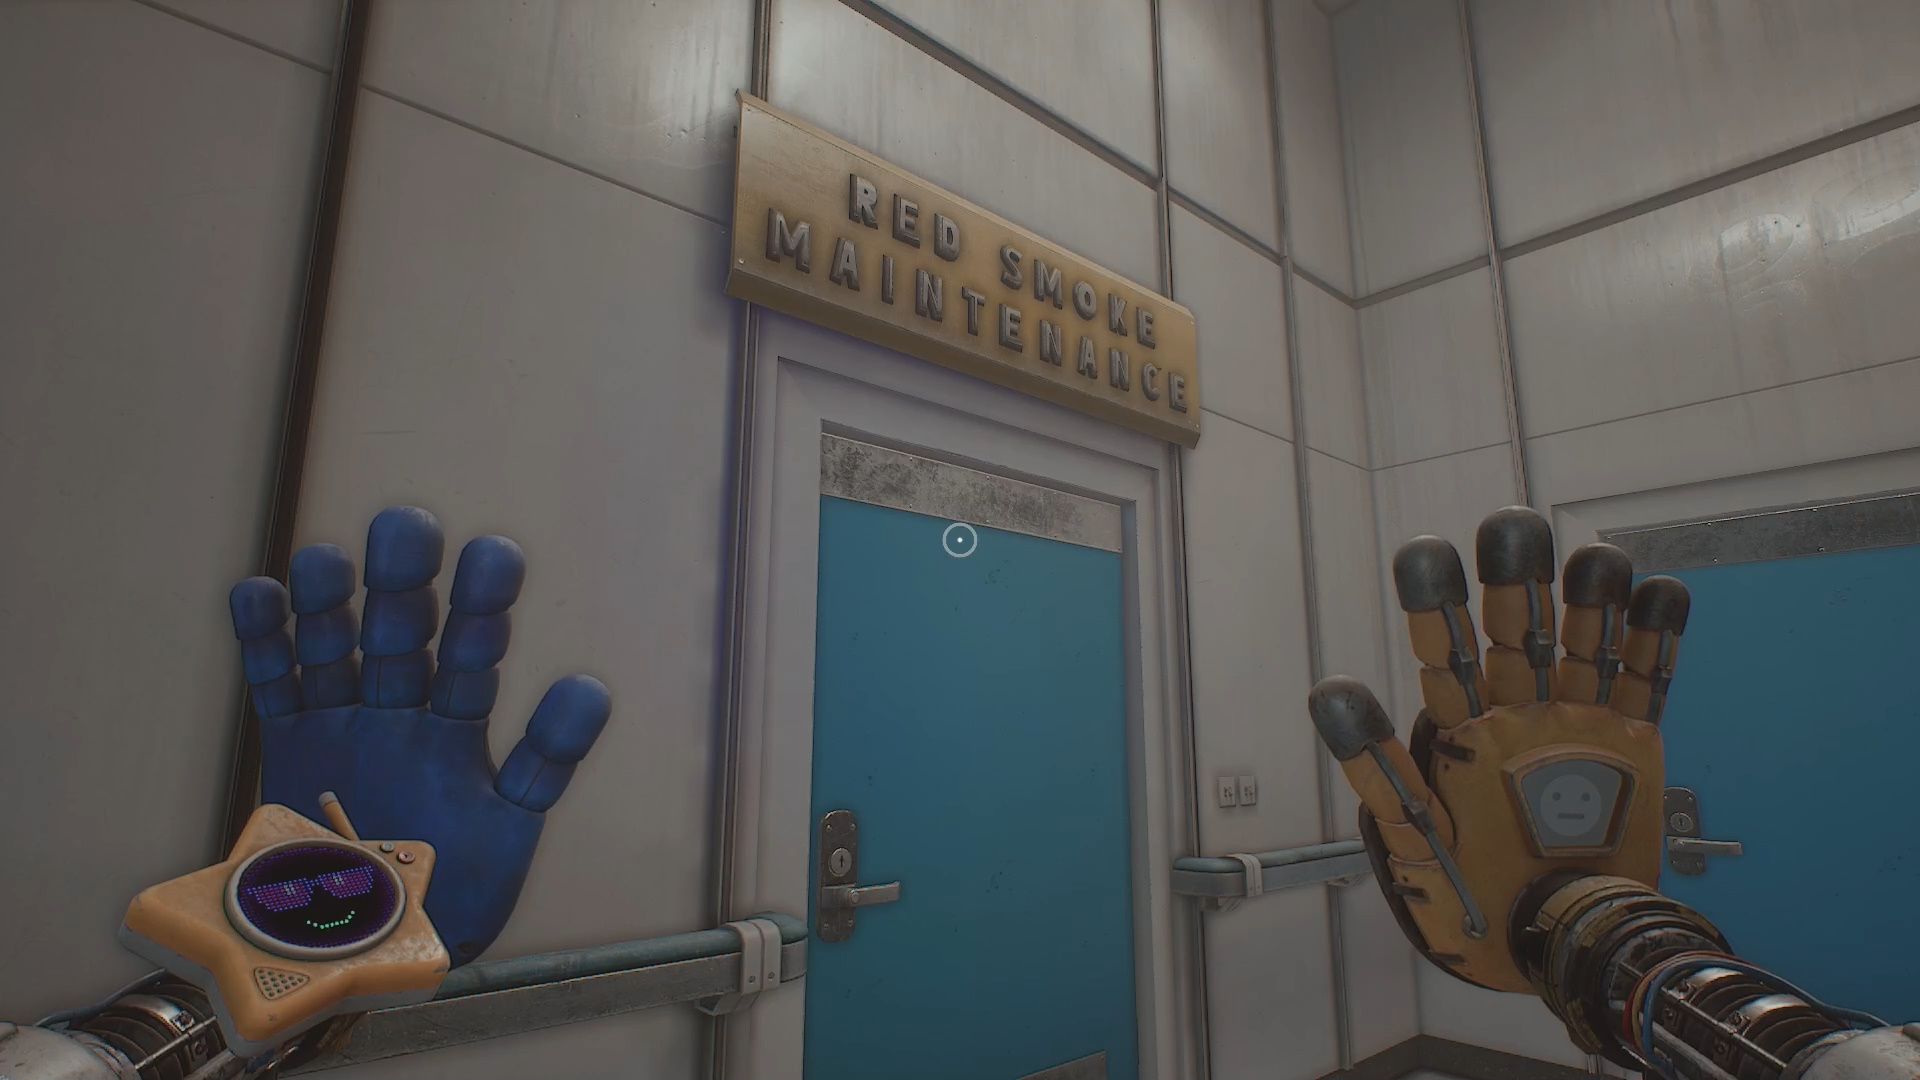
At the bottom of the stairs go left and enter the room marked Red Smoke Maintenance. Close the last Valve in this room and then pull the lever to shut off the gas.
Go back to the Science Lab. Go through the window we broke earlier by the Bunsen Burner. Grab Memory 3 from the floor by the Pirate Ship.
Make your way back to the Memory Room and insert this final memory.
Huggy Wuggy Memory 3
The final Huggy Wuggy memory takes you to Conditioning. There is a short cutscene at the start and then you take control. Wait until you can move around then destroy the following by hitting or pulling it:
- TV
- Vent above TV
- Plugs at base of TV (pull them out)
- Plug to the right of the TV
After you’ve destroyed everything listed, grab the Blue Handles on either side of the TV and pull. This will break you free.
Walk over to the observation glass with the man standing behind it and hit it. This causes the shutter to close. Hit the next window he runs to.
Pull up the red shutter that drops. Keep hitting the glass until it shatters. Hit the guy to trigger a chase sequence. At the end of the sequence you will wake up.
Memory Room Code

Leave the Memory Machine and look at its display. You will see a Door Code on it. Note the code (it is randomized). Use that code to open the Red Door in the Memory Room.
Go through the door to trigger a loading screen. You will now enter a new section of the game called Extreme Aggression Under Stress. See our Extreme Aggression Under Stress guide to complete it.
For more help with Poppy Playtime head over to our Poppy Playtime guides hub for guides, codes, and other resources.
Thoughts on our Poppy Playtime Chapter 5 Test guide? Drop them in the comments below.


Poppy playtime chapter 5 download free real game
Poppy playtime chapter 5
Ni puedo jugar 😔
Sad 🙁