Poppy Playtime Chapter 5 Guide – Recycling & Reclamation
After you complete the Harvest Processing Center 04 you will arrive in Recycling & Reclamation. This is the first section where you are free to explore as you make your way through the area. This section features new toys called the Outimals. To help you complete this section see our Poppy Playtime Chapter 5 Recycling & Reclamation guide below.
Recycling & Reclamation Collectibles List
- Giblet
- Wrongside Outimal Branding Note
- Work Procedures – Recycling & Reclamation
- Outimal Note
- Wrongside Outimal Plushie – Bindle Boogie
- Sisters
How to Complete Recycling & Reclamation
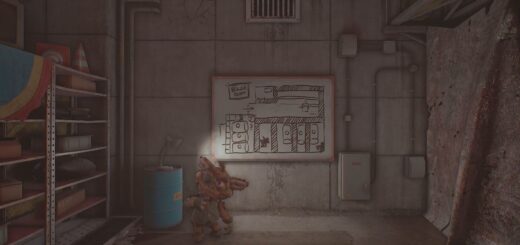
Cardboard Cutout [1/7] – Giblet: Just outside the elevator, you’ll find the first cutout of the game. Interact with it to hear a unique voice line for this new character.
From the elevator head through the Grey Door to enter the main Recycling & Reclamation area. You will notice a Red “Exit” Door nearby—this is currently locked, but you will be returning here later to use it.
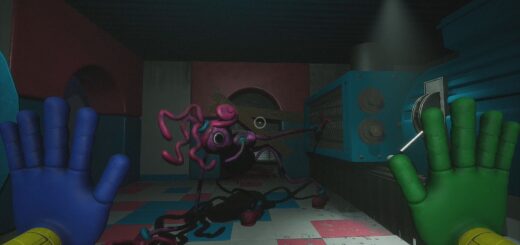
In this section you will be using sources of Light to scare away Outimals and light the path forward. Keep this in mind as you are playing.
Room 1
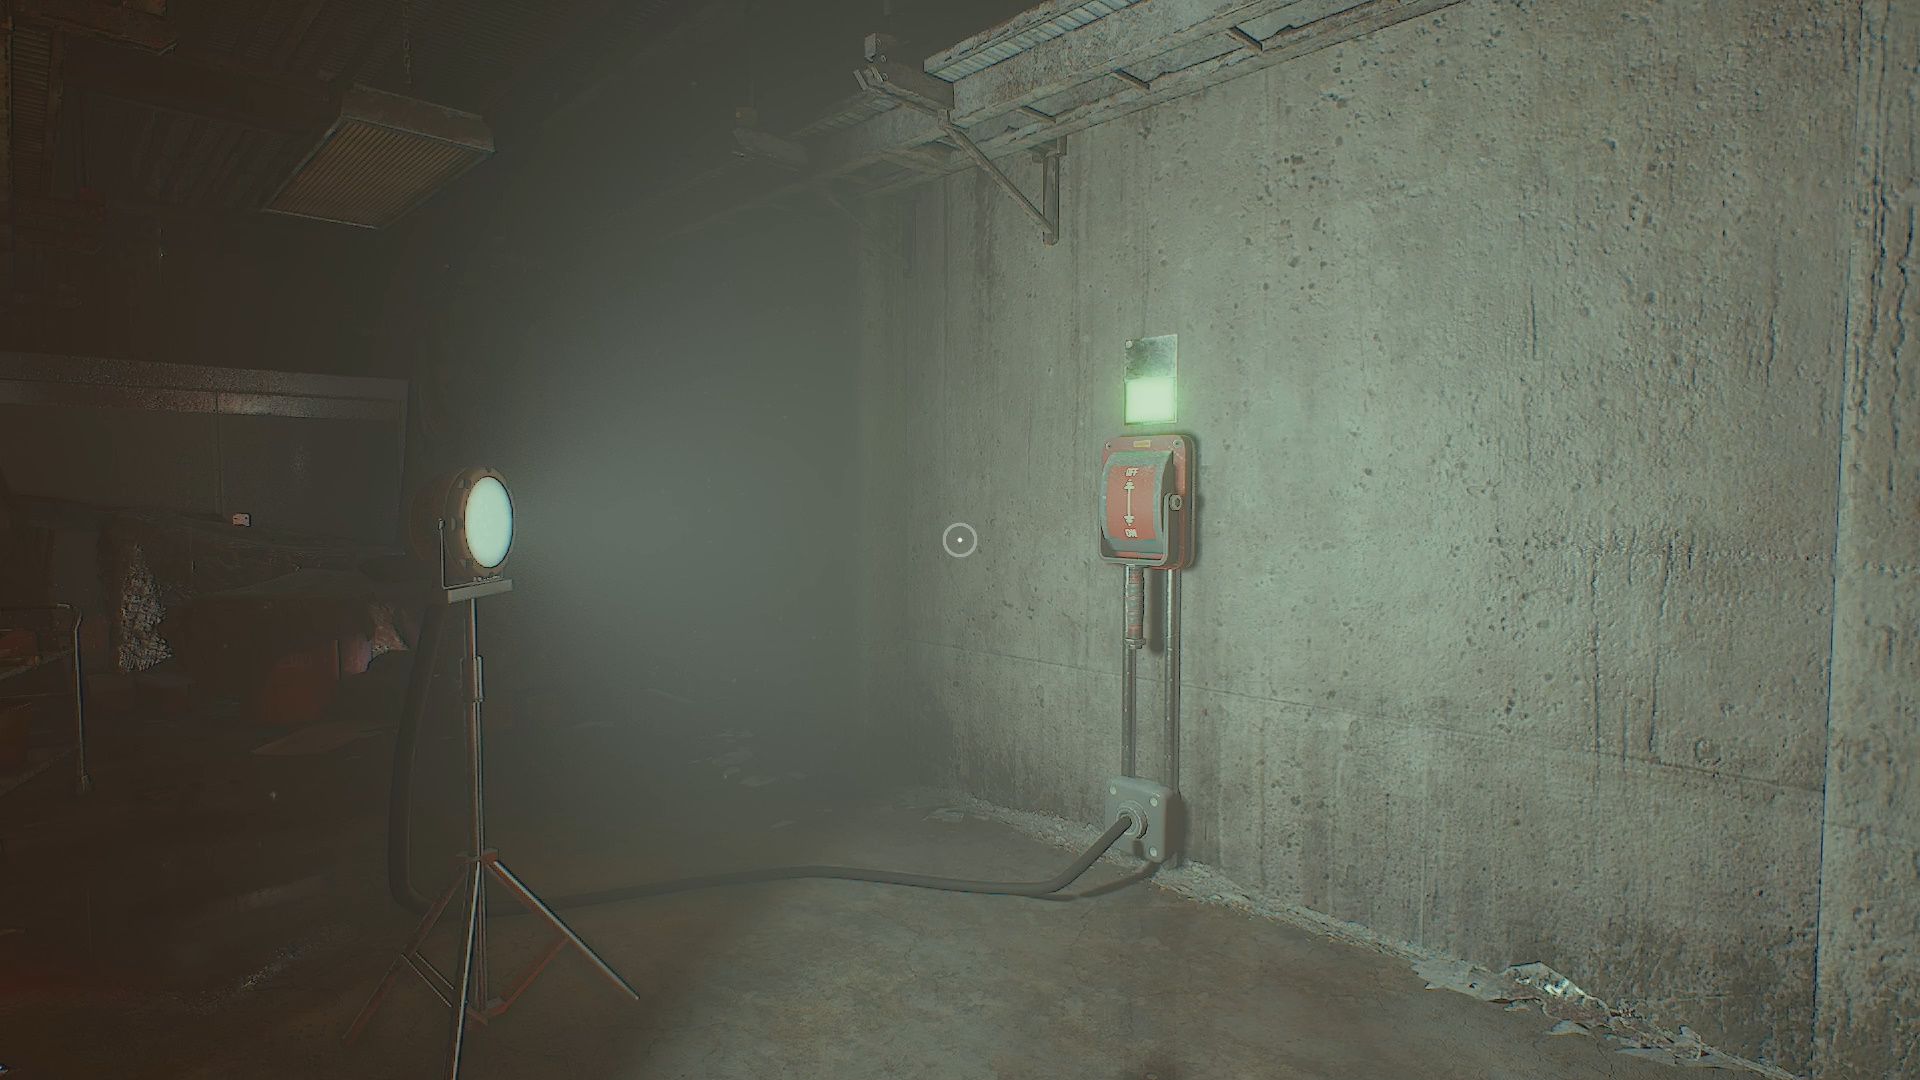
You will enter a long hallway with a number of makeshift forts. Follow the path through the forts until you make it to the end where there is a light with a red lever attached to it. Pull the lever to turn on the light.
Once the light is on, head back to the beginning of the hallway. You will see a newly opened set of Grey Doors an Outimal will run through. Go through it to the next room.
Room 2
Walk forward into this room. You will see a red lever on the wall in front of you. Go over to it and turn it on. This will turn on a nearby light, giving you access to the control room through the Grey Door.
Control Room 1
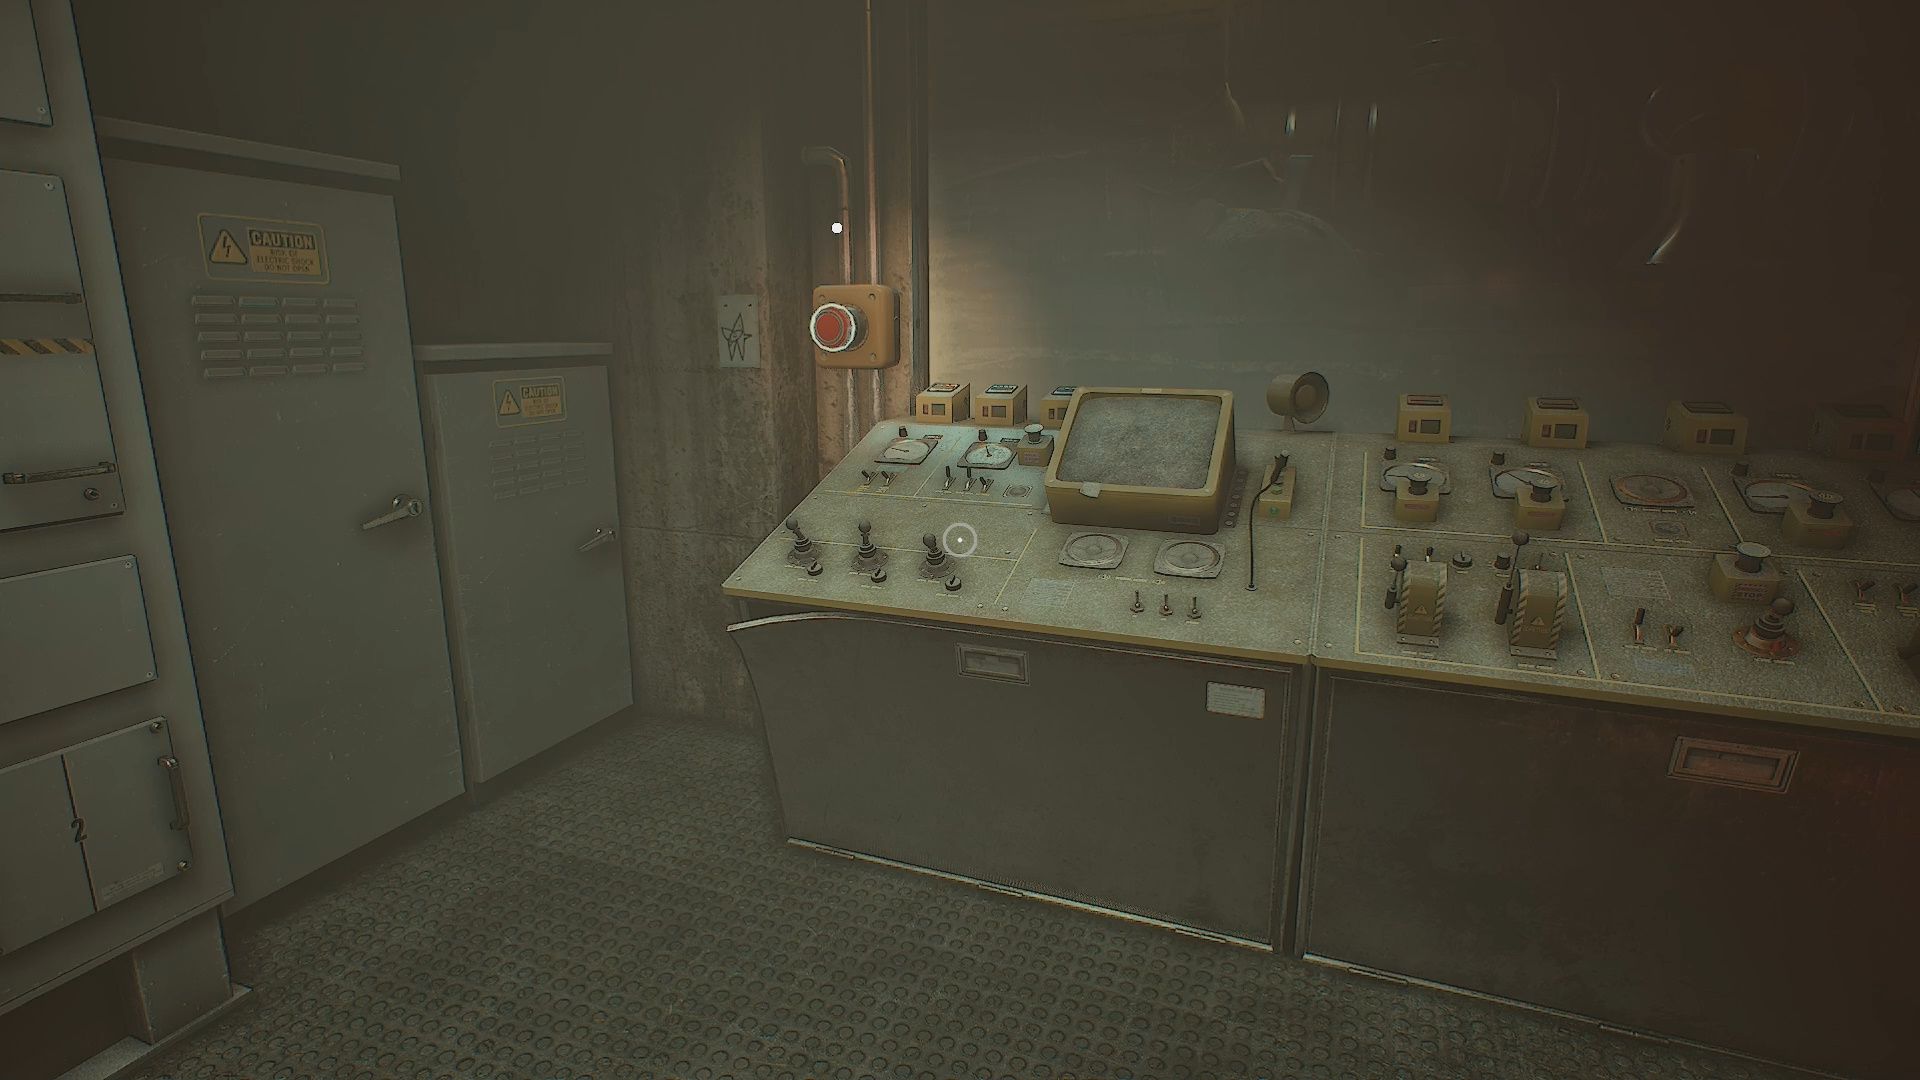
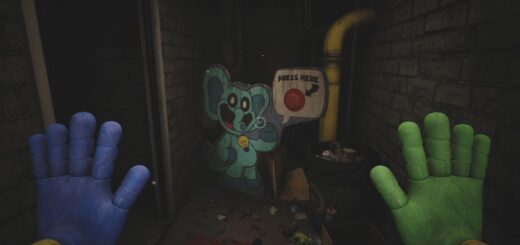
Inside Control Room 1 you will see a Red Button on the wall next to some consoles. Push the Red Button. This button opens a new door in room 2, just outside the Control Room. Go through this door into the next room.
Room 3
Make your way forward in this room. You will see a light and Red Lever in front of you. Walk up to it and activate it to shine the light. Go through the hole in the wall to your left into the next room.
Room 4
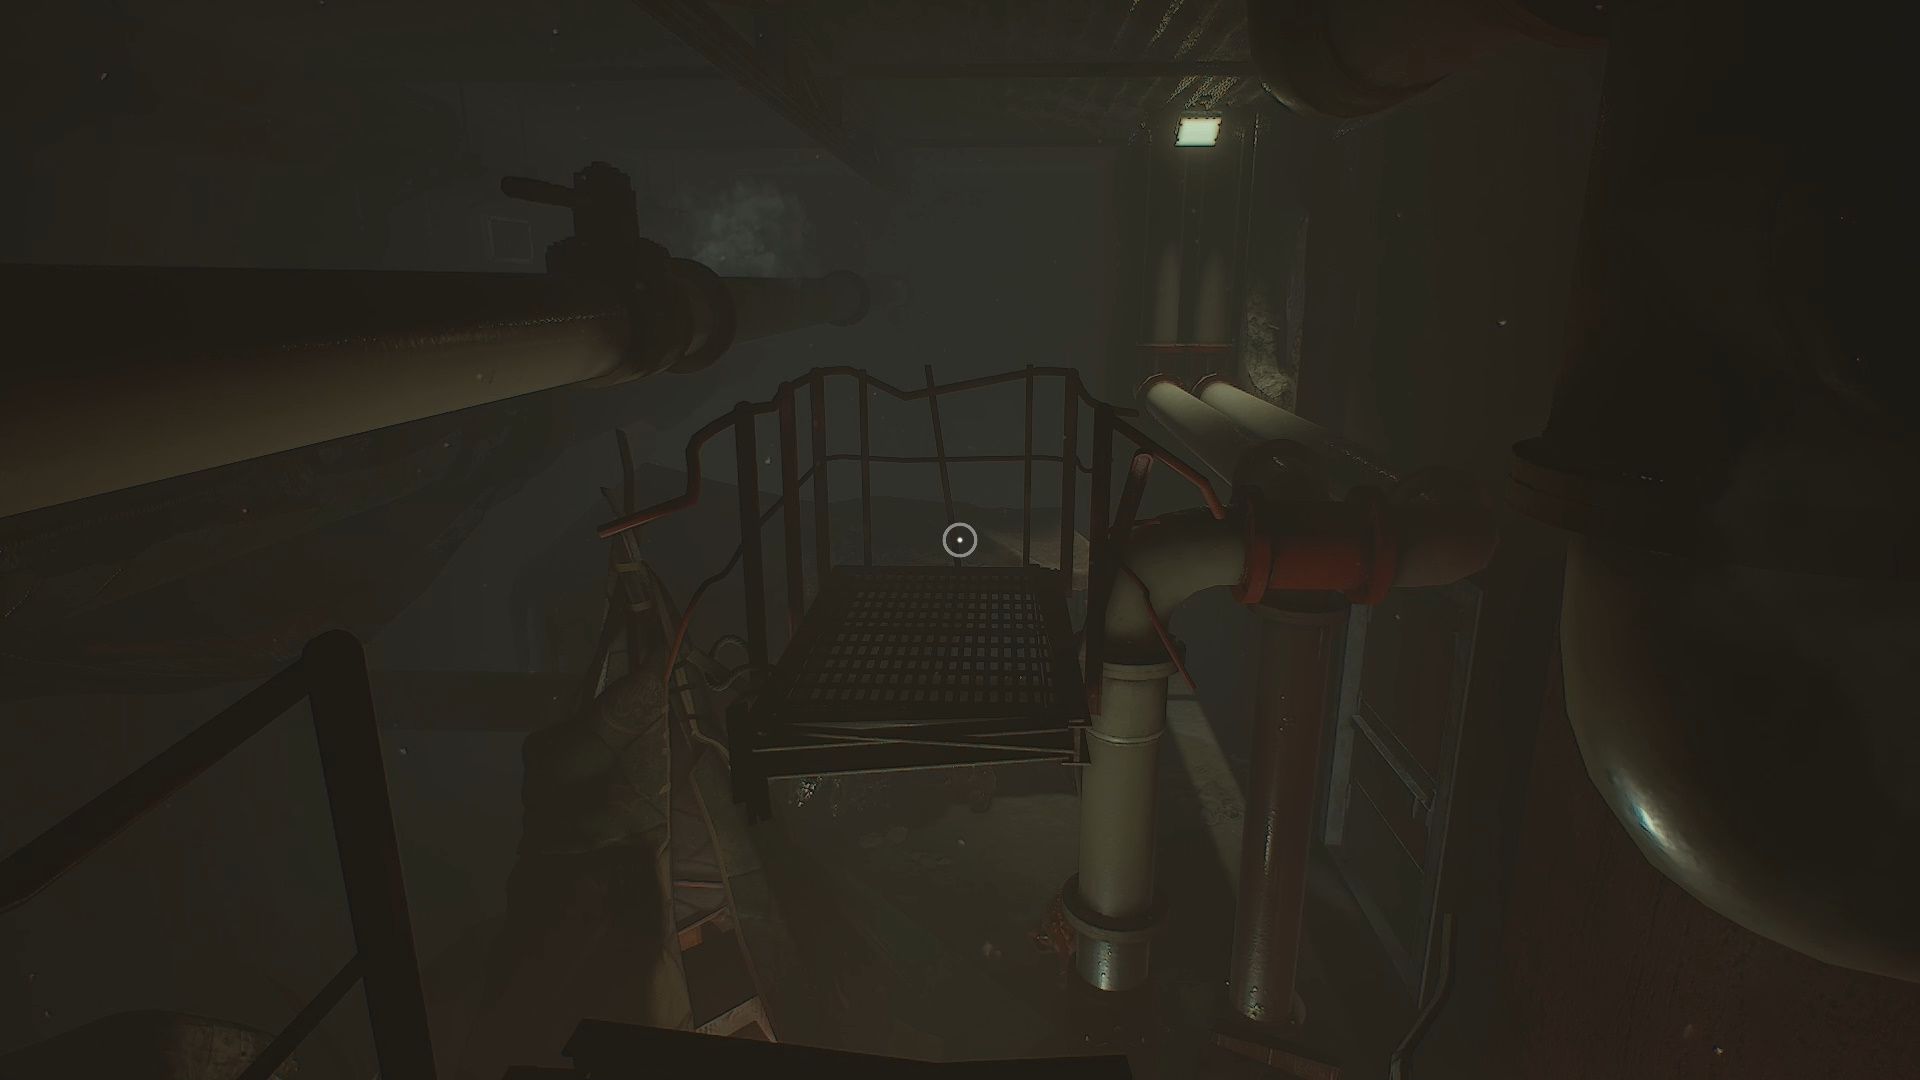
Inside room 4 make your way along the catwalk going up. Crouch under the pipes then jump across the gap to reach the other side.
On the other side turn right and get onto the white/red pipes. Walk along them to reach the hole in the wall. Go through the hole in the wall to reach a new room.
Room 5
Walk down this hallway to the Grey Door at the end. Go through the door into the next room.
Room 6
Upon entering this room, immediately turn and close the door. Behind the door you will find the Wrongside Outimal Branding Note [1/35].
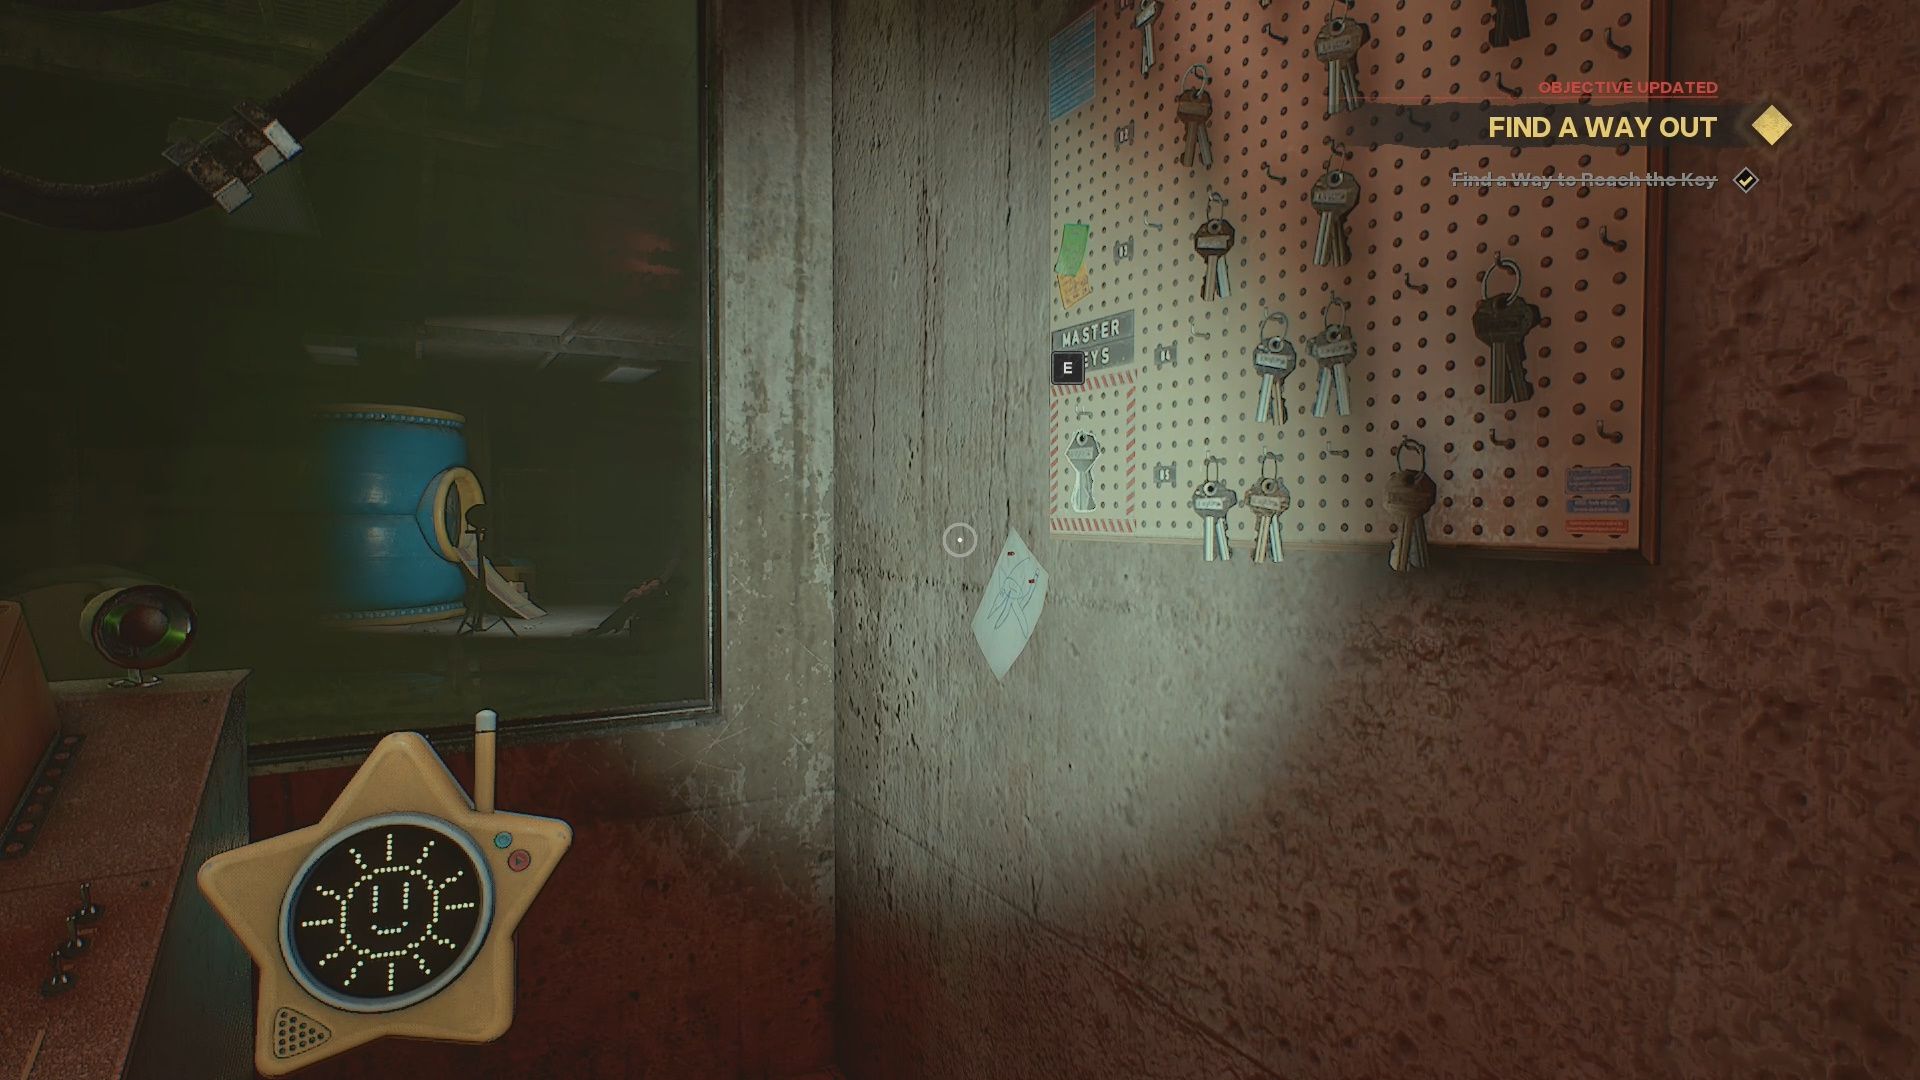
Make your way through this room to the Red Lever in the corner. Turn it on. You can look into the Control Room here to see a pair of Master Keys. We need to get those to leave this place.
Turn right and walk forward until you see the ramp shown in the screenshot above. Walk up the ramp into the next room.
Room 7
In the next room you will see the Red Lever and light on the wall opposite where you entered. Make your way over to it and turn it on. The nearby Grey Door will become accessible. Go through it.
Room 8
The Red Lever is on the wall opposite where we enter. Turn it on. This will illuminate a nearby Grey Door. Go through it into the next room.
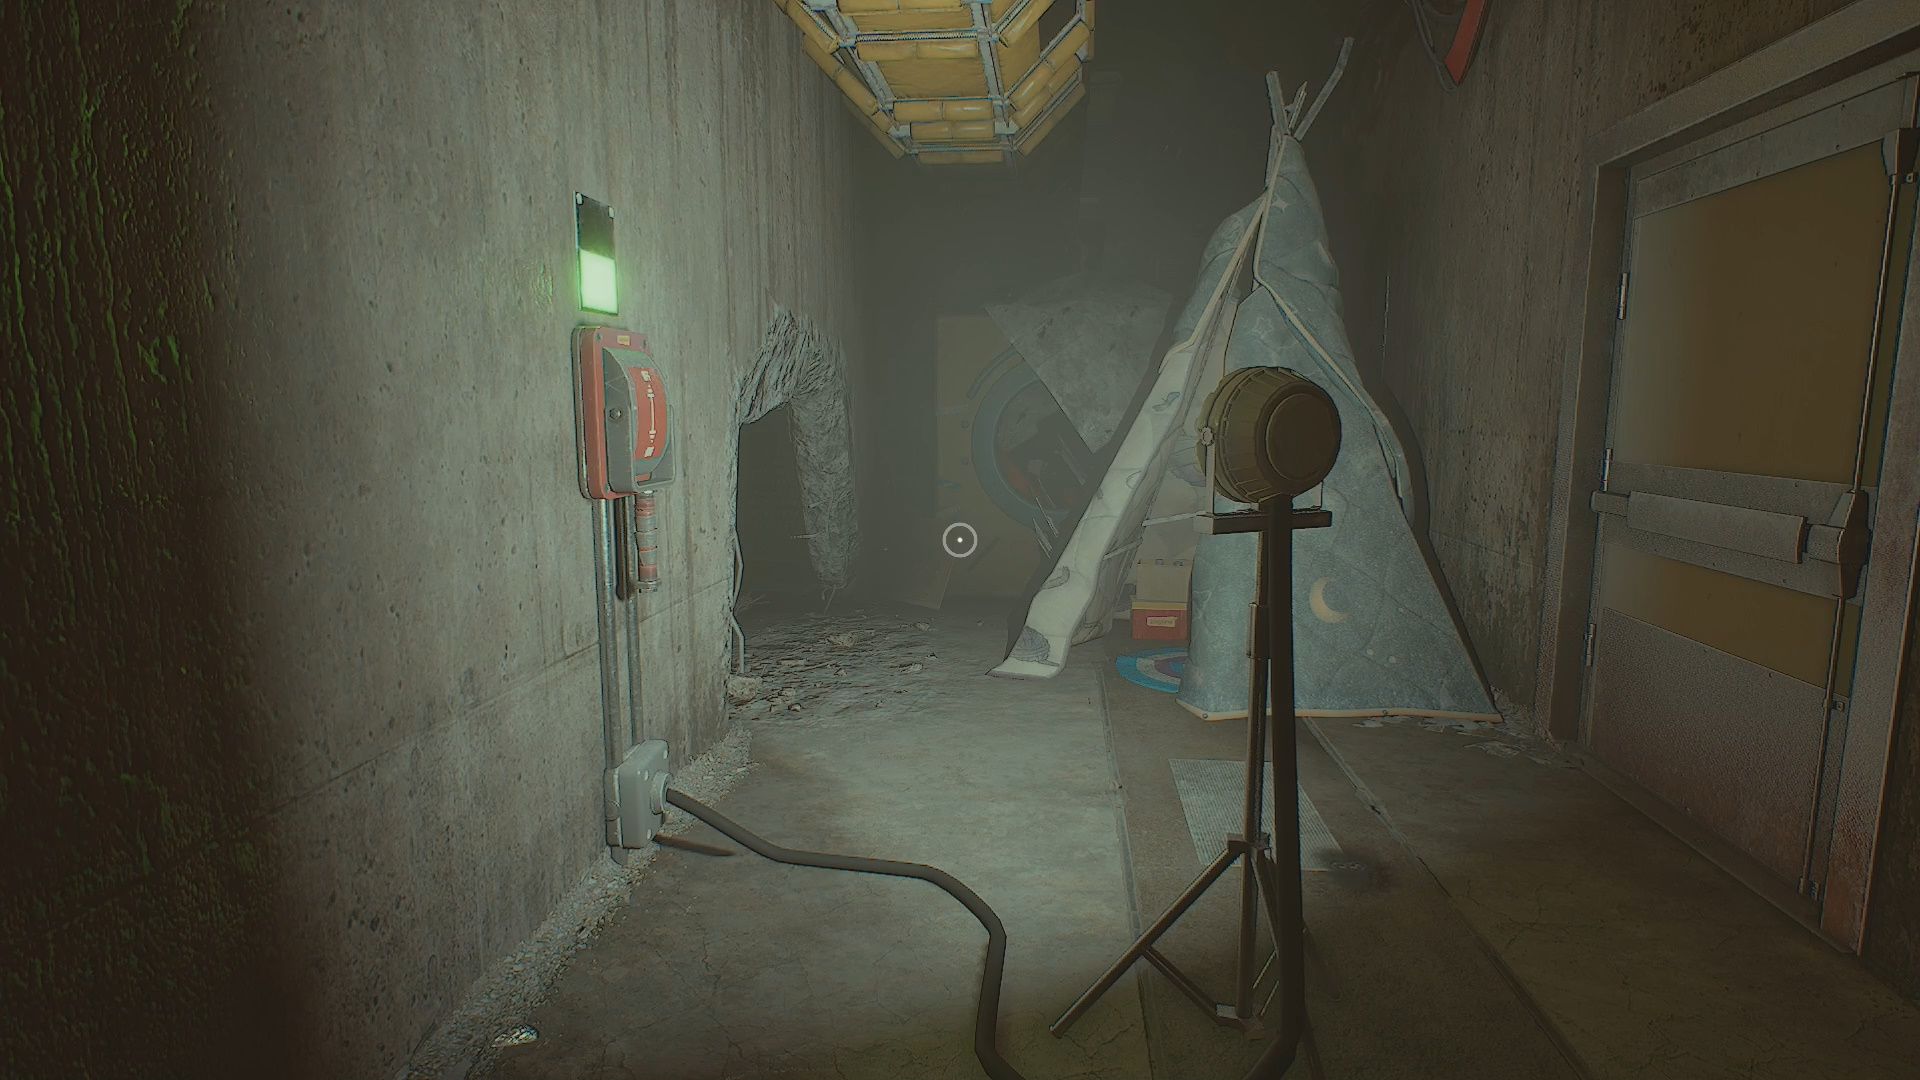
Room 9
Walk forward into this L shaped room. You will see a door in front of you and a nearby light. Turn left at the light. Follow the cord from the light to the Red Lever on the wall. Flip the lever on. Go to the illuminated Grey Door and go through it.
Room 10
Inside this room make your way along the path using the ramp up onto the conveyor. Walk forward. At the end of the conveyor turn right and walk along the wall. You will find the Red Lever on the wall. Pull it and continue forward to the illuminated Grey Door and go through it.
Room 11
Immediately upon entering this room turn left and look along the wall. You will see the Red Lever. Pull it to turn on the light by the Double Grey Doors. Go through these doors.
Getting the Glowby
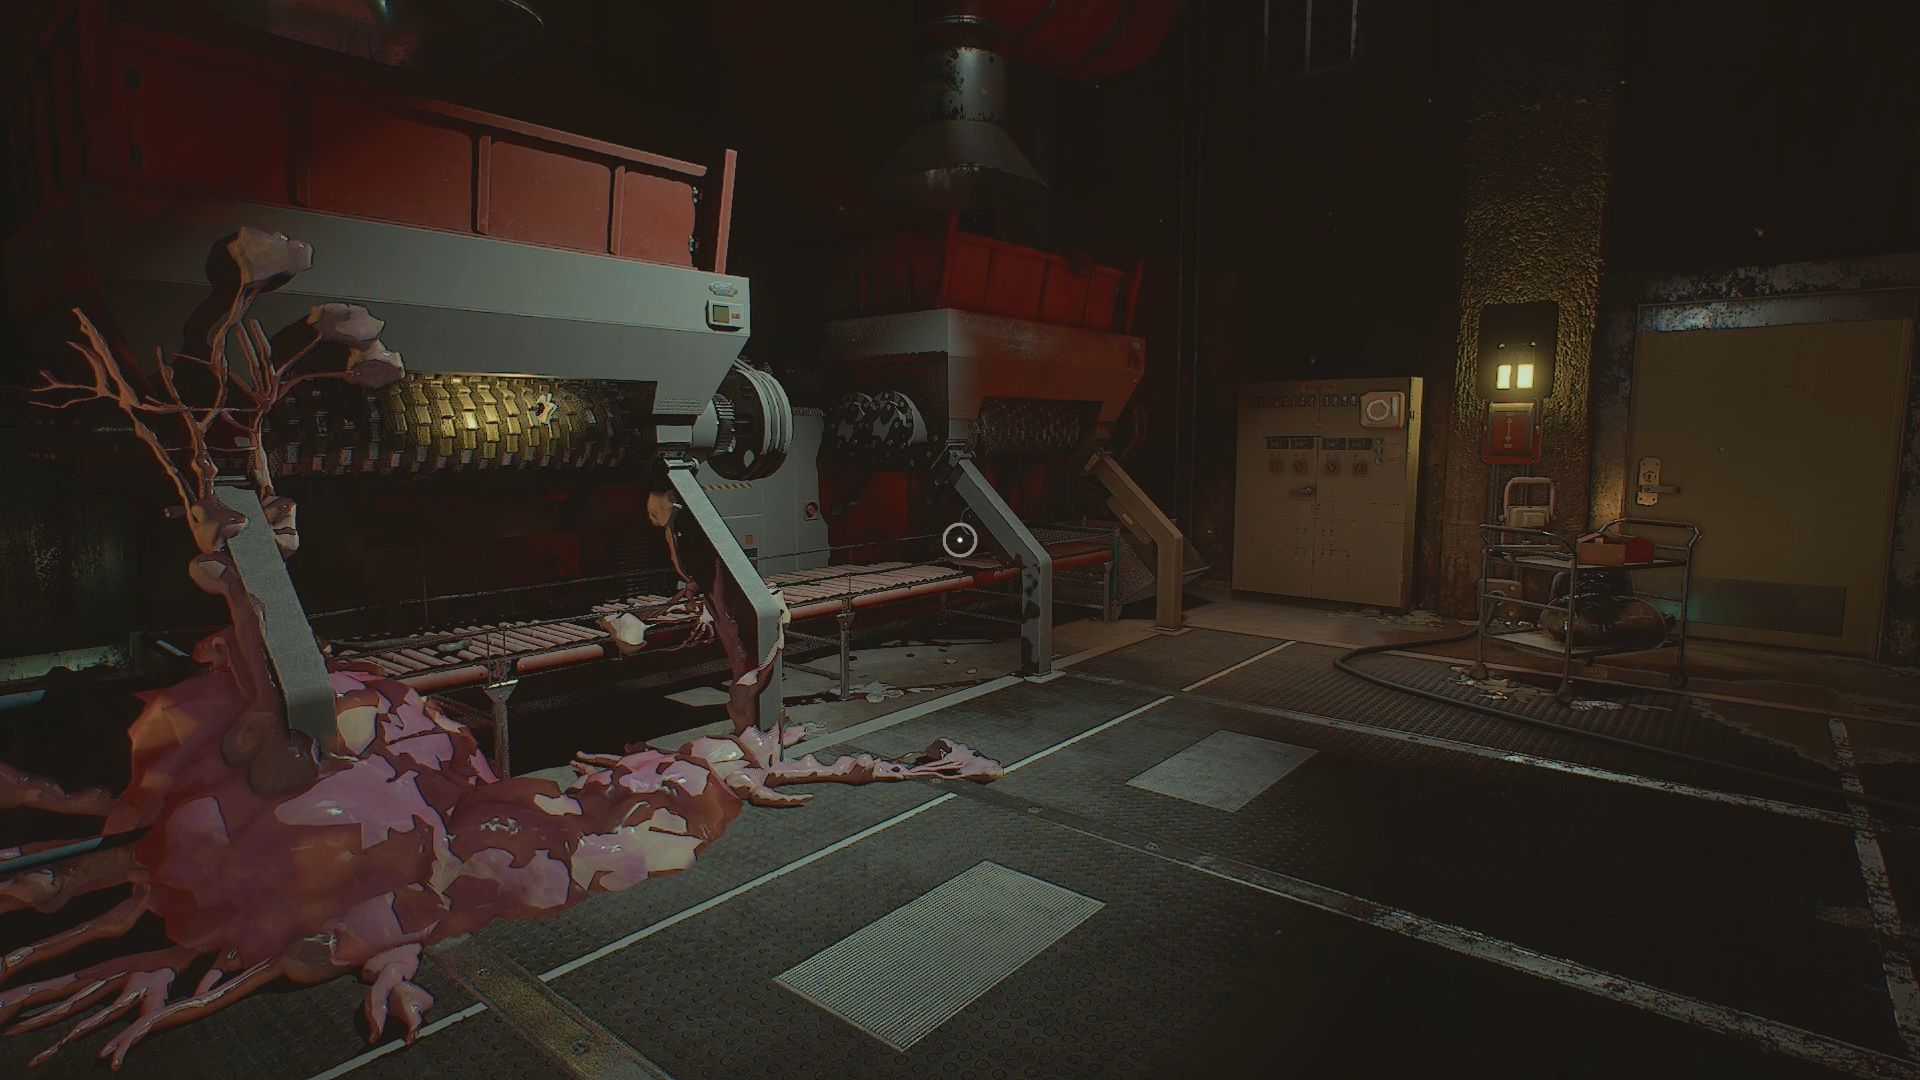
Inside this room you will see a Grinder with a Glowby toy stuck in it. Walk over to the nearby Red Lever and pull it. This activates the Red Button next to it. Push the Red Button then go back to the Grinder and pick up the Glowby, a portable Flashlight and UV light source.
Upon picking up the Glowby the power will go out. Turn on the Flashlight, and keep it on, then head back out into Room 11.
If you want a Note turn left and go into through the double Grey Doors into Room 12 (optional). Otherwise start heading back to Room 6 by backtracking.
Room 12 (Optional)
You will enter storage room. In this storage room make your way into the back corner. Lying on the ground in the corner you will find Work Procedures – Recycling & Reclamation [2/35].
Room 10 (Optional)
As you backtrack you will be prompted to use your UV light. Turn it on and follow the arrow forward. You will reach some boxes with an Outimal inside. Sitting between the boxes is the first collectible Wrongside Outimal Plushie – Bindle Boogie [1/19].
Room 6 (Optional)
There are two collectibles in Room 6 (the room looking into the Control Room with the keys) we can snag. These collectibles are:
- Outimal Note [3/35] – Located in the Washroom which is accessible by going through the right Grey Door in the middle of the room. Use the flashlight to get inside.
- Sisters Audio Tape [1/10] – In the Mechanical Room to the left of the Outimal guarding the door at the end of the short hallway.
You can grab both if you wish. To continue the main story simply go through the door being guarded by the Outimal at the end of the short hallway.
Room 13
Make your way forward through this room by following the path forward. Sweep the corners with your flashlight as Outimals like to hide there. At the end of the hallway go through the Grey Door on your left.
Room 14 & Control Room 2
If you go up the stairs in Room 14 you will find an Iron Lung which many believe is a Secret reference to YouTuber Markiplier who directed a movie based on the indie game Iron Lung.
In this room you will see an illuminated Grey Door. Go through it to reach the Control Room. Grab the Master Keys that are hanging on the key board. Go back into Room 14.
To continue head through the Grey Door. Now that we have the key we need to make our way back to the Red Exit Door we saw at the beginning of this level.
Rooms 15-18
The next three rooms simply task you with going through the Grey Doors you see. Do this. You will eventually return to the entrance where the Red Door is. Go through the Red Exit Door.
The Morgue
Through the Red Door you will enter a Morgue area. Walk through the Morgue area. You will trigger a cutscene where you are attacked by an Outimal. During this attack you are saved by a new character named Giblet.
Follow Giblet
After the cutscene follow Giblet. He will try and take you to an area he says is “safe.” When you enter the room after the Vent another cutscene will trigger with The Prototype.
Once the coast is clear continue following Giblet. You will go through another Vent and will arrive in the next area of the game called The Boilers. See our The Boilers guide to complete it.
For more help with Poppy Playtime head over to our Poppy Playtime guides hub for guides, codes, and other resources.
Thoughts on our Poppy Playtime Chapter 5 Broken Things Recycling & Reclamation guide? Drop them in the comments below.