How to Set Flashy Passes in NBA 2K20

NBA 2K20 allows you to customize a number of different options for your MyPLAYER including how they look and play on the court. One option you can change is how you pass. If you don’t want to throw just any old boring chest pass or bounce pass in NBA 2K20 this post is for you. Here’s how to set flashy passes in NBA 2K20.
Access The MyPLAYER Animations Menu
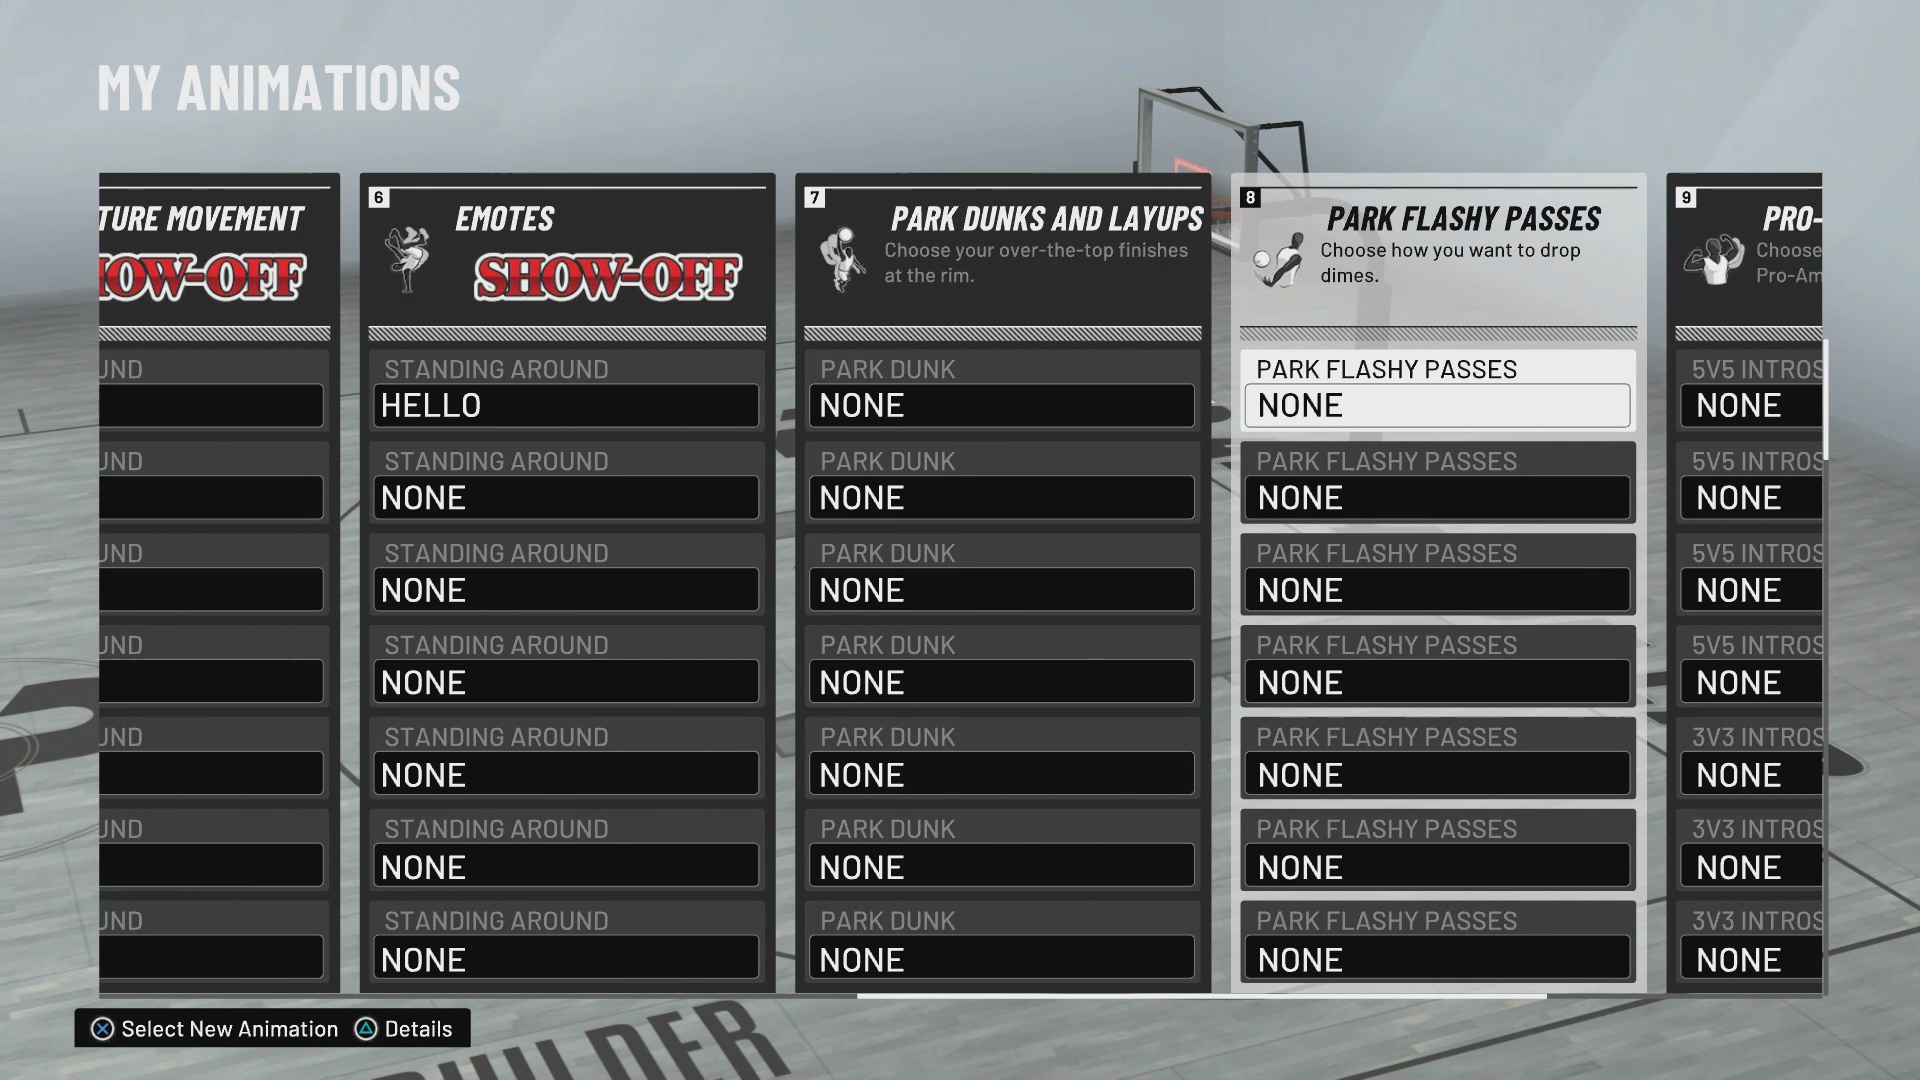
To access your animations you need to first access the MyPLAYER Appearance tab from the options screen. From here select the My Animations menu from the navigation screen. Select this option to be taken to a new screen with a slew of animation options you can change.
Set Your Flashy Passes on the My Animations Screen
Note: You start out with no flashy passes equipped. To apply access some flashy passes you will need to purchase them from the Animation Store. The Animation Store is located in the tab to the right of the My Animation tab on the MyPLAYER screen.
The Animation screen features a number of different options you can select to change on your MyPLAYER. The option we want to change is called the flashy pass and it can be found to the right. Once on the fashy pass card you can change the passes you have equipped. There are a number of crazy passes to choose from including kicking the ball. Select whichever you passes you want to run with and you will be able to use them in game.

