Hordes Guide: Everything You Need to Know About Hordes in Days Gone
One of the major activities you will undertake in Days Gone is fighting hordes. Hordes are a large collection of Freakers which require a prepared approach to deal with. To help you with Hordes, check out our Hordes guide below. In it you will find everything you need to know about Hordes in Days Gone.
Check out more guides in our Days Gone Wiki & Guides hub.
What are Hordes?

As mentioned above, Hordes are a large collection of Freakers. During the day Hordes will hide in caves and during the night they will leave the caves to feed. In total there are a total of 37 Hordes for players to fight in Days Gone. Defeating all 37 Hordes is part of the Horde Killer storyline. You will find Hordes are scattered throughout each region and the size of the hordes grow bigger as you enter higher level regions in the game.
Other Horde Notes:
- Completing Hordes earns you a bunch of credits and XP.
- Completing the Horde Killer Storyline rewards you with guns.
- Hordes are a good way to unlock the Lend Me Your Ears and One Down trophies.
Where to Find All 37 Hordes?
Note: Near the end of the game, Horde’s locations will be marked on your map.
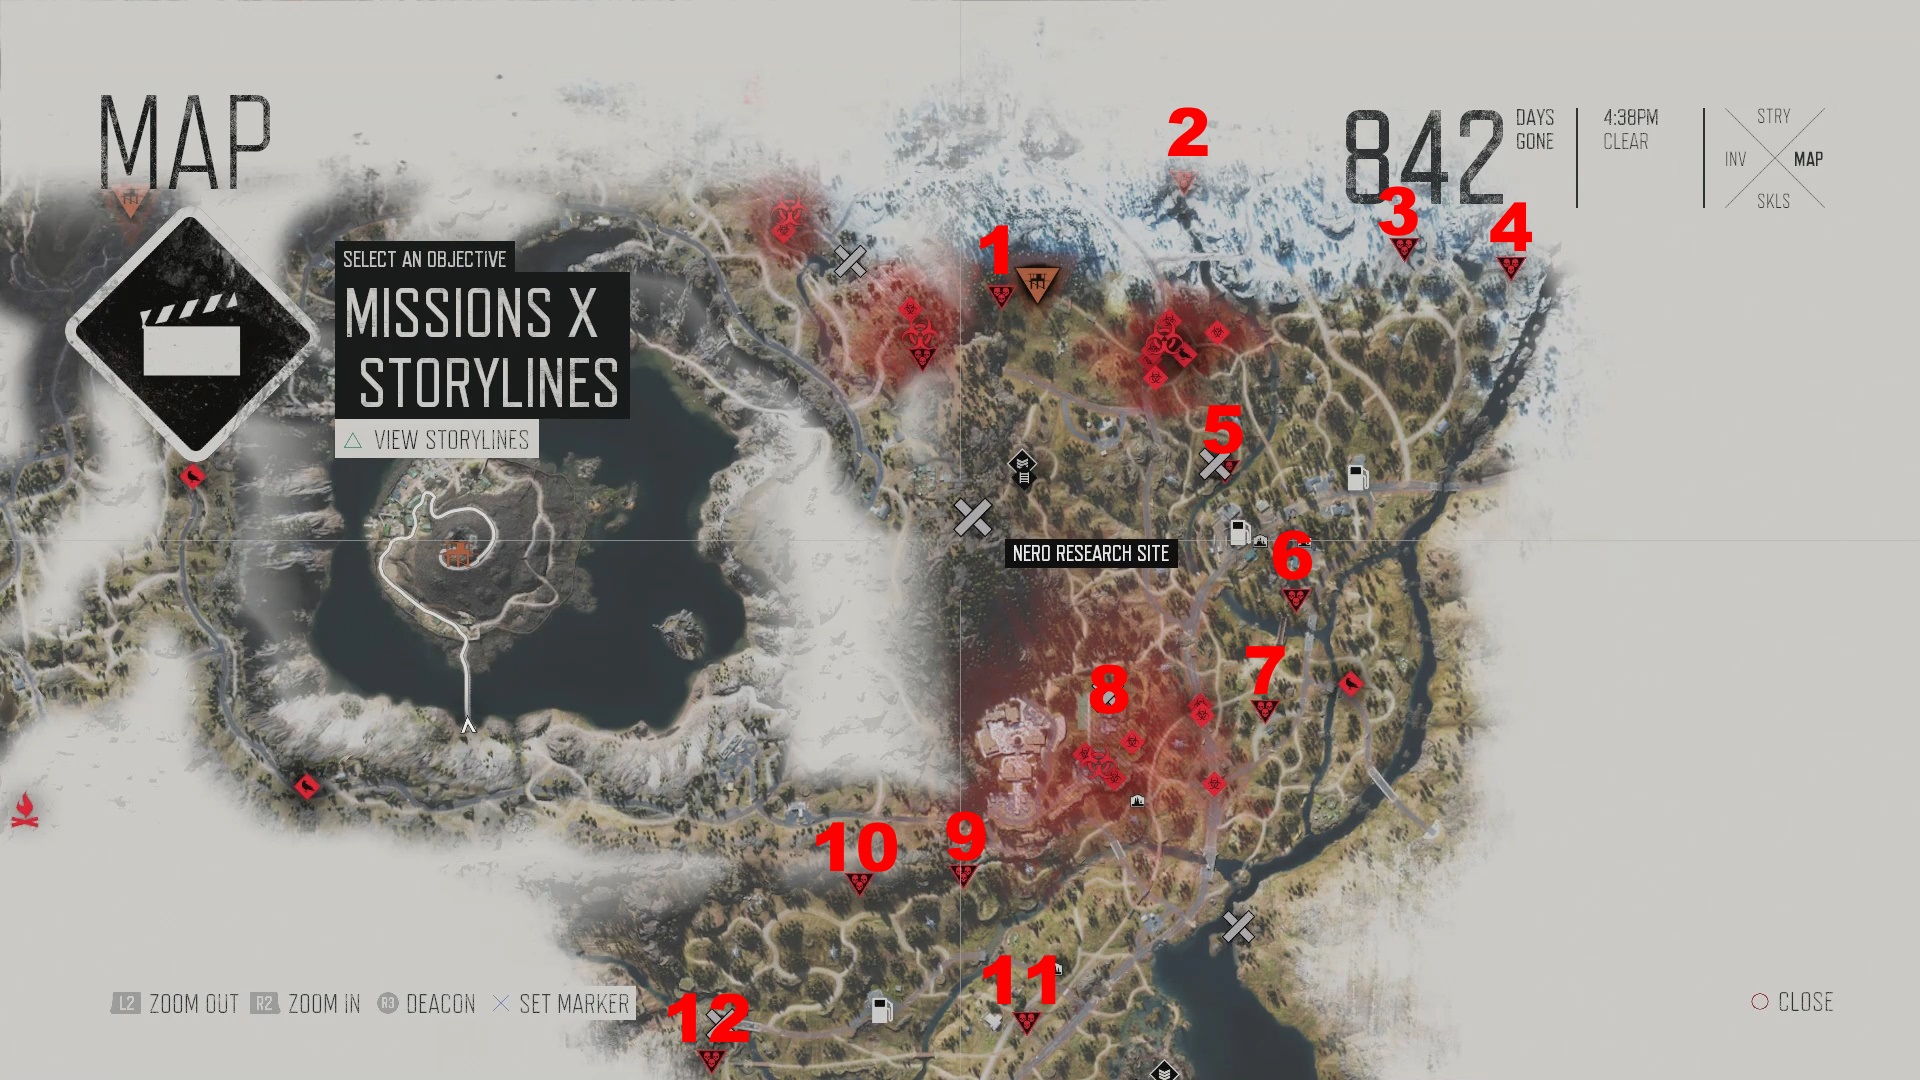
There are 37 Hordes in Days Gone split up over 6 regions. The area with the most Hordes is Highway 97 which is the end game area of Days Gone. Check out the maps below for the locations of each Horde.
Cascade Horde Locations – 8 Hordes

The starting area of Days Gone has a total of 8 Hordes to defeat. These Hordes are the weakest Hordes you will face in the game. The names of the Hordes in Cascade are as follows:
- Grotto Caves Horde.
- White King Mine Horde.
- Horse Lake Horde.
- Death Train Horde.
- O’Leary Mountain Horde.
- Little Bear Lake Horde.
- Cascade Highway Horde.
- Proxy Falls Horde.
Belknap Horde Locations – 7 Hordes

The second region you will go to in Days Gone is the Belknap region which is located to the west of Cascade. In this region there are a total of 7 Hordes to fight. Here’s what each horde is called.
- Shadow Lake Horde.
- Marion Forks Horde.
- Belknap Crater Horde.
- Lava Arch Horde.
- Twin Craters Horde.
- Patjens Lakes Horde.
- Bear Creek Hot Springs Horde.
Lost Lake Horde Location – 6 Hordes

After you leave Belknap you will arrive in the Lost Lake area. In this area you will find a total of 6 hordes to fight. Here’s what each horde in the Lost Lake region is called.
- River Flow Farms Horde.
- Sherman’s Camp Horde.
- Metolius Lava Cave Horde.
- Berley Lake Horde.
- Wapinitia Road Horde.
- Westfir Horde.
Crater Lake Horde Locations – 3 Hordes

When you head to the south, you will arrive in the Crater Lake area. In this region there are a total of 3 hordes you can fight. Here’s what each horde in the Crater Lake is called.
- Rimview Ranch Horde.
- Mcleod Ridge Horde.
- Mt. Bailey Horde.
Highway 97 Horde Locations – 13 Hordes
The final area in Days Gone is called Highway 97. In this area you will find a ton of hordes to fight. In total there are 13 hordes to fight in this area. Here’s what each horde is called in Highway 97.
- Solomon Hill Horde.
- Mt. Scott Ski Resort Horde.
- Sagebrush Point Horde.
- Beasley Lake Horde.
- Cascade Lakes Rail Line Horde.
- Chemult Station Horde.
- Groose Gardens Horde.
- Chemult Community College Horde.
- Rum Rye Gulch Horde.
- Juniper Ridge Horde.
- Friendship Ridge Horde.
- Lobert Draw Ridge Horde.
- Not Pictured: Sawmill Horde (Storyline: I’ll Save Some for You mission).
How to Kill Hordes in Days Gone
Now that we know where to find the hordes in Days Gone it’s time to talk about beating them. To defeat hordes is largely up to a few things like how prepared you are, how strong your character is (Stamina, Health, Focus), and how good your are at the game. With that said here are some other tips to help you kill hodes in Days Gone.
- Purchase the Chicago Chopper + extended clip from Wizard Island.
- Purchase saddlebags so you can carry extra ammo.
- Unlock the Ante Up and Two Birds, One Bullet Ranged skills for more ammo and projectile penetration.
- Unlock the Carry That Weight survival skill to carry more crafting components, traps, and throwables.
- Use explosive throwables on clusters of Freakers to take out large chunks of a horde.
- Run through choke points so you can easily turn and fire into the horde.
- Park your bike somewhere you can easily get to if you need to run away.
- Carry noise makers and use them to get the horde off of you.
These are just some trick to taking out hordes. What approach do you use? Let me know in the comments below and I will add your tips.


Easiest way to kill the larger hoards is to find a patch of tall grass and hide in it in proximity to a horde. Then using noisemakers lure the horde closer to you, and then use the molotov cocktail or explosives. -Then repeat until the horde is gone.
If far away in the tall grass, they cannot find you and it’s the easiest strategy
Do i have to kill hordes in order on the progress list? Thx.
Is there a storyline cutscene or some such for taking out all the hordes?