Poppy Playtime Chapter 4 Safe Haven The Foundation Guide
Once you’ve defeated The Doctor in the Doctor’s Headquarters and gotten the Generator fixed at Safe Haven, you will need to go The Foundation next. This area features a few puzzles to complete and is the last major area before Chapter 4’s ending. To help you complete this section use our Poppy Playtime Chapter 4 Safe Haven The Foundation guide below.
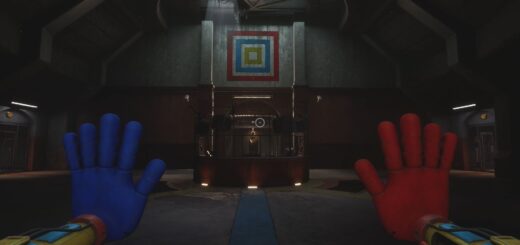
Reach The Foundation
Leave Safe Haven by going through the Infirmary. Enter the Sewer and make your way to the Water Treatment Plant. This room now features a puzzle we need to complete.
Water Treatment Plant Cogs Puzzle
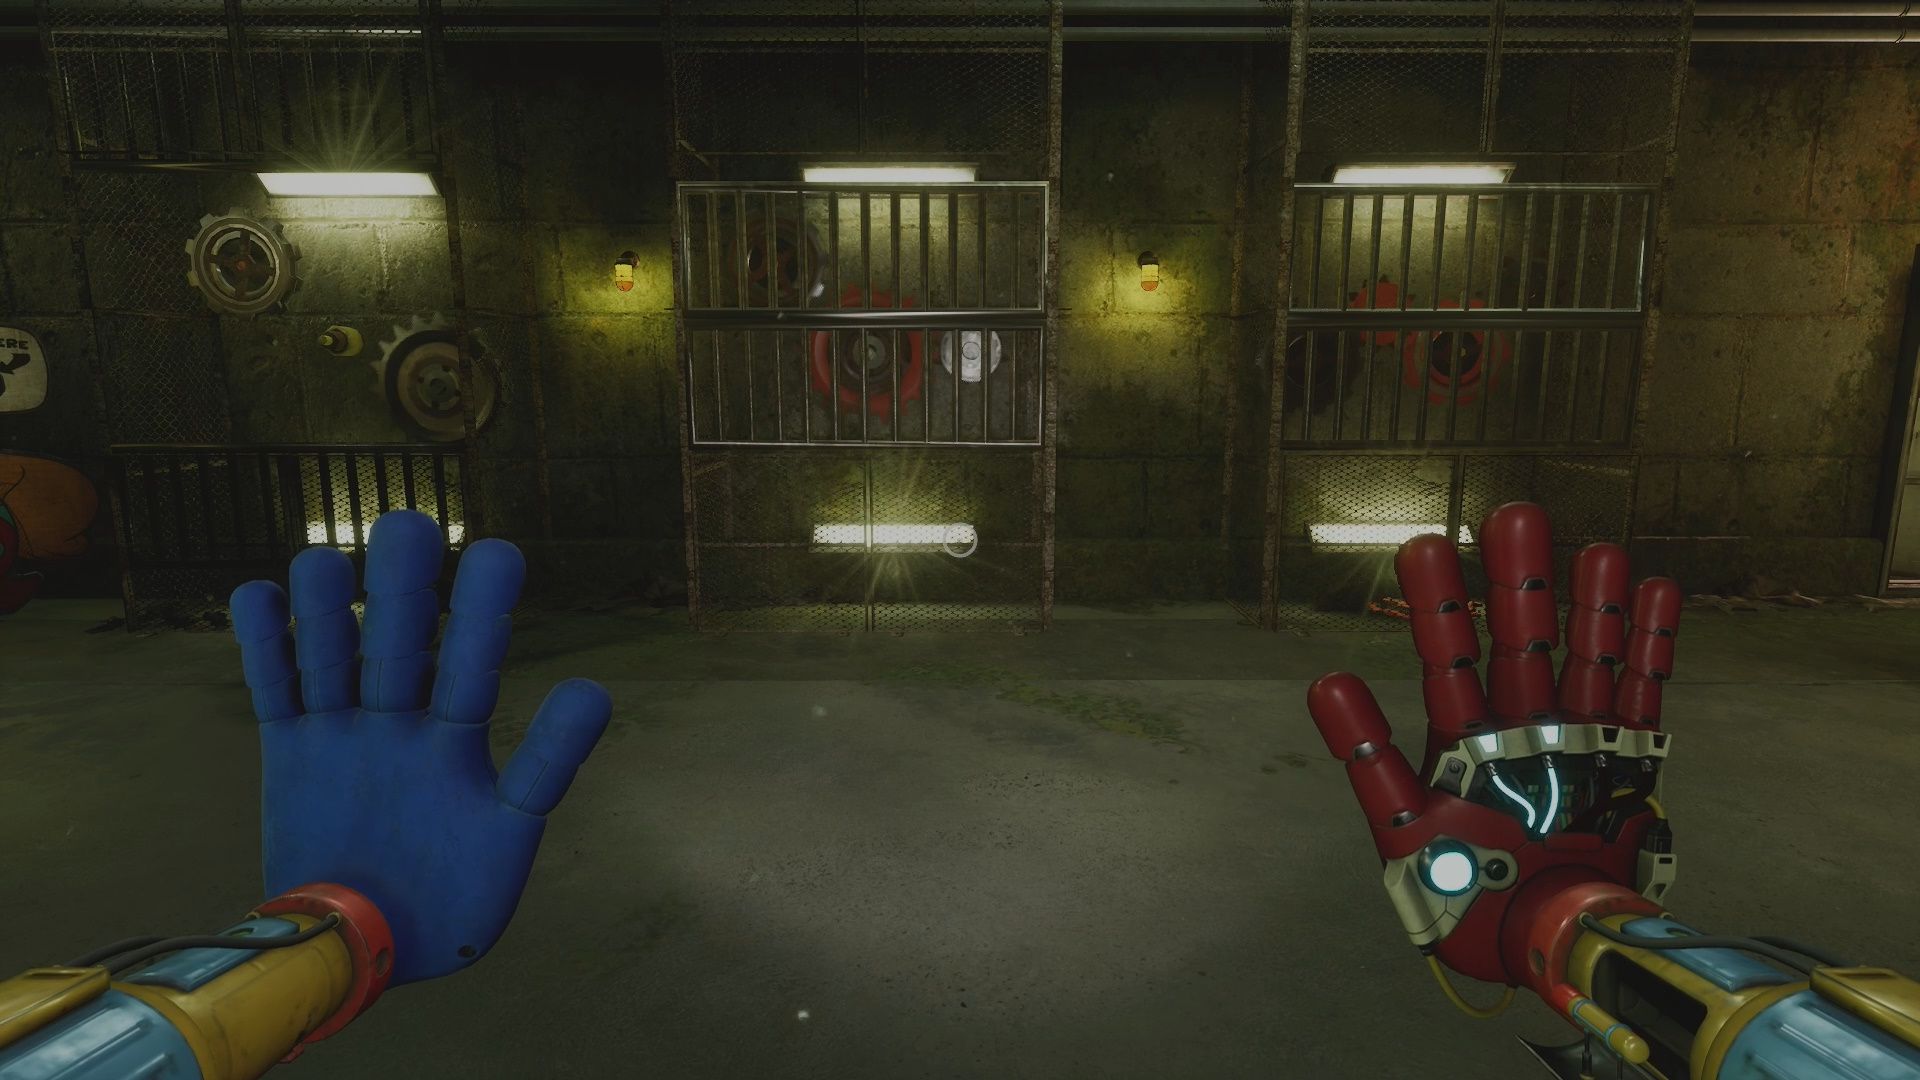
When we went through this area earlier, the COGS on the wall were all working. Now, they have been dislodged. We need to find and replace them. There are three located around the room.
Gather up the three COGS. Go over to the COG wall. Do the following:
- Place the Medium Sized COG in the first slot. This will open the middle section.
- Place the Large COG in the middle section.
- Place the Small COG in the third section.
- Take the Medium Sized COG out of the first slot.
- Place it in the third section.
Your final result will look like the screenshot above. This will open the door to the right, allowing you to access the Caves.
Caves
Make your way through the Caves. Head along the tracks. Follow them through to the new unlocked area (by where the active Barry cart was). You will reach The Foundation.
Foundation
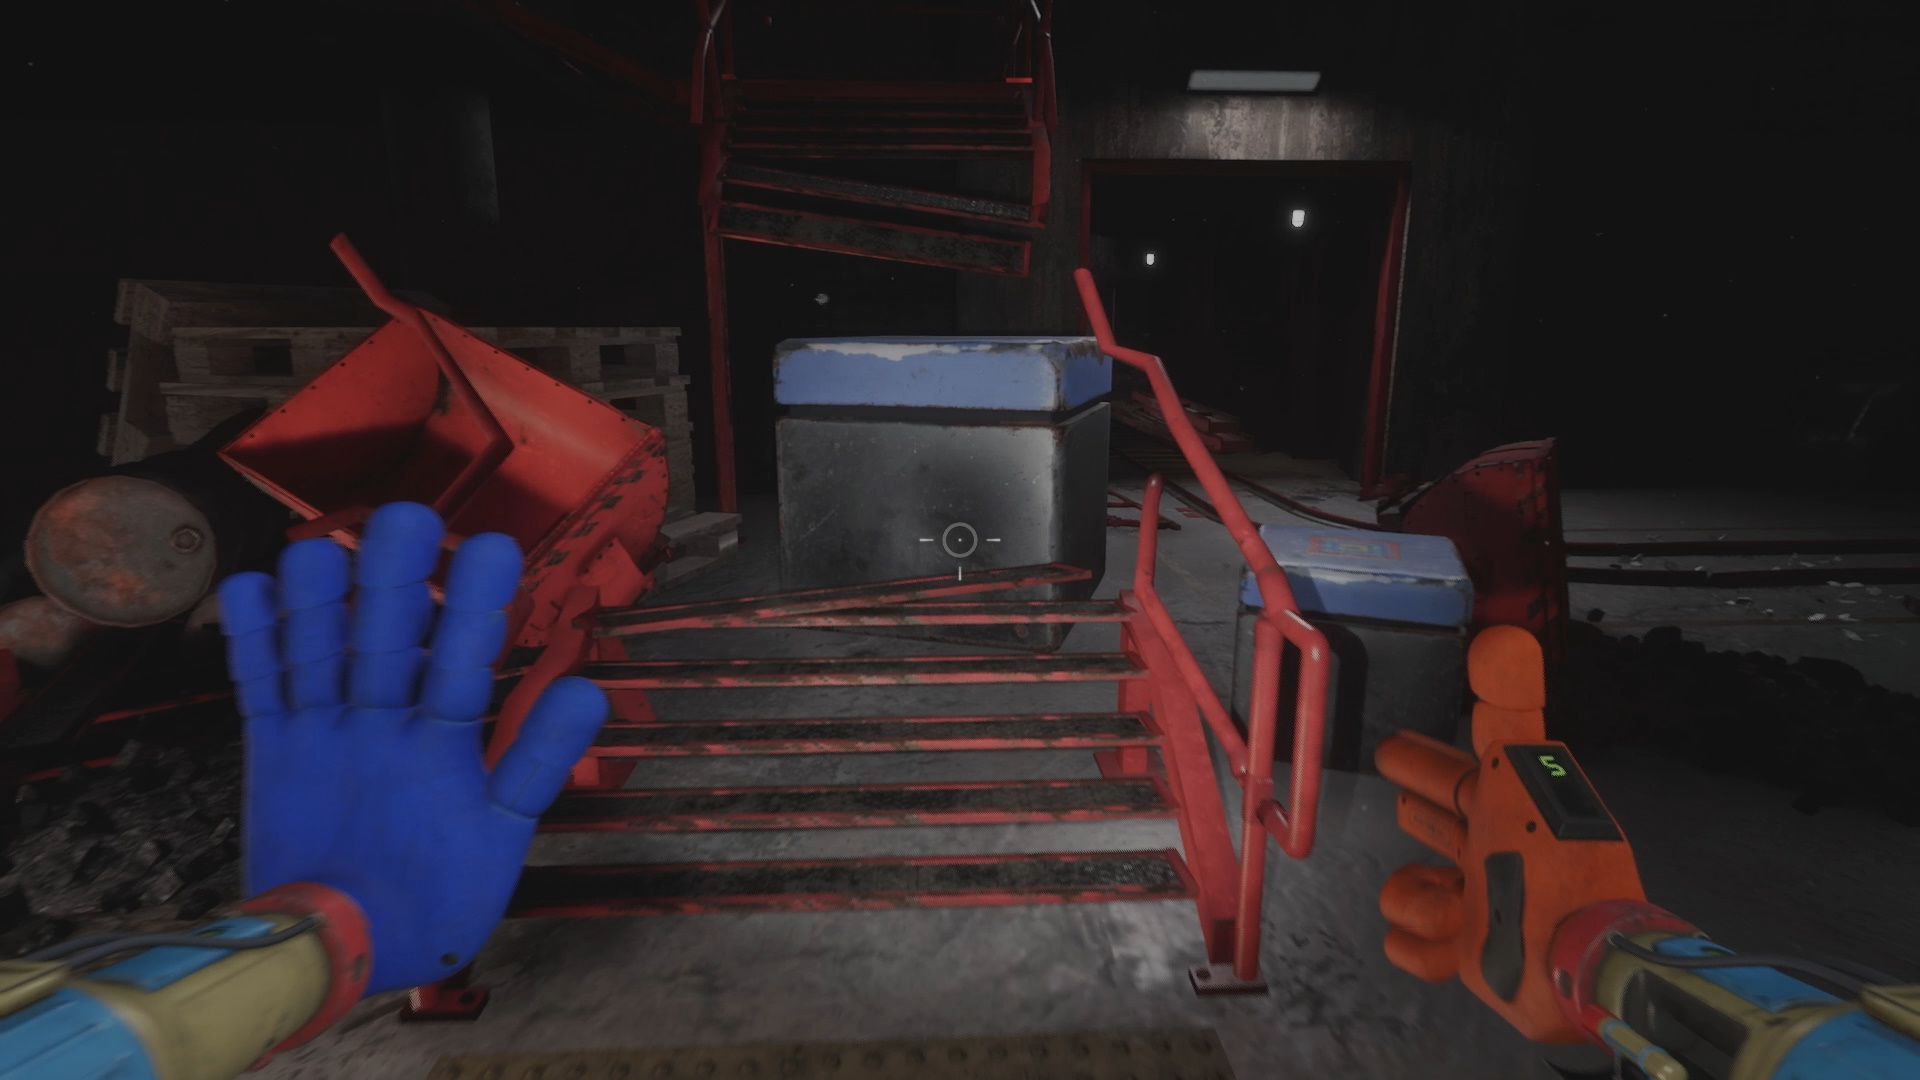
In The Foundation you will see a Smiling Critter next to Dynamite. Pick up the Dynamite (1/4). Walk forward and you will trigger a new objective to Gather and Plant 4 Explosives.
Gather and Plant 4 Explosives
We already have one Dynamite in our inventory, so we only need to find three more. The three we need are located deeper in the mine to the right of the large room with all of gas pipes in it. Follow the tracks to go there.
Dynamite 2
Grab the Purple Launchpad cart near the beginning of the mine and pull it all the way to the end of the track. Use it to jump to the area above. Walk down into this area you will find one Dynamite (2/4).
Dynamite 3
Take the path straight in front of you from the setup Launchpad cart. Walk forward until you see a Cryotank machine to your left.
Keep going along the track and look left for a hole in the stone. Through this hole is a Cryotank. Shoot it with your Flare Hand. Go back to the Cryotank machine. Squeeze along the wall to reach Dynamite (3/4).
Dynamite 4
Go back to the Launchpad. Follow the track path we haven’t gone on yet. Crawl through the hole in the stone. On your right is Dynamite (4/4). Collect it.
Make your way back to the Foundation room with all of the pipes in it. Place the Dynamite we collected on the White Xs on the four pieces in the room:
- Tank
- Yellow Pipe coupling
- Steel Girders x2
Once they are placed you will trigger the next objective which is to Start the Gas.
Start the Gas
In the room with the pipes there is a broken Red Staircase leading up to an Office. Pull the nearby Playtime Blocks to create steps up to the stairs.
Once you are up the stairs, go into the Office. On the desk in this Office is the Purple Keycard. Grab it and then exit the Office and drop back down to the floor below.
Control Room
There is a large Control Room in the pipe room. Go up to it. Use the Purple Keycard to open the door. Head inside.
Inside interact with the Main Console. Doing this will give you a new objective. This objective asks you to Redirect the Gas Into the Storage Tank.
Redirect the Gas Into the Storage Tank
Go outside into the large pipe room. In this room you will see a number of levers you can pull along the pipes. To redirect the gas do the following.
1. Close the pipe under the control room

2. Follow the setup in this image
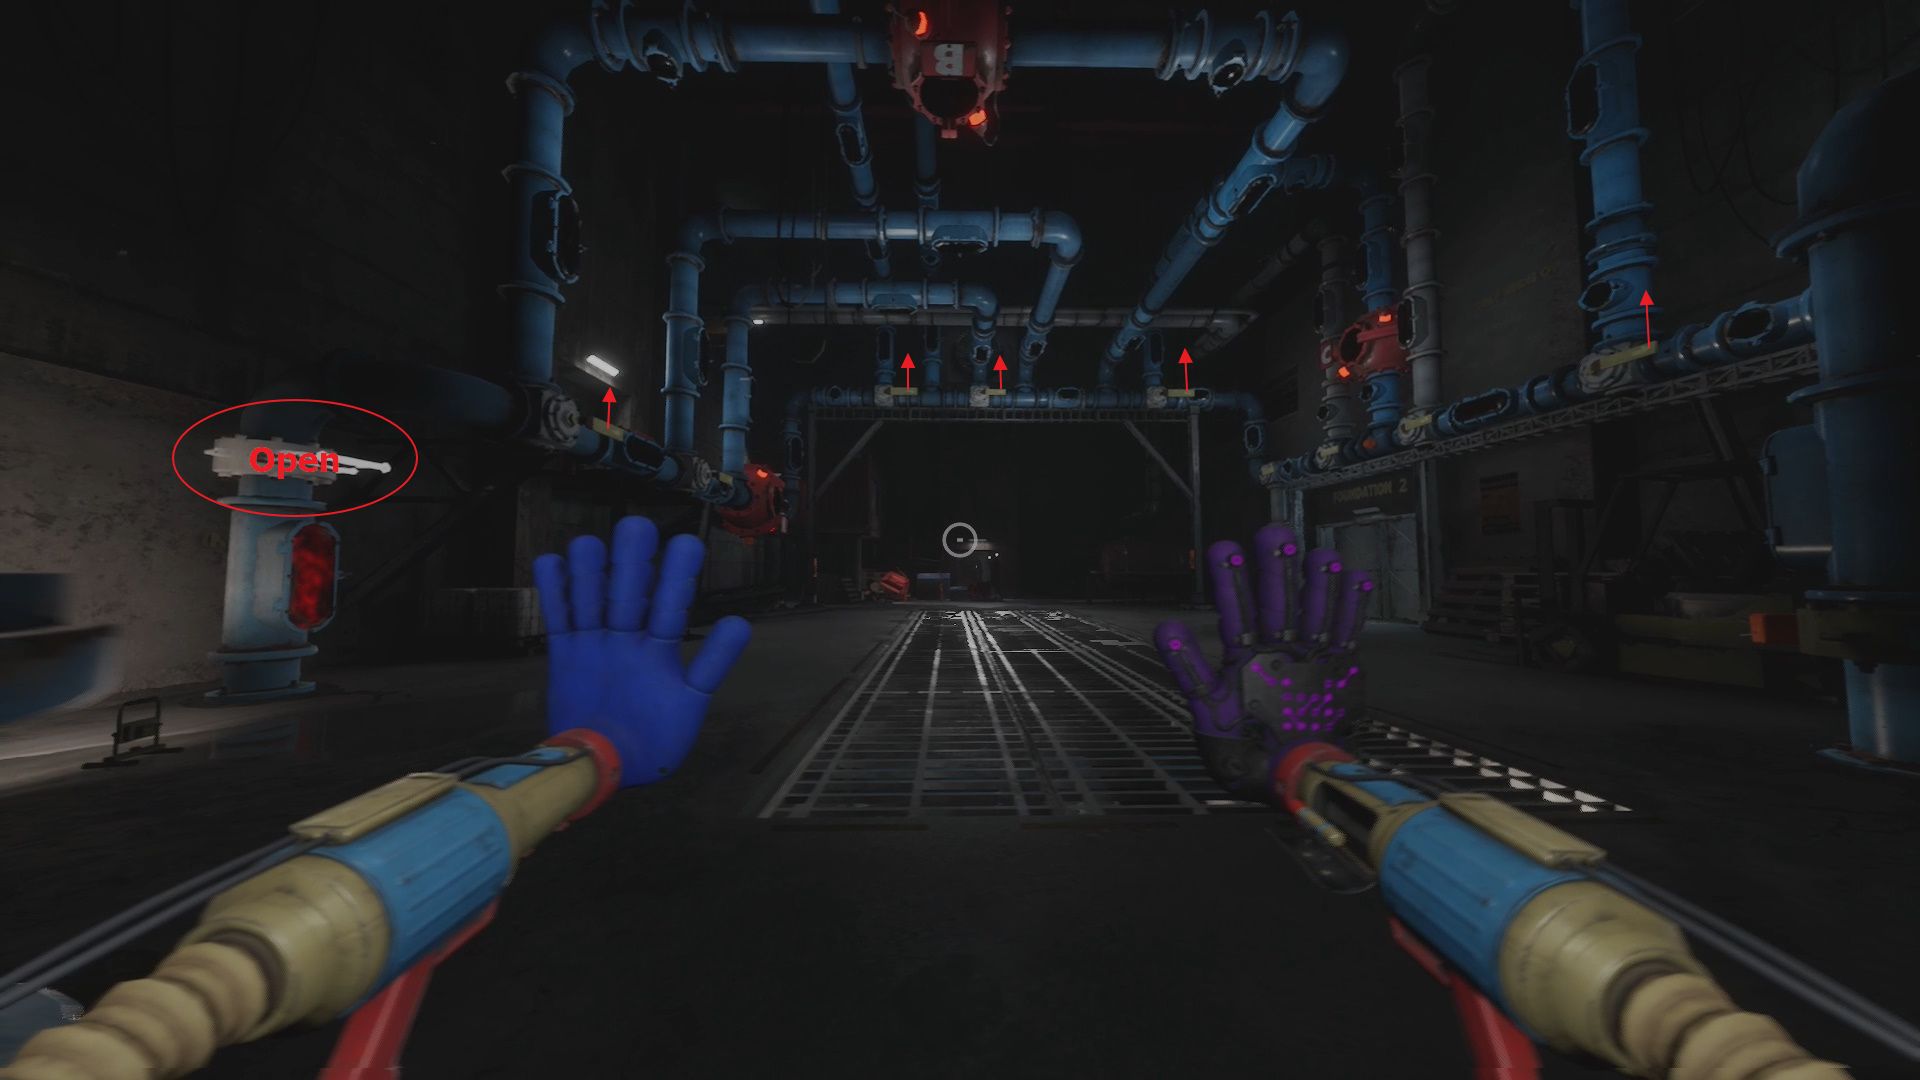
To complete the Gas Puzzle you need to route the gas to the destination. The image above shows how to do that. The steps are simple, open the pipe and the open the valves with the arrows. This setup will unlock the Piping Hotshot Trophy/Achievement.
Initiate Gas Overflow Procedure
Once the gas is flowing you will need to Initiate the Gas Overflow Procedure. Head back into the Control Room to do this.
Inside the Control Room use your Omni-Hand on the Sensor. Doing this powers up everything but causes the door to break. You need to fix the door so you can escape.
How to Fix the Door
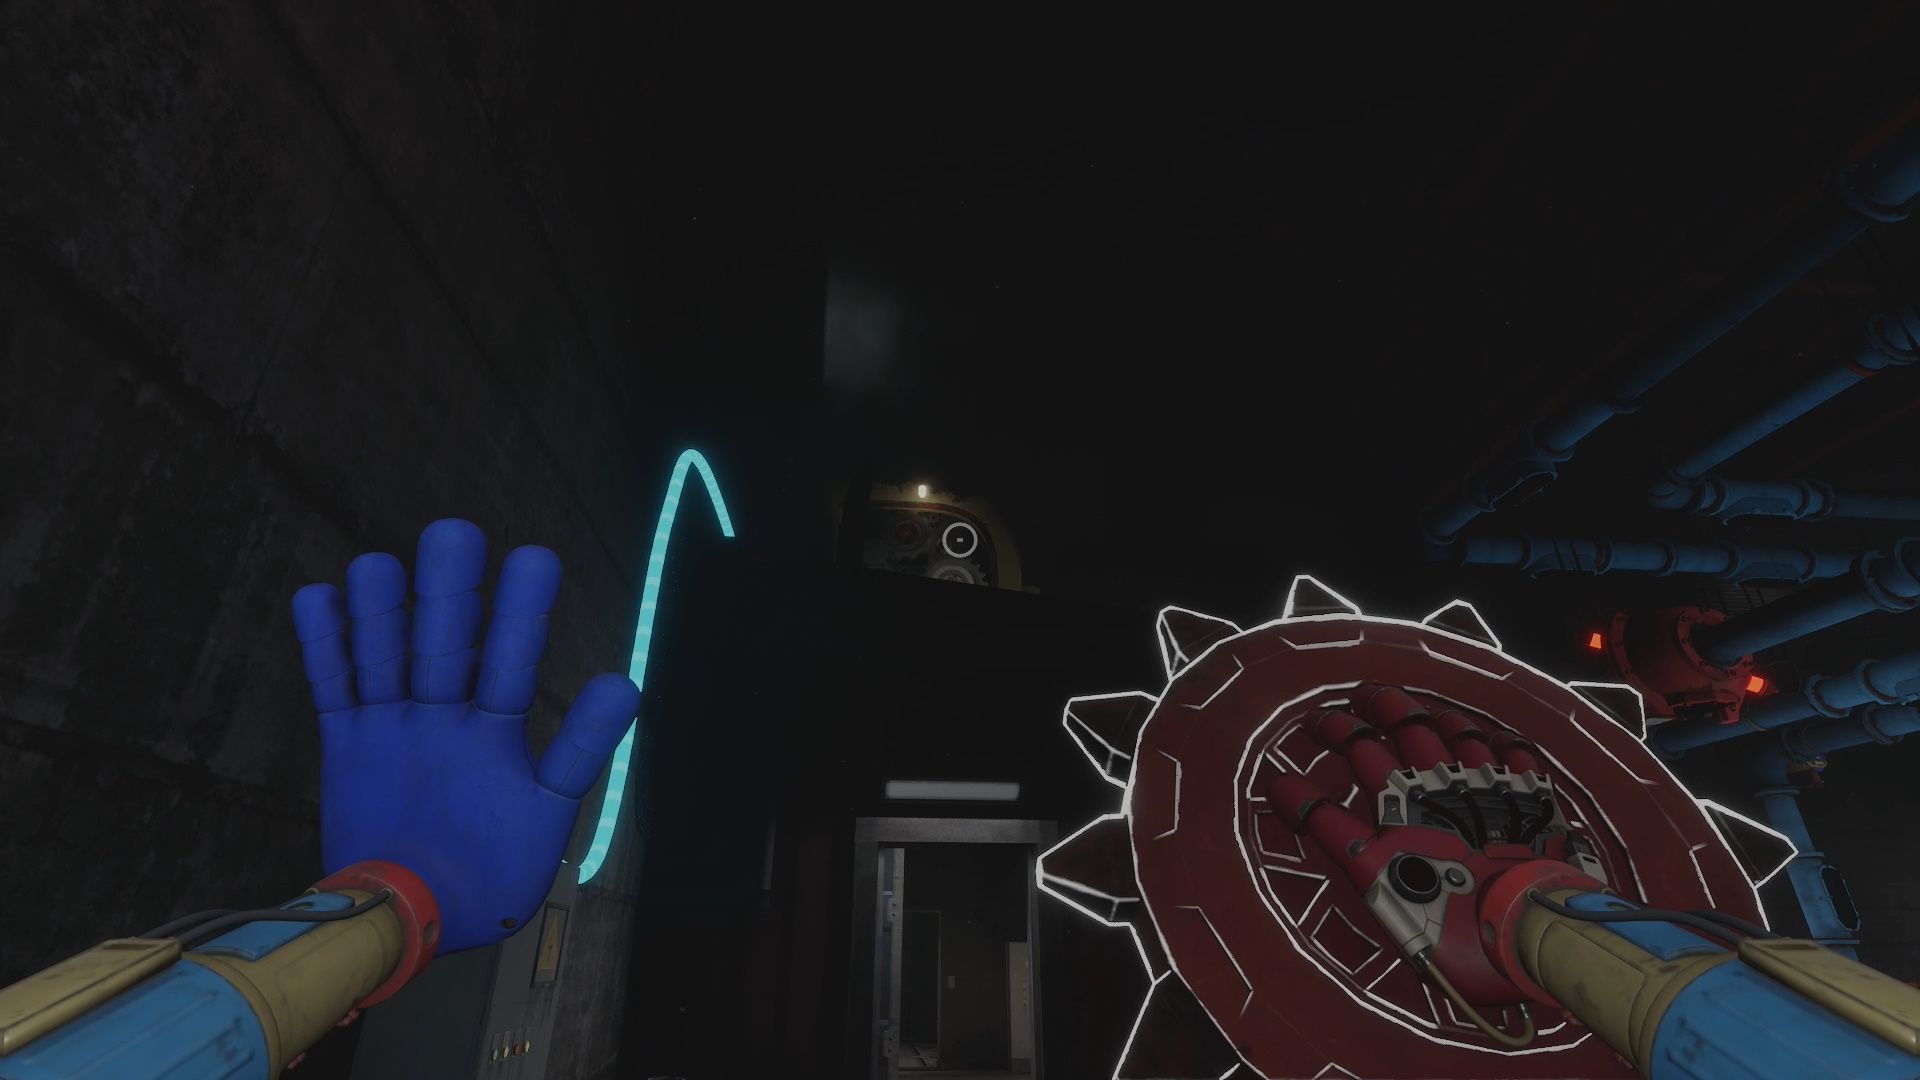
Grab the COG from the locker. Go outside onto the catwalk. Look up onto the roof of the Control Room. You will see a bunch of COGS spinning and a spot that is empty. Place the COG in the empty spot to open the door. Go through it.
Escape The Foundation
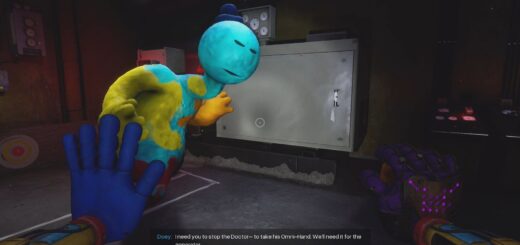
Make your way forward and follow the path to the elevator. Ride the Elevator up. Run out of The Foundation. Once you are out, Doey will grab you. There is a short cutscene here and then a new objective triggers to Return to Safe Haven.
Return to Safe Haven
Make the long trek back to Safe Haven. When you get there you will notice it is all destroyed and many of the toys are dead. Approach Doey in the main room.
There is a cutscene here where Doey will turn evil because of the loss. He will transform into a monster and will start to chase you. Run!
Doey Chase & Boss Fight
There are two parts to the Doey boss fight. The first is the chase and the second is the actual boss fight. Check out the video guide above to see how to complete both. I will say Doey is a fairly annoying fight, so it may take you a few tries to complete it.
After you complete the boss fight with Doey you get a new objective to Search for Survivors.
Search For Survivors
Open the shutter and head into the next area (after you pull the grinder down on Doey). Make your way through the Garage. Use the Blue Hand on the Sensor to open the door.
Head down the hallway. Go into the Office at the end. Move the Playtime Co boxes out of the way to reveal the entrance to a slide. Go down the slide to reach a hiding spot. Here you will encounter Poppy and Kissy Missy.
After the interaction you will fall through the floor along with Kissy Missy’s Arm. You will get a new objective: ???.
???
You can’t go anywhere but forward here. Make your way forward into the bunker and head to the far door. Use the Omni-Hand to open it. Go inside.
Inside grab the Gray VHS Tape. Take it and place it into the Gray VCR. Watch the video. After the video concludes Huggy Wuggy will appear and run at the door and the credits will play.
Congrats on completing Chapter 4! The ending of this chapter sets the stage for Poppy Playtime Chapter 5: Broken Things. Check our Harvest Processing Center 04 guide for help with the start of Chapter 5.
For more help with Poppy Playtime head over to our Poppy Playtime guides hub for guides, codes, and other resources.
Thoughts on our Poppy Playtime Chapter 4 Safe Haven The Foundation walkthrough? Drop them in the comments below.

Nice