
Update 2.5, the free Edgerunners 2 Update for Cyberpunk 2077, adds a new side quest called Clampdown. Set before the events of Cyberpunk: Edgerunners 2, the quest ties into the new Netflix series, and playing through it earns you a five-piece gear set based on King (Weak Kingsley), one of the show’s new characters.
Our Cyberpunk 2077 Clampdown quest guide covers how to unlock the quest, how to complete it, and the rewards you get for finishing it. Update 2.5 also adds a second side quest, Welcome to Paradise, and 12 new Minor Arcana Tarot Cards to find around Night City.
How to Unlock Clampdown in Cyberpunk 2077
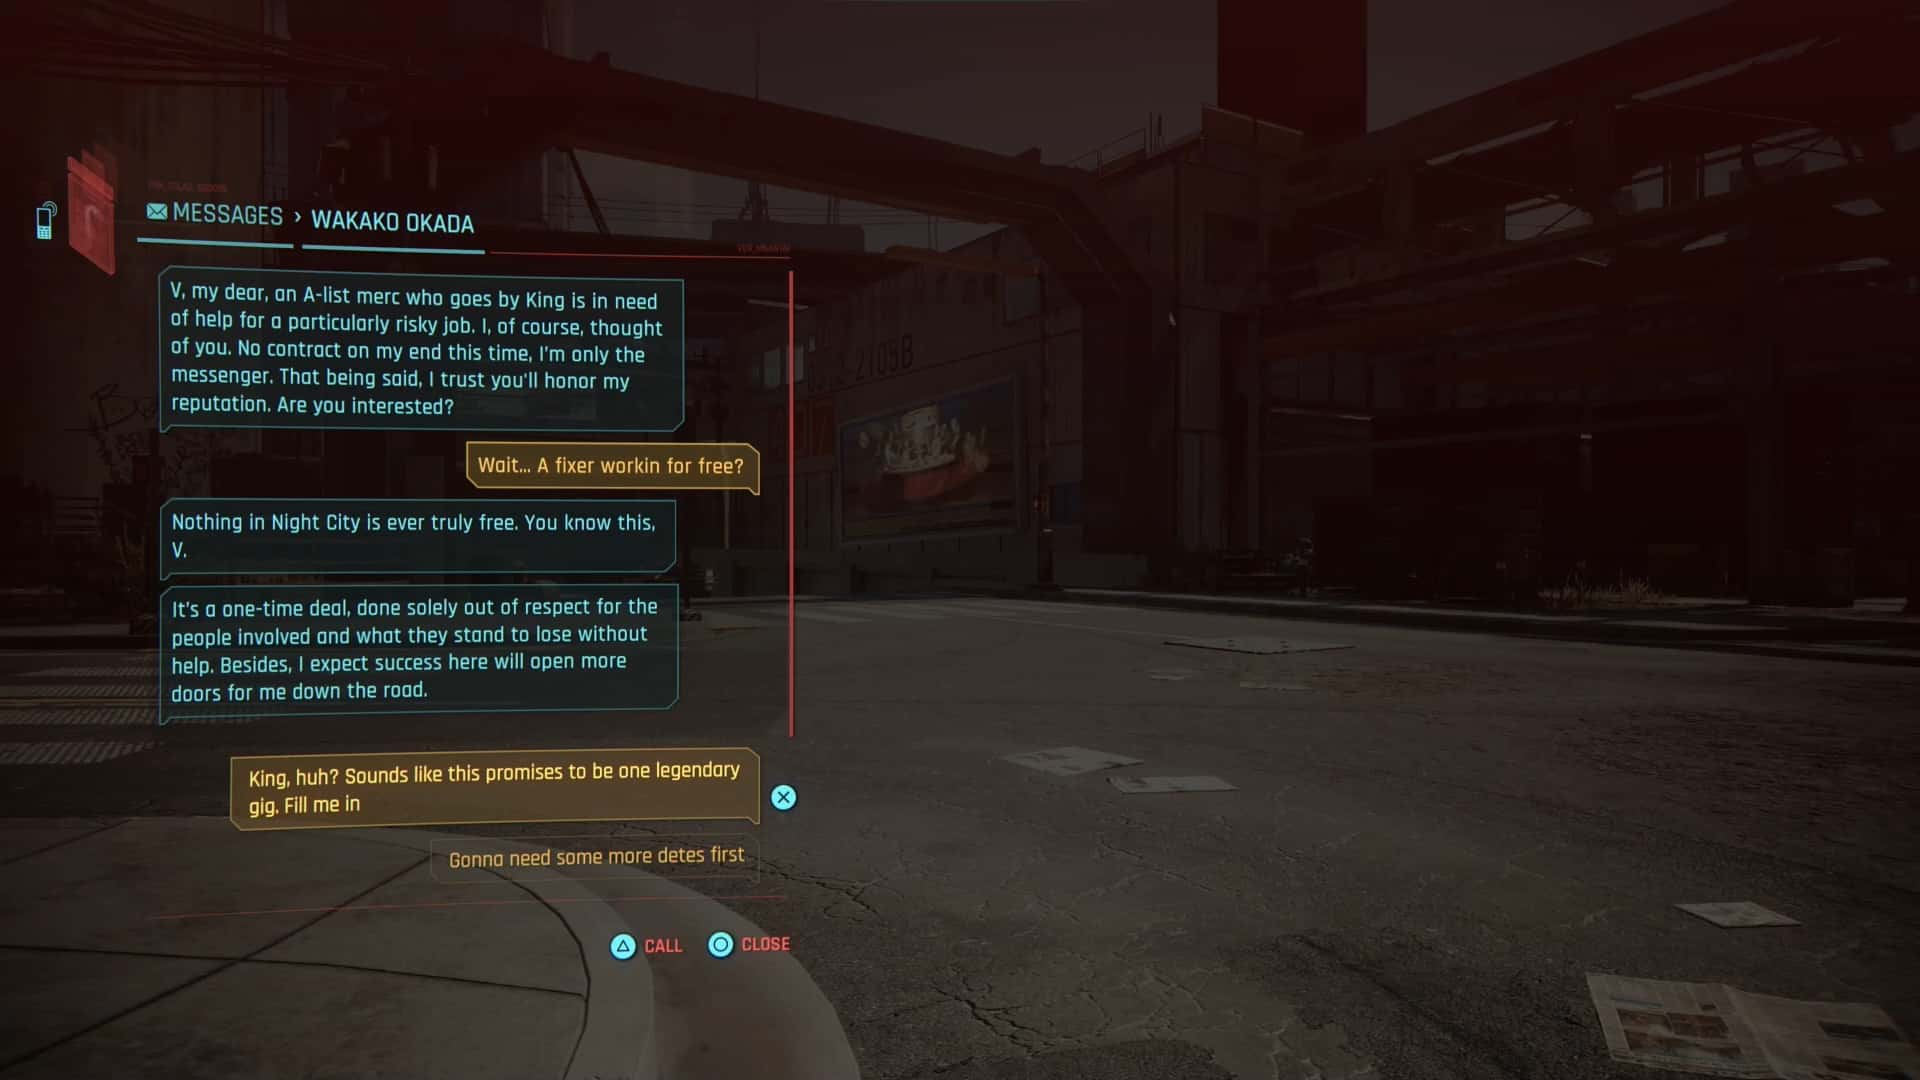
Clampdown doesn’t show up right away. To unlock the quest, you need to do the following:
- Complete The Heist main job.
- Complete two gigs for Wakako Okada, the Westbrook fixer.
- Wait for a message from Wakako. Once her message arrives, Clampdown is added to your journal.
Clampdown Walkthrough
To start the Clampdown quest, wait for Wakako to message you. After she messages you, the Clampdown questline begins.
Go to the Meeting Point Near BuryGer
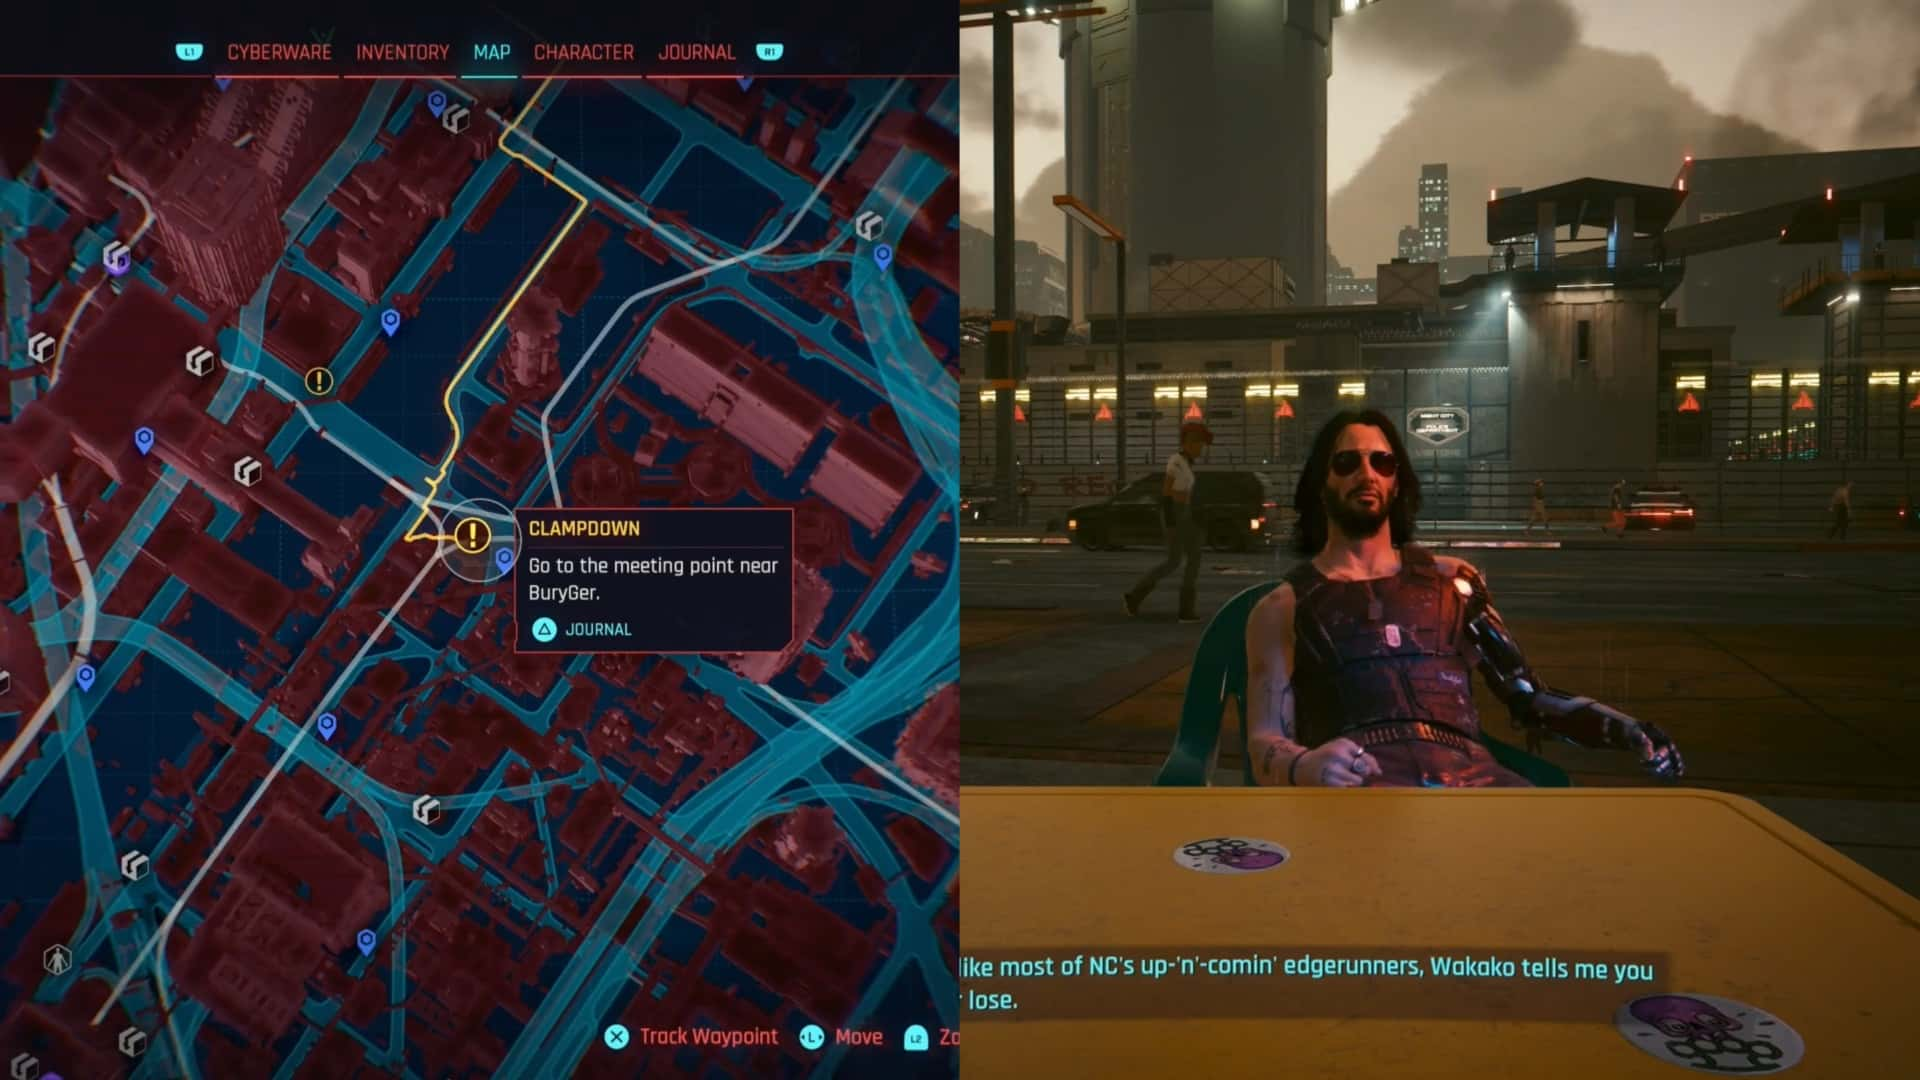
The first step of the quest is to go to the meeting point near BuryGer in Santo Domingo, Arroyo. You can reach the objective marker easily by using the MLK & Brandon Fast Travel point.
At the objective marker wait in the Diner Chair. You will trigger a conversation with King. Complete the conversation to get and accept the job to start the next objective.
Go to the Prison’s Visitor Entrance
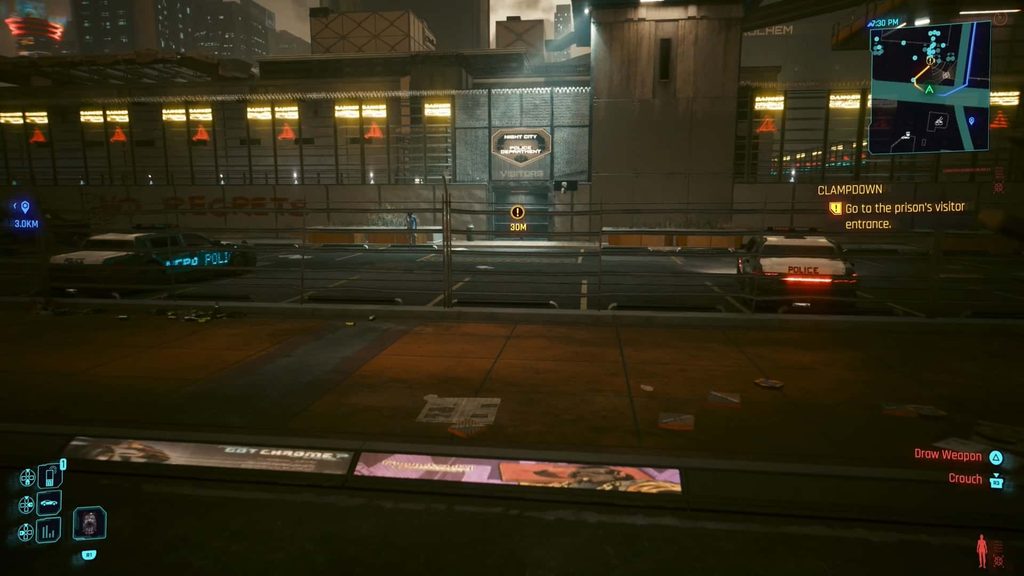
Across the street from the BuryGer meeting place is the prison we are entering. We need to enter it through the visitor’s entrance (which is marked on your map).
Make your way over to the entrance. Stealth (or just crouch) your way over to the door to avoid detection from the gang that is in the corner of the parking lot.
If You Are Detected
If you are detected by the gang you will fail the mission. Simply restart from your last save to try again.
Use the Intercom, Speak to the Guard, and Walk through the Security Gate
At the door interact with the Intercom when prompted. Speak to the guard and then head inside the prison when prompted.
You will ride an elevator into the prison. Follow the guard forward and walk through the security gate. It will deactivate your Combat Cyberware.
Place Hand on Scanner
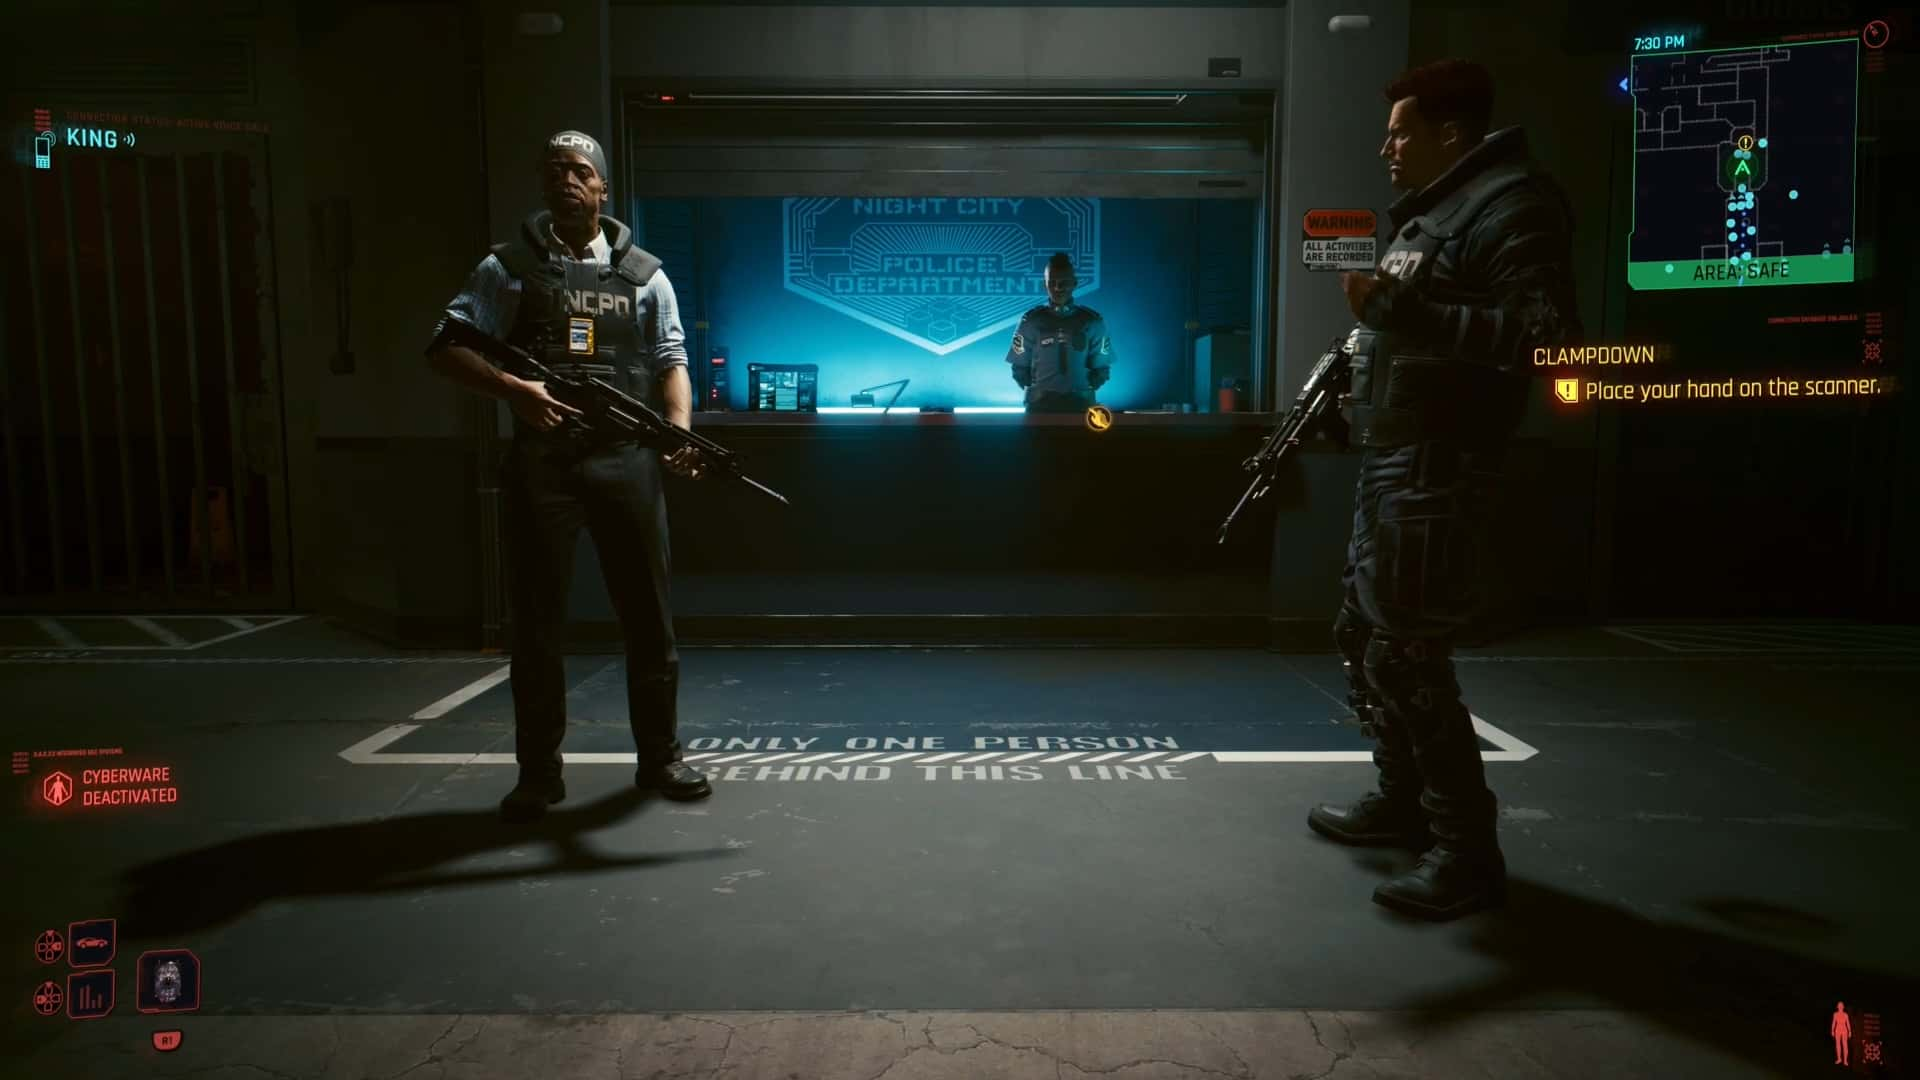
Walk forward and interact with the Hand Scanner. You will trigger a cutscene sequence where the guards will pull their guns on you and incapacitate you.
You will wake up in a cell with a character named Wex. Sit up (when prompted) and then wait for the guard to come to the cell.
Talk to Wex about the situation. The guards will come in and take Wex away. One of the guards will tell you there is something in the bathroom from King.
Talk to Meshuga
You need to escape your cell, but first, talk to Meshuga when they call. Meshuga mentions having accessed some security systems to make escaping easier.
Take Control of the Security Camera
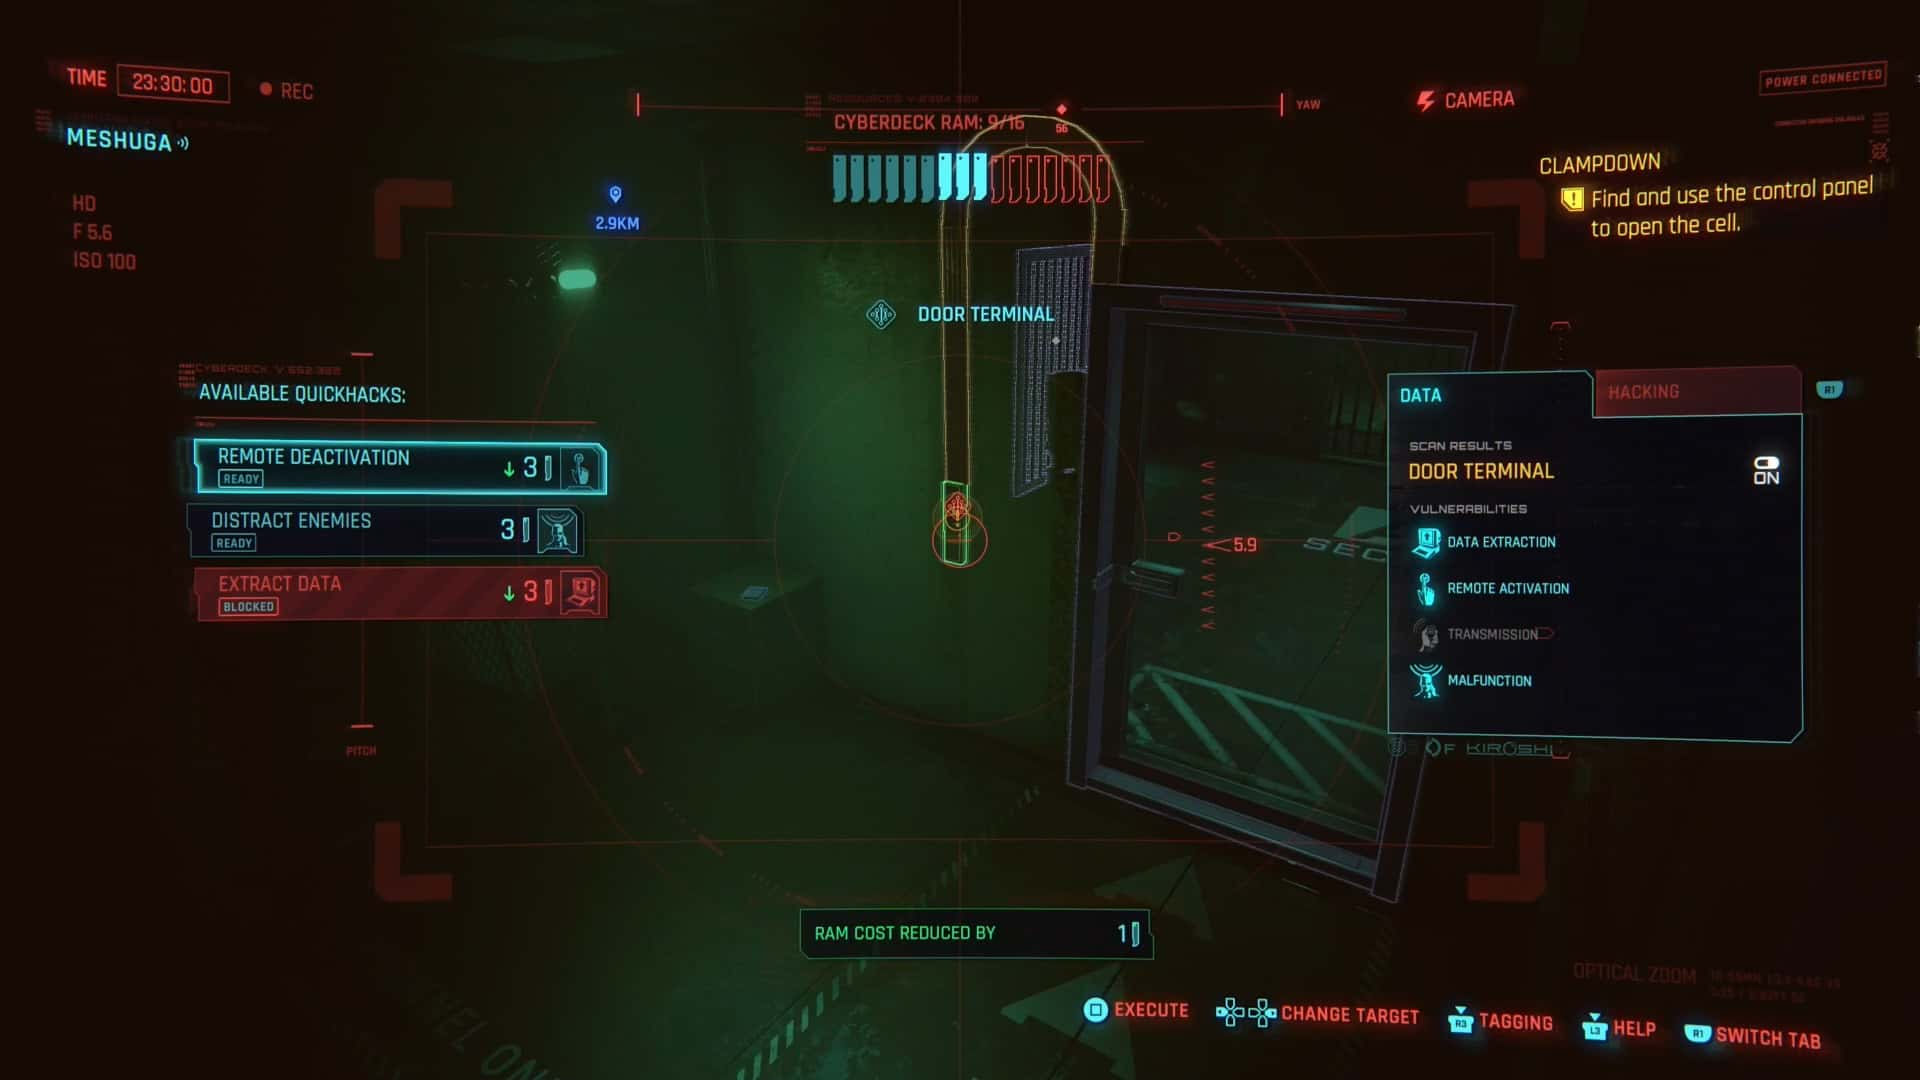
Once you’ve spoken to Meshuga take control of the camera outside on the wall opposite your cell. Cycle through the cameras until you see the room with the Door Terminal.
Remote deactivate the Door Terminal to open the cell doors. Leave your cell and follow the quest markers to reach the bathroom.
Find the Smuggled Package
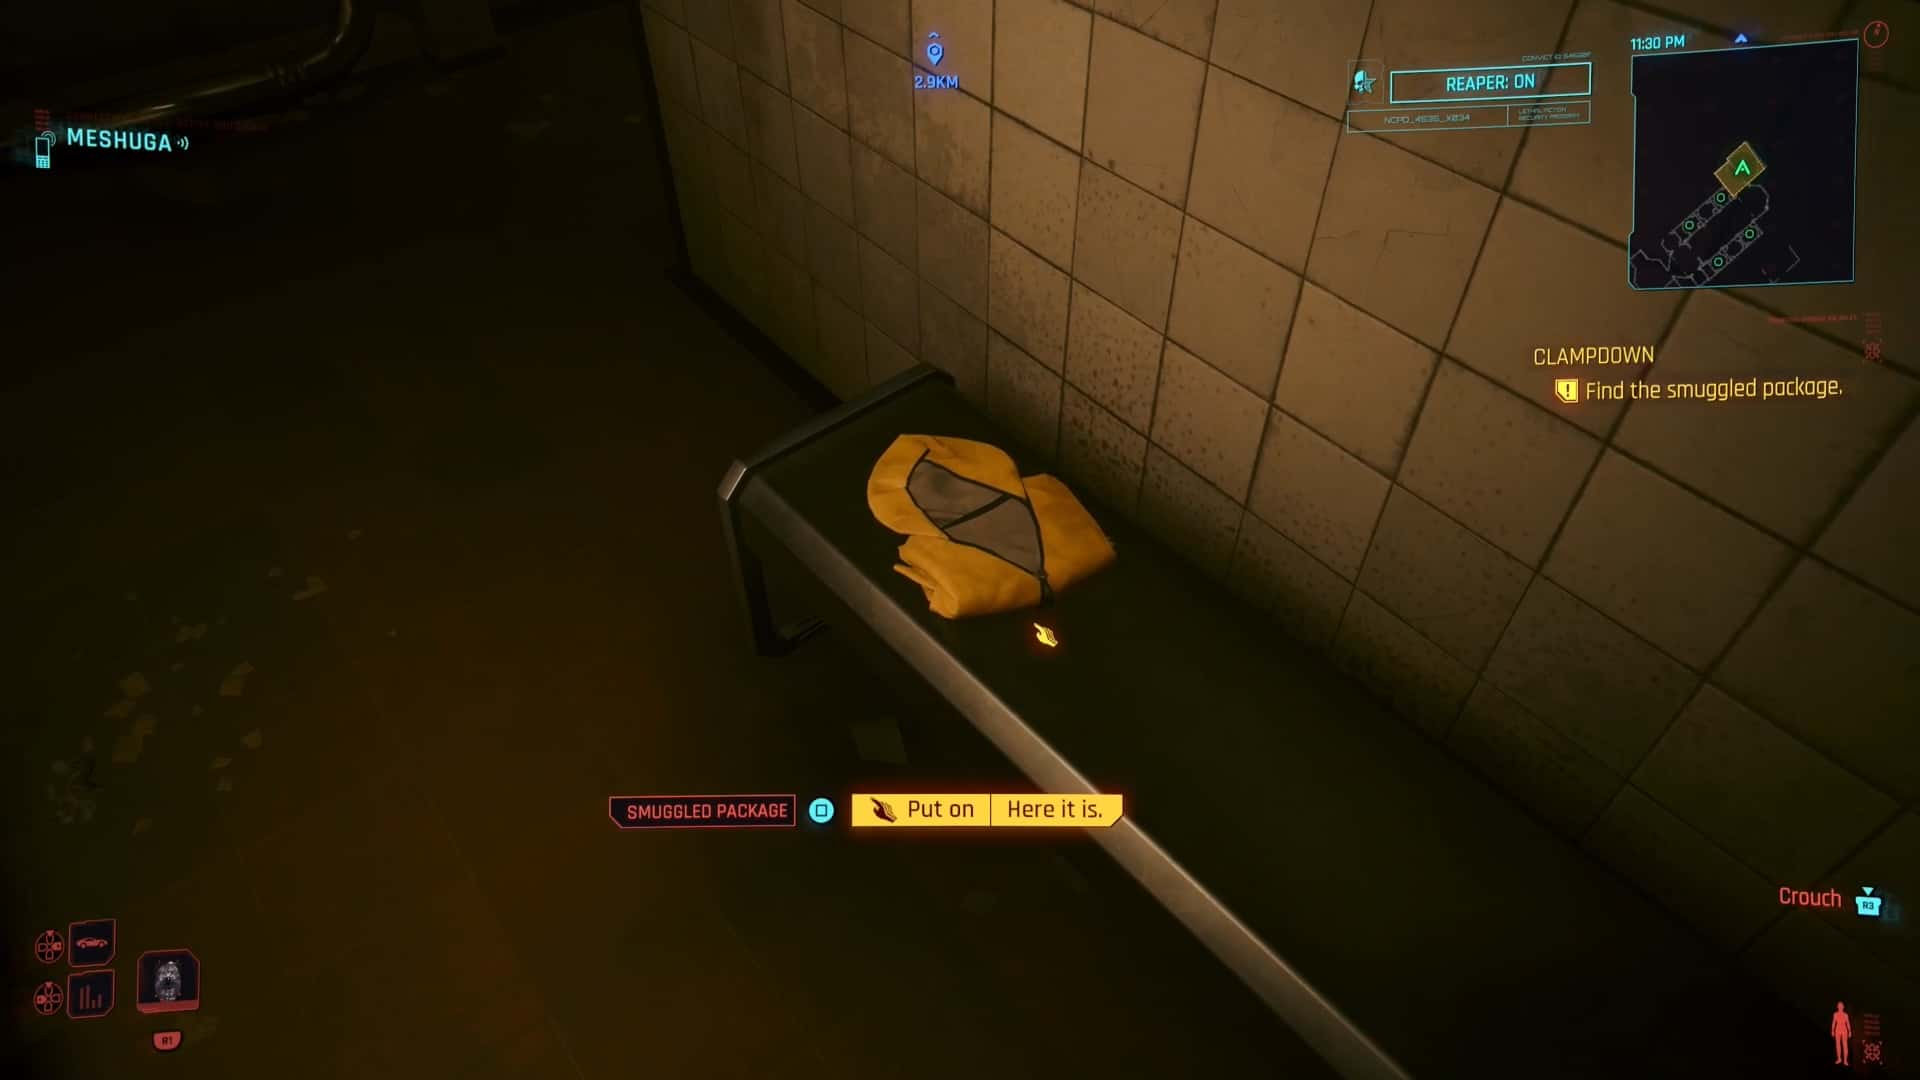
Inside the bathroom there is a Smuggled Package under the bench (look for the yellow hoodie). Interact with it to receive some gear, including King’s signature revolver, Coronation.
You will automatically put on and equip the items from the bag. You will put on the full King’s Set (glasses, coat, vest, and pants).
After a brief interaction with King you will start the next quest objective.
Reach the Security Cortex
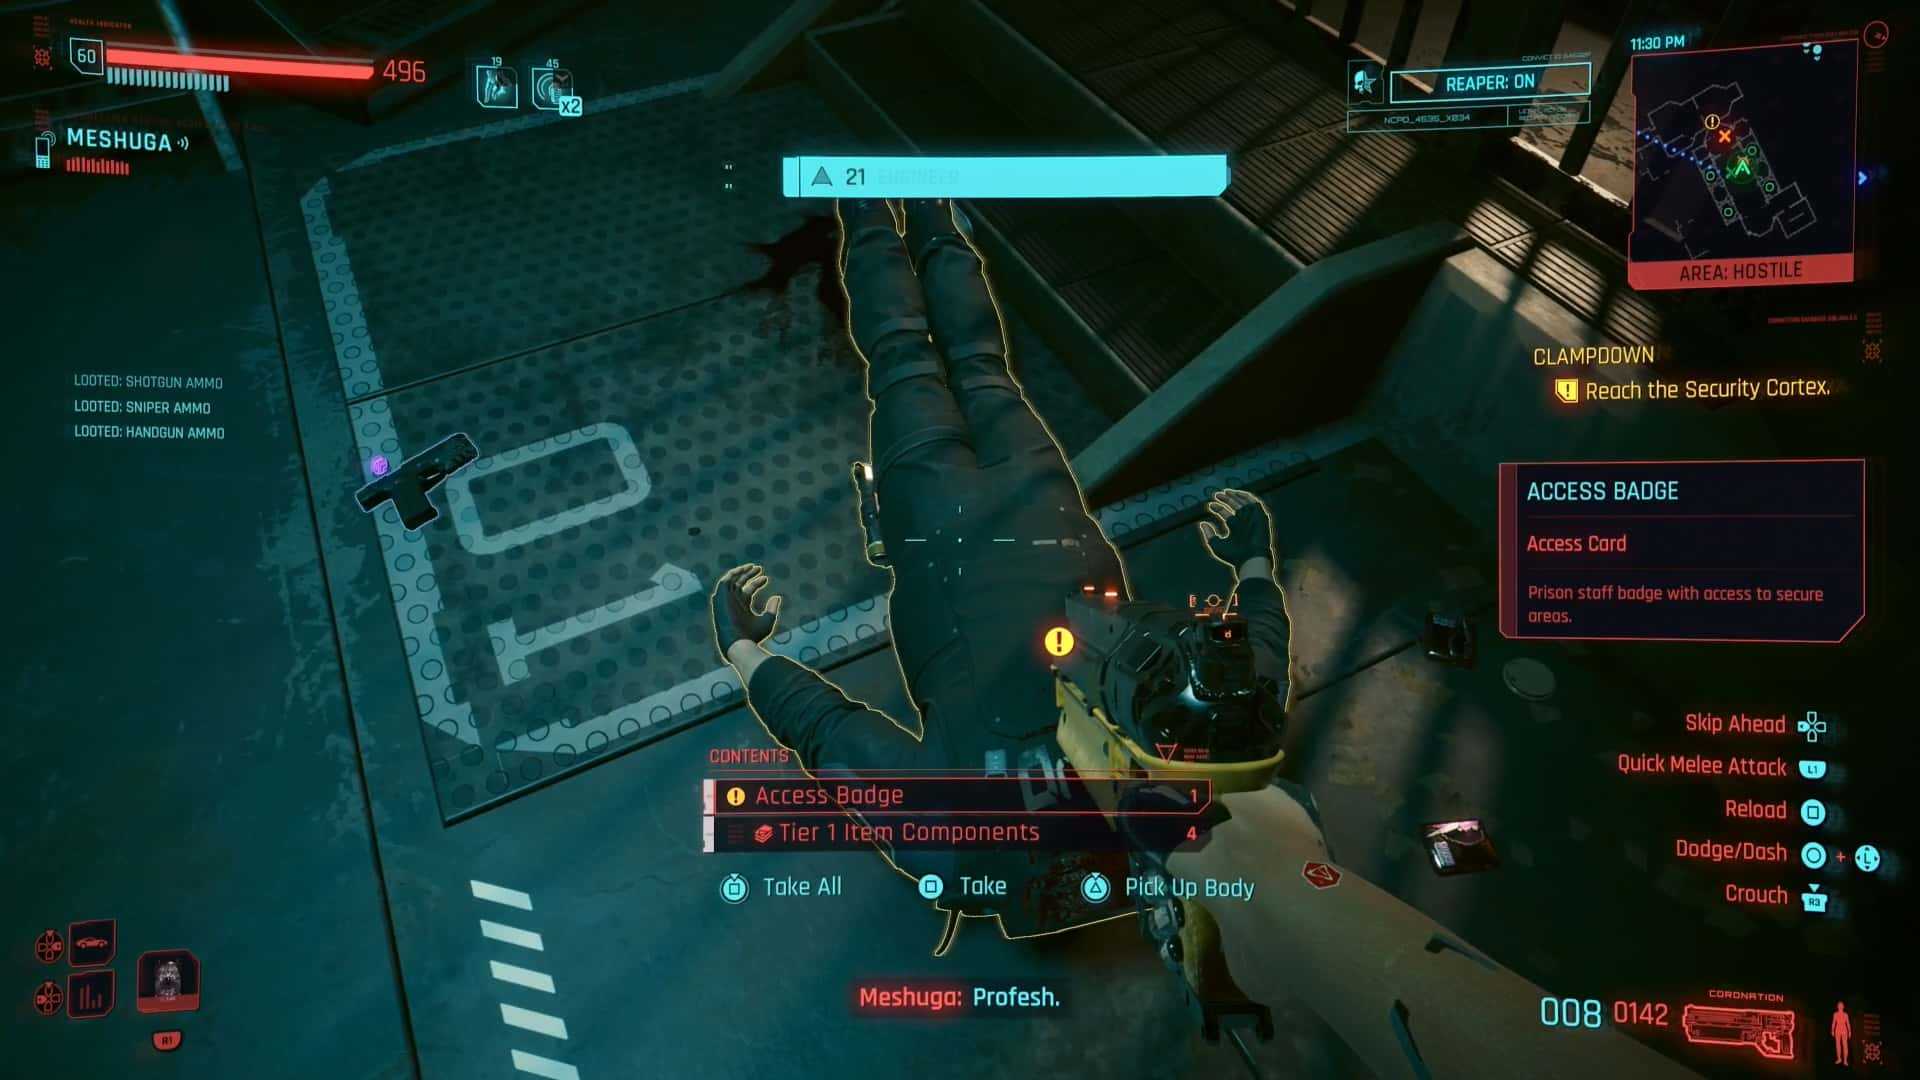
Head back into the prison cell area. Defeat the guards that spawn. One of them has an Access Badge/Card. Loot it from their body.
Head into the Security Cortex. Talk to Meshuga and then Jack into the Terminal (computer on desk).
Find Information to Help Deactivate Miguel’s, Yours, and Wex’s (Optional) Reaper Chips
On the computer access a user profile and access the Files (3). Read the records of all three people:
- V’s
- Miguel
- Wexlyn
If you want you can also use the Local Network to turn off Wex’s BD via the Remote Takeover.
Regardless, reading the Files will trigger the next objective to complete.
Find the Reaper Chip Server
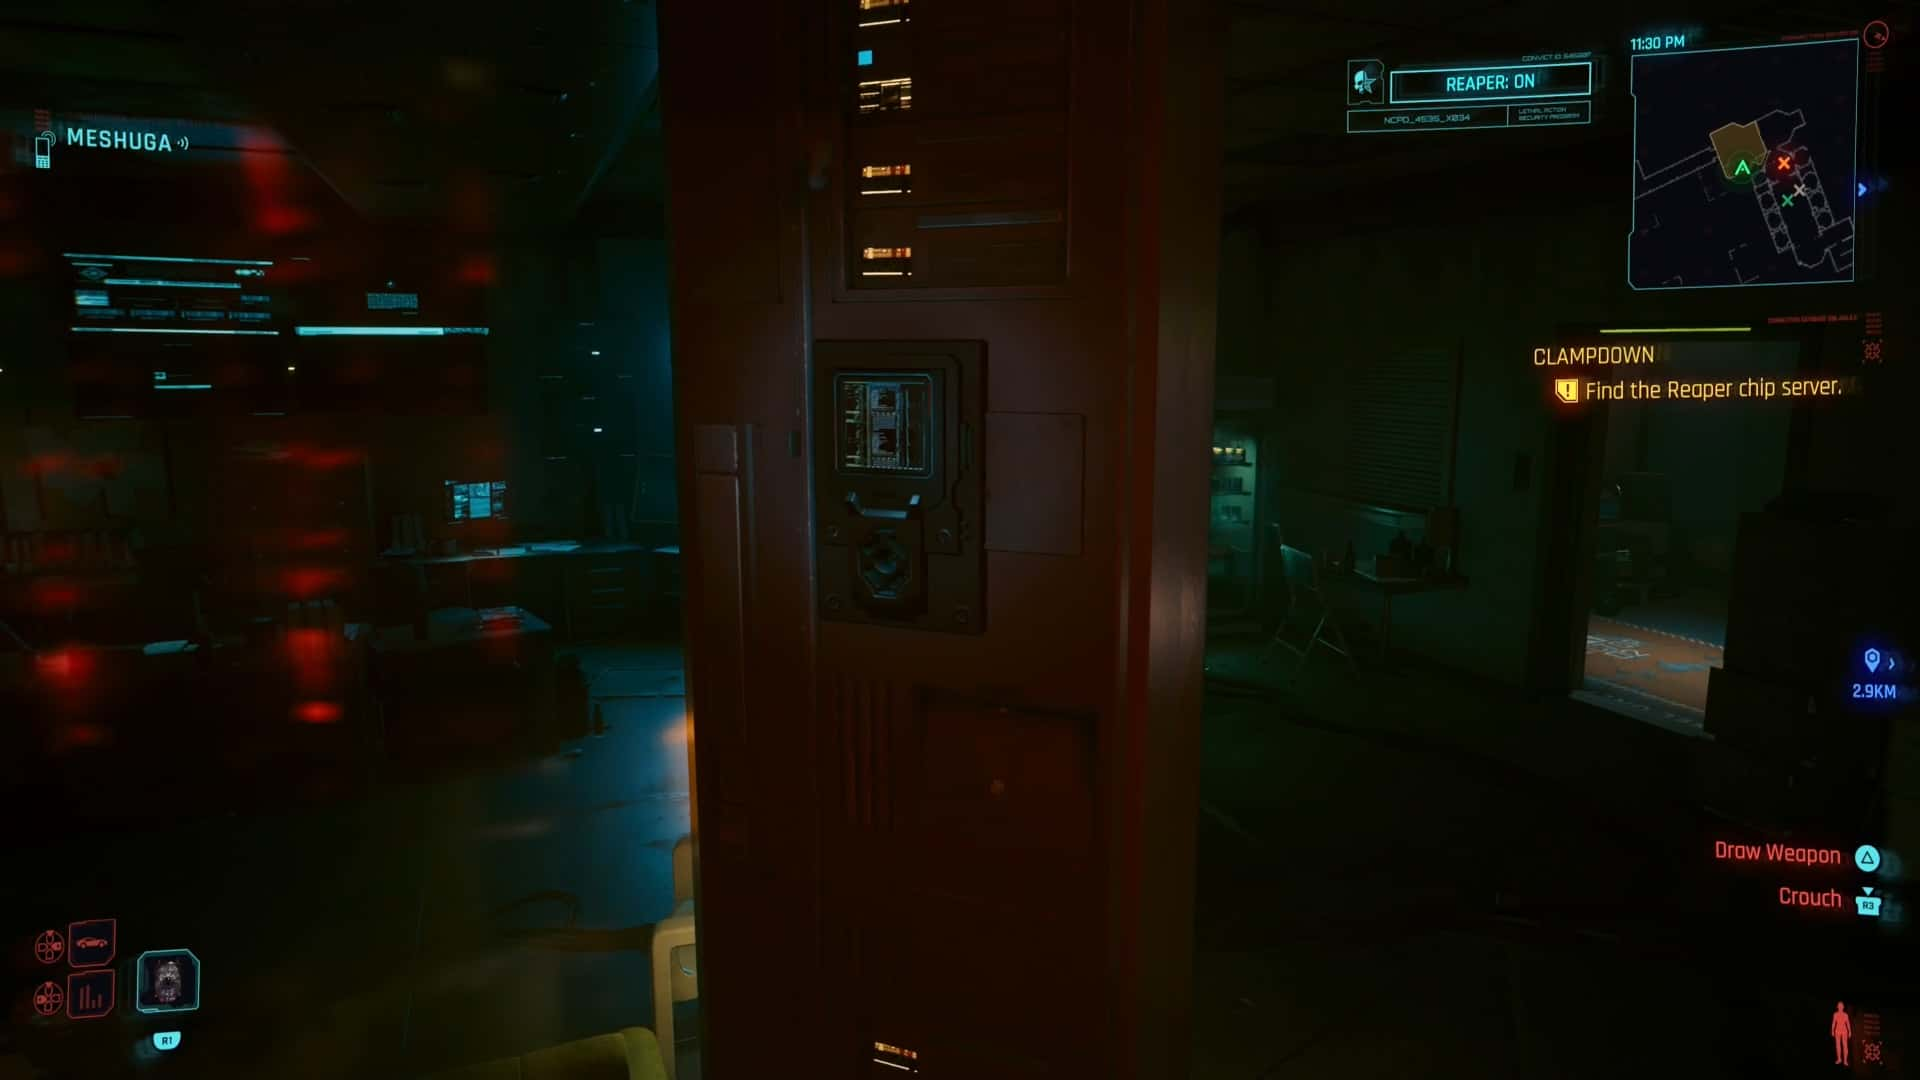
In the Security Cortex there is a server room. Go into it. On the one wall there is a single server. Jack into it to gain access to the Reaper Chip Server.
Once in you need to deactivate the Reaper Chips in the following order:
- V’s
- Wex’s (Optional)
- Miguel’s
This will cause all three to deactivate without you dying. Once deactivated you can begin to make your escape.
Leave the Security Cortex
Head down the hallway and take out the guards. Enter the elevator and head down to 01: Yard.
Go to the Armory
Make your way into the Yard. Defeat the enemies that are there. After they are defeated the door to the Armory will open and more enemies will come out of it.
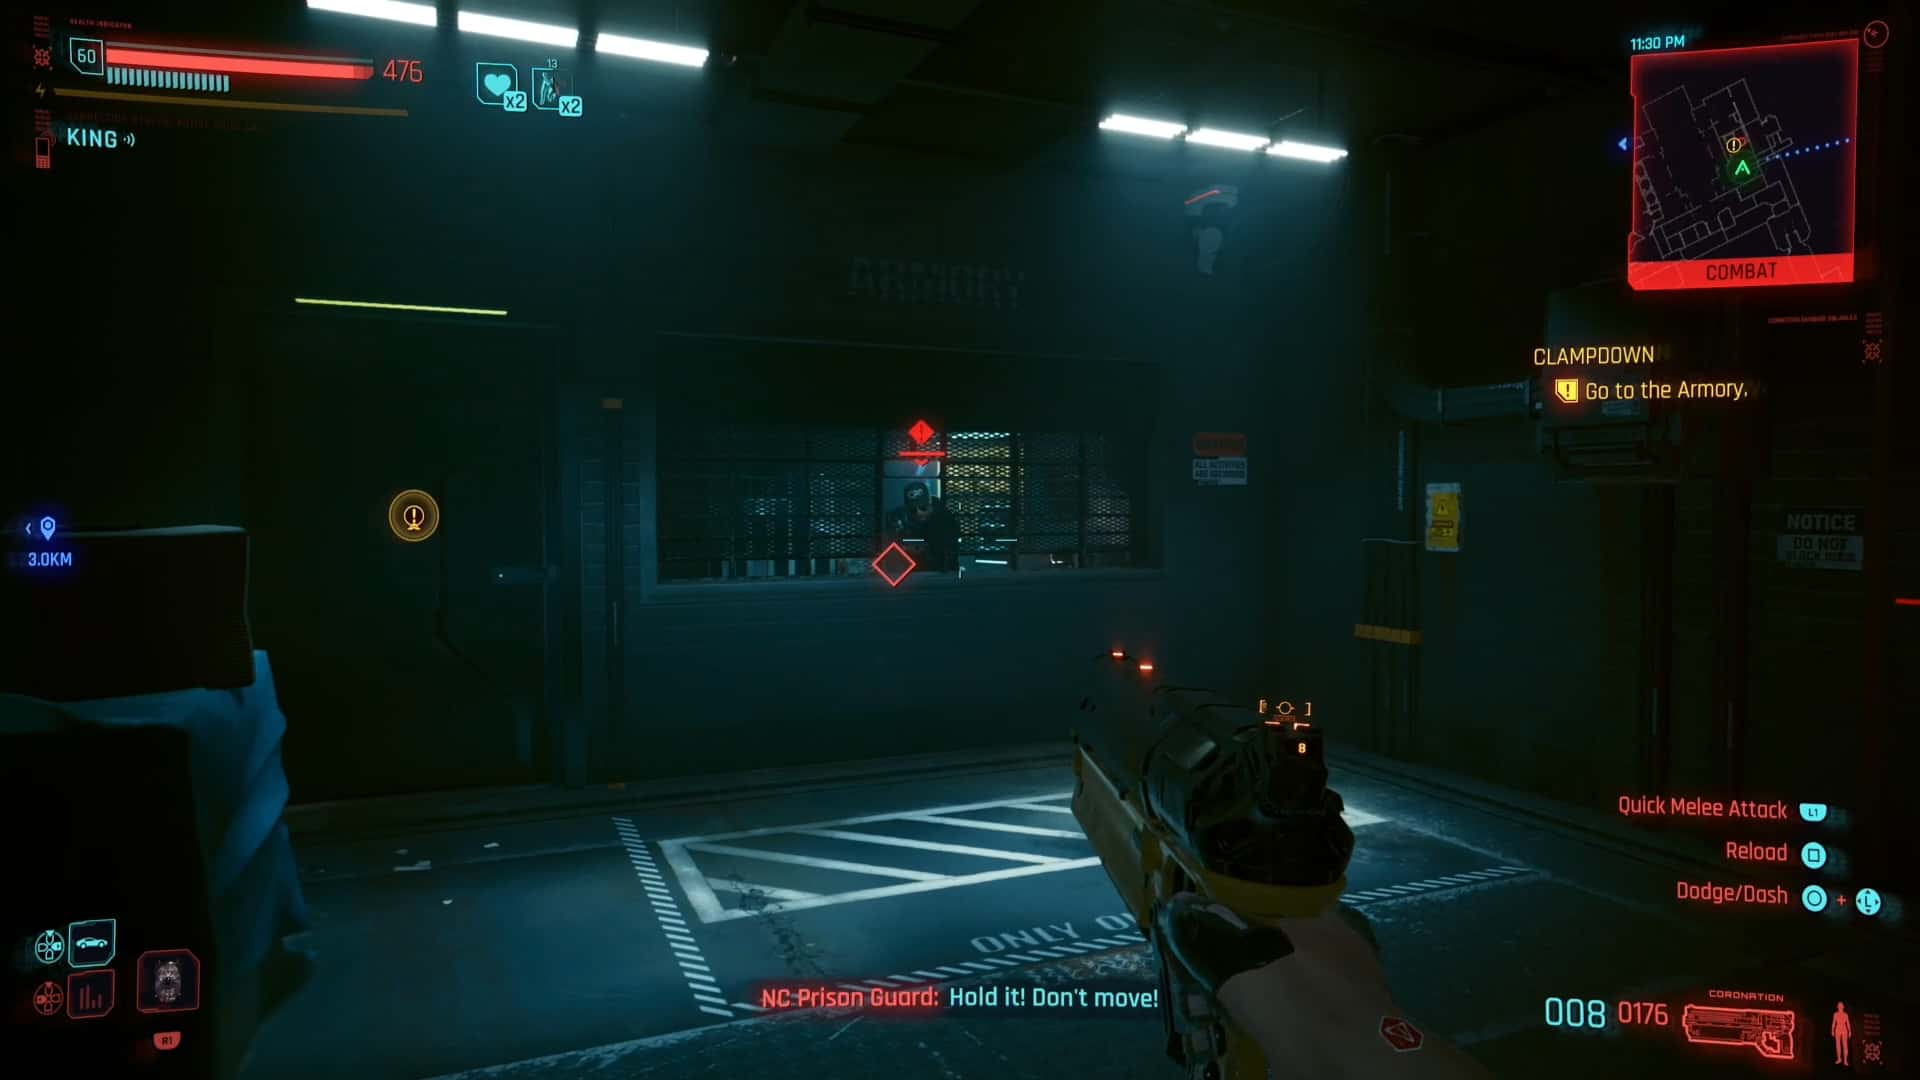
Defeat those additional enemies. Defeat the enemy inside then interact with the Locker in the Armory to get your gear back. Equip your gear.
Find a way to the Crisis Control Room
If you have 20 Strength you can force open the door by the Armory to reach the elevator to take you down to Crisis Control.
If you don’t have the Strength to open the door you can jack in and hack the terminal beside it to open it.
Once the door is open head into the elevator and take it down to Crisis Control.
Listen to Meshuga or King

Enter Crisis Control and defeat the enemies there. Jack into the terminal in the center of the room when prompted.
When you jack into the main terminal you will be prompted to either:
- Activate the Reapers (Meshuga)
- Deactivate the Reapers (King)
Who you choose impacts how King and the crew escape (but nothing on your end). If you activate the Reapers prisoners die and if you deactivate Reapers the prisoners riot, helping the escape.
Find a Way out of the Crisis Control Room
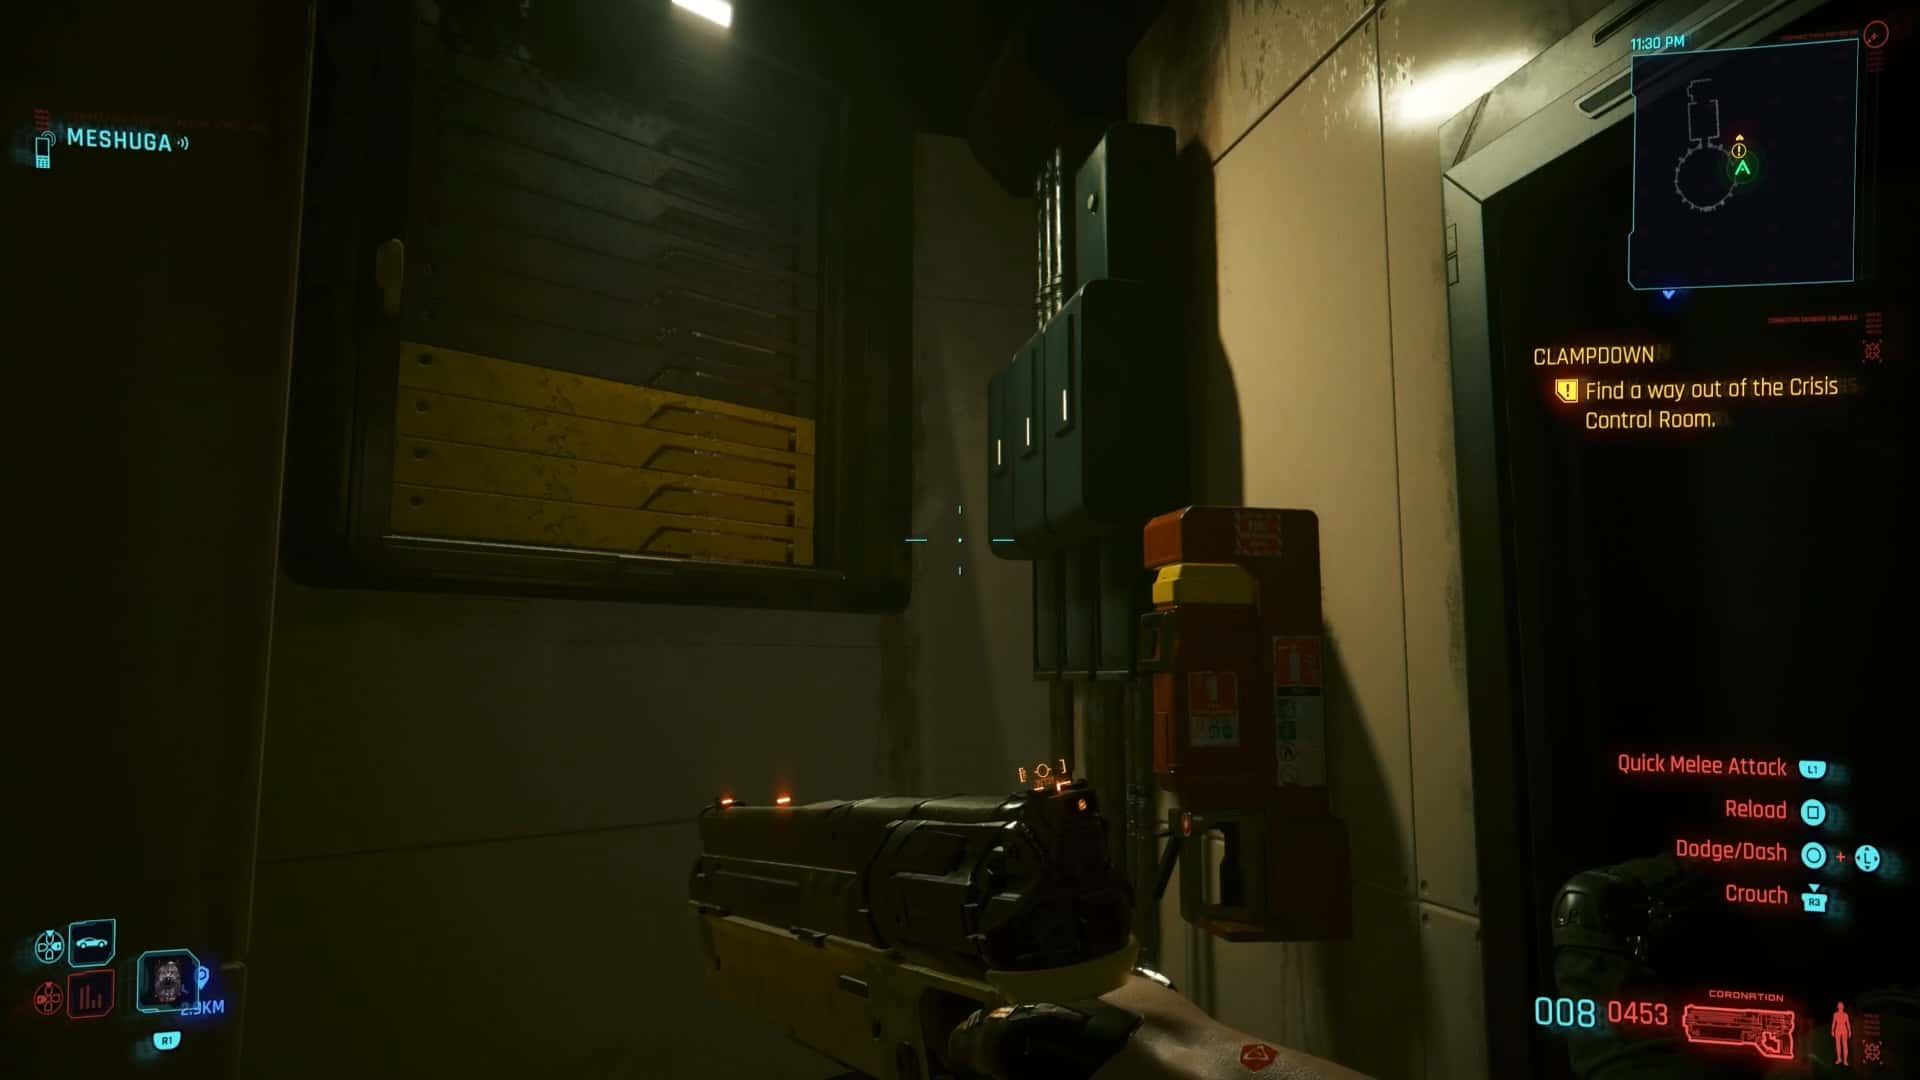
After making your choice head into the L-Shaped room attached to the Crisis Control Room.
In this room look for a yellow marked vent cover. Open it and enter the ventilation shaft. Make your way forward through the ventilation shaft into the next room. Leave this room via the big shutter to end up back in the Yard.
Defeat Darius
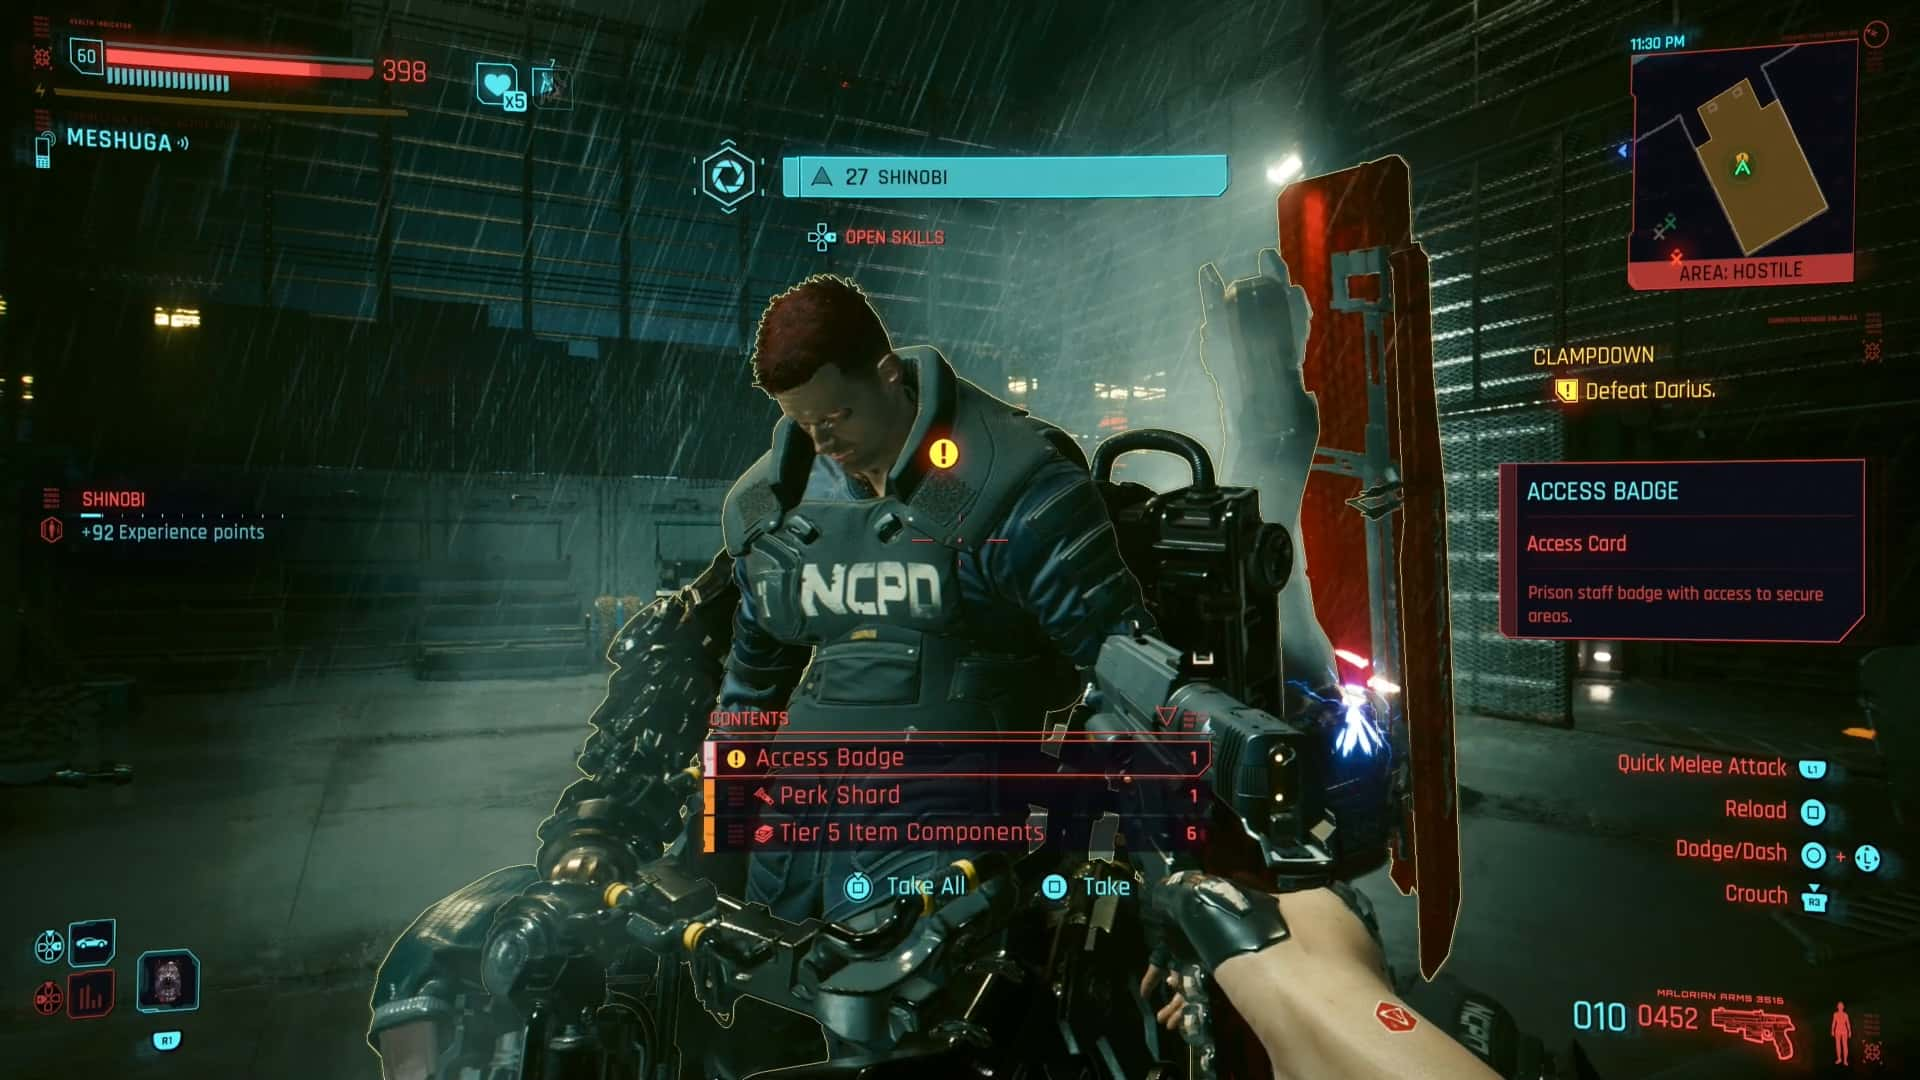
In the Yard you will encounter a boss named Darius. Fight Darius. Target the weak spot on his back to deal critical damage.
After you defeat Darius loot the Access Card (and a Perk Shard) off his corpse. Head into the Morgue using the card.
Reach the Exfil Point in the Morgue
In the Morgue place the explosive charges on the wall. Head back and hide around the corner then detonate the charge to make a hole in the wall that leads out of the prison.
Escape the Prison and the Cops!
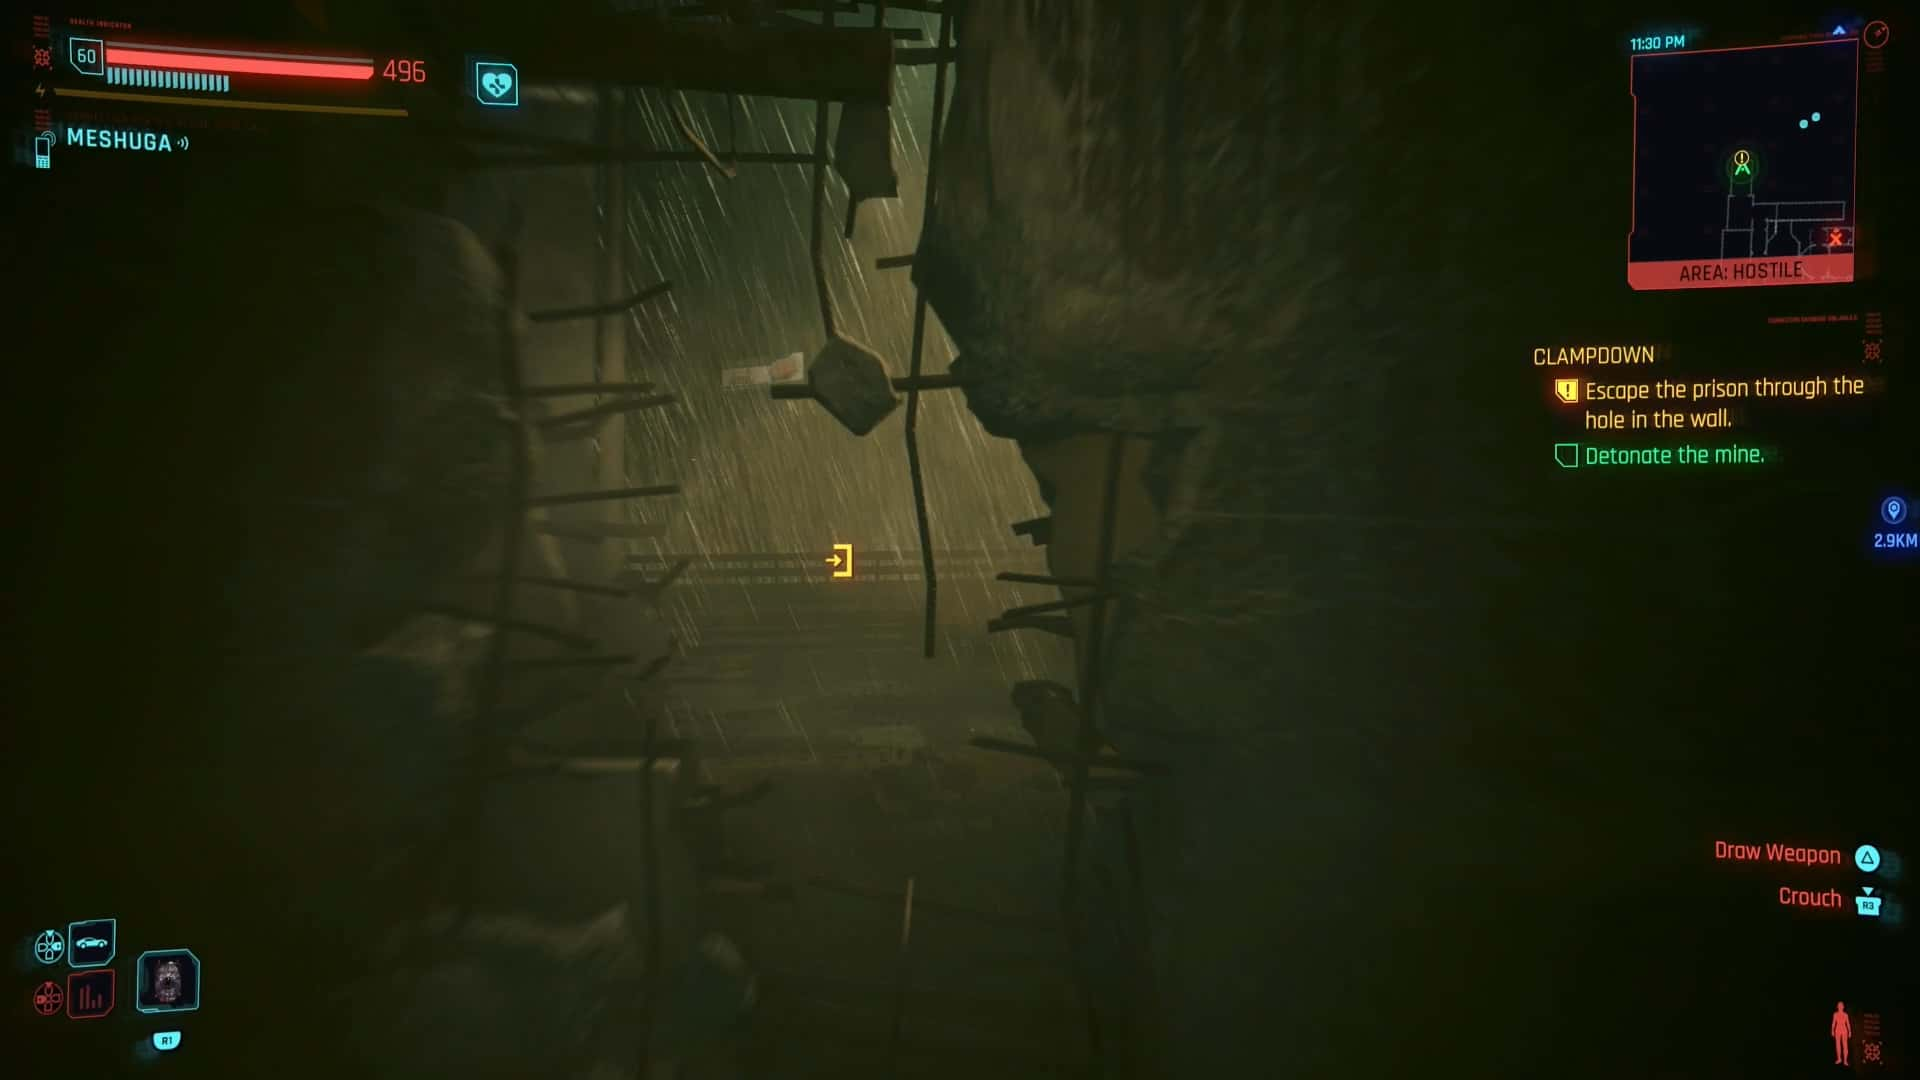
Go through the hole in the wall so you are out of the prison. A bunch of cops will appear. Lose the cops.
Upon losing the cops you will complete Clampdown. Meshuga will contact you first and then King will afterwards.
Clampdown Rewards
The headline reward for completing Clampdown is a five-piece gear set based on King, which you obtain during the quest itself.
- 7000 credits
- King’s Coat
- King’s Glasses
- King’s Bulletproof Vest
- King’s Pants
- Coronation (King’s signature revolver)
- Prison Jumpsuit (kept after the quest)
If you wait about 24 hours after completing the escape, Miguel will contact you. He sends a package to your apartment in Watson containing his Reaper chip, which King removed and converted into the Disjunctor, an iconic tech weapon mod.
Later, Emily will also contact you to thank you for saving her and Miguel. Wakako will contact you later as well.
That’s all you need to know about the Clampdown quest in Cyberpunk 2077. This is just one of multiple new additions added in Update 2.5.
Thoughts on our Cyberpunk 2077 Clampdown quest guide (Update 2.5)? Drop them in the comments below.