Poppy Playtime Chapter 5 Guide – Reanimation
Following the events during Tea Time, you, Giblet, Poppy, and Kissy Missy will regroup. You will be tasked with Finding the Backup by going through the section called Reanimation. To help you complete this section use our Poppy Playtime Chapter 5 Reanimation guide below.
Reanimation Collectibles/Easter Egg List
- Wrongside Outimal Plushie – LOOPSY Noodle
- Red Smoke Sample
- Golden Limon
- Wrongside Outimal Plushie – Loopsy NOODLE
- Dr. Akins Personal Letter 3
- Experiment Notes
- Elliot & The Prototype
- Interrogation
- How to Maintain Your–(Illegible)
Find the Backup
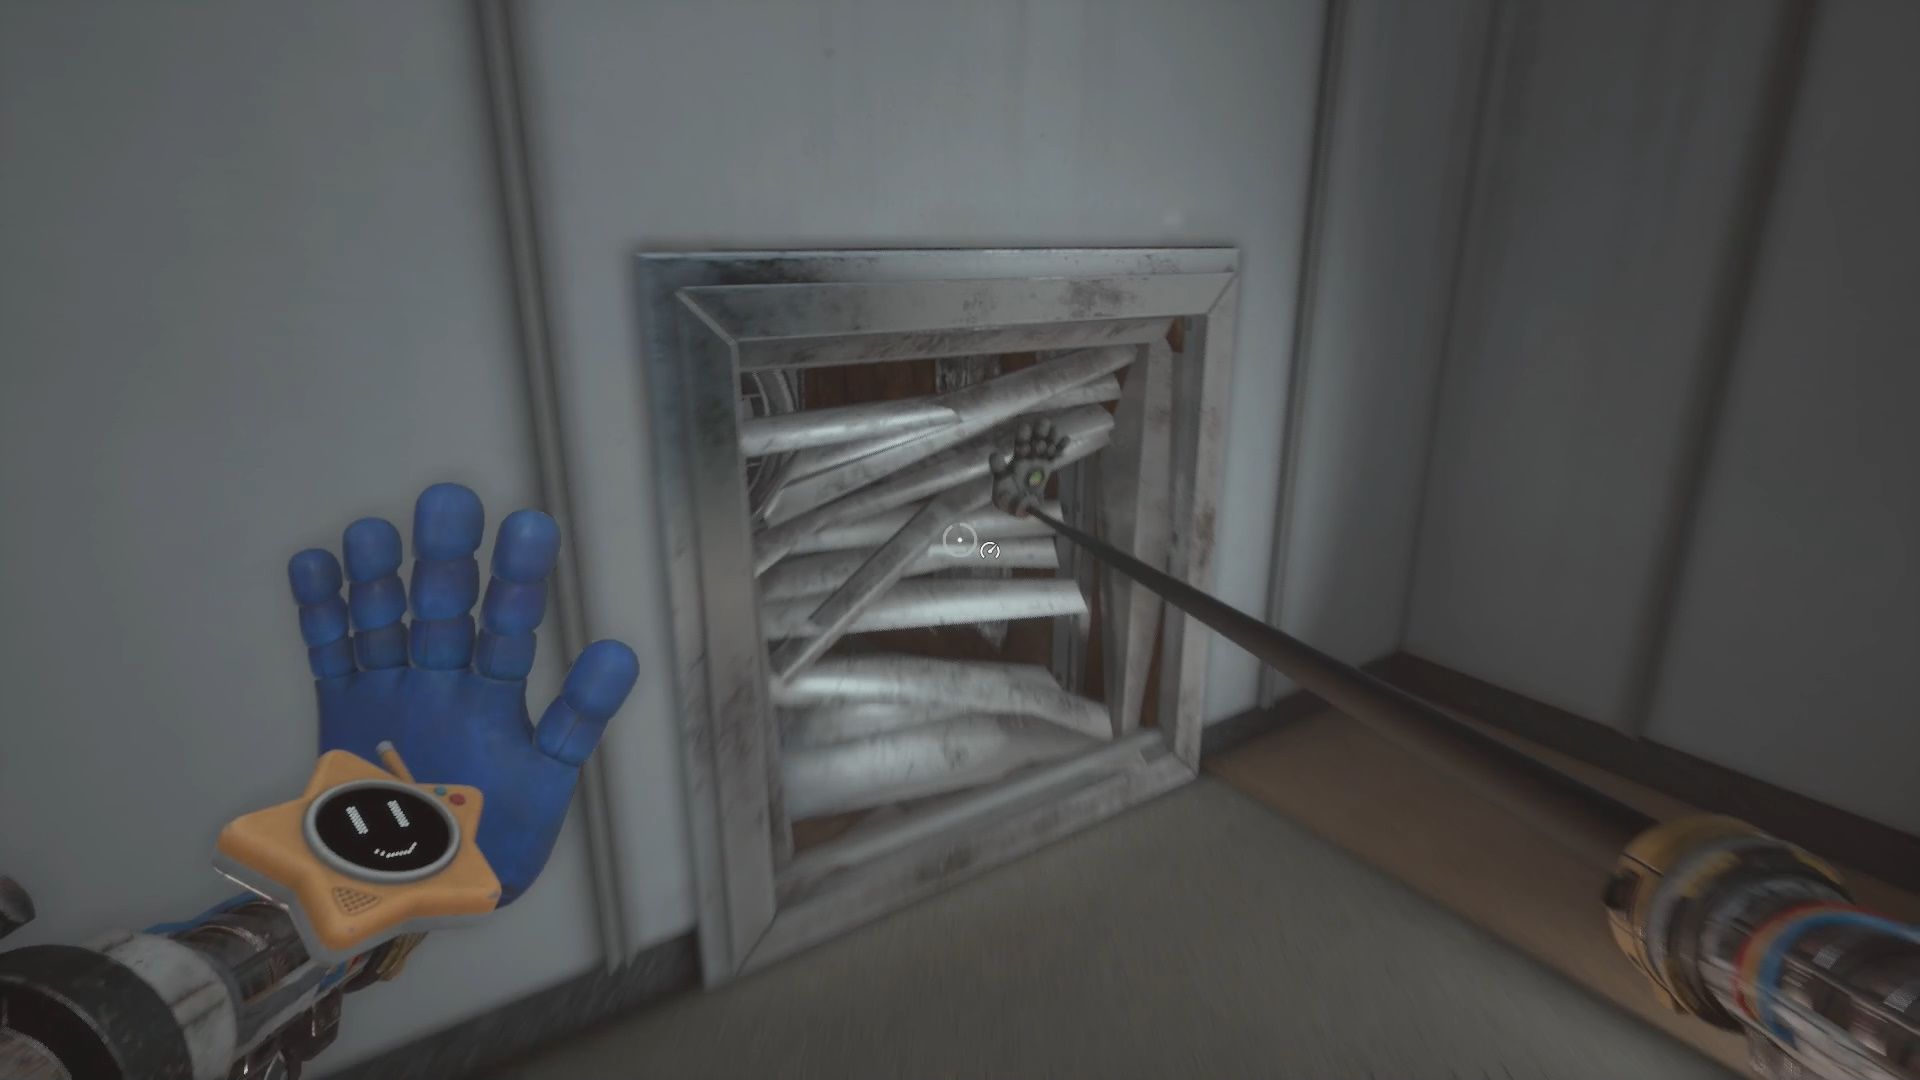
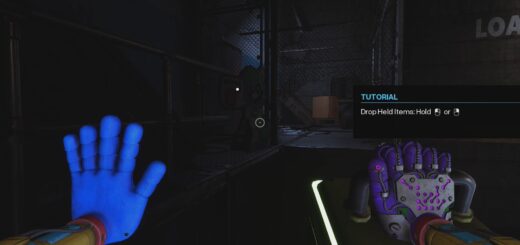
After meeting with Poppy, Kissy Missy, and Giblet turn and open the Vent using your Pressurized Hand. Go through the Vent. You will drop into a new area.
Optional Collectible
- Elliot & The Prototype [9/10] – Directly behind you on the crate holder you drop down on top of when exiting the Vent.
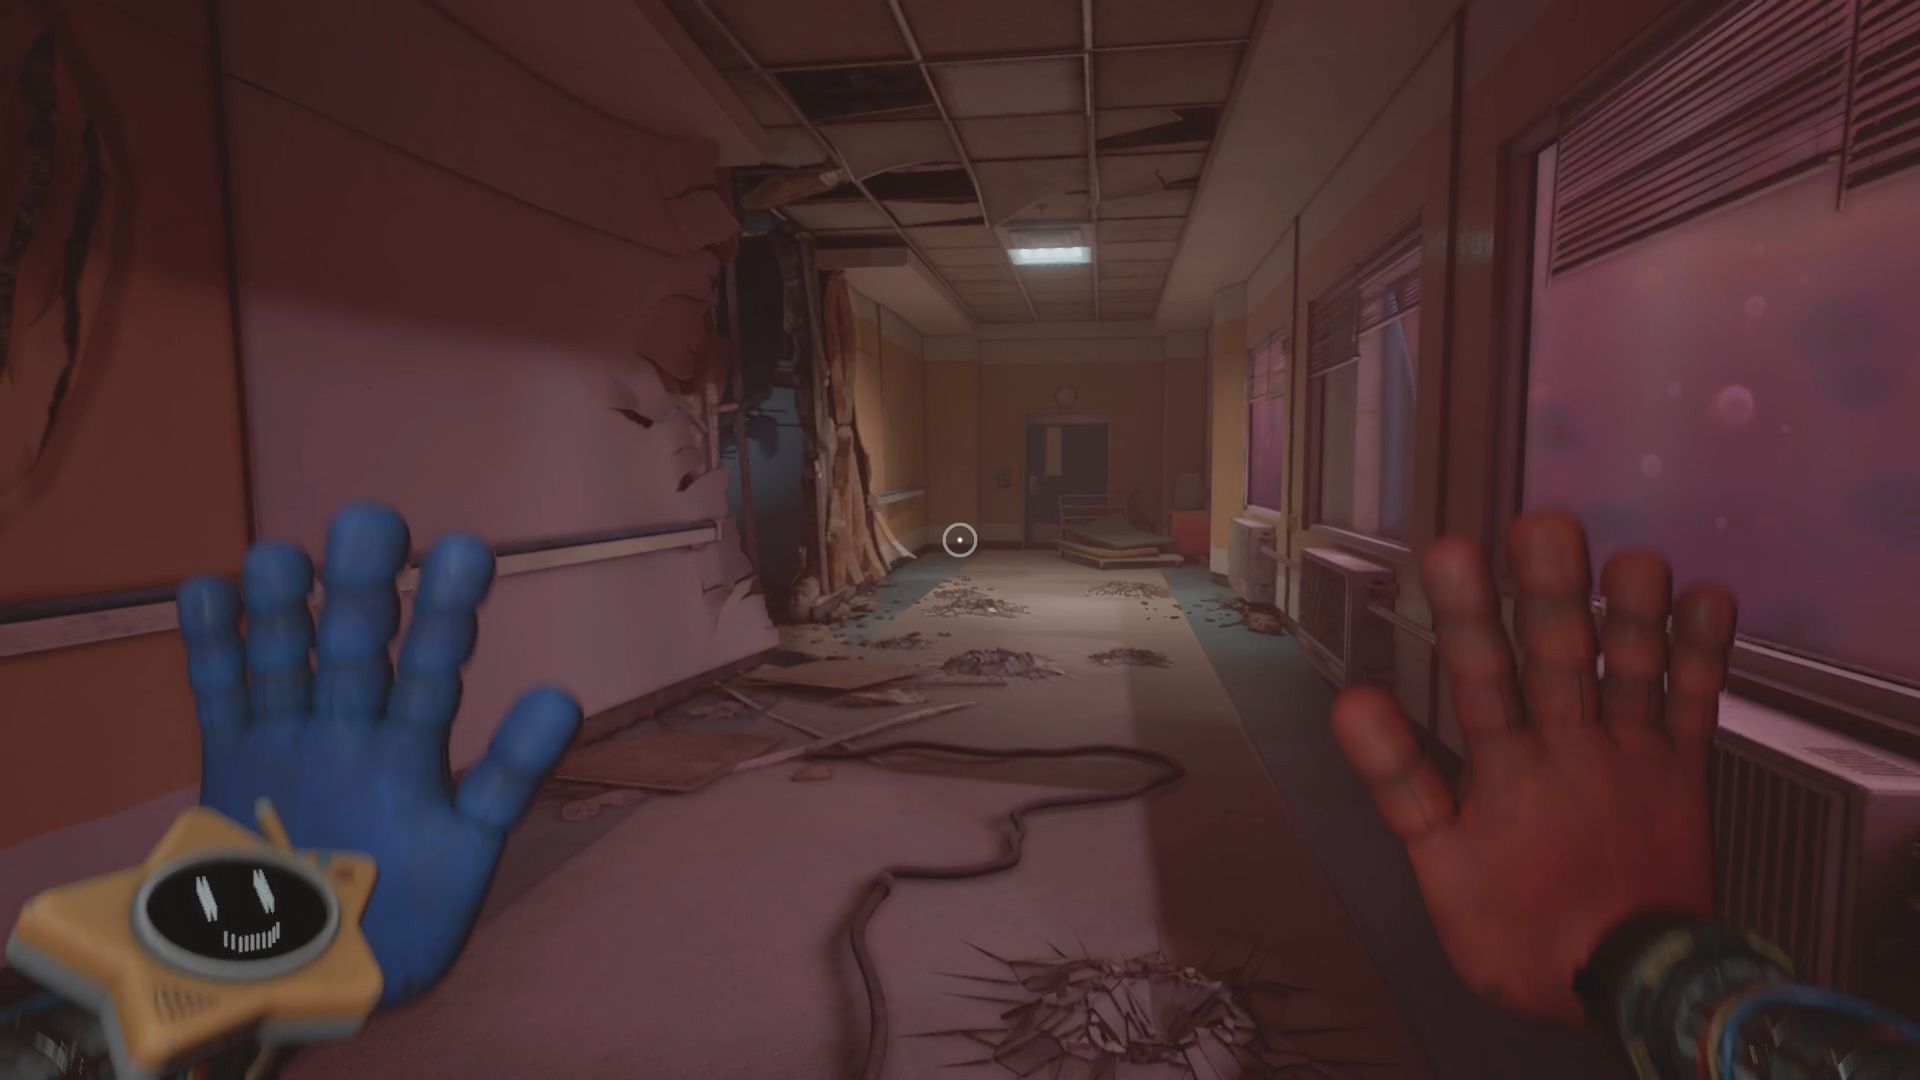
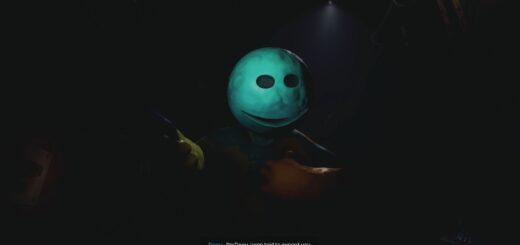
Go forward into this new area. You will see an Outimal ahead of you that will run away. Continue down the hallway to the Red Door that leads to Proliferation. Open it using your Blue and Red Hands.
Optional Collectible
- Wrongside Outimal Plushie – LOOPSY Noodle [15/19] – Complete the Gel Immersion Chamber puzzle in Proliferation by turning all five Named Pipe Valves.
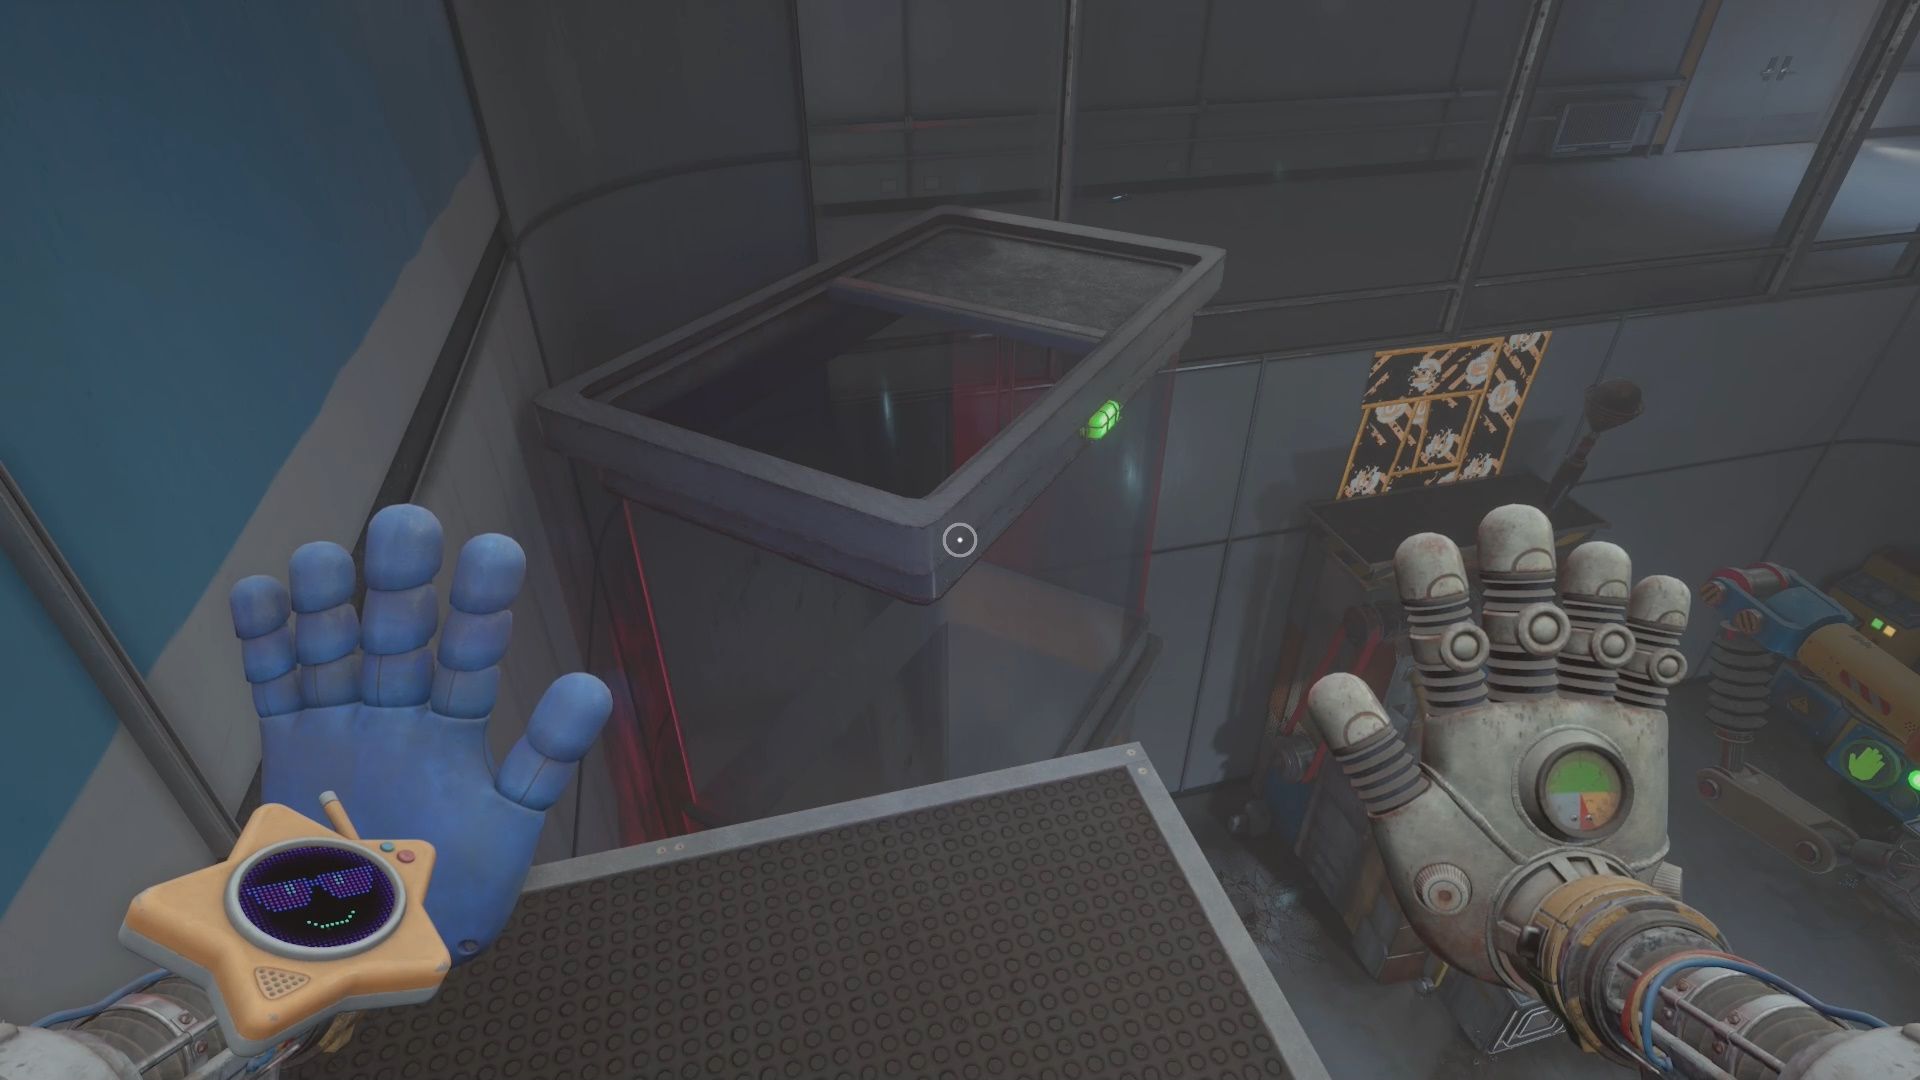
Make your way through Proliferation. You will come to a hallway with a large hole in the wall. Go into the hole and drop down to the floor below.
Optional Easter Egg & Collectibles
- Glitched Hand Sensor [8/8] – If you’ve been doing the Glitched Hand Sensors up to this point, the final one is on the column straight in front of you. Activating this final one will cause Pianosaurus to appear and sing and dance for you.
- Red Smoke Sample [16/19] – In the lab opposite the Molecule Microscopy door after dropping through the hole in the floor. It is in a cupboard on the window side.
- Interrogation [10/10] – On a table by the Blue Door in the lab with the Red Smoke Collectible in it.

Make your way forward and look for a hole in the ceiling that has debris under it by the Molecule Microscopy door. Use the debris as a ramp to reach up to the hole in the ceiling. Go forward to reach the big lab room.
How to Find the Lab Code
In the lab there is a locked door that requires a code to open. You need to find the four-digit code to advance into the next area. The code pieces are hidden around the lab (code is randomized):
- 3x Code pieces inside the cupboards
- 1x piece in the locker by Bunson Burner. Use the Pressure Tank switch to reveal the Fire Socket then blow up the Bunson Burner with a fire charge to open it.
Optional Collectibles
- Golden Limon [17/19] – In the Red Gas area of the lab. Open the door using the hand sensors.
- Dr. Akins Personal Letter [33/35] – On a counter in the lab by the doors to Examination Rooms 3-4.
- Experiment Notes [34/35] – In the corner of the lab on the counter.
Use the found numbers to figure out your code then input it into the door with the keypad. Head into the next area. Open the doors to the Electro Shock Showers room and go inside.

Attach to the plug then use the magnet pads to complete the circuit. Connect to the socket to open the door. Make your way down the hallway. Take your first left and go towards the double doors that have a keypad.
Surgery Observation Code
There are two sets of doors here you can open using the keypads. To open them you need to know the code. The code is located on the wall between both doors. Use your Blacklight to reveal it. It is 231.
Input the code, go through the doors, then go down the stairs and right at the bottom. Enter the Surgery 1 room.
Inside of Surgery 1 you need to solve a quick puzzle. Charge the Conductive Hand then power up the Hot/Cold Socket. Turn on Cold, get a cold charge, and then use it on the gel blocking the door. Destroy the gel using your Pressurized Hand.
Switch the Hot/Cold Socket to Hot. Grab a hot charge and then burn the rope off the door so you can proceed forward into the hallway.
Optional Collectible
- How to Maintain Your–(Illegible) [3/3] – Destroy both windows looking into Surgery 2. Charge the plug using the Green Socket to open the door. Go inside Surgery 2. Get the code of the wall using your Blacklight: 728. Input the code in the locker. Grab the VHS and watch it on the VCR in Surgery 1.
As you go down the hallway you will see double doors on your right. Open them to reveal a container that has a Battery in it. Grab the Battery.
Continue down the hallway. Charge up the door marked Grand Stitchery and go inside of it.
How to Escape the Grand Stitchery
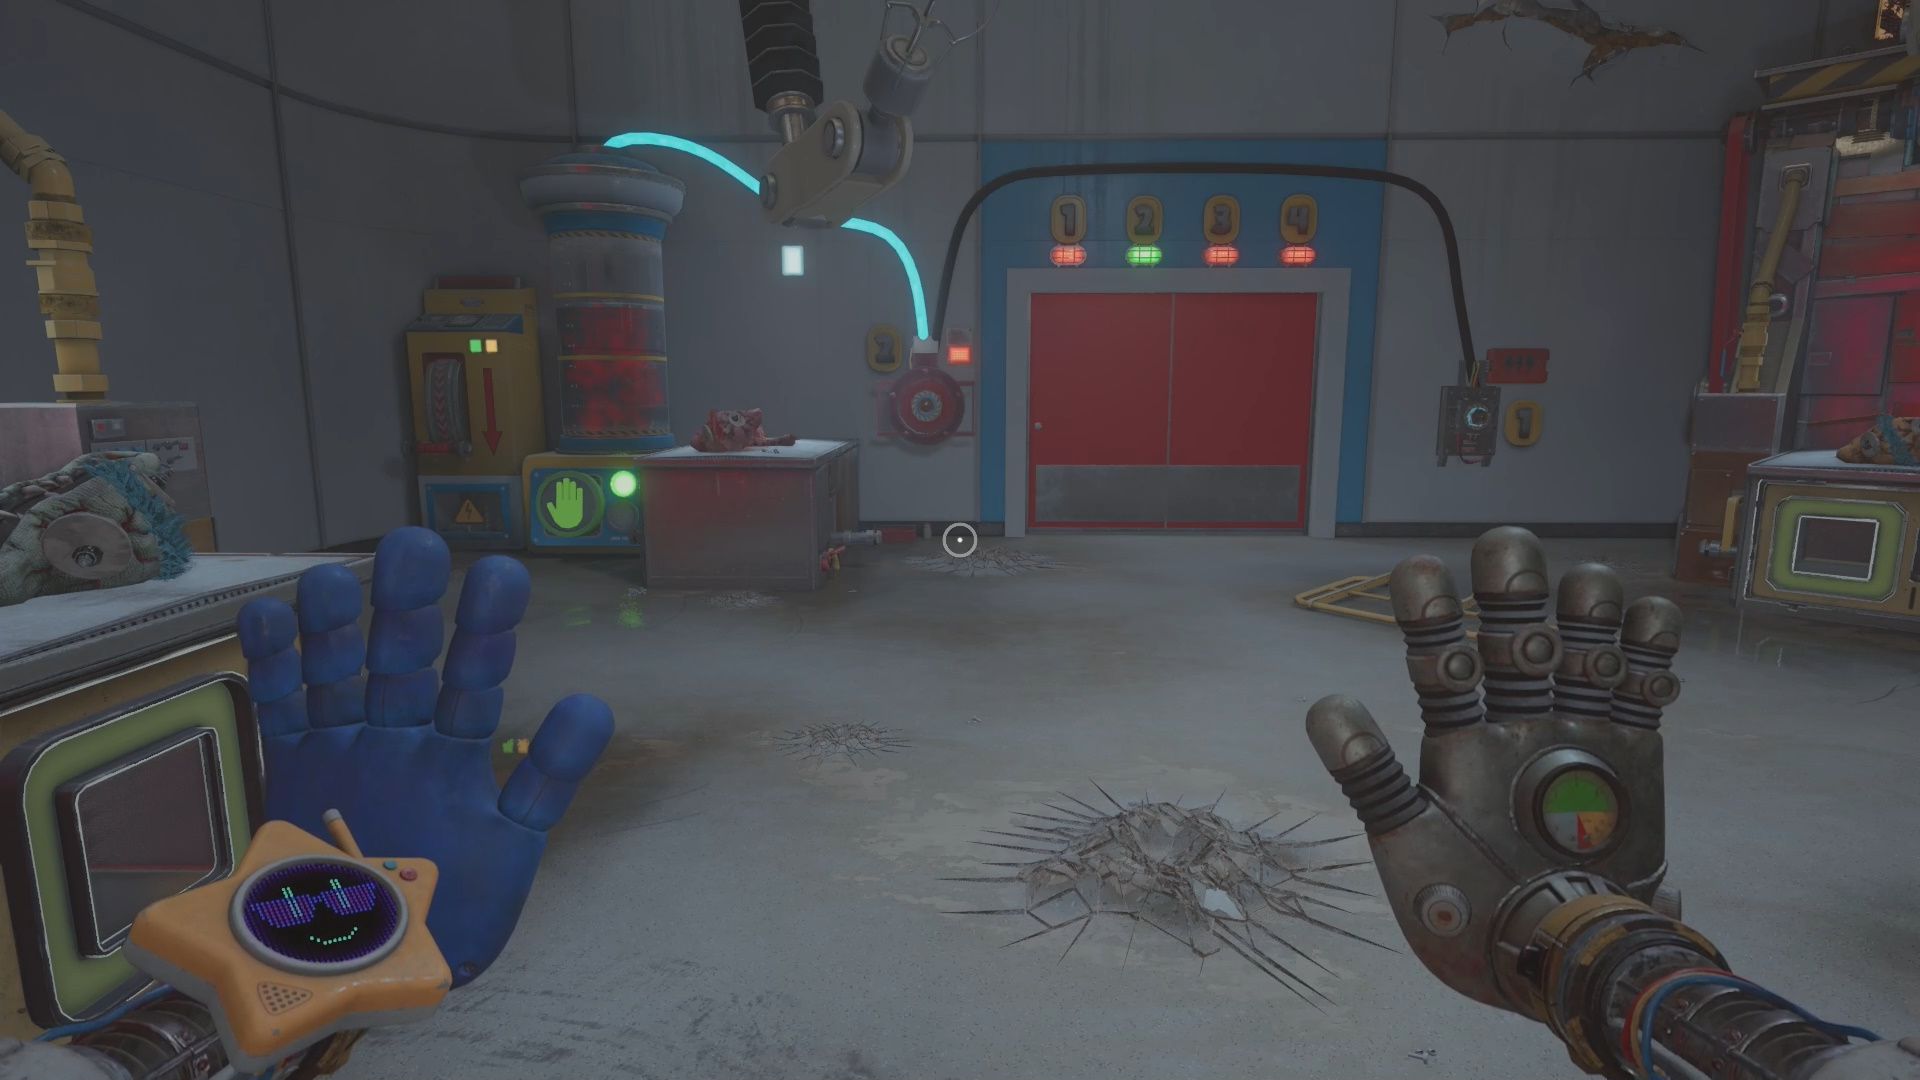
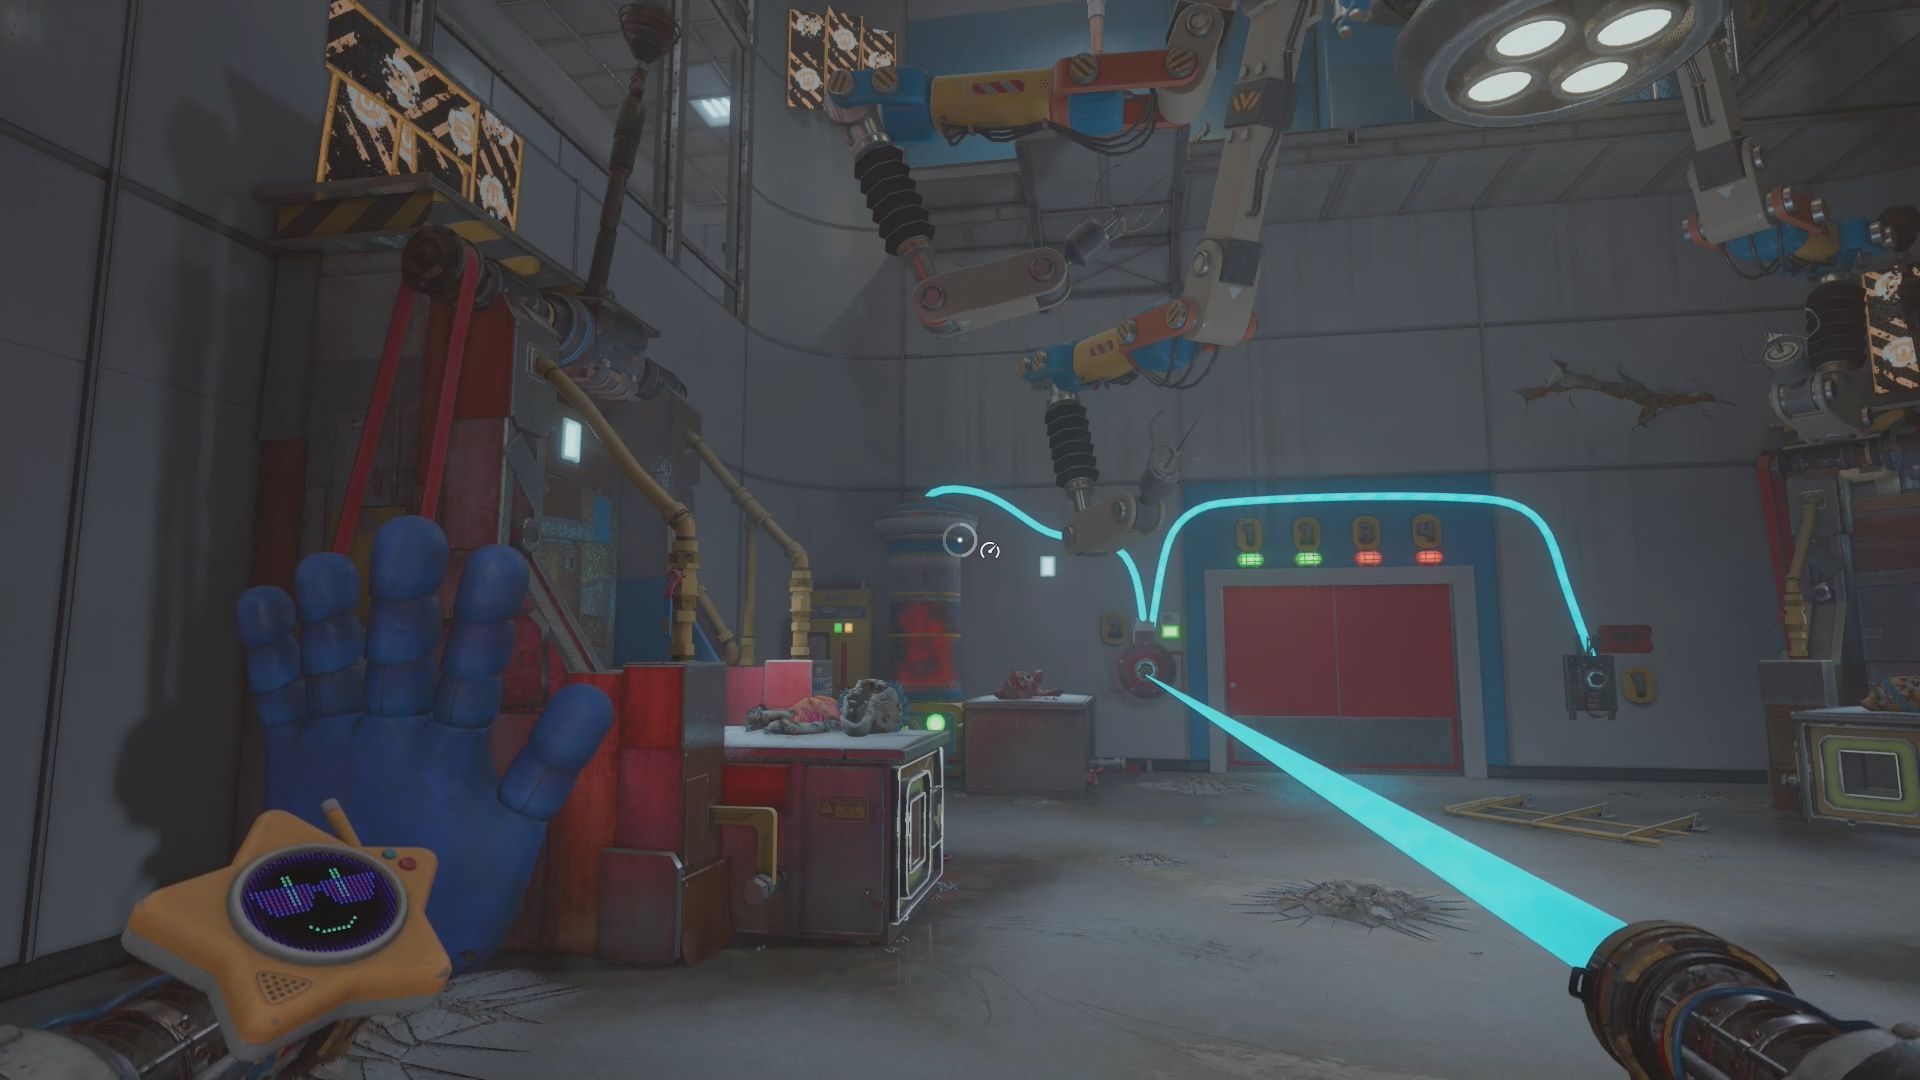
In the Grand Stitchery you need to complete a power puzzle that tasks you with turning on four different power sources to open the door leading forward.
Power 1
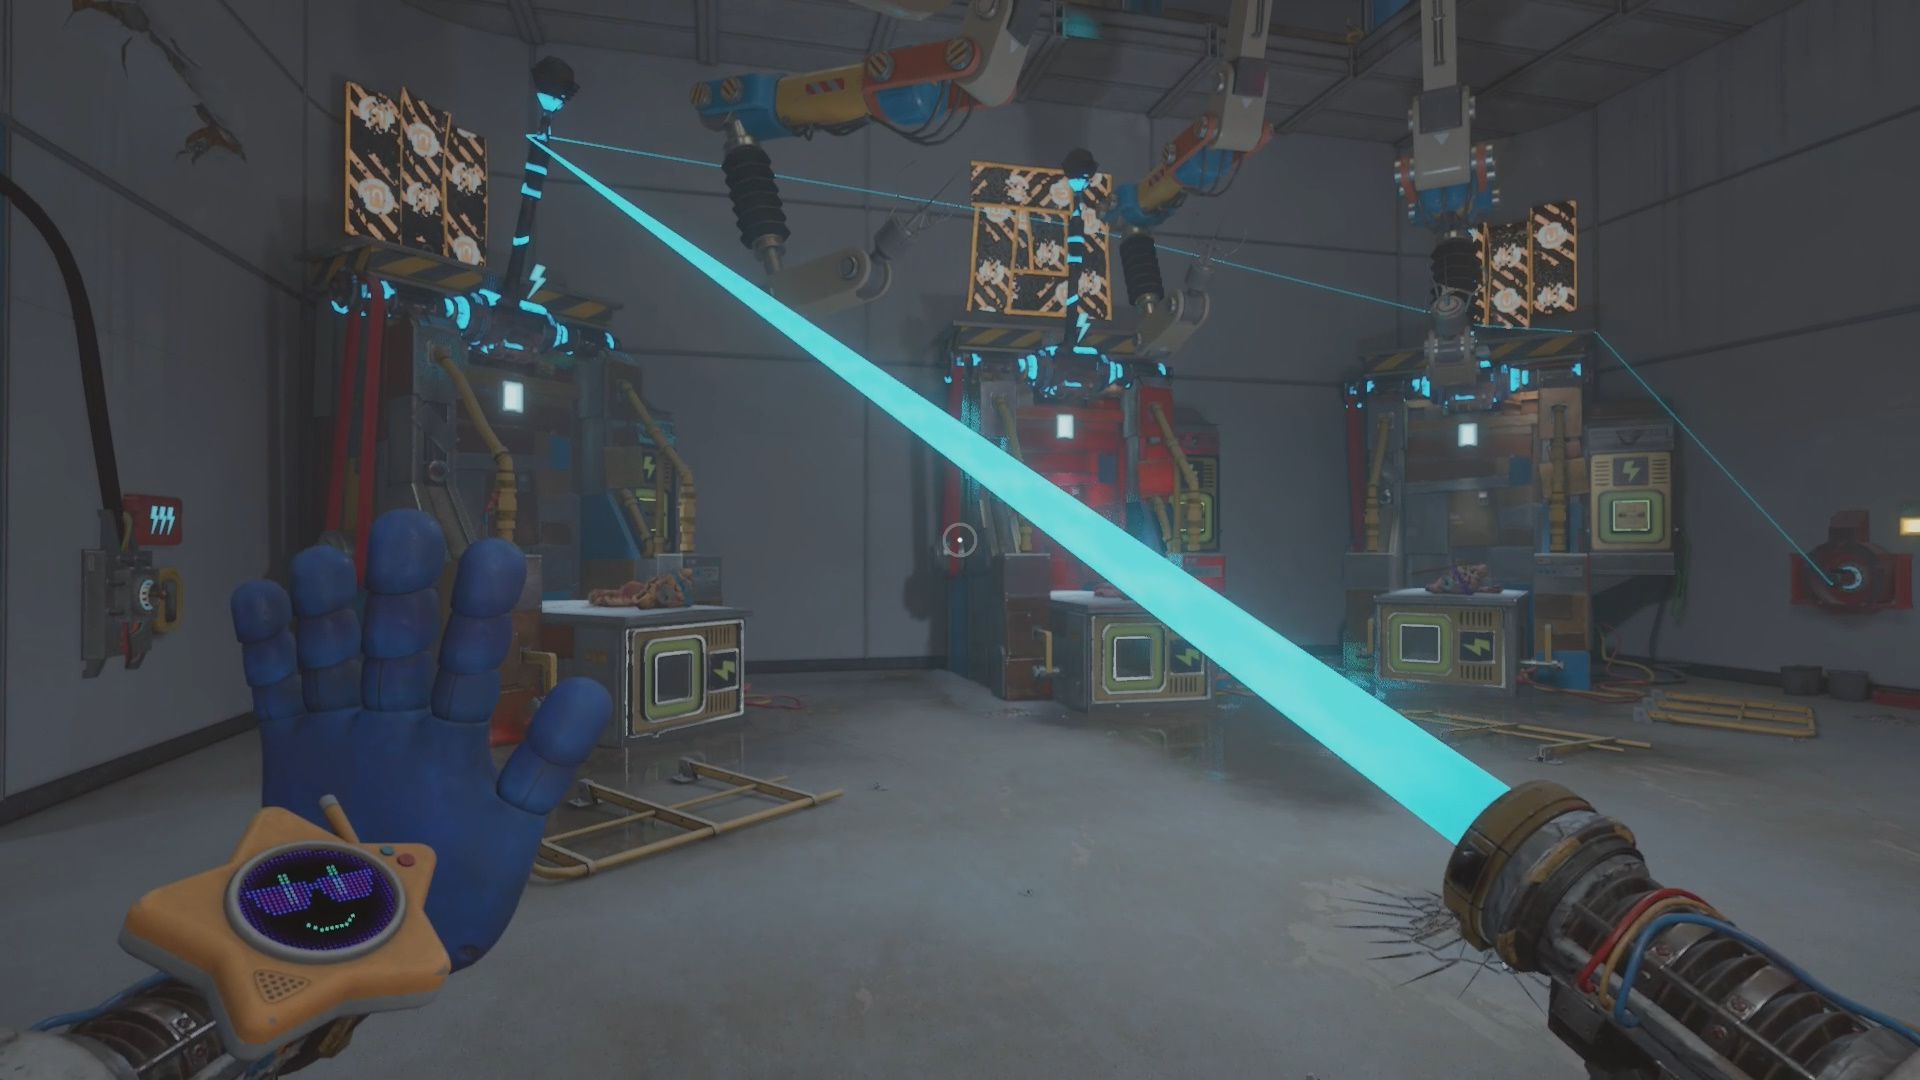
To start you will see five robot arms working on different toys. Go up to the four machines and pull out their Batteries. Put the Battery in the Battery Socket on the right side of the machines to stop the machines and raise their coils.
Use the raised coils, magnetic platforms, and the platforms above to create a 3 coil circuit between the socket and the plug marked with the number 1. It will look something like the screenshot above. This will power up 1.
Power 2
Go over to the last machine that has a Pressure Tank and lever. Pressure up the tank using your Pressurized Hand. Pull the lever when it is between the Yellow Lines. This will power up 2.
Power 3
Plug into the socket with the 2 number. Go up to the coil on the left. Continue to the platform above so you have a two coil circuit. Plug into the socket on the fence blocking your way forward.
Pull the lever in the fenced in area. Continue forward to reach the Red Lever with the numbers 1,2,3 over it. Pull it. This powers up 3.
Power 4
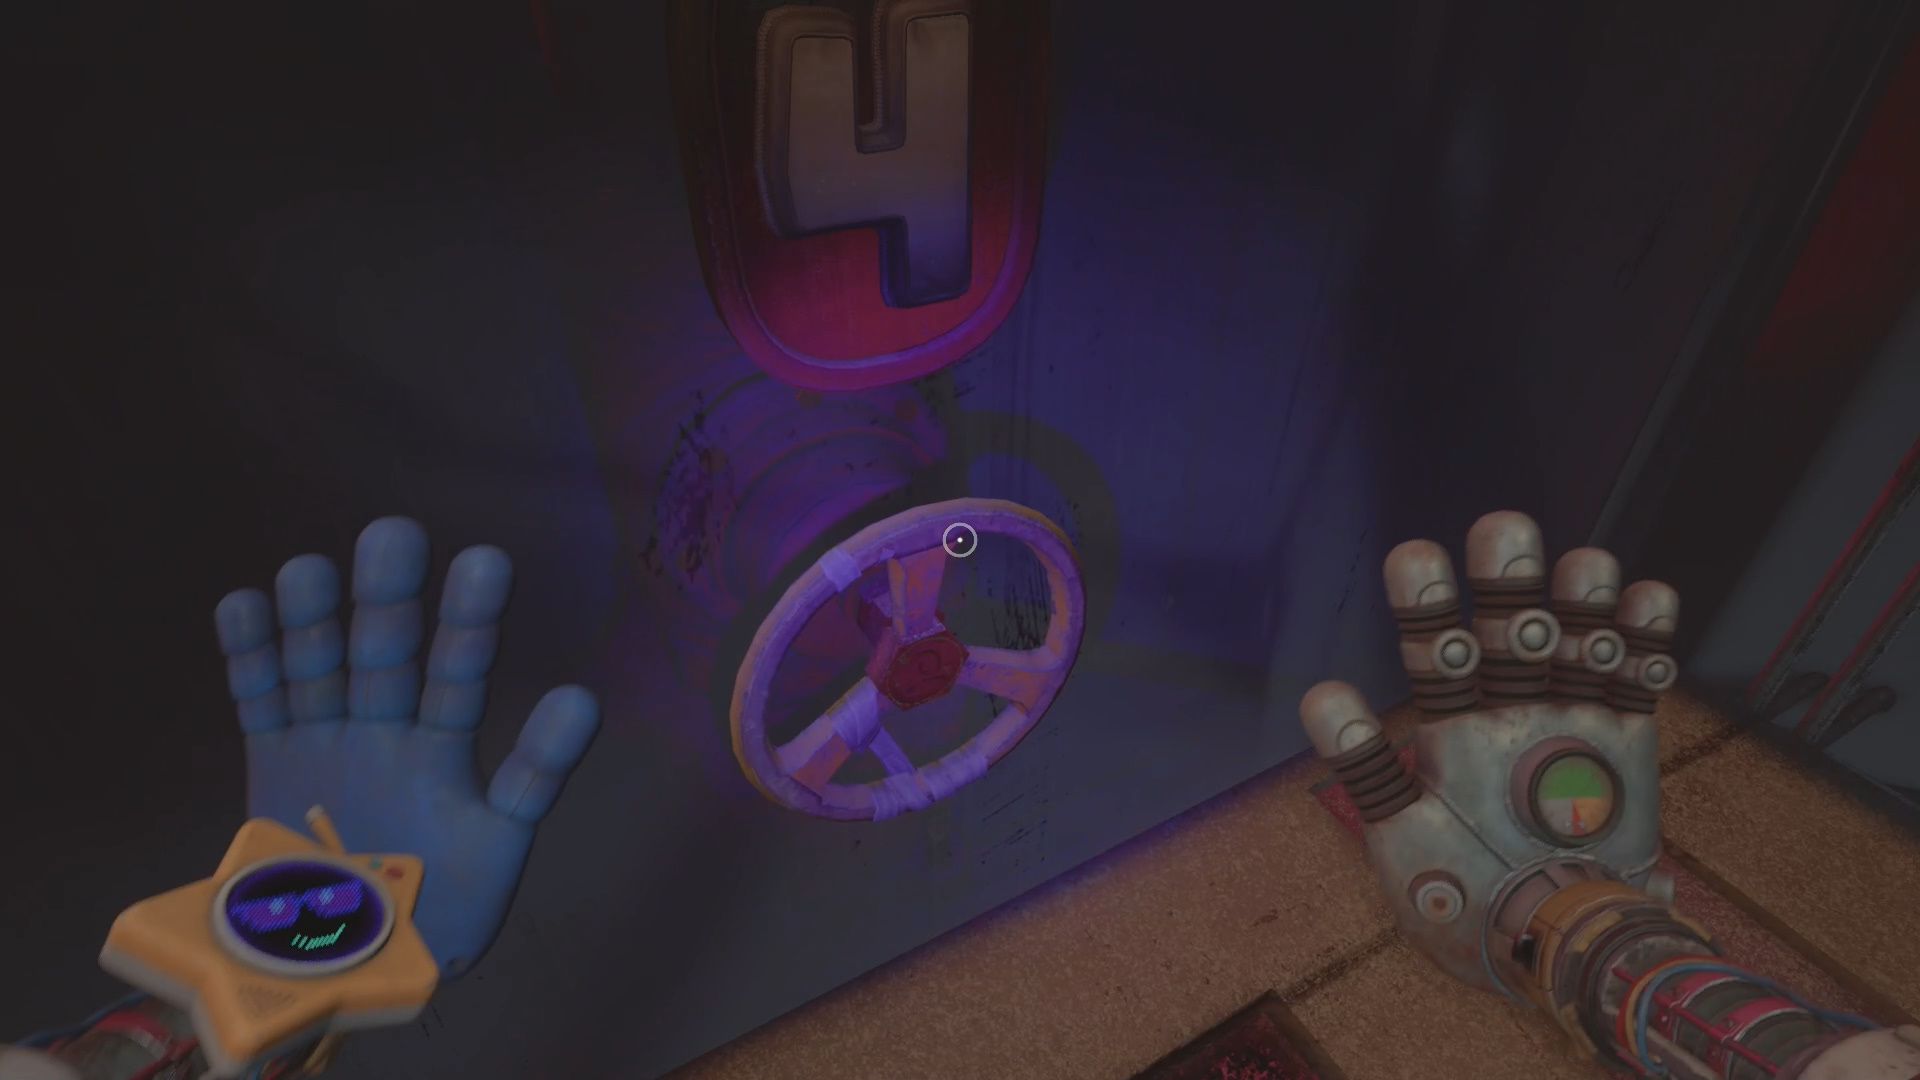
By the Red Lever is a vat of gel. Pulling this lever drains the vat. Jump into the vat and turn the Valve at the bottom to power up 4. Exit through the open door into the next area.
Optional Collectible
- Wrongside Outimal Plushie – Loopsy NOODLE [18/19] – On a desk in the office with the model ship after the Grand Stitchery.
Go down the hallway until you find a lab on your left. There is a door with a Red Lever. Pull the Red Lever. Grab the Battery from the closet it opens. Use Battery to open the nearby door. Go into the next area.
Final Huggy Wuggy Chase
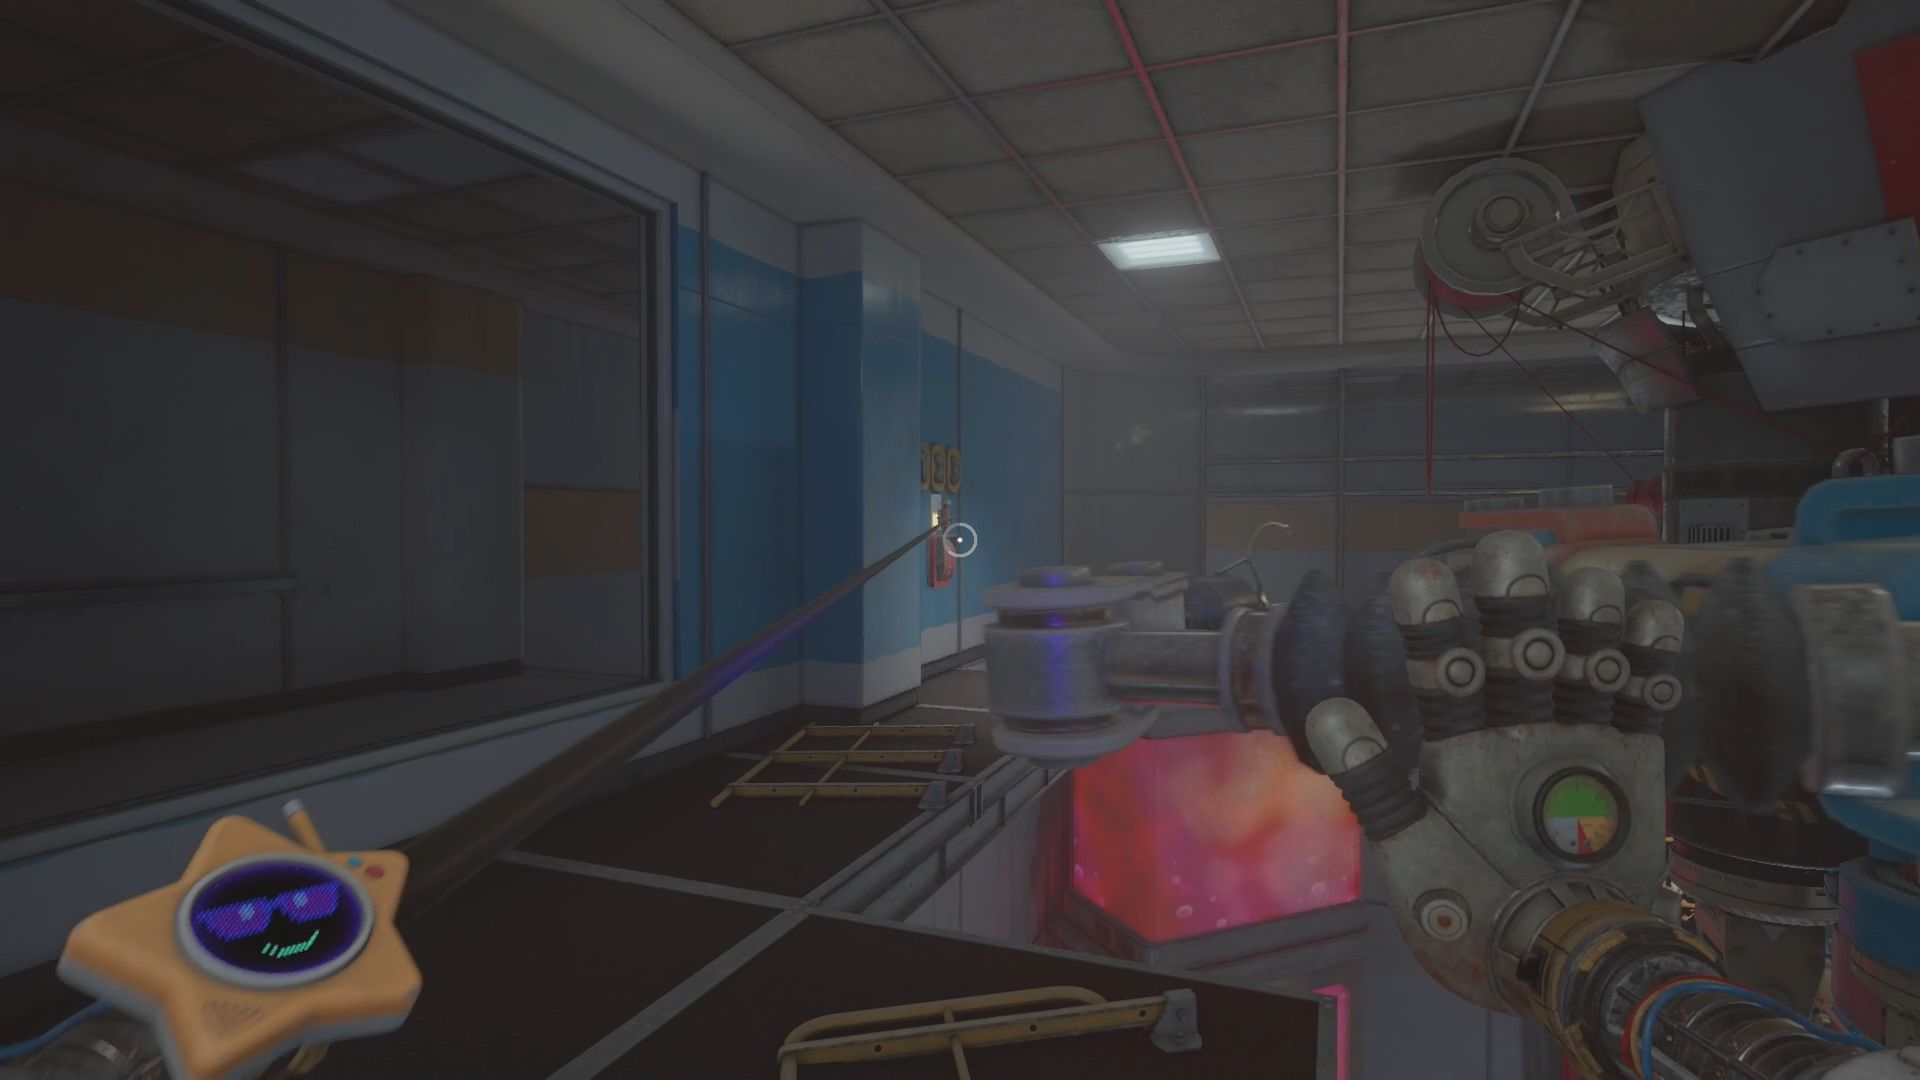
After the loading screen make your way down the hallway. You will get about halfway before Huggy Wuggy appears and knocks you through the glass window on your right.
This chase is super linear. Just follow the path forward. About a third of the way you will go down a hallway with a Blue Hand Sensor door. Use your hand to open it. After this door pull the Battery from the Battery Socket and then place it in the socket on the other door.
Continue running. In the final hallway use the magnetic pad to pull yourself through the open door. Upon pulling yourself through you will trigger a cutscene that marks the end of this section.
The final section, The End of the Line will begin right away after the saddest cutscene ever. See our The End of the Line guide to complete it.
For more help with Poppy Playtime head over to our Poppy Playtime guides hub for guides, codes, and other resources.
Thoughts on our Poppy Playtime Chapter 5 Reanimation guide? Drop them in the comments below.

Feri
Feri